Hello everyone!!! I’m here today with Your Next Stamp (YNS) and this week’s Sketch and Color Challenge #21!!
Each challenge has a sketch and a color combo to choose from.
Take a look at the sketch:

Take a look at the color combo:

You know me, I went with the sketch!! I never seem to have the colors need for this. I hope I can change for the next challenge, LOL!
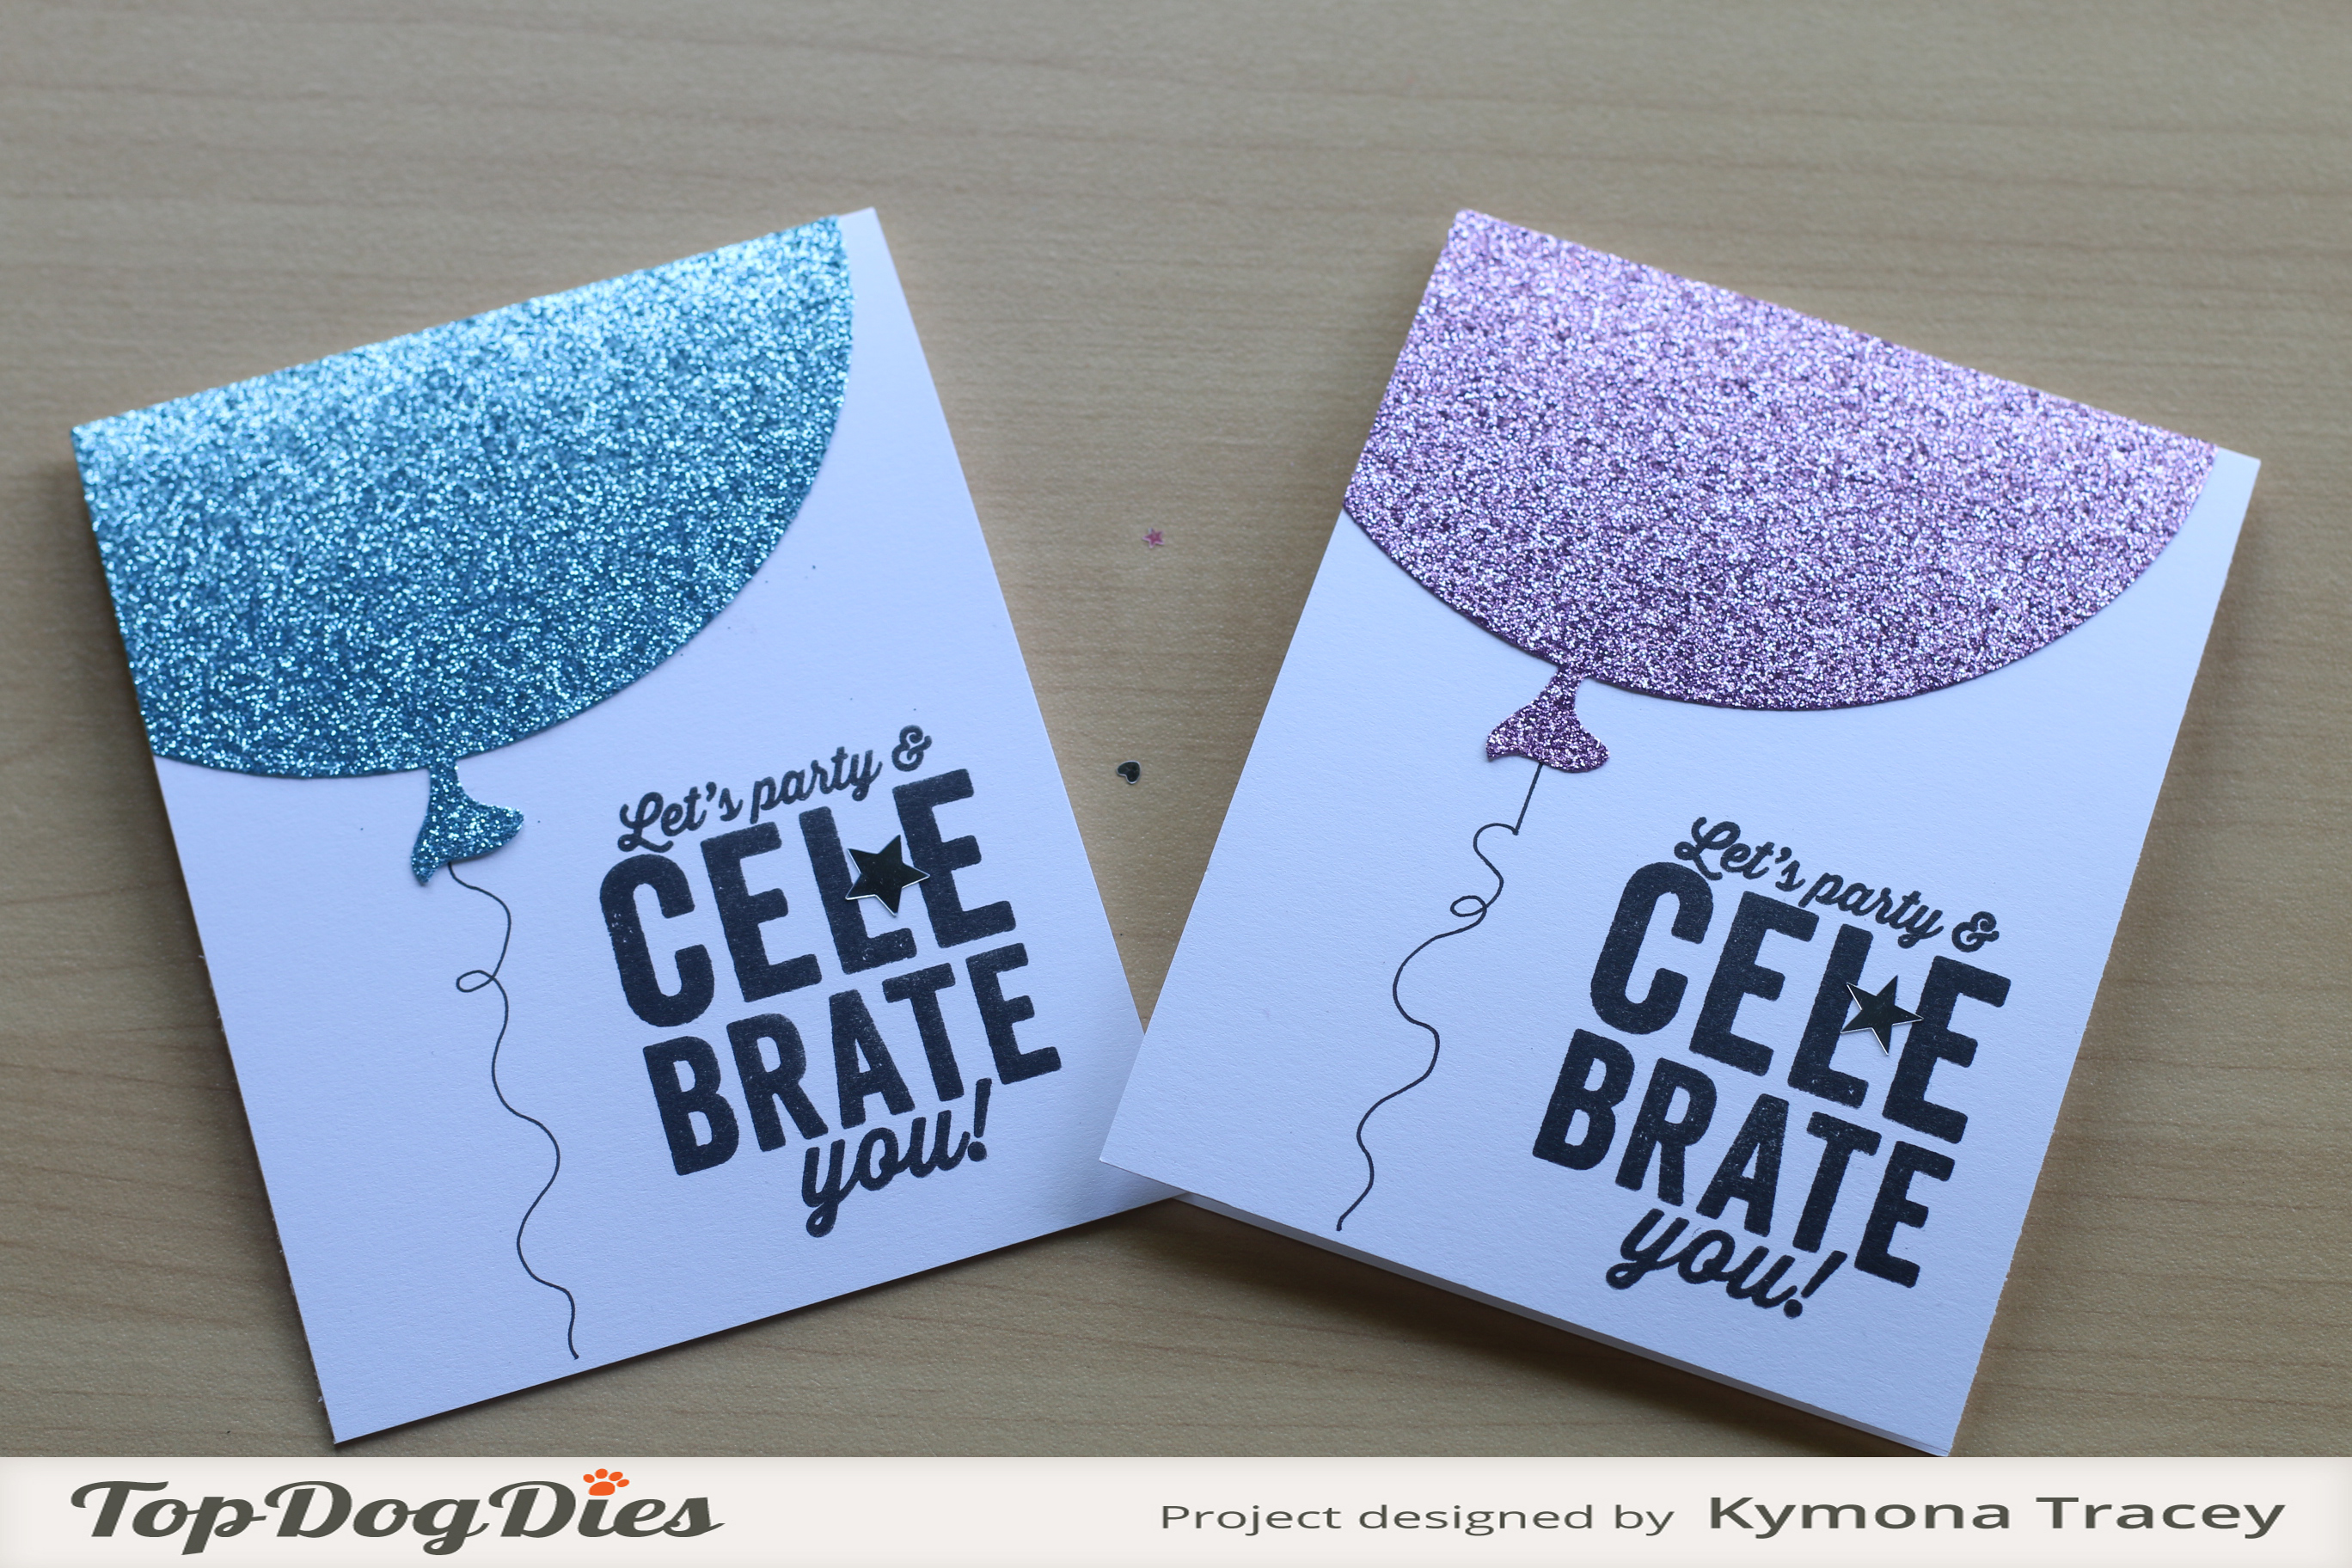
Take a look at my card:

Yes, another shaker card. I’m addicted to these cards. Or is it the sequin that I love seeing move about in the card. LOL, LOL, LOL!!
YNS Supplies: Happy 6th Birthday Stamp Set, Balloon Buddies Die Set
Other Supplies: Retired Stampin’ Up! Watercolor Wonder DSP, My Favorite Things Hybrid Black Ink, Foam Tape, Lucy Abrams Peachy Sequin, We R Memory Keepers Fuse Tool, Recollections White Heavyweight Cardstock, Recollections Black Heavyweight Cardstock
Creating this card was a bit easy.
All I did was cut my DSP to make the sketch. I adhered the yellow panel to the card base with a tape runner.
I die cut a circle in the front card panel. That is where my shaker packet will go.
I created my shaker pocket using my Fuse Tool. If you want to know who to do that you can check out my tutorial here.
I attached the shaker pocket to the card panel with the tape runner. I added foam tape the back of that card panel and attached the entire piece to the card base.
I cut two strips of DSP to different sizes. I stamped the sentiment on the bigger piece and attached both pieces with the tape runner.
I die cut the two balloons out of the same DSP and attached them to the front of the shaker window. I die cut the balloon strings out of black card stock and attached them to the balloons.
I told you it was easy. Now its your turn!!
So are you ready for the new challenge?
You have until September 3rd at midnight EST to play along and submit your project on the YNS Blog post. One random participant will win a $15 gift certificate to the Your Next Stamp Store. If YNS stamps or dies are the focal point then the winner receives and additional $5 gift certificate fro a total of $20. The winner will be announced on the YNS Blog the Sunday after the challenge closes.
Supplies used:


Thank you so much for stopping by!!
~Kymona