Second Post for Today
If your looking for the Right At Home March Release Blog Hop, click here
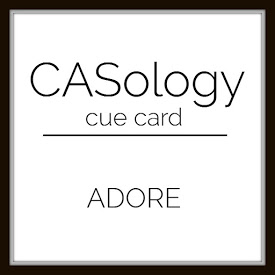
Hello everyone!! It’s CASology Tuesday!! We are back with another Cue Card just for you!!
This week’s cue card is:

Take a look at my card:

When I saw the cue card, I knew I had to use the Mama Elephant Photo Bomb stamp set. I bought this stamp set when it came out and I never used it. I wasn’t sure how I would color the image in so I never took it out of the packaging.
I finally took it out because I knew I wanted to use my Tombow Recycle Colored Pencils. I have to say I have a love affair with these pencils. They are easy to use and they blend well.
Here is how I created this card:
- First I used the Mini Misti to place the stamps exactly were I wanted them to be.
- Then I used My Favorite Things Hybrid Ink to stamp the images and sentiment.
- Once that was done, I used Tombow Recycled Colored Pencils to color in the images.
- To create the highlights in the hair, I used Tombow Sand Eraser to create the highlights.
- To finish the card off, I rounded the top two corners.
Nice and easy!!
What do you think? I can’t wait to see what you come up with!
For more inspiration, check out my fellow Design Team members blog for more awesome work.
![]()
Our Guest Designer this week:
Our Sponsor this week is Pink and Main.
I’m entering this card into Darnell’s NBUS #6 Challenge.

Supplies used:


Thank you for stopping by!
~Kymona