Hello everyone!! I’m here with our new Waffle Flower Crafts Photo Inspiration Challenge!!!
This is our ninth challenge for 2015! I love this challenge, it really takes me out of my safe space when creating.
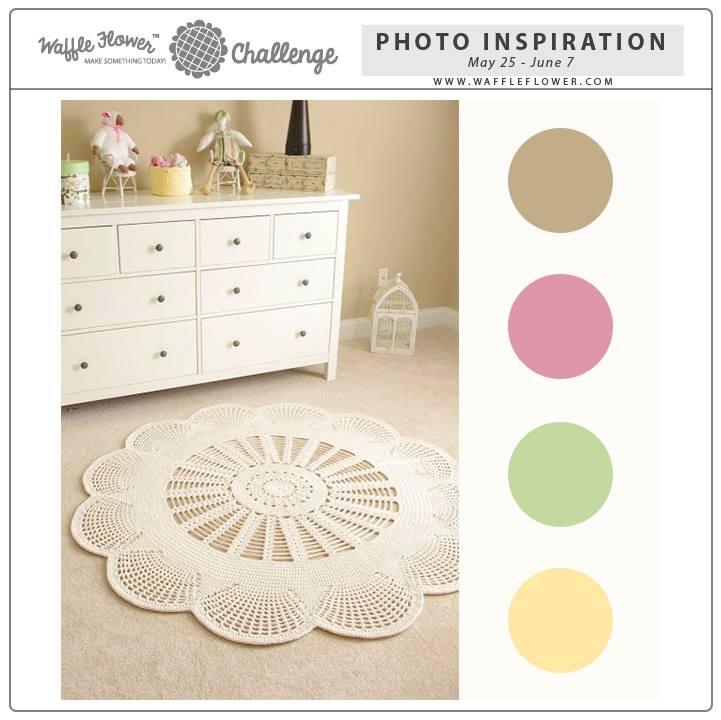
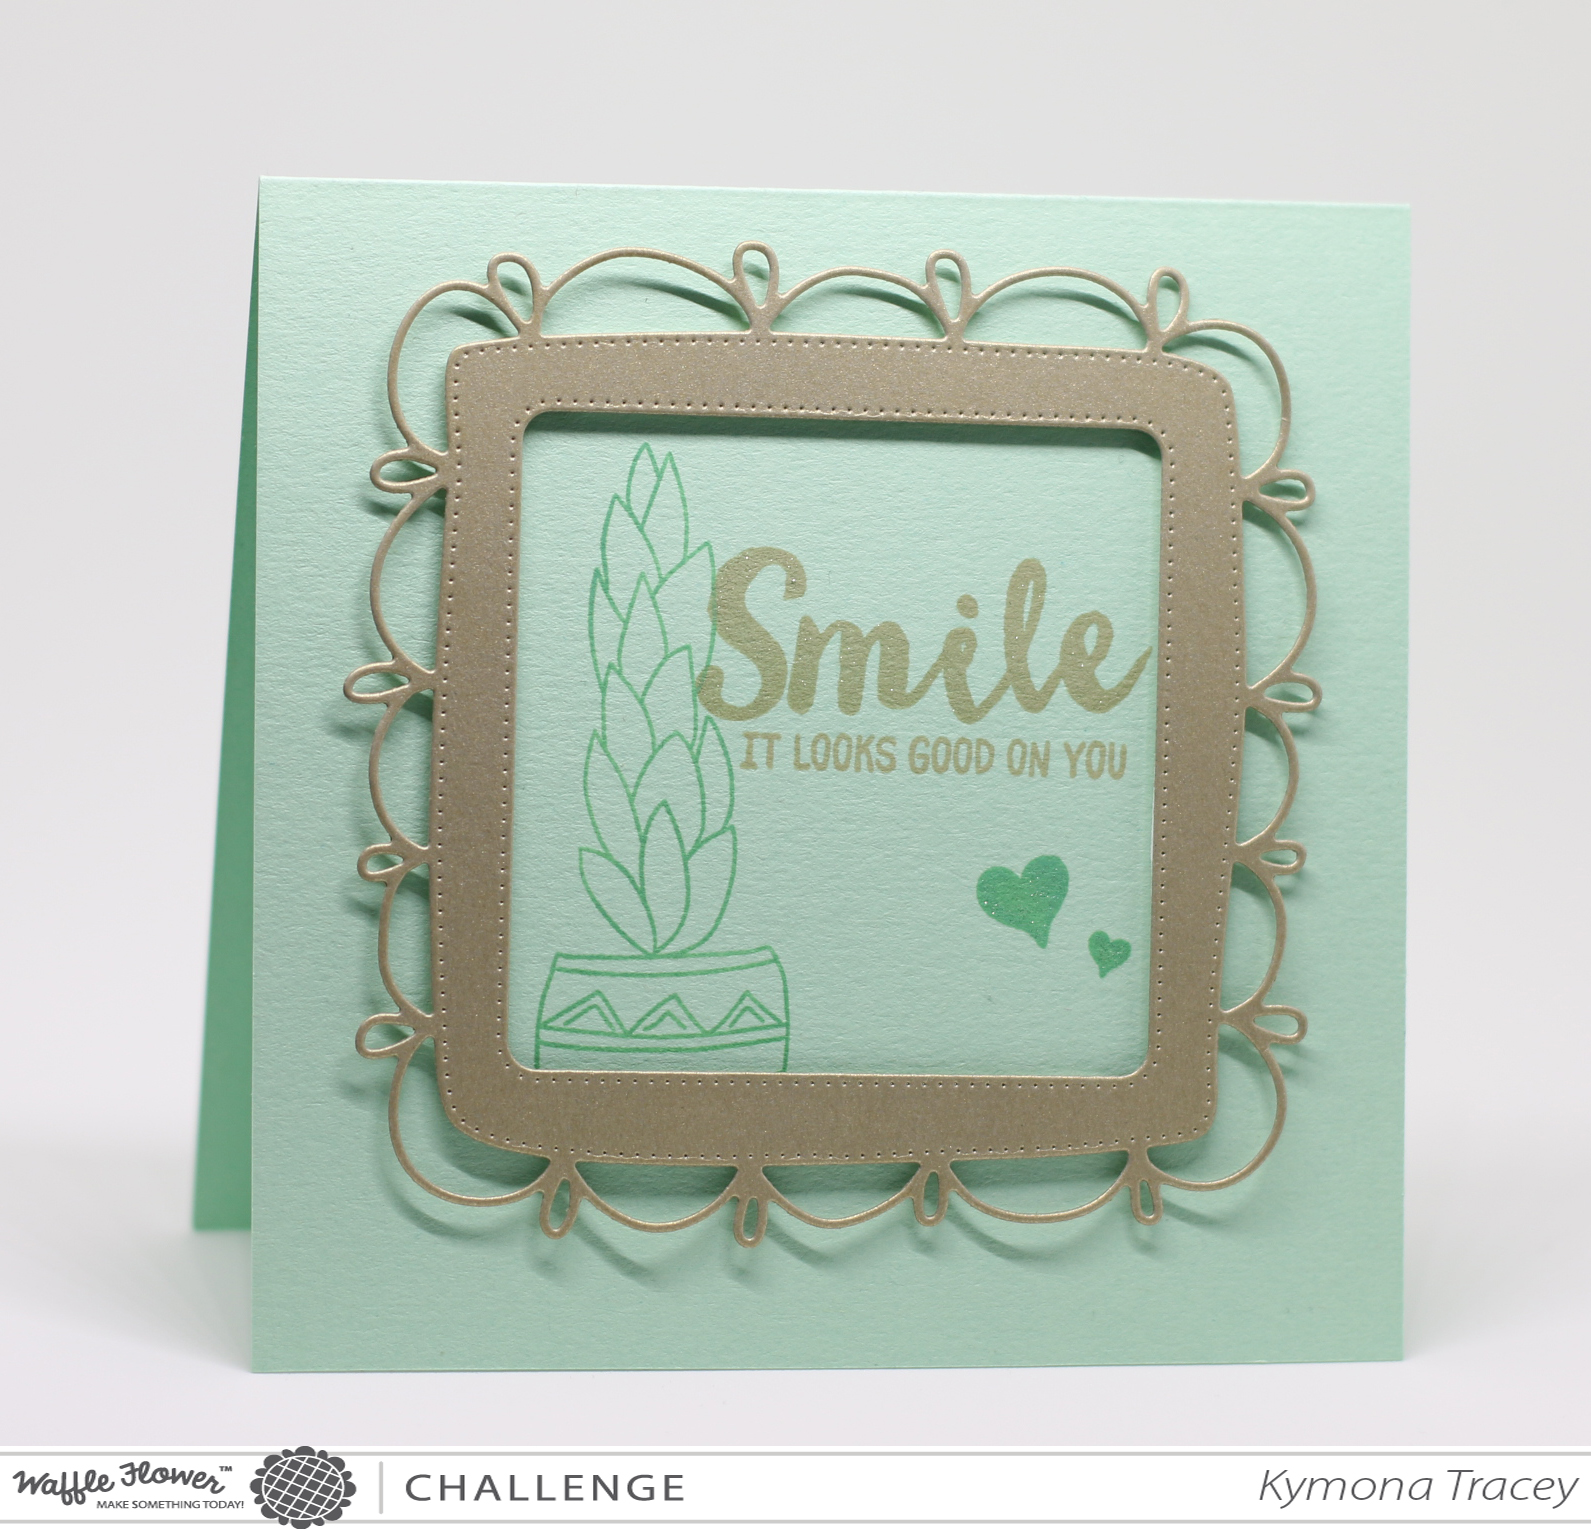
This weeks photo is so lovely!
Take a look:

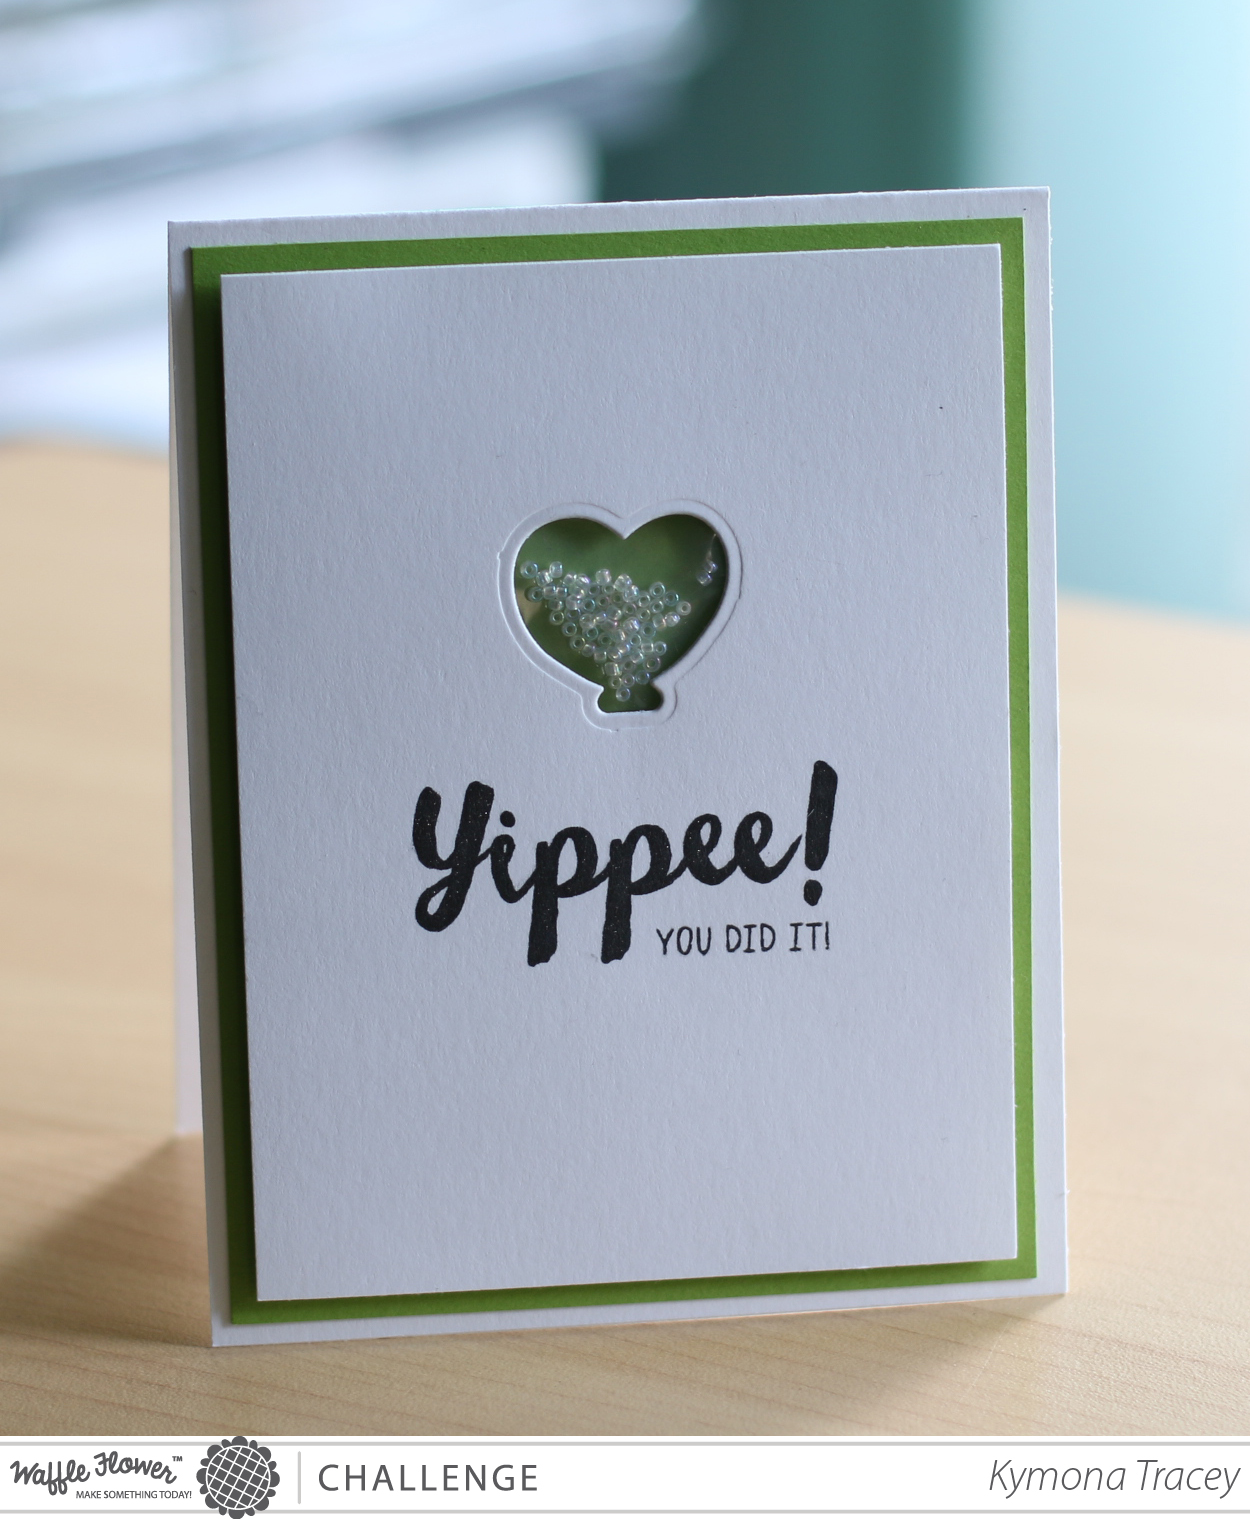
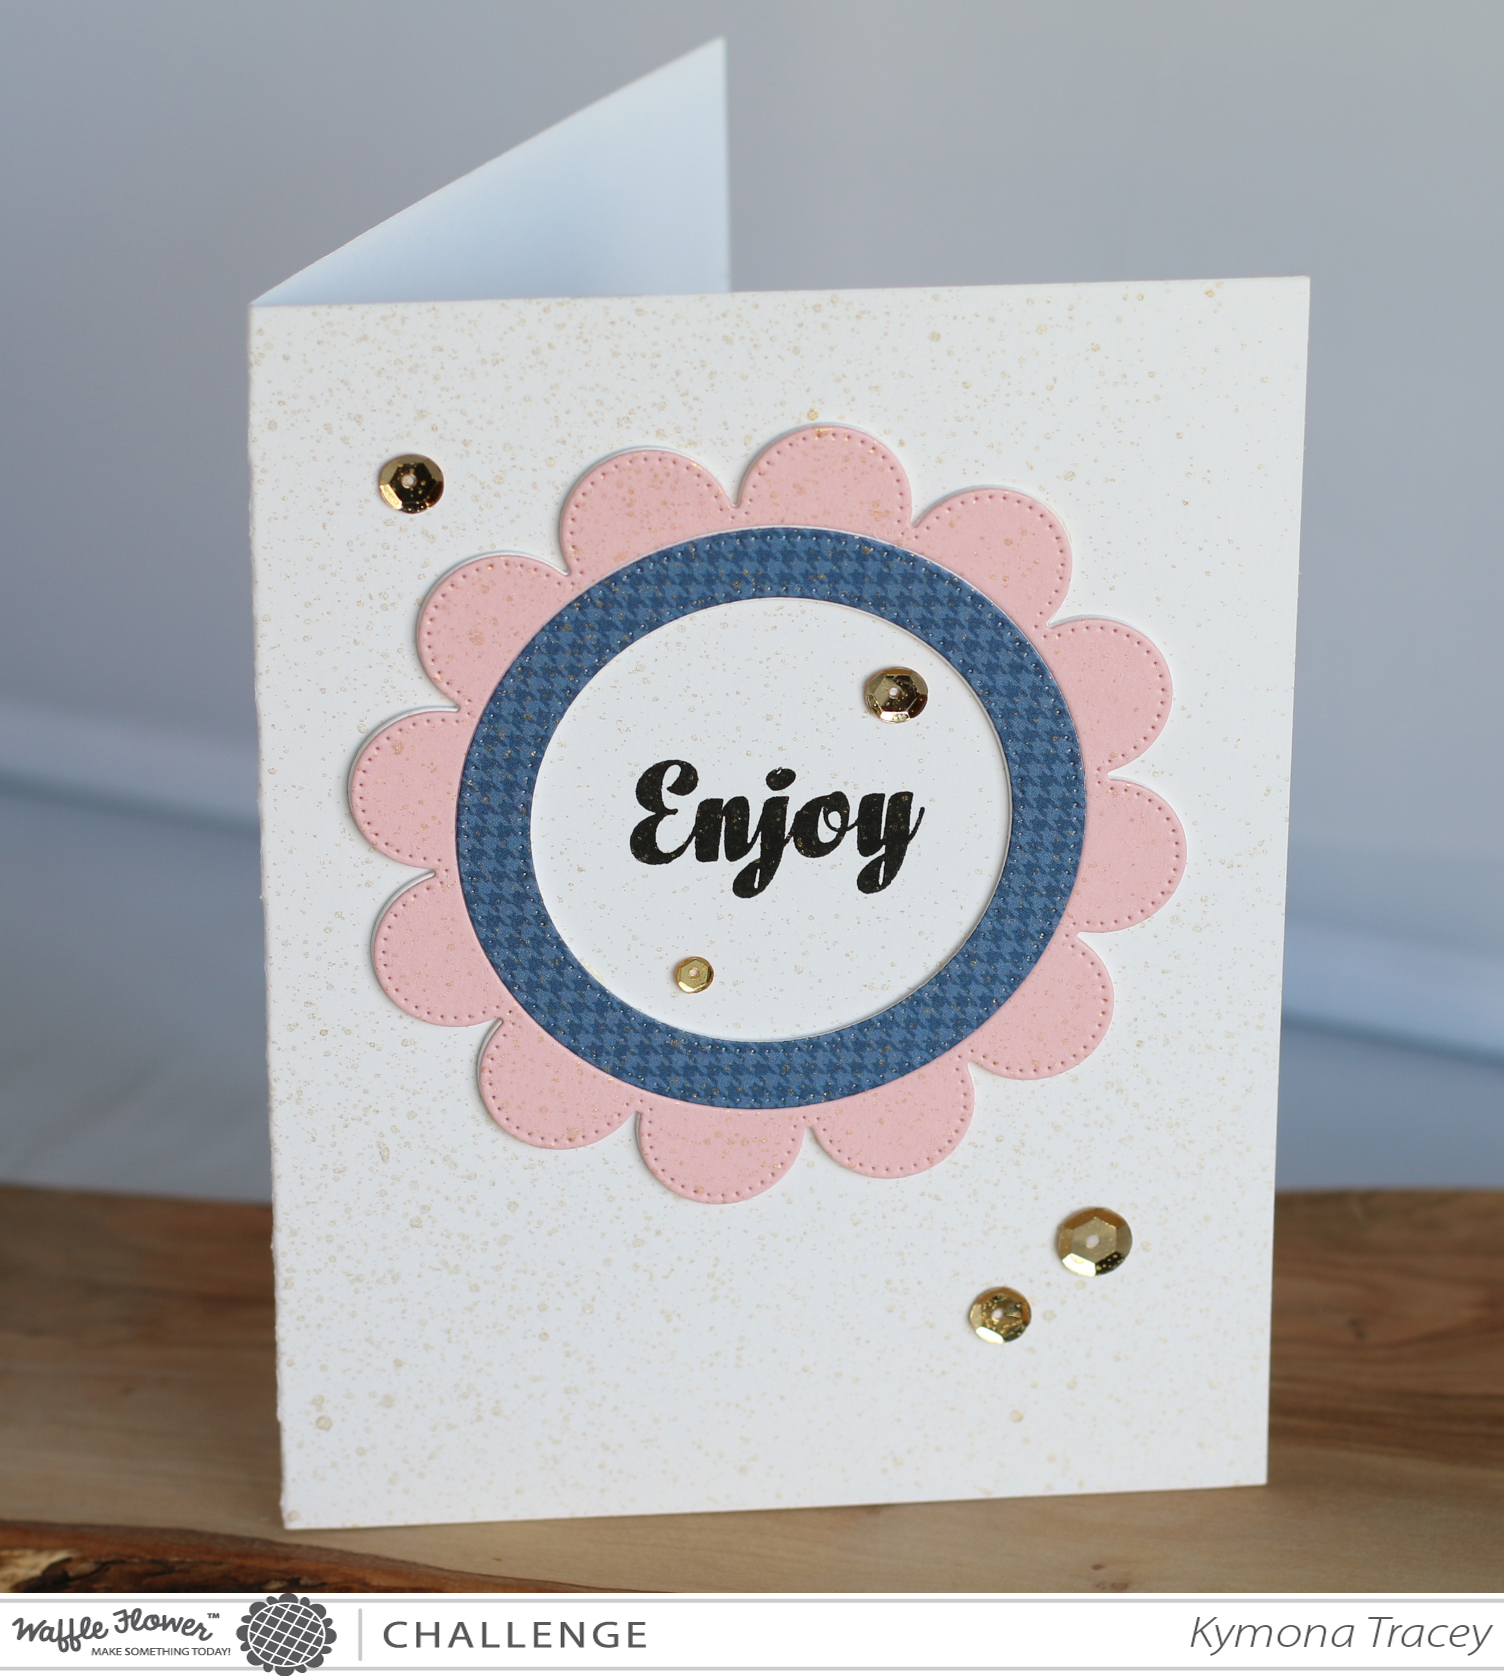
This photo inspired me to create a shaker card!
Take a look:

I told you I love the new release dies and stamps!! I couldn’t help myself in using this die again.
I’m also obsessed with shaker cards now that I know how to make them with ease!!
Let’s look at how I created this card:
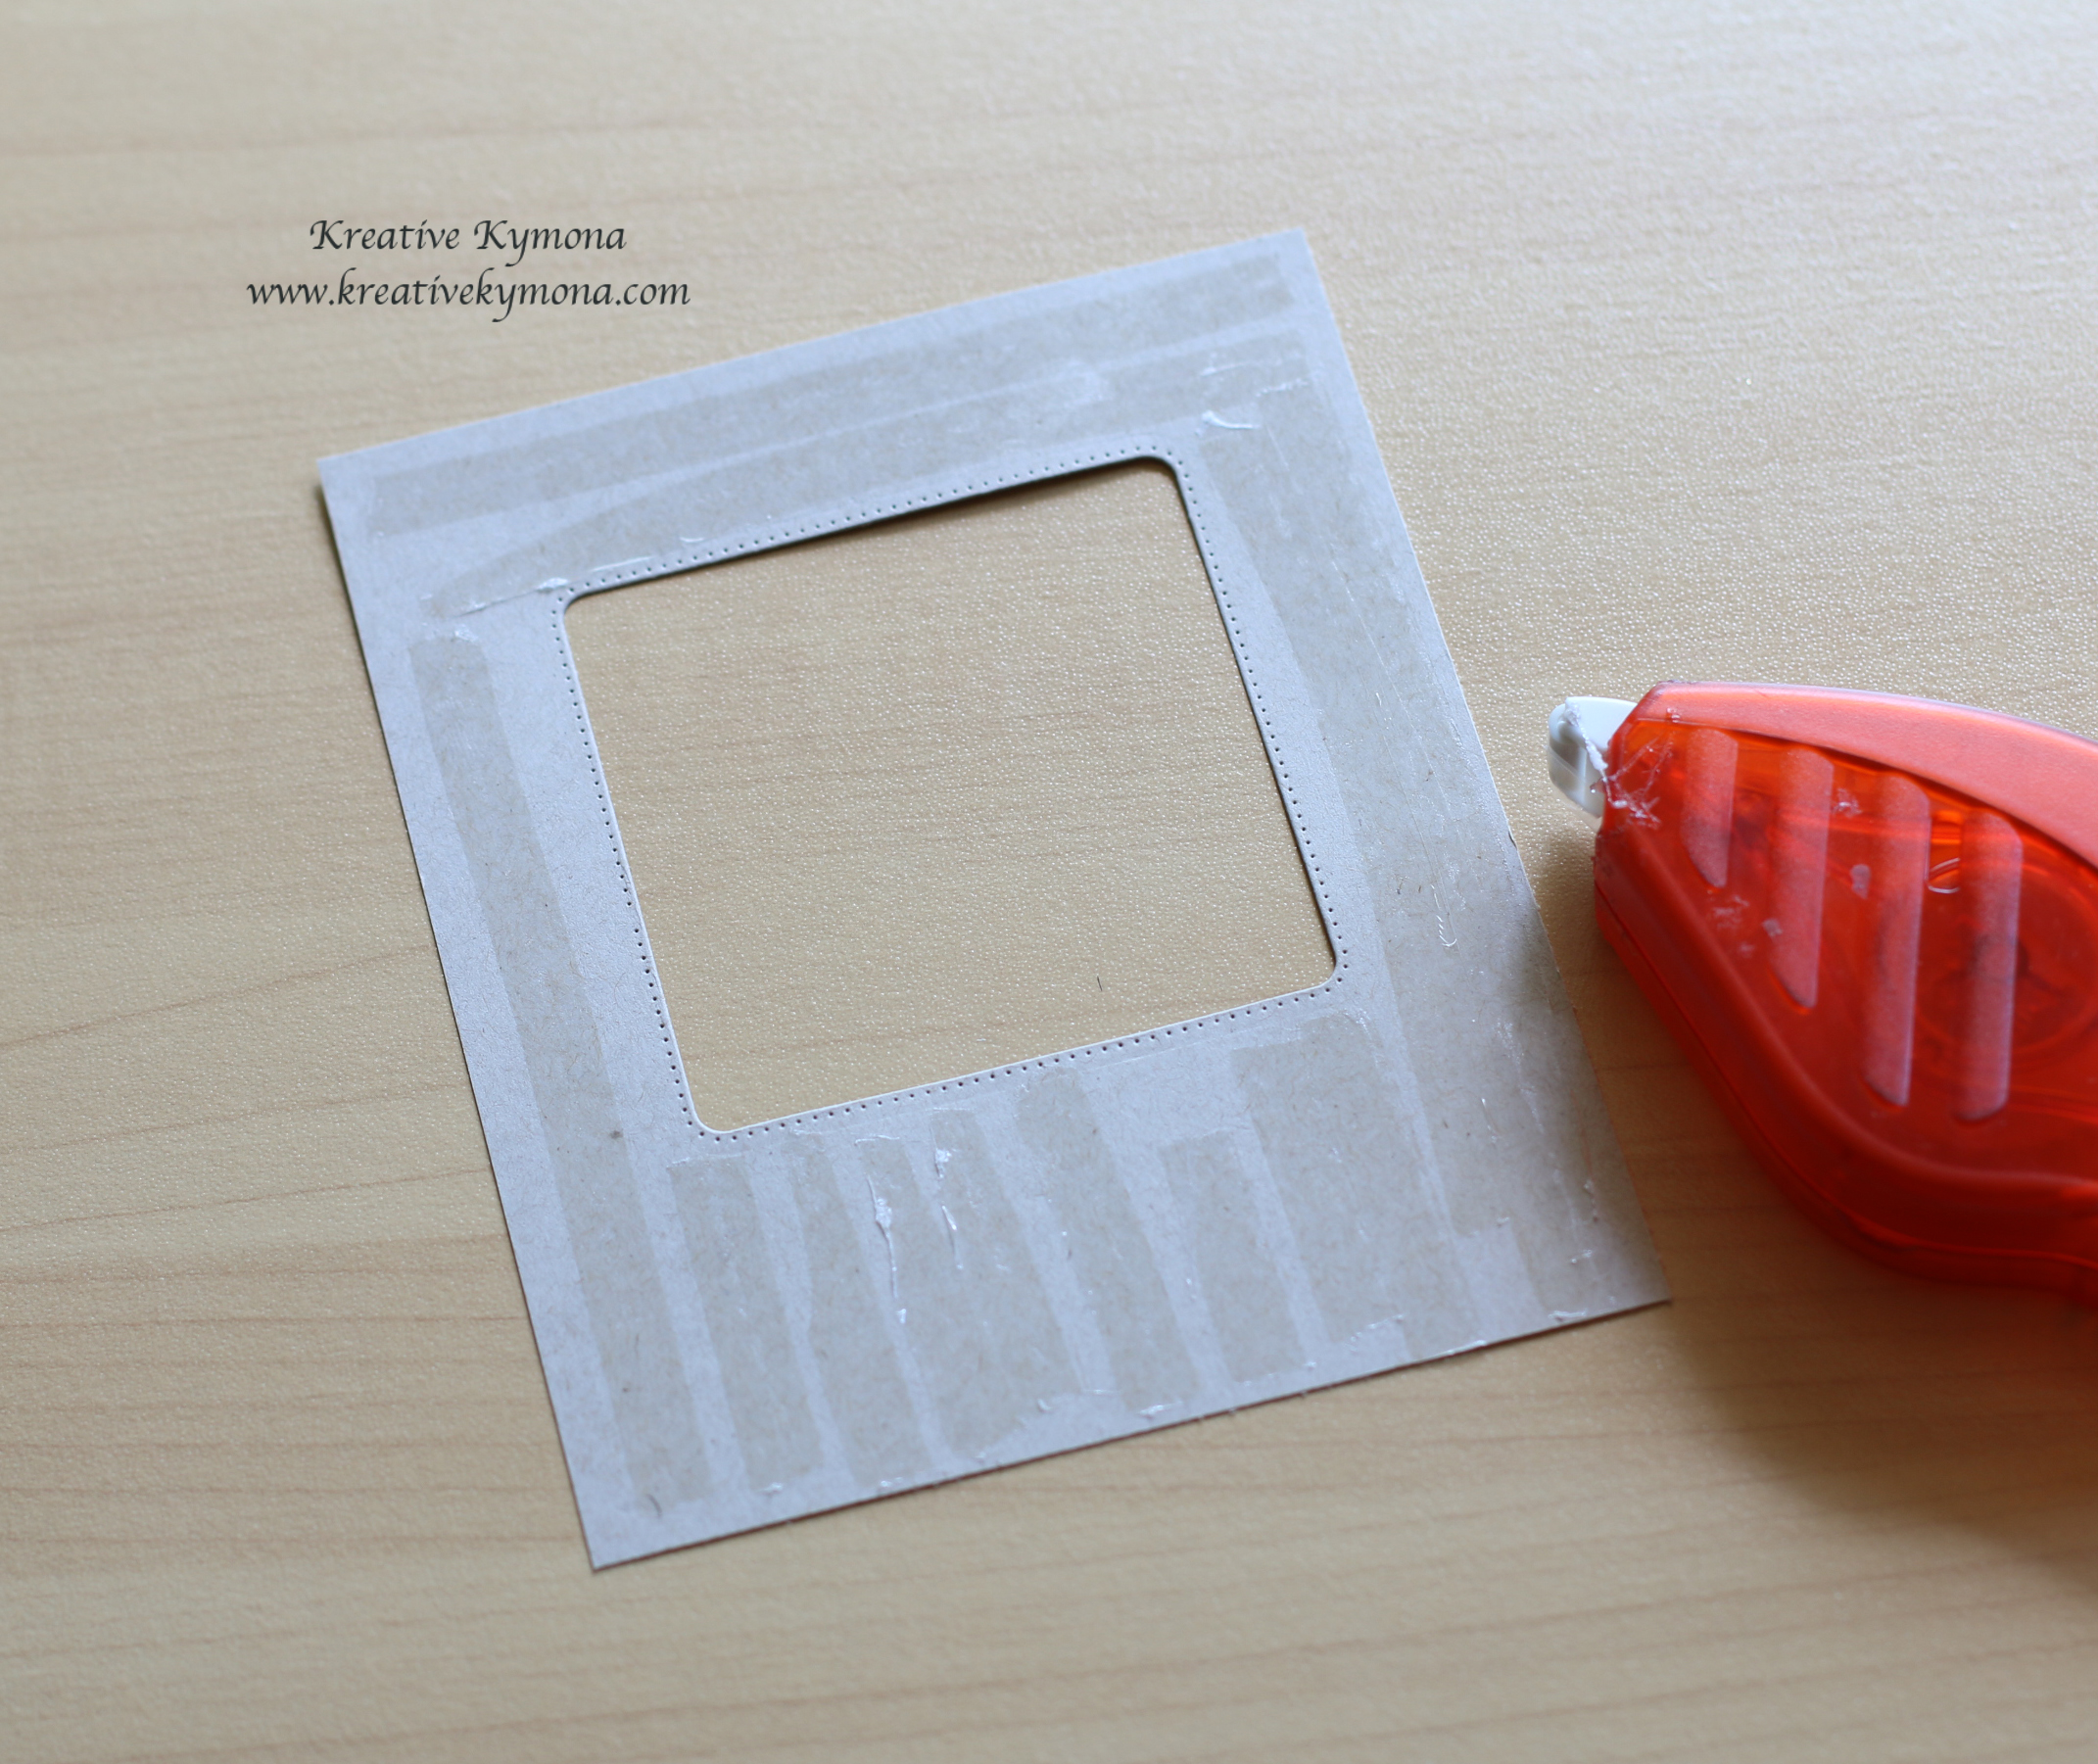
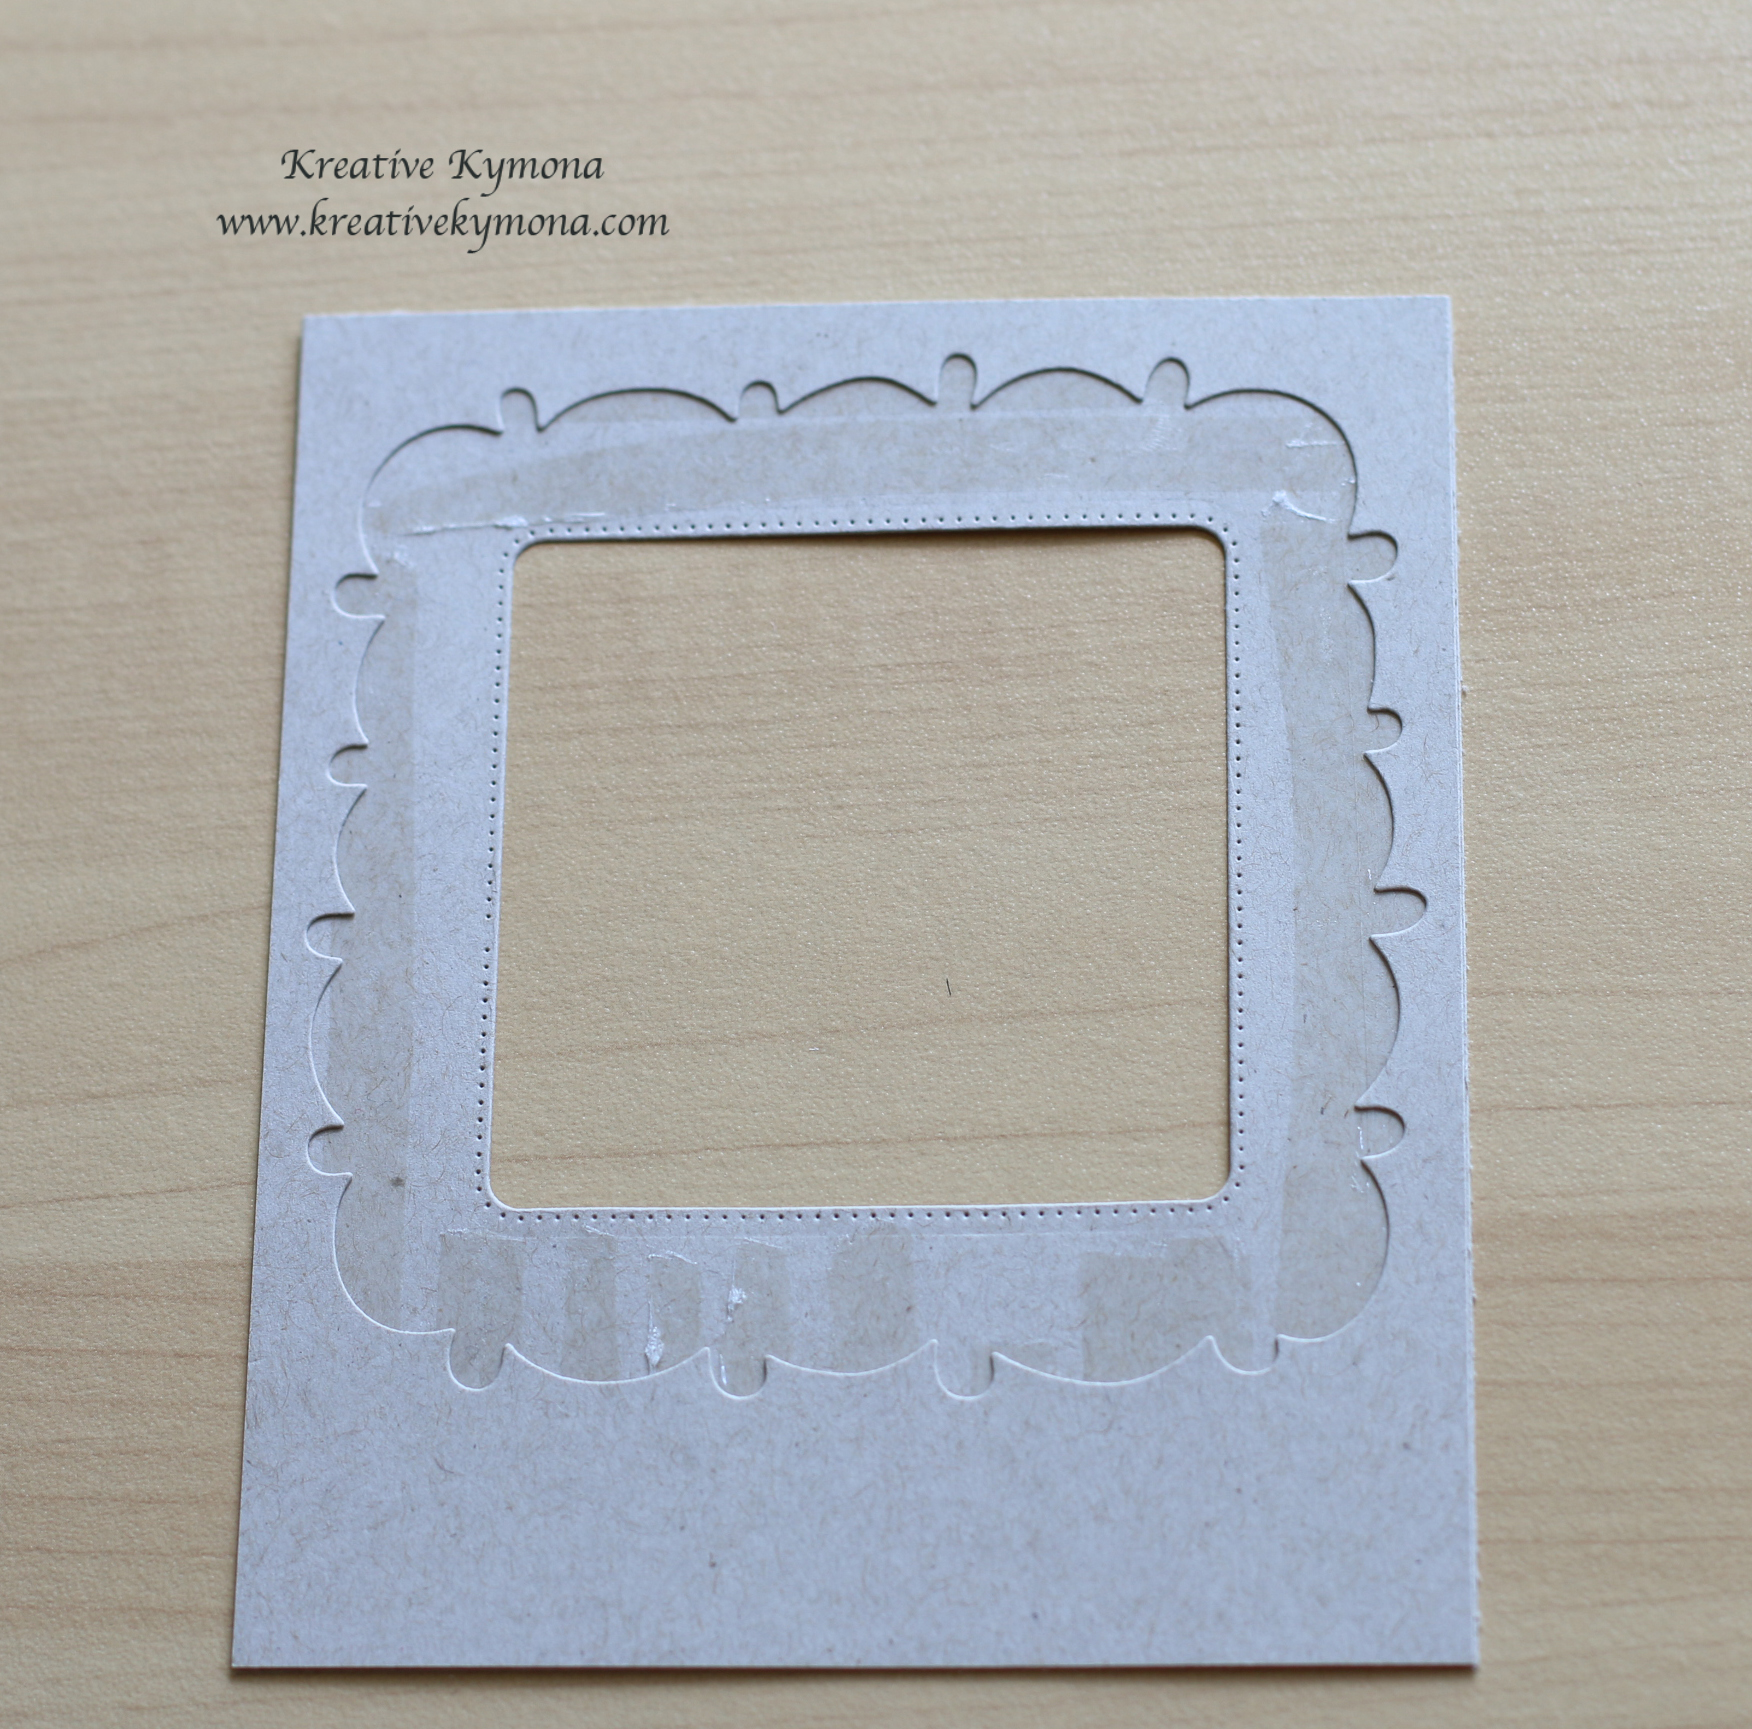
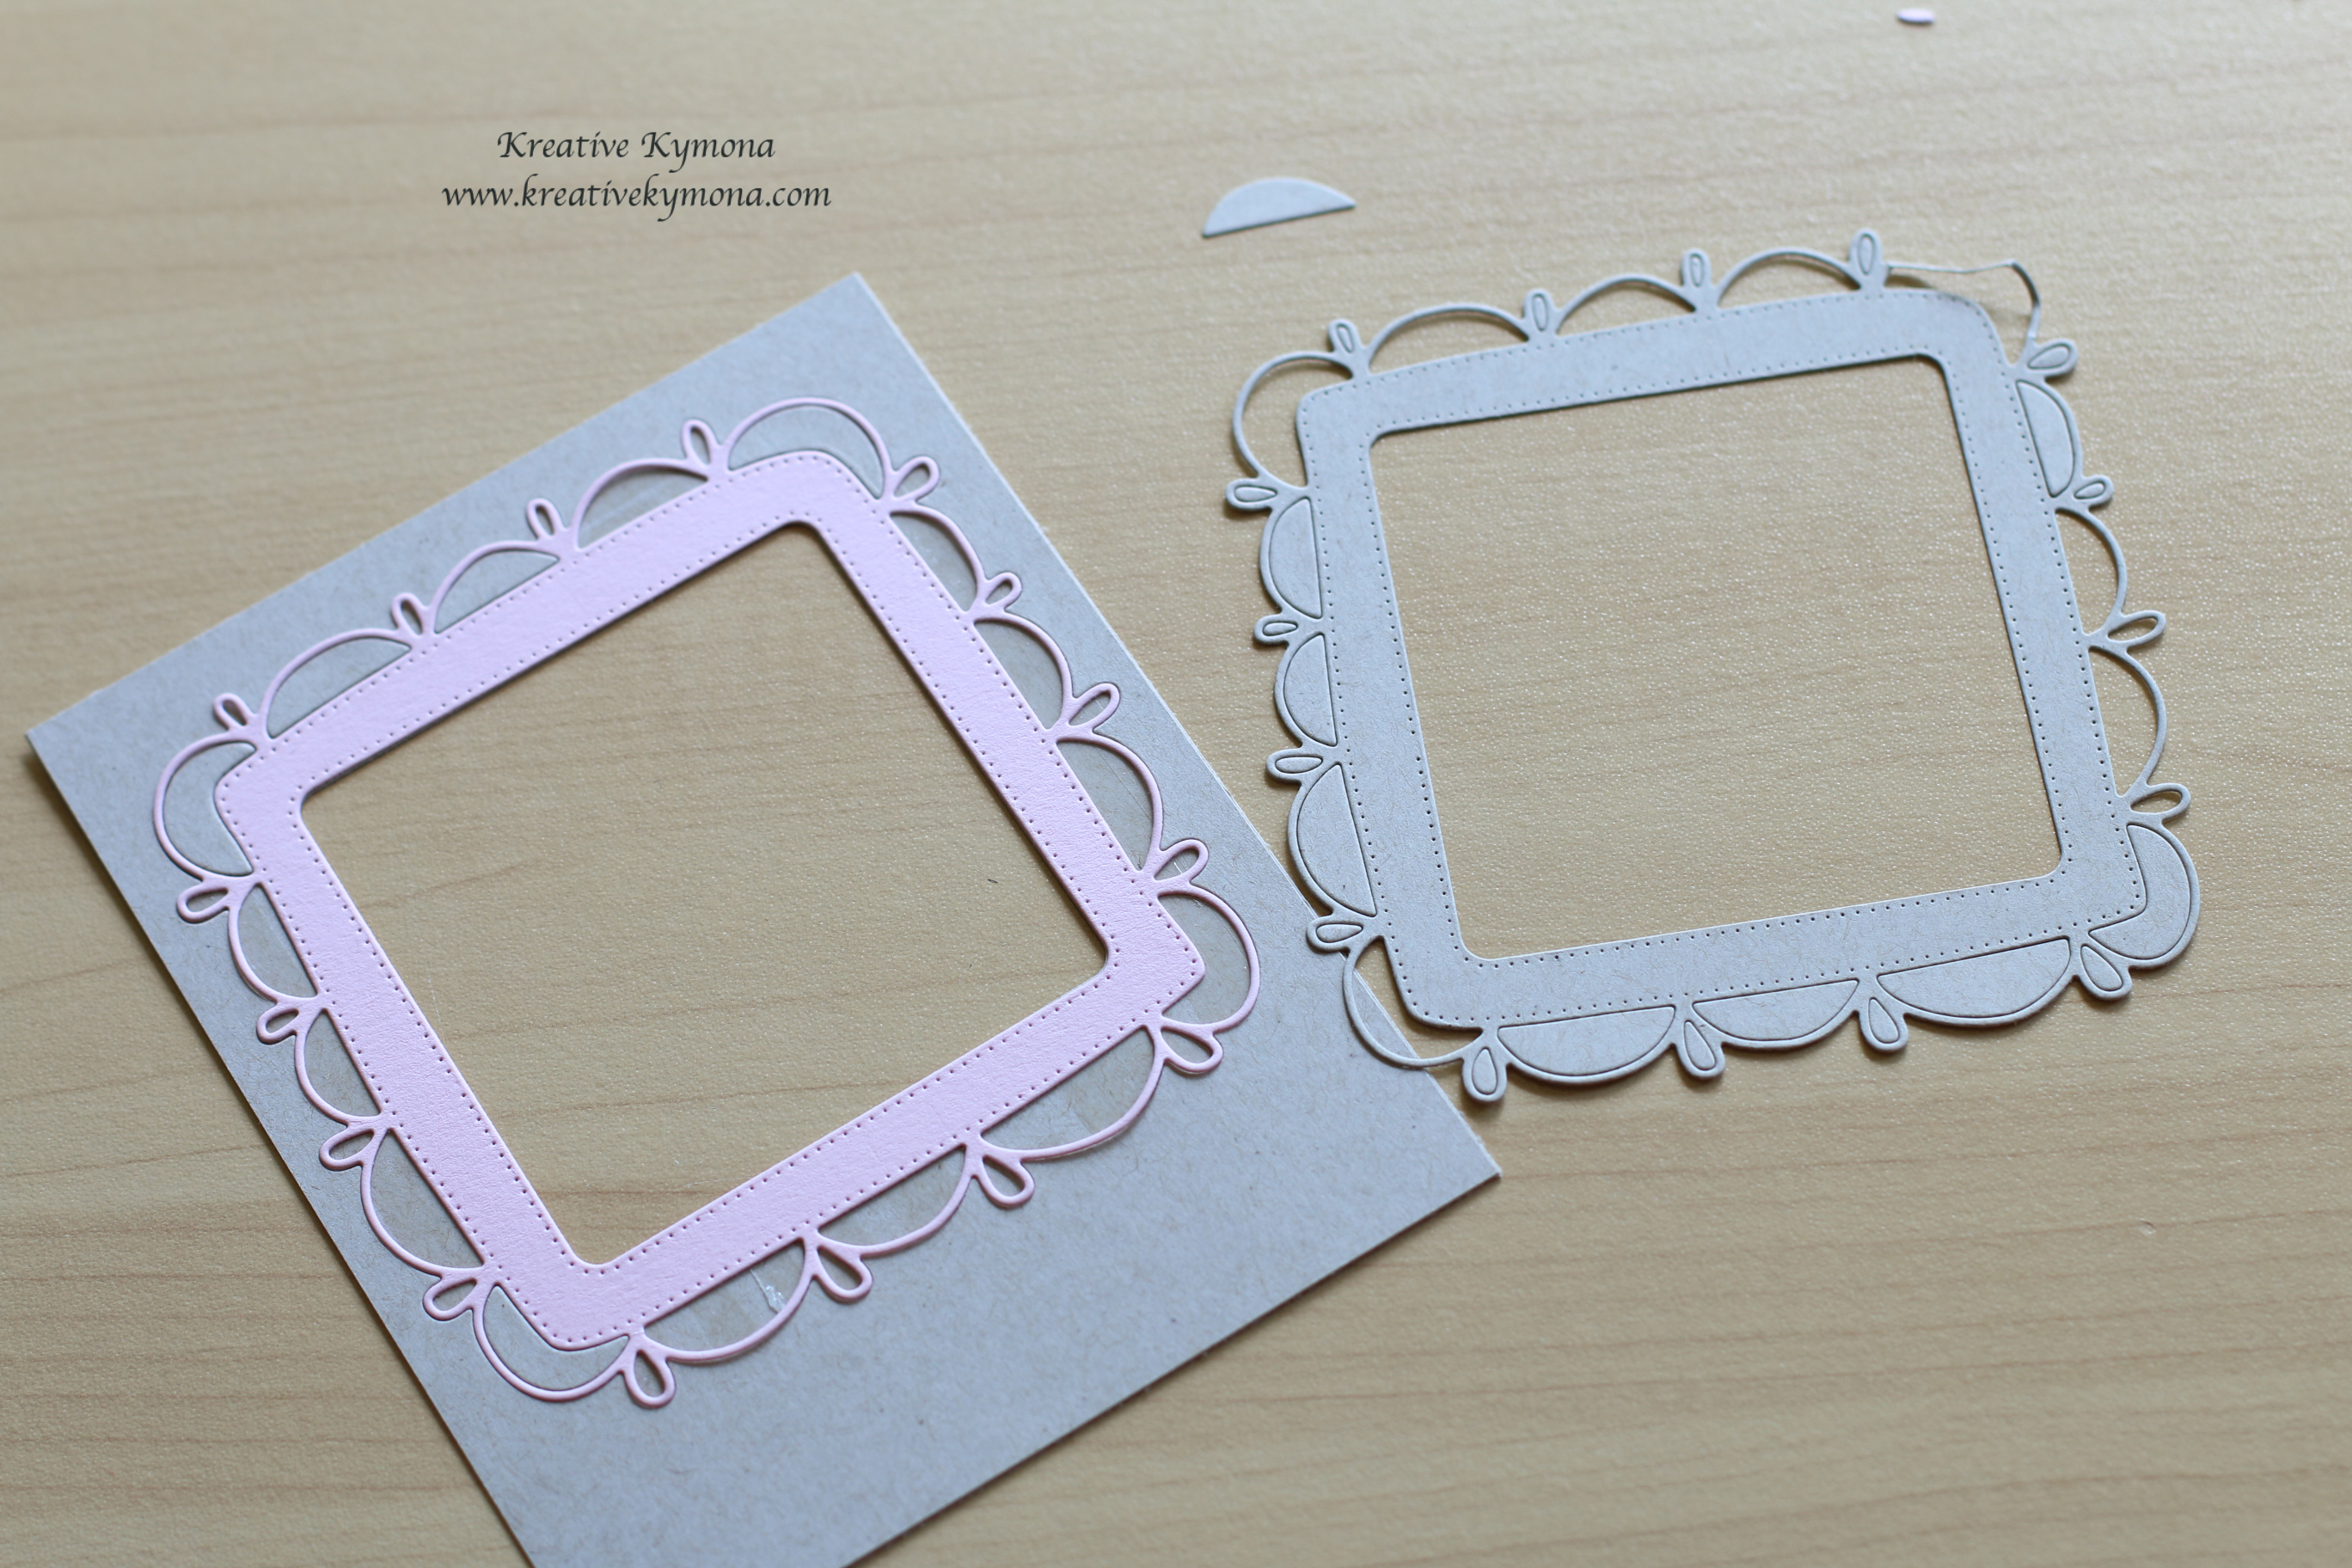
1. I die cut all of my frames using Waffle Flower Craft Doily Square Die.

2. To start I added adhesive to the front panel base die cut layer. I’m doing this so that my frames will stay in place.

3. I added the second die cut base that will hold my actually frame in place.

4. I added my pink frame to the base. I also added the Kraft inserts around the pink frame. I added to much tape so I decided to add these pieces to over up the tape.

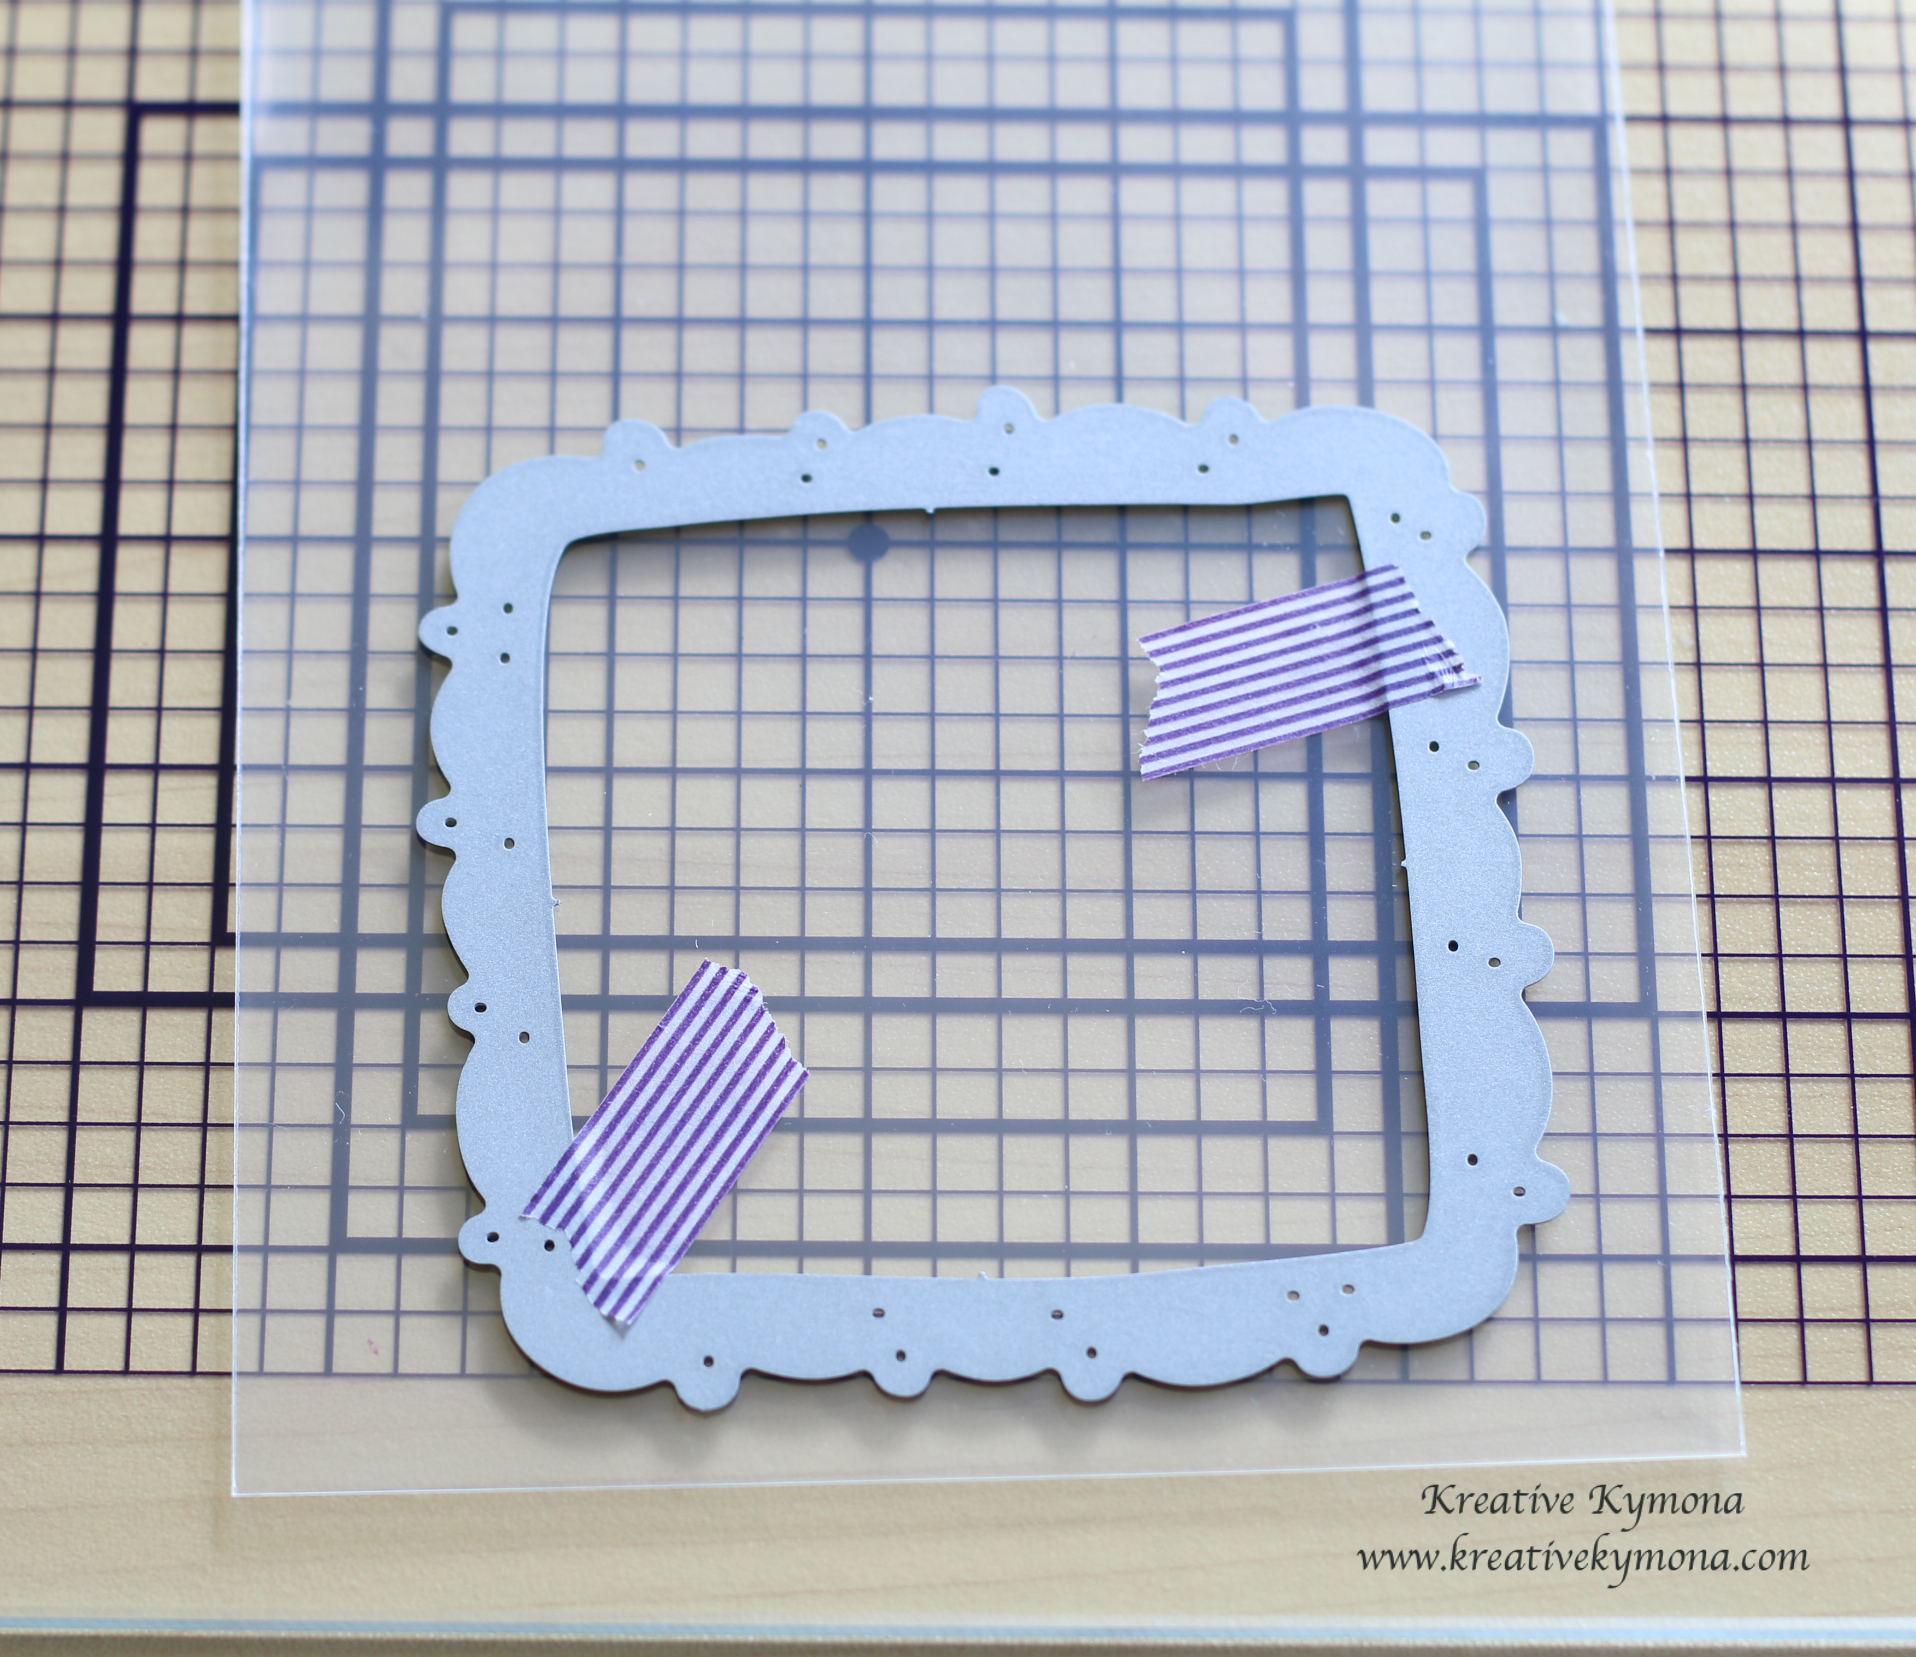
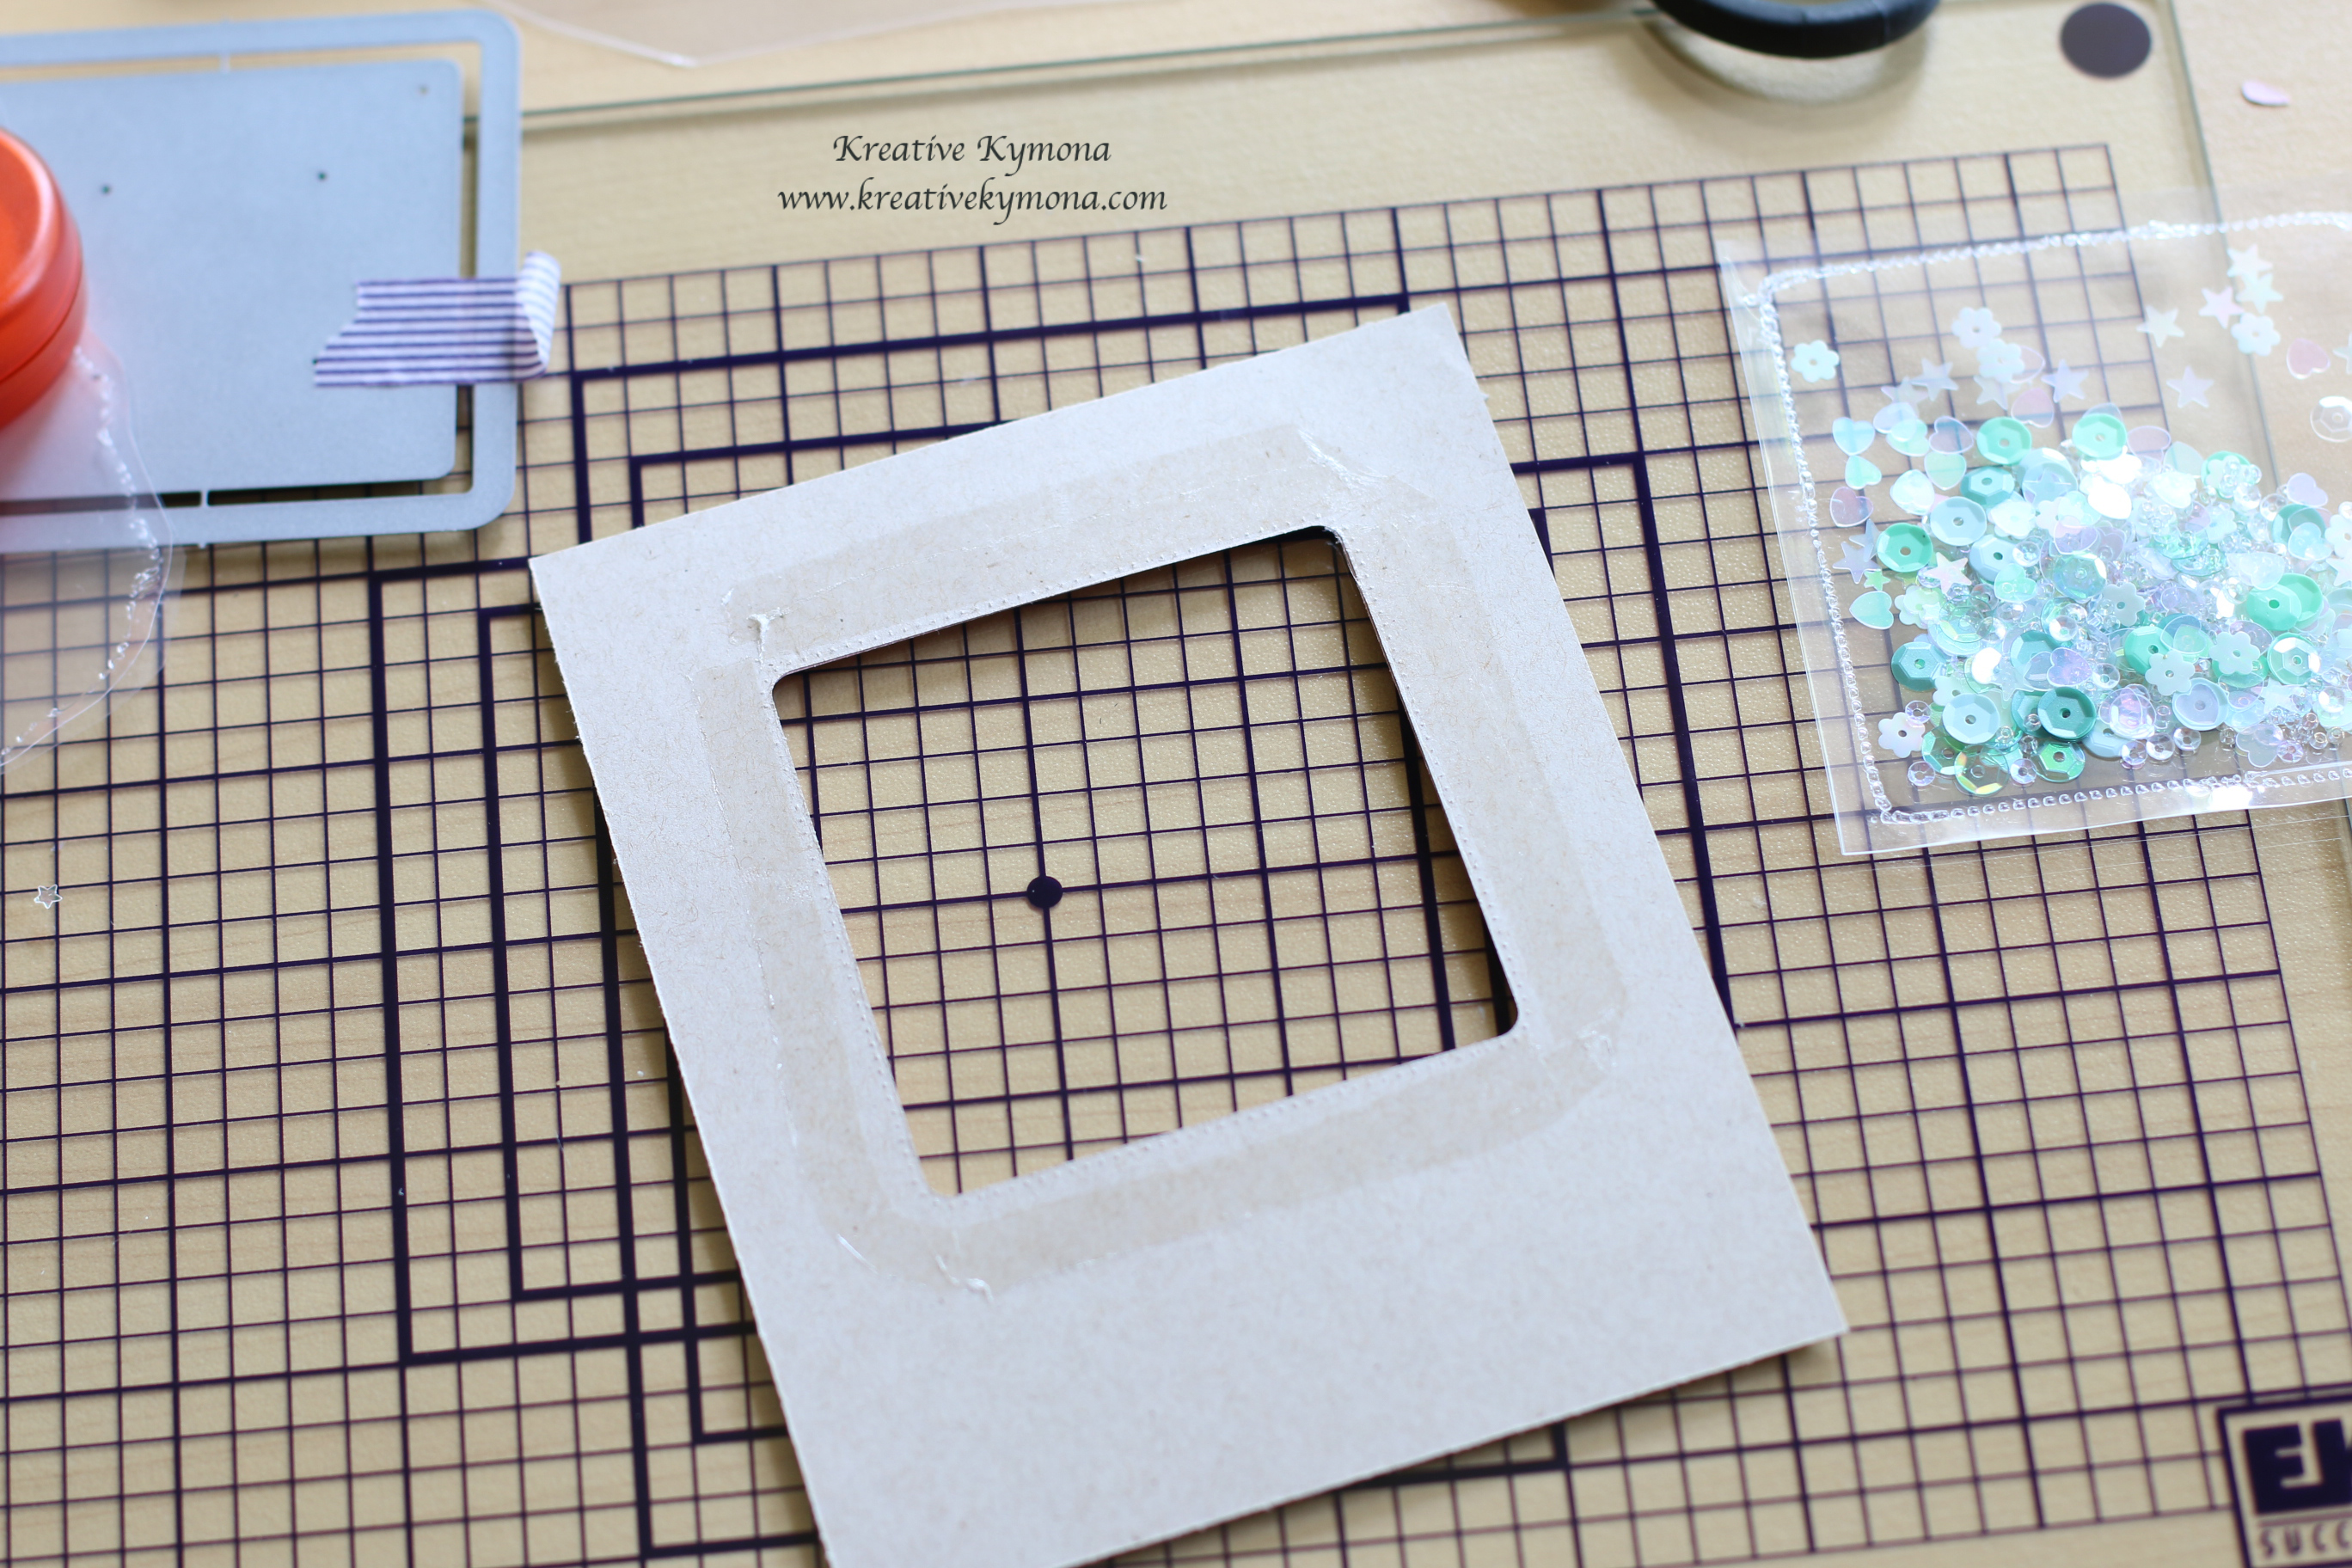
5. Now its time to make the shaker part of my card!! Yayy! I love this part.
Ok, I took one of my memory keepers scrapbook sleeves and cut it in half. I taped down my die with washi tape to keep it in place.

6. I meant to take a photo of my actually using the fuse but I forgot but you will see it below.
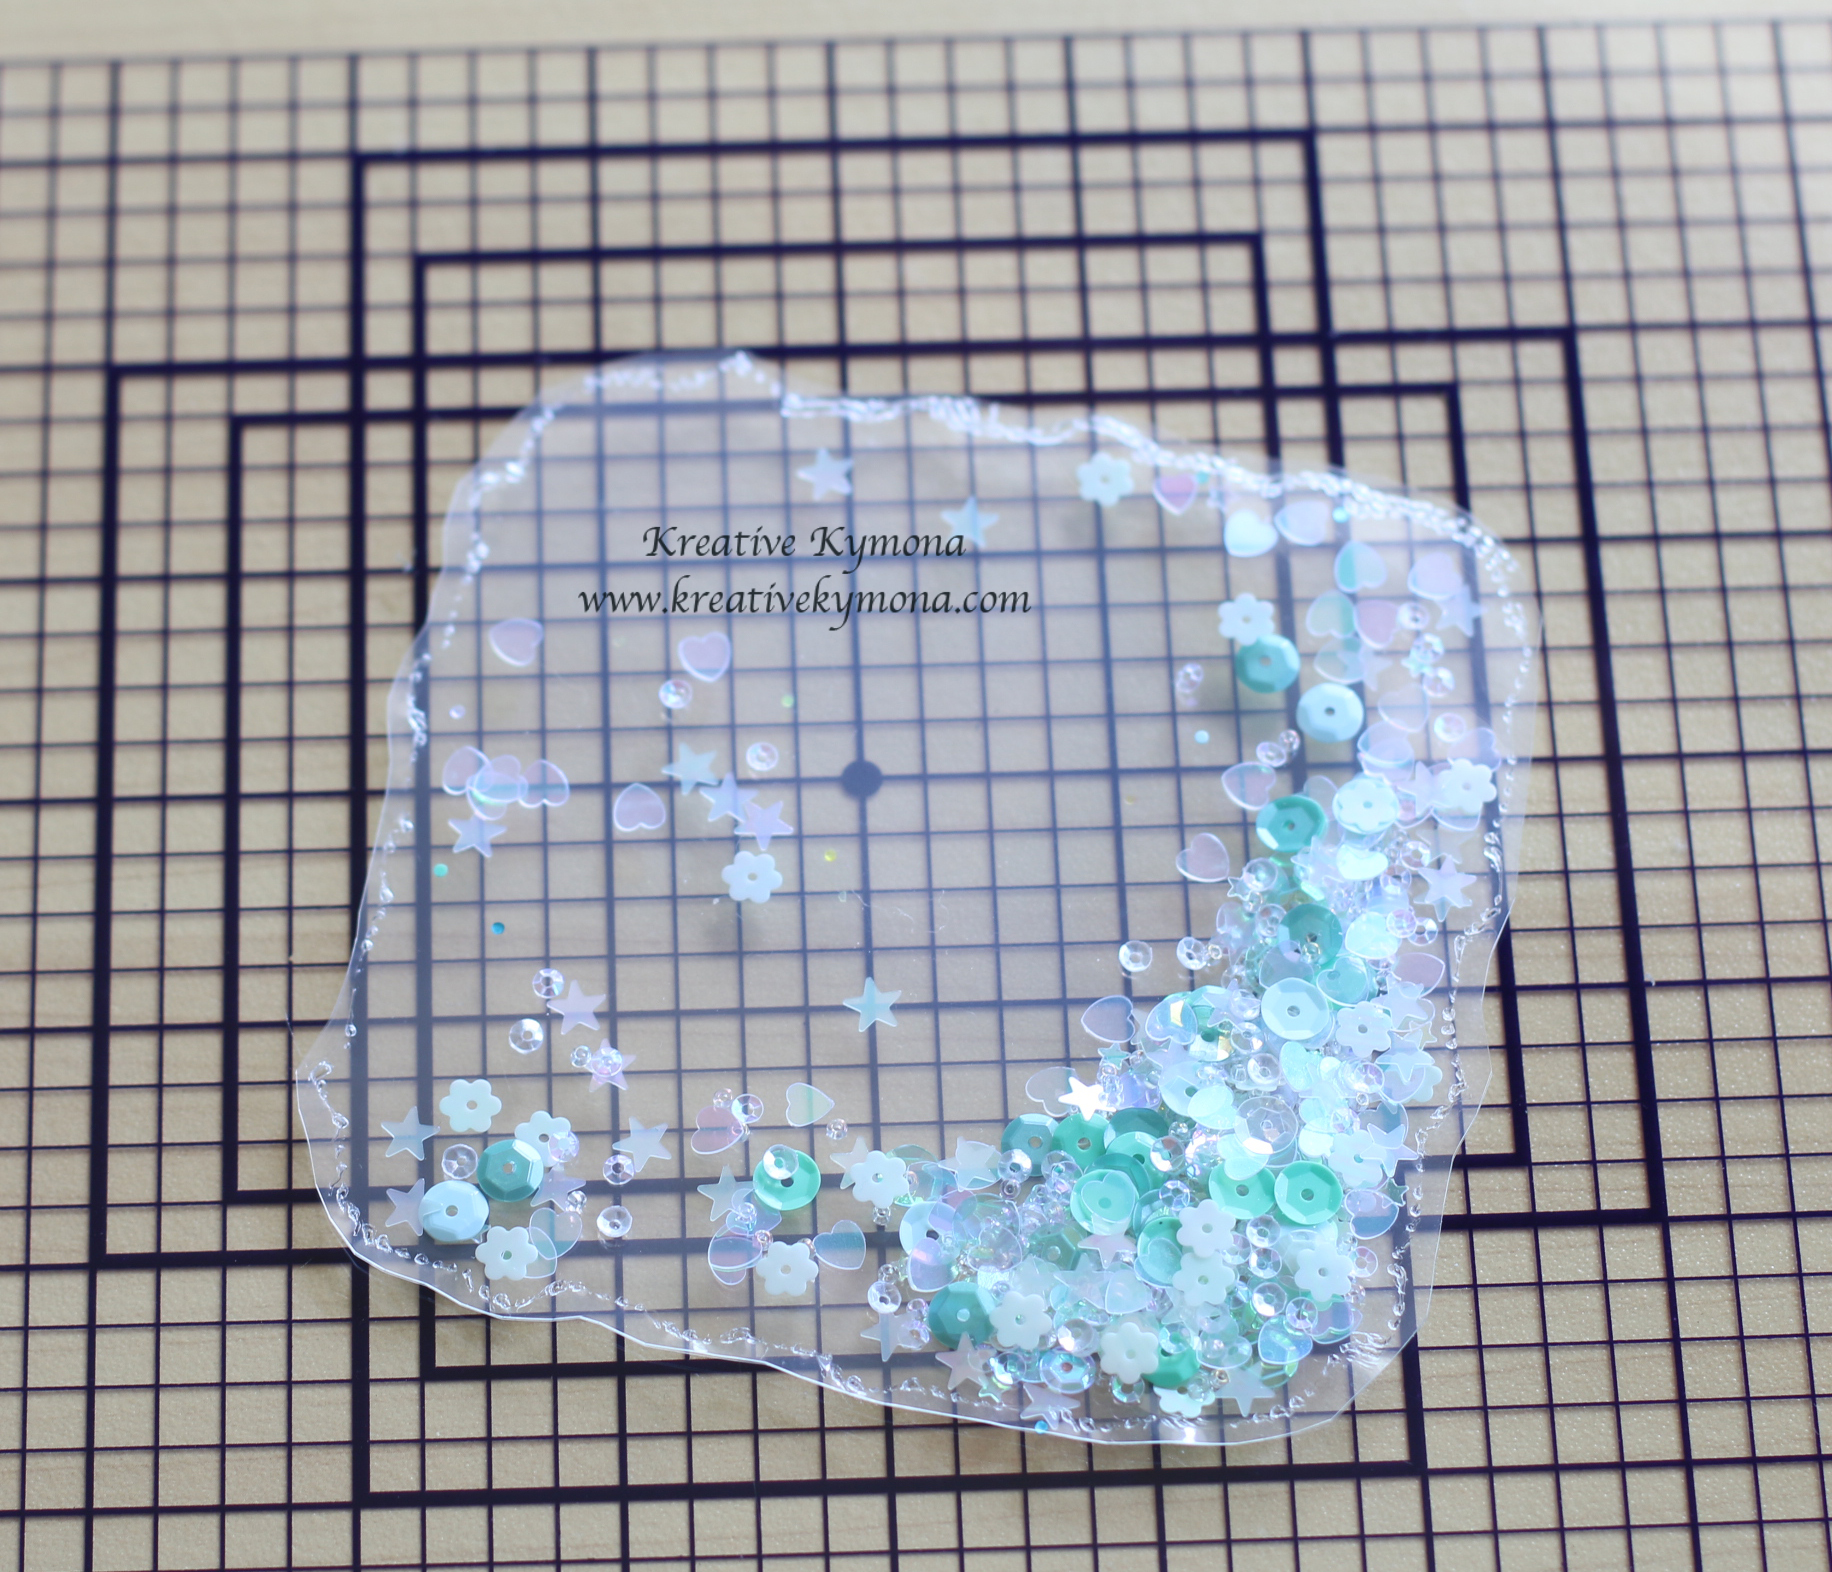
I used my We R Memory Keepers Fuse Tool to seal the edges. Then I cut off the excess plastic. After tracing the edge of the die, your shaker pocket looks like this. Can you see what I did wrong here? Yes, I sealed the entire thing before adding my sequin, LOL! Ok, easy fix. I just use my Kraft knife to open up a small portion.
I told you I love making these. I get so excited.

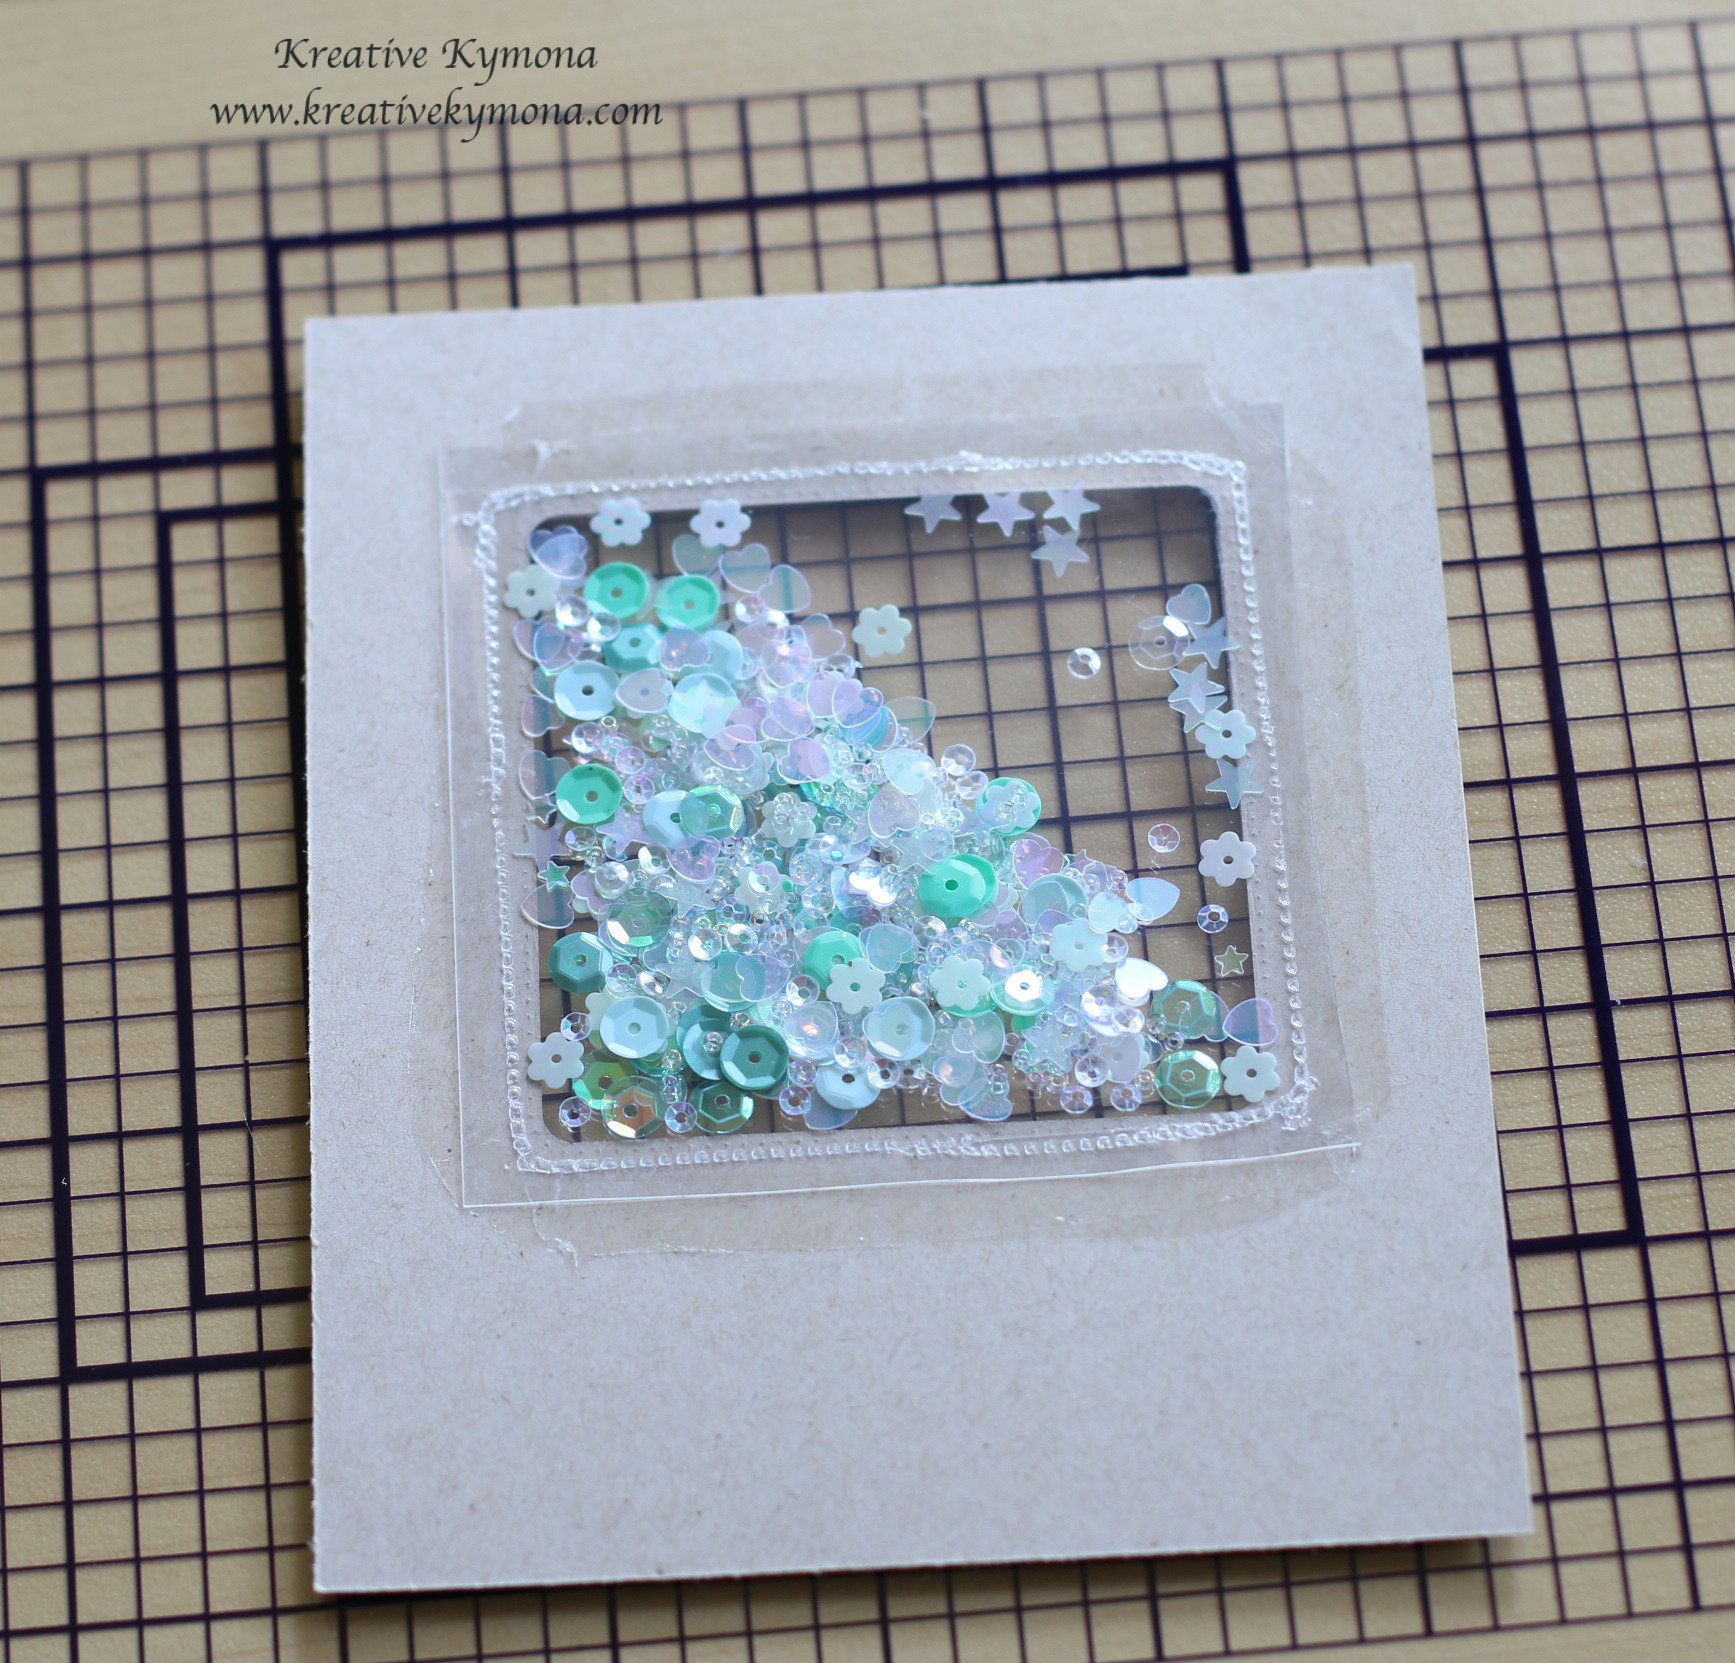
7. After filling the pocket with Lucy Adams Phosphorescence Sequin, I used the fuse tool to seal the shaker pocket up. I just laid the die back on the pocket lining it up with the previous fuse.

8. Here is what the pocket looks like when its sealed and ready to add to your card.
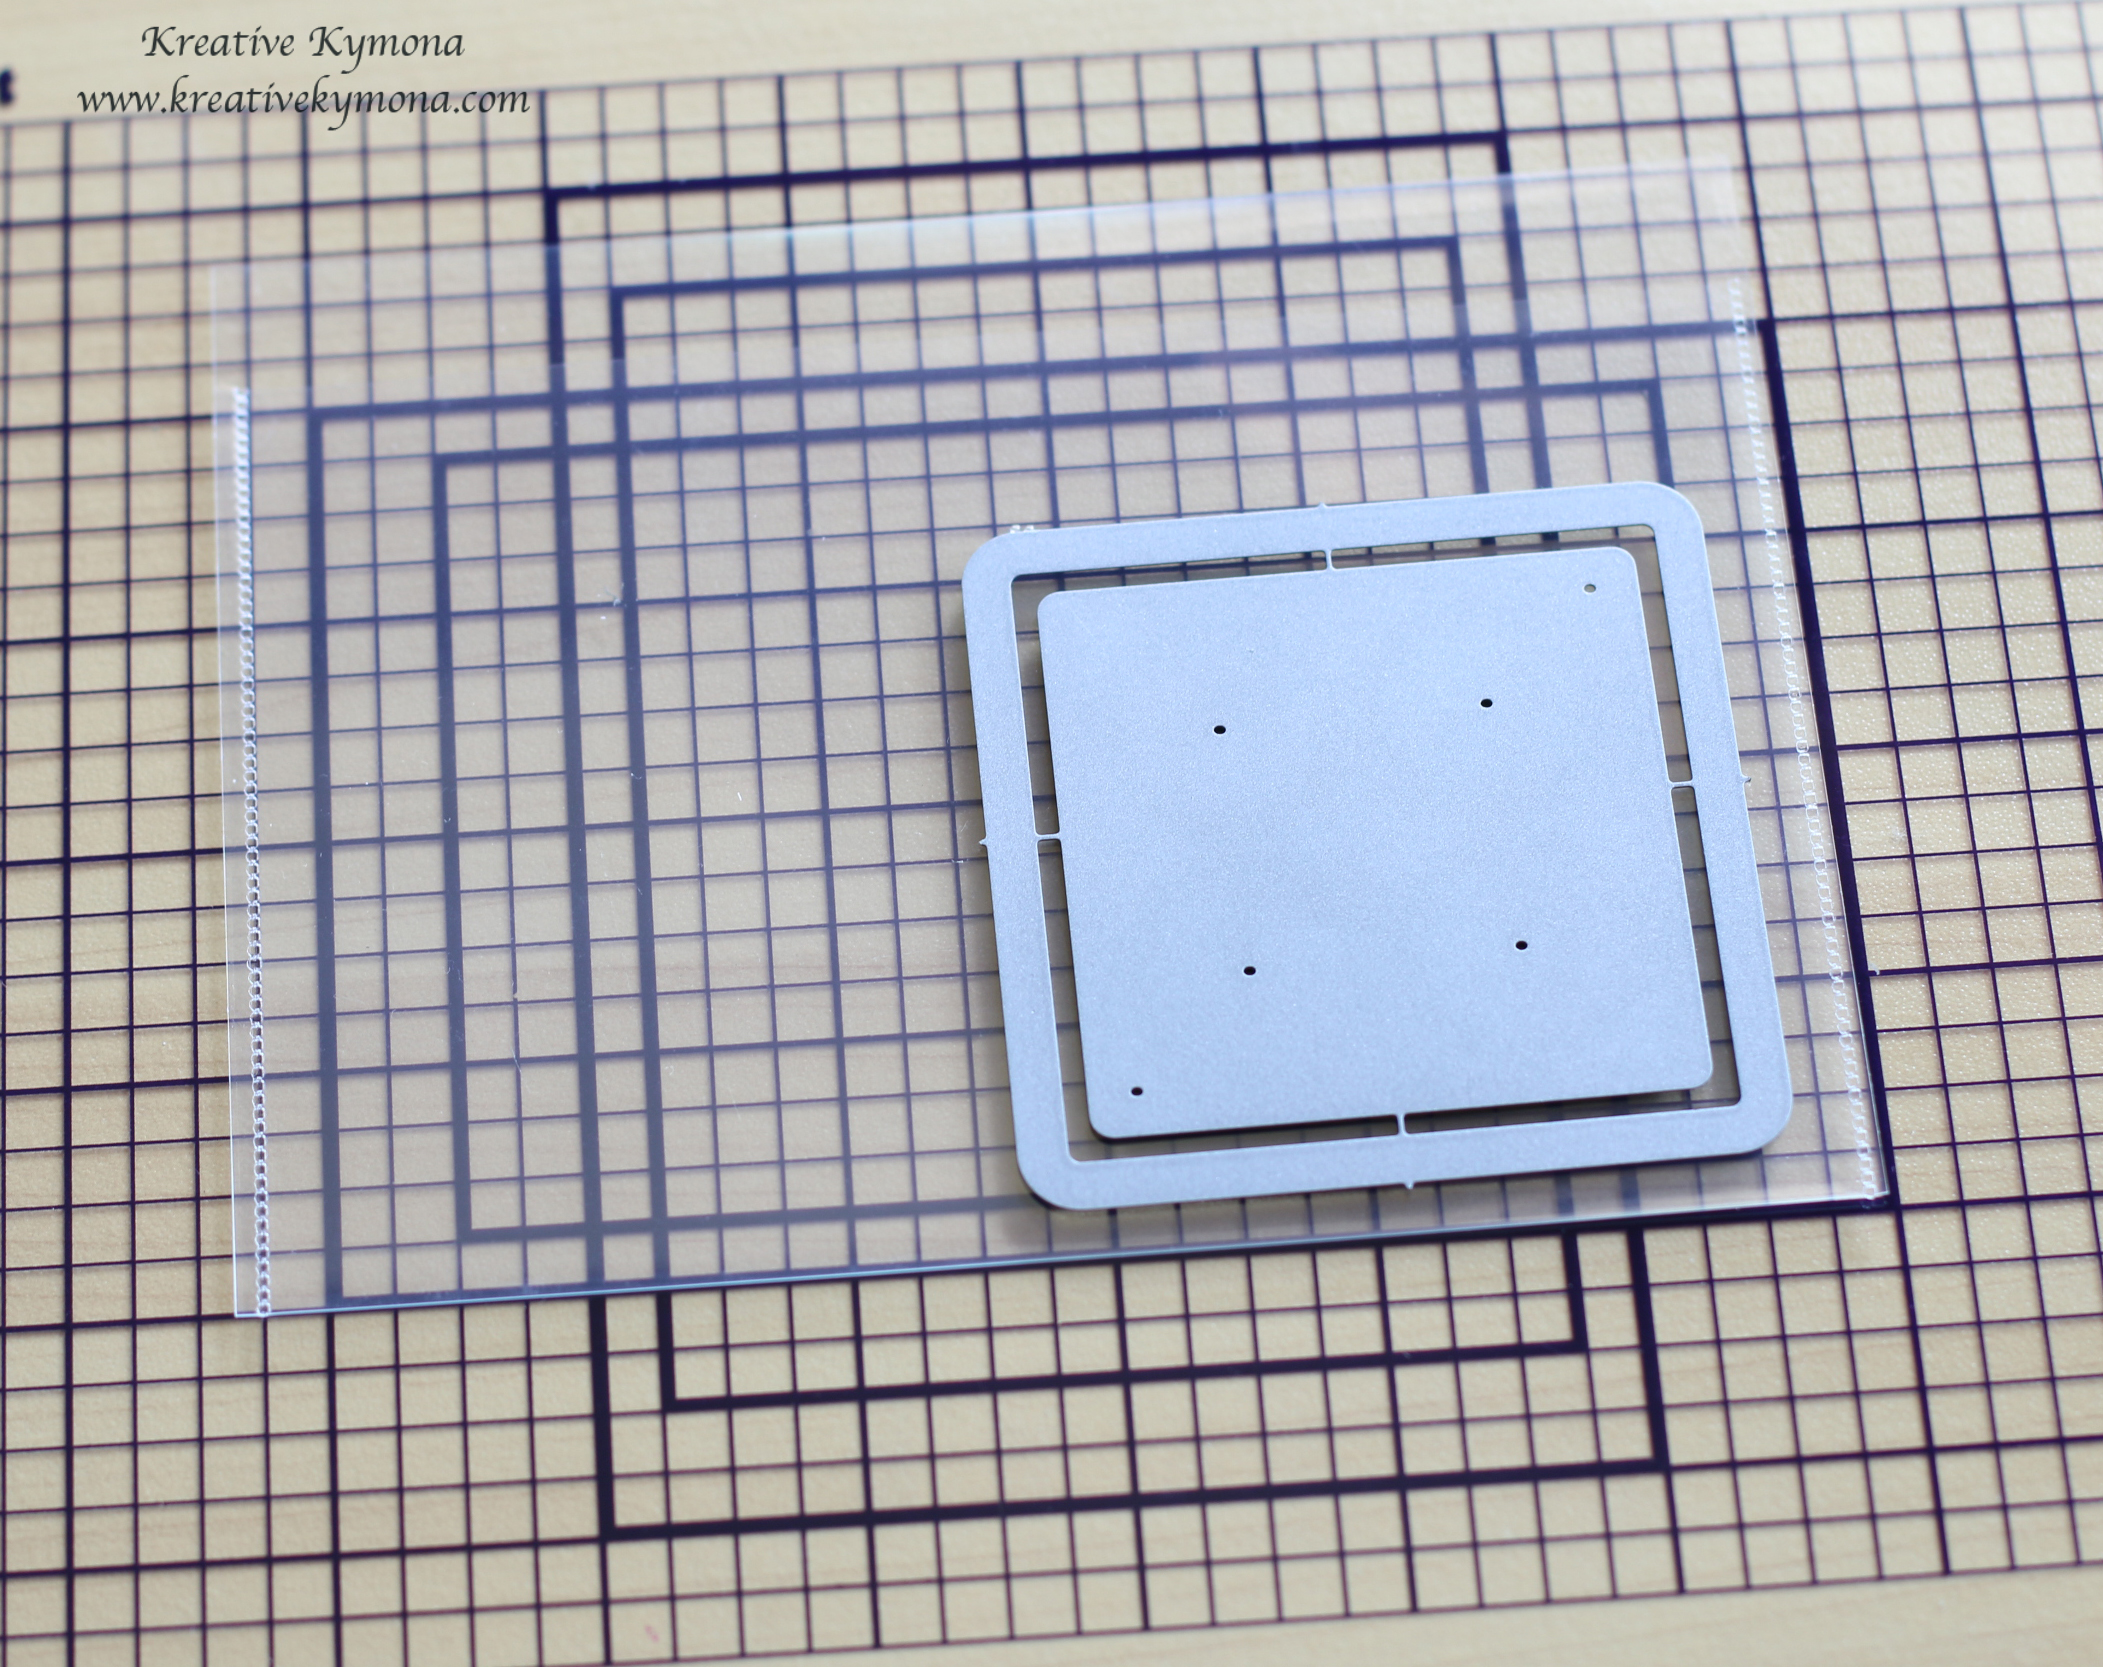
What I notice what this pocket fit but it was to big. I used the bigger die and didn’t need to. I need to use the smaller die from that set. So I started over.

9. Ok, this die is much better. The actually frame where the shaker will show is this size so there was no need for the bigger one.
So, I did the same thing I did above.

10. See here you can see me using the fuse to seal the sides of my shaker pocket.

11. Here you can see that I added the sequin and trimmed the edges down. I’m sealing the opening so that my sequin doesn’t fall out.

12. Here is my finished pocket! I left some of the edge so that I can adhere it to my card base.

13. I add tape to my card panel. So that my shaker pocket will stay in place.

14. I adhered the shaker pocket so that the fused line doesn’t show through the window of the card.

15. I added foam tape to the card panel that it will stick to the card base with some room for my sequin to shake.

16. I added the front panel to my card base. So how easy that was. Super fun to create.

17. To finish the card off, I die cut 4 Waffle Flower Craft With Love Word Die out of Simon Says Stamp Lemon Chiffon Yellow Cardstock.

18. I adhered them with Tombow Multipurpose Glue and adhered it to the front of my card.
That’s my card for this challenge. I challenge you to make a shaker card. It’s super fun and pretty.
Do you see how I used the colors to create my card. I love this color scheme.
So what do you think? Please let me know.
Now its your turn!! I can’t wait to see what you come up with.
Supplies used:


Thank you for stopping by!!
~Kymona
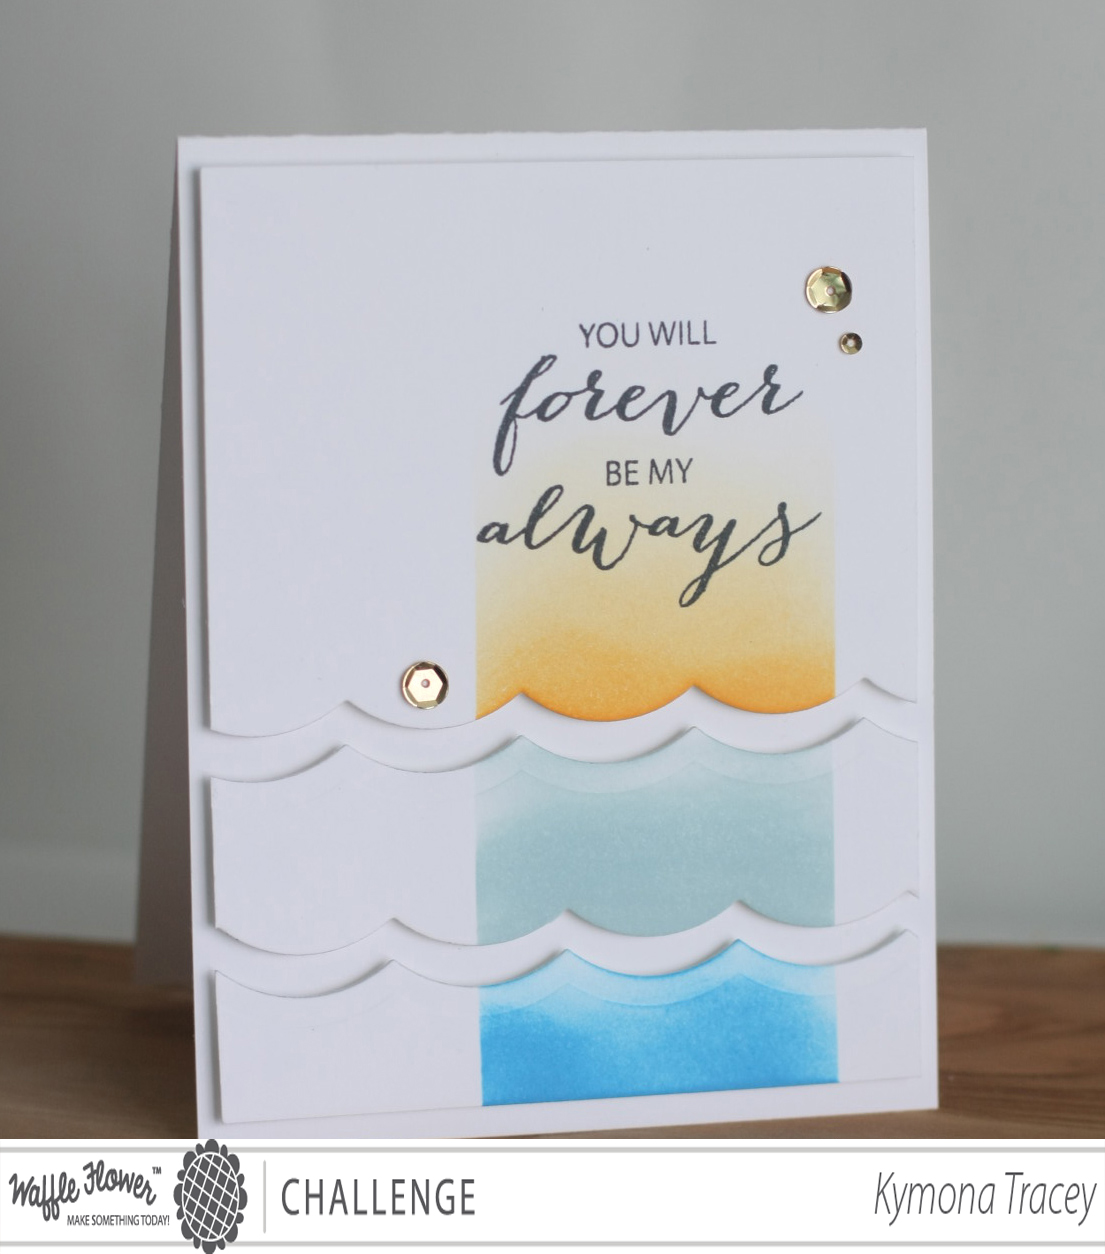
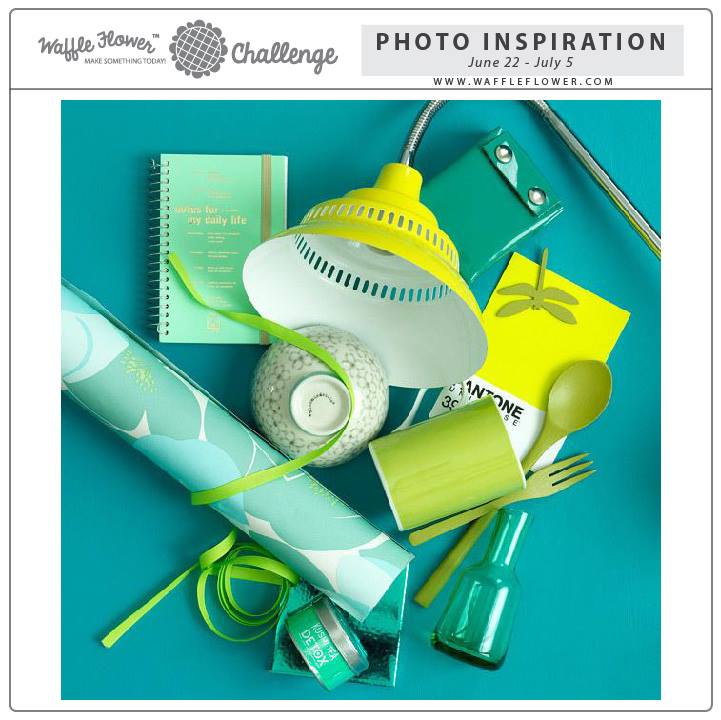 You know that I’m a shaker card lover so I decided that I would chose one color from this photo and create a very cute and simple shaker card for the last time for this challenge.