So Suzy Stamps Happy Birthday Blog Hop

Happy Birthday So Suzy

Holy cow!  Can you believe it is out FIRST birthday?!  Yep, last year, on April 20th, Suzy opened her online shop and things have been rolling from there!  In that year, she has seen her first customer (Courtney Schloss), her first Design Team, and first brick and mortar shop along with a bunch of new friends!

If you arrived from So Suzy Stamps blog, then you are on the right track.  If this is your first stop, then head on over to So Suzy Stamps blog so that you don’t miss out on your chance to win our awesome prizes.

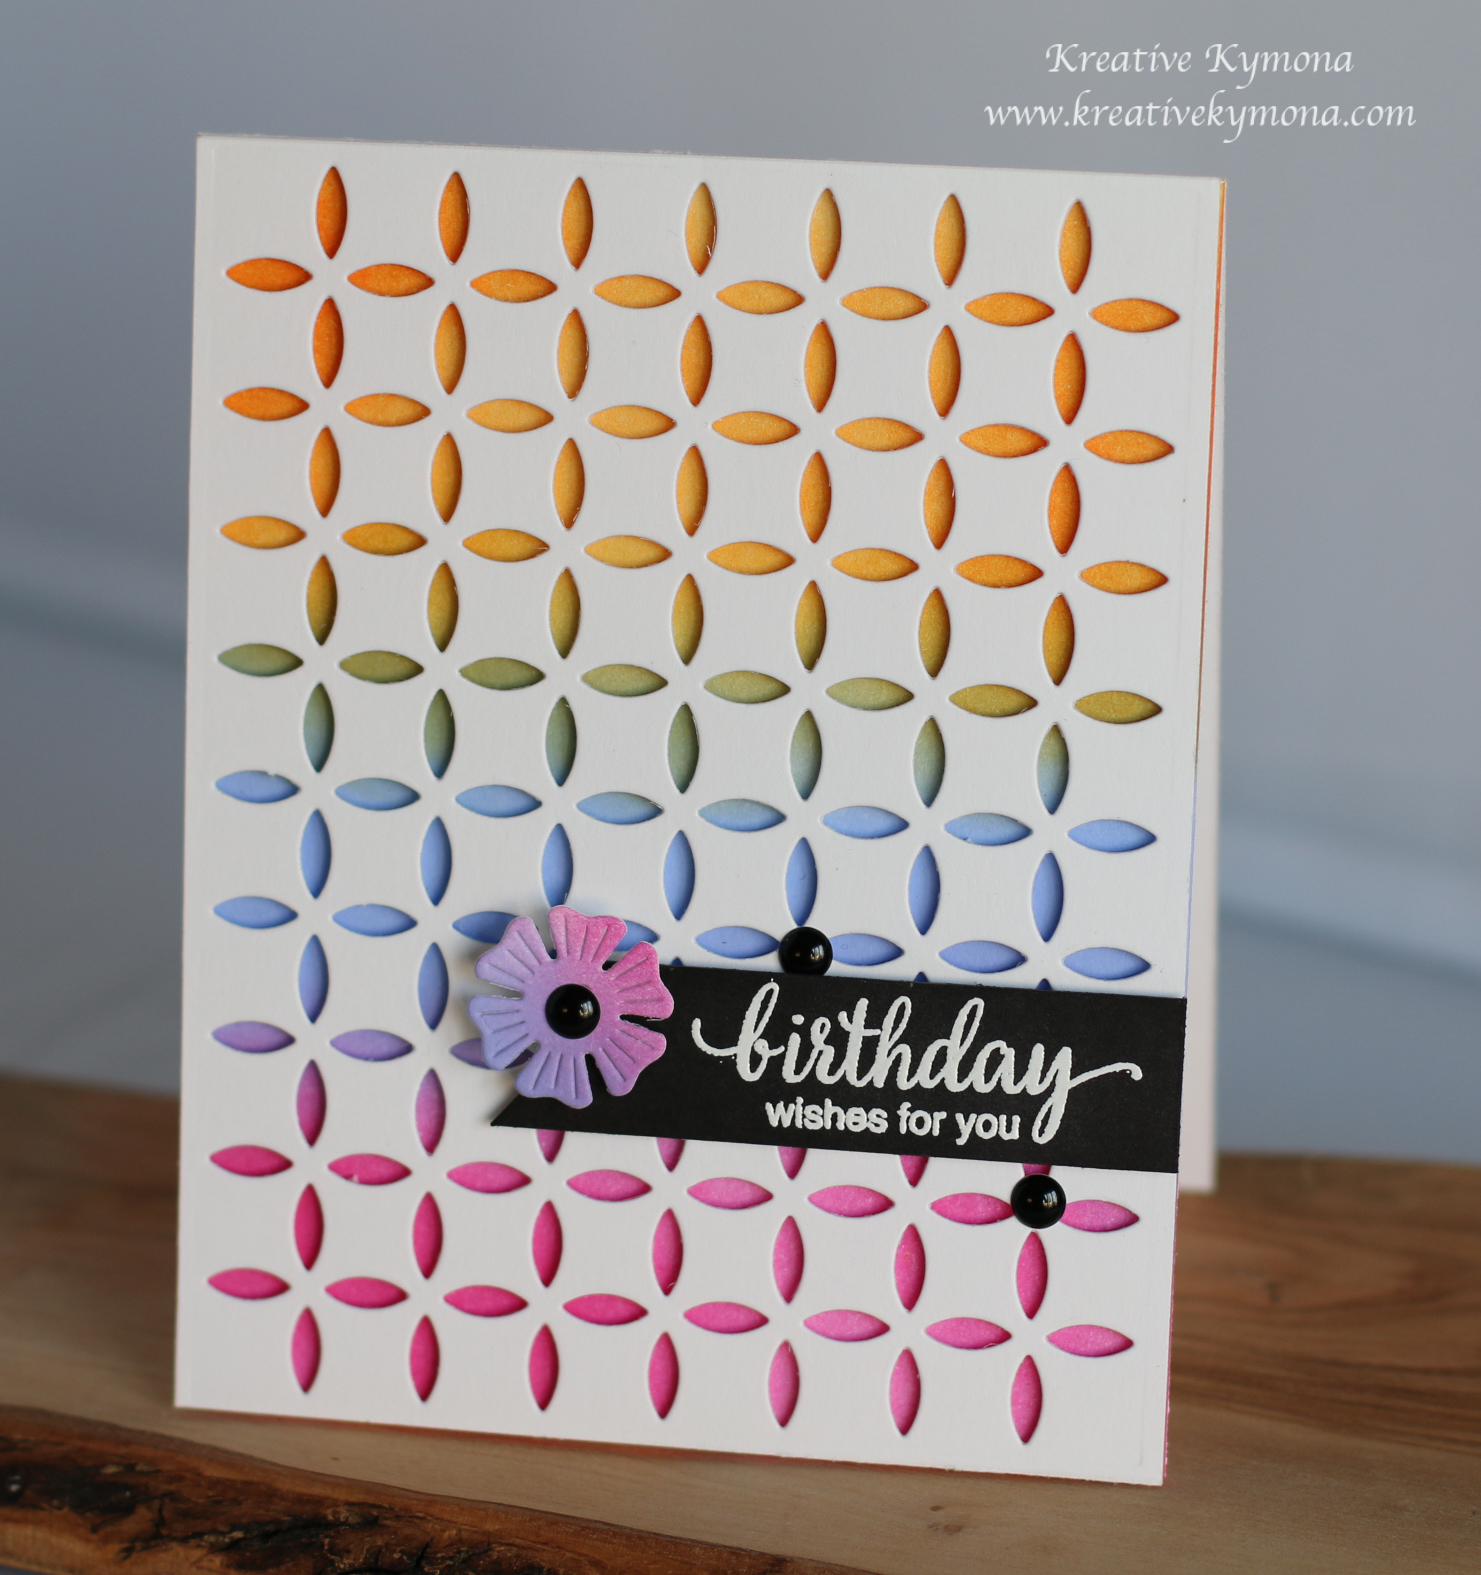
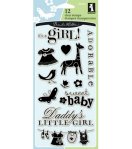
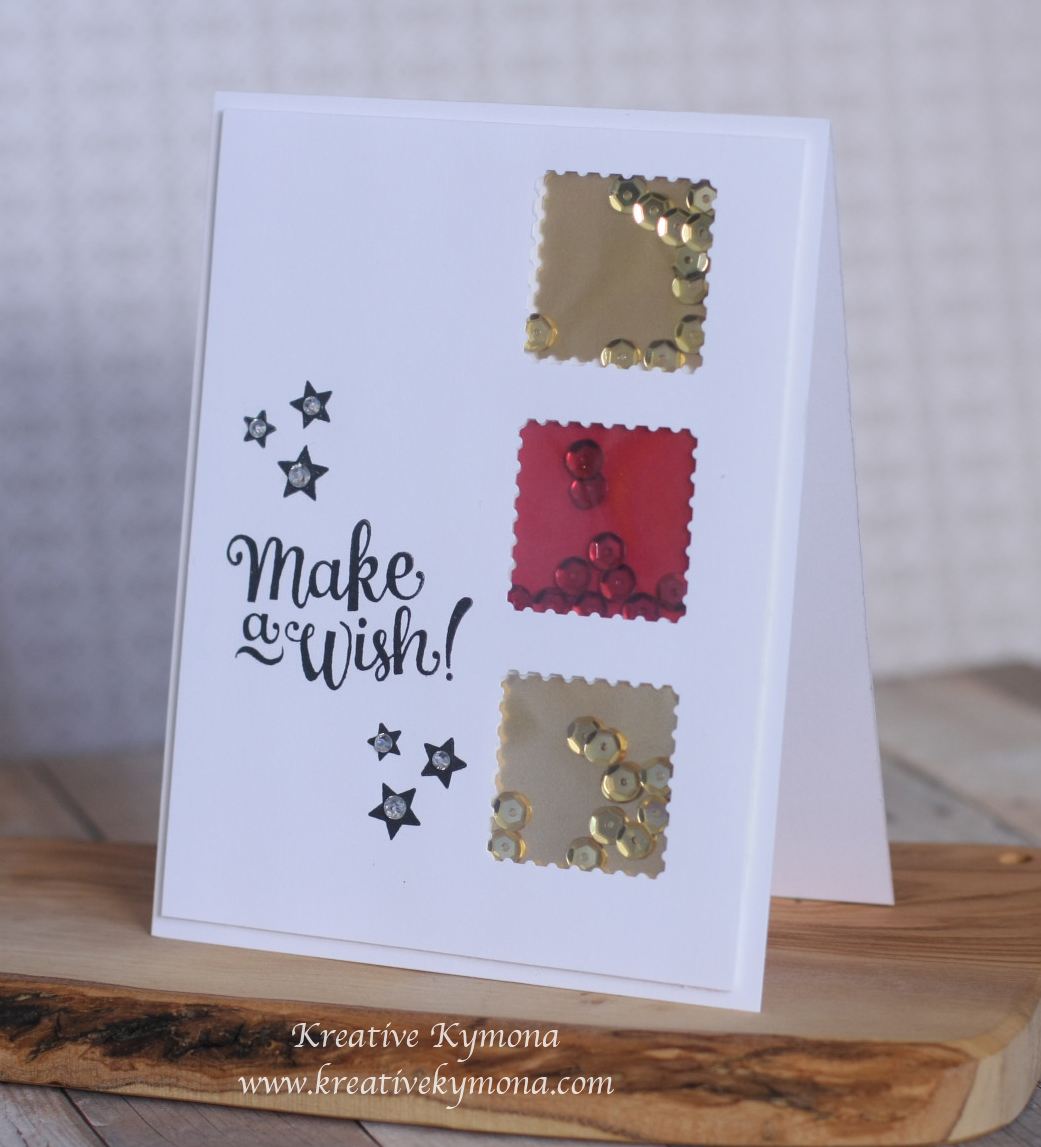
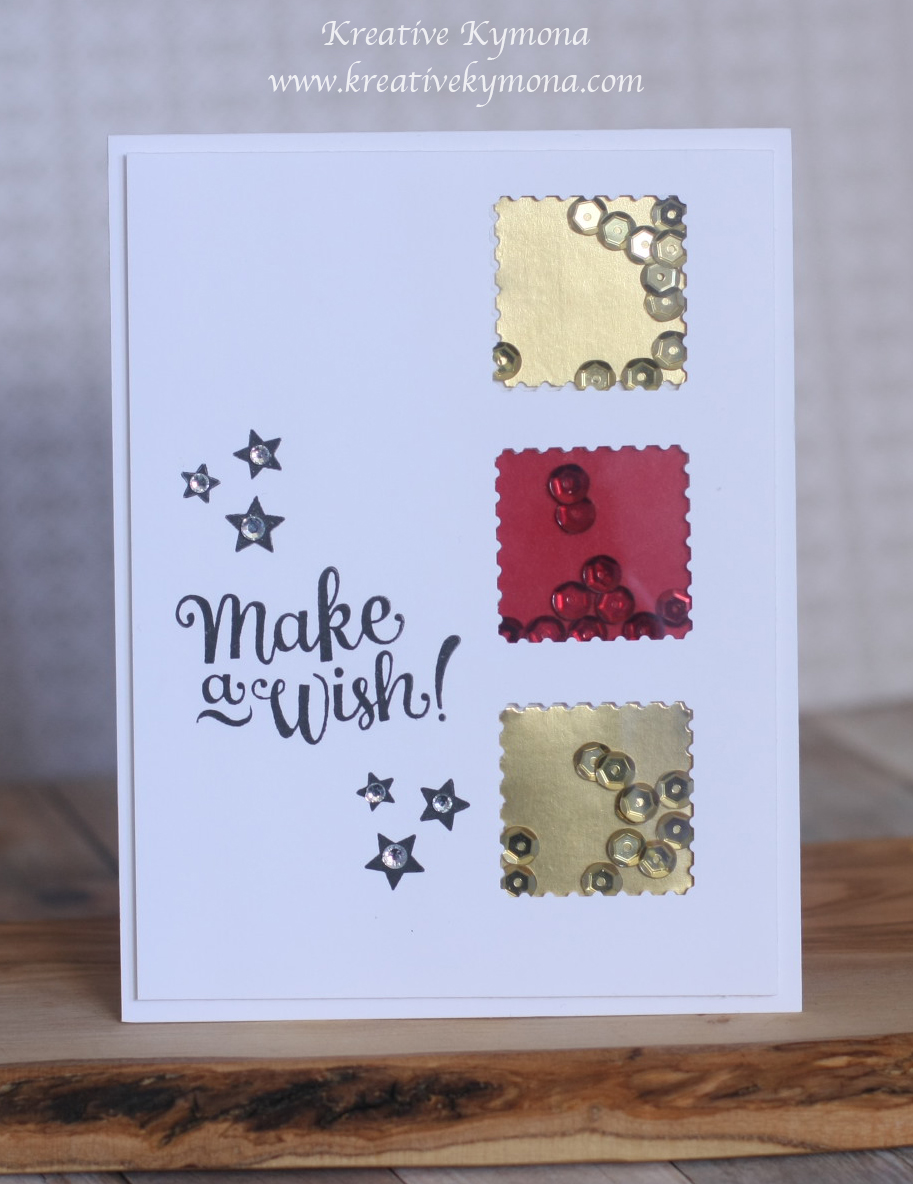
To help celebrate So Suzy Stamps Birthday, I created this card using one of her first sentiment stamps release last year.

Happiness is

Take a look at the card I created for this hop:

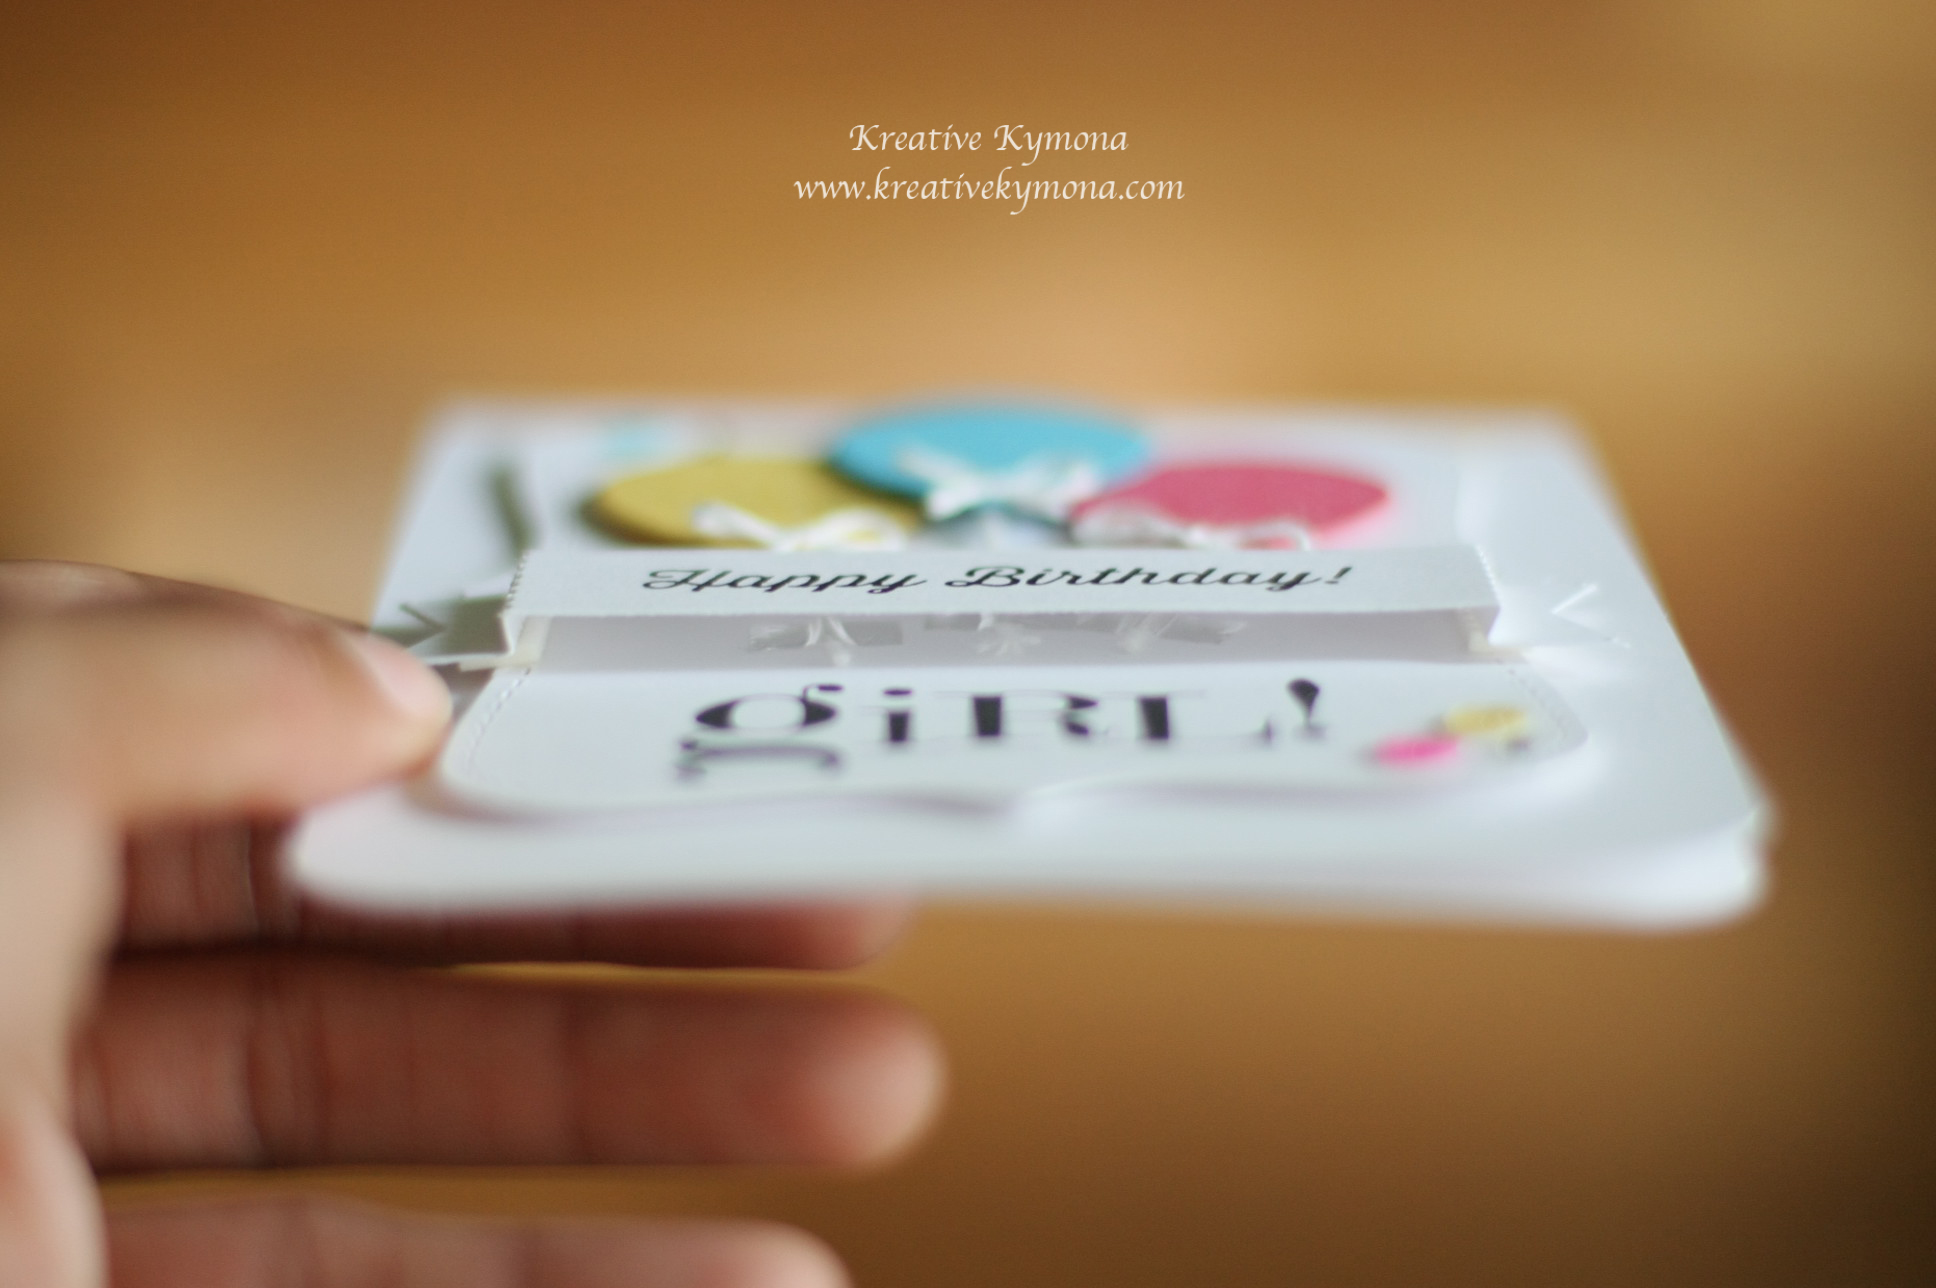
(Wow, can you believe I took this photo at 1:46am.  In totally darkness. Thanks to my new Foldio.  I will do a separate blog post about it.)

I wanted my card to be super clean and simple.  I choose to stamp two roses because we are looking forward to year number two!!

I stamped my roses with My Favorite Things Hybrid Ink Pad.

Then I used Copic Marker YR02, YR04, YR07 to color my roses.

On the inside of my card I used Simon Says Stamp Sending and Wishing Stamp set to add the sentiment using the same ink.

Super simple, elegant and pretty!!  Happy Birthday So Suzy Stamps!!  I wish you many more!!

Now on to our super fun day!

Suzy wanted to do something fun for the day and her wonderful Design Team came up with a bunch of ideas and a scavenger hunt was one of them!  Before we get to the Scavenger Hunt, let’s go over some of the other fun things we have in store for you today!

  • Scavenger Hunt on So Suzy Stamps Website – $10 Gift Certificate – 5 Winners
  • Blog Hop on…So Suzy Stamps Blog – $10 Gift Certificate  – Drawing (1 winner)
  • Instagram Photo Bomb – $10 Gift Certificate – Drawing (1 winner) – Be sure and use #SoSuzy1stBday
  • Facebook Birthday Party – $10 Gift Certificate – Drawing (1 winner)
  • Participate in all of the festivities – $25 Gift Certificate – Drawing (1 winner)
  • 20% off everything in the store – No coupon required

Lots of fun, huh?!

As far as the Scavenger Hunt goes…all you need to do is answer the questions, including the bonus question and submit it via the contact form.  Please number your answers so they coincide with the question number.

Out of all the entries, there will be 5 winners.  The winners will need to have ALL the questions correct, they must have their answers NUMBERED and all entries will need to be submitted no later than 11:59pm MST on April 20th.

All answers can be found by perusing through the website and by checking out the Blog Hop! We have already had a couple of practice runs and people were able to find them.

The winners will be announced on April 22nd via our Blog.

So what are you waiting for, don’t walk run and play along with us.  Next up is the talented Jenny. What till you see what she has in store for you!!

Blog Hop Participants

So Suzy Stamps

Kymona ←Me

Jenny

Jennifer

Kim

Martha

Monica

Justine

 I’m also linking my card up to AAA Cards: #37 It’s Springtime

Game37

Supplies used:

Rose Circle Flower Copic YR04 COPIC YR07 Copic YRo2 MFT Hybrid Black Ink Sending and Wishing

Thank you so much for stopping by!

~Kymona

Happy Birthday…

Hello everyone!!  I’m here today to share a birthday card I created for a customer of mines.

She needed a birthday card for a friend of hers that is turning 40!!

She didn’t give me any direction or colors that she wanted me to use so I had free range!!

Since her friend was turning 40 I wanted the card to be fun and bright but I also wanted it to be elegant.

So I went with my new Penny Black Petals Die!! I love this die, its so pretty!!

Take a look at my card:

Birthday Wishes

Oh how I love these pretty colors in the background.  Distress inks always saves the day!

Here is how I created this card:

1. My card base is cut to an A2 size card (4.25 x 5.50).

2. I used masking tape to mask off the top portion of my card so that ink doesn’t transfer on to it while I’m blending.

3. I started with Distress Ink Picked Raspberry, then Shaded Lilac, and ended with Spiced Marmalade. Doesn’t it look like there is a hit of green in there.  I love how colors blend with distress inks!!

4. I die cut the Penny Black Petal Die cut and tons of foam pieces to the back so that the panel will not shift of come off.

foam tape

5. I used Your Next Stamp Whynot Sentiment Stamp Set to stamp my sentiment in Versamark Ink on black cardstock.

6. I sprinkled Hero Arts White Embossing Powder on the sentiment and heat set it.

7. I die cut one of the buttons from Papertrey Ink Button Stacks Die out of another blend piece of cardstock.

8. I added Your Next Stamp Black Gumdrop for added interest.

Birthday Wishes 2

So what do you think?  I hope the recipient likes this card as well.

Supplies used:

die17e_steel texturePicked Raspberry InkShaded LilacSpiced MarmaladeMini Ink Blending ToolwhatnotsentimentsfourVersamark67f65-white2bembossing2bpowder Bitty Button Stacks Dieblack gumdrops small

Thanks for stopping by!

~Kymona

Happy Birthday Surprise!!!

Suzanne's Birthday


Hello everyone!  I’m excited about this blog post today.  Today is Suzanne’s Birthday!!  Who is Suzanne, better know as Suzy,  you asked?  Well let me tell you!

She is the owner of So Suzy Stamps and she has no idea that her Design Team is throwing her a Surprise Birthday Blog Hop.

This is the first stop on this hop!!  I’ve listed all of the participants at the end of this post just in case you miss a stop!  Each of the design team members created a birthday card for Suzy to show how much we really appreciate her.

What is a blog hop without some prizes!!  We are giving away a $15 So Suzy Stamps Gift Certificate and a free one month subscription to El Atelier de Stampartpapel to 2 lucky winners who leaves a comment on each of the blogs for a chance to win by February 22nd, 2015 by 11:59pm.   The winners will be chosen at random and announced on Monday, February 23rd at 12noon on the So Suzy Stamps Blog.  The winners will have 2 weeks to claim their prize.

Now onto the card I created for our fearless and super fun leader:

Happy Birthday Suzy

I went with black and white because I love this elegant look.  This picture doesn’t do this card justice.  The Wink of Stella pops on some parts to the card that isn’t captured in the photo.

This is how I created this card:

I cut my black card base to an A2 size card (4.25 x 5.50).  My card panel is cut to 4 x 5.25.

I embossed my card panel with the Happy Birthday Cuttlebug Embossing Folder. I adhered the embossed panel with foam tape.

I used Simon Says Stamp Stitched Squares to cut my small white panel.  Then I used that panel as a guide to cut my smaller black panel.

I stamped the Swirl So Suzy Stamp Medium Cupcake with black ink.  I added a Denim DoubleClick Skittle as the topper.

I added a random strip of ribbon to my card front.  I attached the smaller panels on top of that ribbon.

I added Wink of Stella to random places on my card.

Easy Peasy!!  I hope Suzy loves this card that I made just for her.

So what do you think?  Will she like this card?

Now on to the wonderful and talented Jenny Johnson to see what she has in store for you.

Here is the complete list of party participants:

Kymona Tracey

Jenny Johnson

Steph Ackerman

Jennifer Loftfield

Sharon Smith

Kim Rippere

Martha Lucia Gomez

Monica Taylor

Justine Hovey

So Suzy Blog

Before I go, Suzy has an awesome promotion going on today!!

If you place an order today, February 20th, you will receive 20% off all FUTURE online orders for LIFE!!  It’s the gift that keeps on giving!!

Now you can’t beat that!!  Don’t walk, run and get your famous stamps!!

Supplies used:

Medium Swirl Cupcake Denim Skittles SSS Stitched Square DieWink of Stella clear

Thanks for stopping by!

~Kymona

Die Cut Crazy Happy Birthday Blog Hop + Blog Candy Giveaway

August DCC BD Hop

Hello everyone!! Welcome to the Die Cut Crazy Birthday Blog Hop.  The Die Cut Crazy Contributors have created some amazing birthday projects to inspire your own die cut creativity to make any birthday special.  If you just joined the Birthday Hop at my site, be sure to go back to the beginning to Die Cut Crazy blog for the hop kick off, then hop along the list to each of our designers.  You won’t want to miss any of the special birthday projects in this hop for sure. The DCC Blog Hop will run from today, August 15th at 4:00AM CST and ends Monday August 18th 11:59 PM CST.

Besides a lot of die cut inspiration, one lucky hopper will win a special prize!! Die Cut Crazy Magazine will be giving a 3 month subscription to one lucky winner which will be announced on Tuesday, August 19th on the DCC blog and DCC Facebook Page.  To win, all yo have to do is leave a comment on each of our blogs and Like the Die Cut Crazy Facebook page and then leave a comment on the DCC blog saying that you did all of that.

My Birthday project I am sharing is a Happy Birthday Day Card.  I had a lot of fun making this card and a lot of thought went into creating this card at the end, lol, you’ll see why.

Take a look:

Happy Birthday Side View

What to know how I created this card, here you go:

1. I cut my Bazzill Marshmallow cardstock to an A2 size card (4-1/4 x 5-1/2 scored at 5-1/2).

2. I cut my card panel out of the same color cardstock to fit on top of my die. I love the white on white it makes the card look elegant with a pop of color.

Top Note Die Cut

3. I used my Stampin’ Up! Top Note Die to cut out my card panel using my Stampin’ Up! Big Shot.

Happy Birthday Balloon die cut

4. Then I used my Simon Says Stamp Balloons Die to cut out the smallest balloon in the set.  I cut the balloons out of Stampin’ Up! Strawberry Slush, Daffodil Delight and Tempting Turquoise cardstock.

Happy Birthday Banner die cut

5. Then I used my Mama Elephant Bold Banner Creative Cuts to cut out my banner for my sentiment.

6.  After I die cut all of my pieces, I started to assemble my card.

Happy Birthday Balloons close up

7. I added Stampin’ Up! Whisper White Bakers Twine to the back of my balloons using regular tape so that it looks like the string is attached to the balloons.

8. I tied small bows and add them to the front of the balloon using a small dot of glossy accents.

9. I attached my balloons using foam adhesive to the top note card panel.  I added two pieces of foam adhesive to the blue balloon so that it sits higher then the other two balloons.

Happy Birthday Inside Banner close up

9. I taped down all of my balloon strings with regular tape so that the string looks tight.  I also cut them so that they don’t hang down past the banner.

10. I stamped my sentiment on the banner using Simon Says Stamp More Sketchy Banner Greetings stamp set in Versafine Onyx Black ink.

Happy Birthday Banner close up

11.  I attached the banner to the front of the card using foam adhesive right under the fold on both sides.

12. This is where I was stuck.  I couldn’t figure out what to stamp under my banner.  I didn’t really think this though before I put the card together.  I had to rattle my brain to figure out that I wanted to add to the bottom of my card.  I searched my stash and found this stamp from Inkadinkado called Baby Girl. I liked the “girl” sentiment but it had other words attached so I cut the stamp set.  Yes, you heard me right I cut the stamp!! It fit perfectly.

Happy Birthday Front

13. I added Pretty Pink Posh Springtime Mix sequins and some Stampin’ Up! rhinestones for dimension.

14. My balloons looked to plain so I used my White Signo Uni-Ball Gel Pen to add white dots to my balloons.

WALA, my card is done. The hardest part in creating this card was die cutting all of the pieces.  Once that’s complete, putting it together is easy.

I hope you give this design a try.

Now on to my Blog Candy Giveaway!!

Hearts Lawn Cuts   LF Spring Showers

Happy Birthday to you!!!  I’m giving away two different Lawn Fawn Dies:  Hearts and Spring Showers!!

THE RULES: For your chance to win all the above goodies, please leave me a comment at the end of this post with your answer to the question below.  Deadline is 11:59 pm EST, Sunday, August 17th, at which time I’ll choose a random winner.

The Question: If you could have anything for your birthday, what would that be?

Edited to include the winner of this challenge

Winner of Challenge

Congratulations to Mary S!!  I will send you an email.  Thank you to everyone else who played along!!!

Thanks for stopping by.  I’m the last but not least stop on this hop.  If you want to start all over again, Die Cut Crazy is the first stop.

To make sure you don’t miss any of the birthday projects, here is the list of all of our blog hop designers:

Die Cut Crazy

Debbie

Deepti

Tina

Kelly

Lisa

Jennifer

Karen

Holly

Mary

Dianne Hosted at DCC

Kymona ← You are here!

Supplies used:

Daffodil Delight CSTempting TurquoiseStrawberry SlushBazzill Marshmallow CSTop Note DieBig Shot Die-Cut MachineBOLD BANNERWhite Baker's Twine3M Mounting Tapeglossy accentsMore Sketchy banner GreetingsOnyx Versafine InkInkadinkaso Baby GirlSpringtime Mix SequinsWhite Signo Uni-Ball Gel PenBasic Rhinestones Jewel Accents

Thank you for stopping by!!

~Kymona

Happy Birthday to you!!

Second Post for the day!  I’m on a roll today!

Hello everyone!  I’m back again with another post for all of you.  I’m here with Simon Says Stamp Wednesday Blog Challenge: Shaker It and a birthday card for Darnell, the party is at Ardyth’s Blog Maskerade.

Take a look at my card:

Make a wish side

For this card, I used Mama Elephant’s Make a Wish stamp set to create my birthday card.  I used Stampin’ Up! postage punch to create my shaker card.  I decided to use gold and red because these colors are perfect for an elegant birthday party.

Make a Wish front

So what do you think?  Will Darnell like this card?  I hope so!

Supplies used:

MAKE A WISHclassiccrestsolarwhtieMemento Black InkPostage Stamp PunchGold Foil SheetsBasic Rhinestones Jewel AccentsGold Sequin3M Mounting TapeStampin' Trimmer

I also used red sequin from my local craft store.


Thank you so much for stopping by!

~Kymona


SSS Wednesday Blog Challenge – Happy Birthday Card 1

Simon Says Stamp is celebrating 5 years of challenges and they wanted to see some Happy Birthday/Birthday Celebration Creations!!

I love the month of April because I celebrate my birthday too!!!!  As a matter of fact, today April 4 is my birthday!!

Happy-Birthday-To-MeSo for the challenge, I created a couple of cards that I will post separately.  The first card is a black and white Happy Birthday card that I think is really simple and classy.

Take a look:

Happy Birthday Black and White

The stars have a Wink of Stella glitter that is hard to see, but its there.   I used SSS stamp and die along with Mama Elephant’s background stamp set.

Shhh! I have a secret!

I tied some bakers twine around the bottom of the large balloon but it didn’t look right after I added the smaller balloons so I just tucked it underneath the smaller balloons since I couldn’t take it off.

Please leave a comment below, I would love to know what you think.

Supplies Used:

Classic Crest Solar White CS

Classic Crest Solar White CS

Birthday Balloons

Birthday Balloons

SSS Balloons Craft Dies

SSS Balloons Craft Dies


On Point Borders

On Point Borders

White Baker's Twine 124262

White Baker’s Twine
124262

Big Shot Die-Cut Machine 113439

Big Shot Die-Cut Machine
113439


Stampin' Dimensionals 104430

Stampin’ Dimensionals
104430

Memento Tuxedo Black

Memento Tuxedo Black


Signature


Clean & Simple Card Class – Day 10 Textural Effects Part 2

So, I’m back again with another post on textural effects by Stephanie Klauck.  This second technique combines sticky embossing powder, glitter, and masking with a very clever twist.  I had fun trying out this technique.

Take a look:

Happy Birthday

  • To create the clean frame, I used washi tape to mask off the edges of the cardstock.
  • To create the shiny balloons, I used the heat and stick powder and a mask to add the different colors of glitter.

Let me know what you think of my embossed card.

Supplies used:

Classic Crest Solar White CS

Classic Crest Solar White CS

Worn Lipstick  Distress Ink

Worn Lipstick
Distress Ink

Birthday Balloons

Birthday Balloons


Coastal Cabana 131175

Coastal Cabana
131175

Strawberry Slush 131178

Strawberry Slush
131178

Blending tool

Blending tool


Heat and Stick Power 100625

Heat and Stick Power
100625


I also used random glitter, washi tape and a black pen for the balloon strings.

Signature

CAS Birthday Card Swap

Today’s card is a clean and simple birthday card I created for a swap that I’m participating in.  I decided to do white on white because it has a very classy look.  I embossed the card front with the Perfect Polka Dots embossing folder.  Then I used a card mat that was punched with the Fancy Flower and the Petite Petals punch to create the flowers on the front of the card.  Stamp the sentiment and added the embellishments.  Easy Peasy!!

Take a look:

CAS Birthday Card

What do you think of this birthday card?

Supplies used:

Remember Your Birthday 131347

Remember Your Birthday
131347

Create a  Cupcake 128520

Create a Cupcake
128520

Textured Boutique Embossing Machine 132657

Textured Boutique Embossing Machine
132657


Strawberry Slush 131178

Strawberry Slush
131178

Whisper White CS 100730

Whisper White CS
100730

Stampin' Dimensionals 104430

Stampin’ Dimensionals
104430


Perfect Polka Dots 117335

Perfect Polka Dots
117335

Basic Rhinestones Jewel Accents 119246

Basic Rhinestones Jewel Accents 119246

Large Rhinestone Basic Jewels 129324

Large Rhinestone Basic Jewels 129324


Fancy Flower Punch 118073

Fancy Flower Punch
118073

Petite Petals Punch 133322

Petite Petals Punch
133322


Signature

5 Days of Birthday Cards – Day 3

Today’s card is the third card in my birthday series.  This birthday card was made for a swap that I’m apart of.  The colors that I chose for this card were Strawberry Slush, Wisteria Wonder and Coastal Cabana.  I think these colors are so pretty together.

Take a look:

Happy Birthday to You

Stampin’ Up! Gorgeous Grunge stamp set is so versatile.  You can use it for just about any card.  This stamp set can be passed off as a  stencil.  I love how it looks no matter how you stamp your paper.  The Blossom punch gives the card extra dimension.

Let me know what you think.

Supplies Used:

Whisper White CS 100730

Whisper White CS
100730

Strawberry Slush 131178

Strawberry Slush
131178

Coastal Cabana 131175

Coastal Cabana
131175


Wisteria Wonder 126985

Wisteria Wonder
126985

Basic Black Ink 126980

Basic Black Ink
126980

Strawberry Slush CS 131295

Strawberry Slush CS
131295


Cycle Celebration 130270

Cycle Celebration
130270

Mixed Bunch 12537

Mixed Bunch
12537

Gorgeous Grunge 130514

Gorgeous Grunge
130514


Stampin' Trimmer 126889

Stampin’ Trimmer
126889

Basic Rhinestones Jewel Accents 119246

Basic Rhinestones Jewel Accents 119246

3/4 inch circle punch 119873

3/4 inch circle punch
119873


Blossom Punch 125603

Blossom Punch
125603

Snail Adhesive 104332

Snail Adhesive
104332

Stampin' Dimensionals 104430

Stampin’ Dimensionals
104430


Signature


5 Days of Birthday Cards – Day 2

This is my second post of the day.

I was up last night, couldn’t sleep for nothing in the world.  So I decided to make another birthday card for my series.  The colors for this card came from Stampin’ Up!’s Occasion Catalog.  The colors can be found in the Kaleidoscope DSP.  I love the colors in that paper.  I just realized that the two stamp sets are from the Kaledioscope suite as well.  I love how things come together.

Take a look:

Make a Wish

Supplies Used:

Geometrical Stamp Set 133158

Geometrical Stamp Set
133158

Perfect Pennants 133227

Perfect Pennants
133227

Scalloped Tag Topper Punch 133324

Scalloped Tag Topper Punch 133324


Bermuda Bay Ink 131171

Bermuda Bay Ink
131171

Whisper White CS 100730

Whisper White CS
100730

Crumb Cake 120953

Crumb Cake
120953


Crushed Curry Ink 131173

Crushed Curry Ink
131173

Strawberry Slush 131178

Strawberry Slush
131178

Basic Black Ink 126980

Basic Black Ink
126980


White Baker's Twine 124262

White Baker’s Twine
124262

Uni-Ball Signo Gel Pen 105021

Uni-Ball Signo Gel Pen
105021

Snail Adhesive 104332

Snail Adhesive
104332


Stampin' Dimensionals 104430

Stampin’ Dimensionals
104430

Stampin' Trimmer 126889

Stampin’ Trimmer
126889

SSS A2 Card Curved Edge

SSS A2 Card Curved Edge