{Clean and Simple} CASology 218 – Support

Hello everyone!!  It’s CASology Tuesday!!  We are back with another Clean and Simple Cue Card just for you!!

This week’s cue card:

week-218-support

Take a look at my card:

live-your-dream-cas

All of us could use some support from time to time. I thought this StarTrish Design Worldgirl Series stamp was perfect for this challenge.

“Live your dream” is perfect for all of us to do.  No need to me miserable.  All of have dreams and we should live them.

To create this card, I stamped the image using Clearsnap Colorbox Archival Black Ink. Then I used Tombow’s Irojiten Vivid and Tranquil Coloring Pencils.

There was nothing to it.  Super relaxing to just color!

Are you inspired to play along?  Please let me know below!

For more inspiration, check out my fellow Design Team members blog for more awesome work.

DT Badge

Our sponsor this week is A Jillian Vance

Supplies used:

worldgirl-two   Tombow Irojiten Vivid Coloring SetTombow Irjiten Vivid Color Pencils

Thanks for stopping by!

~Kymona

Silhouette Stamping: CS Take It Make It Challenge

Second Post for today
If your looking for Your Next Stamp Challenge, click here

Hello everyone!!  I’m here today with CS Take It Make It Design Team for our CS Take It Make It: Take a Stamp Challenge for the month of September.

This month’s theme is Take a Stamp!!  That means take any stamp and create something, anything goes!! Now if that isn’t easy, I’m not sure what is!!

Take a look at my card:

Take Flight (TIMI)

I love the size of this card.  It measures 2.50 x 5.25.

To get the card started, I stenciled the background using one of Tim Holtz Mini stencil set 7 and distress ink: Squeezed Lemonade, Fossilized Amber, Spiced Marmalade and Ripe Persimmon.

Then I stamped So Suzy Stamps Girl With Balloons using Colorbox Archival Wicked Dye Ink. Then I stamped So Suzy Stamp Take Flight sentiment using Colorbox Archival Wicked Dye Ink.

Nice, easy but totally amazing.

Prizes:

We have two prizes to offer this month, the first is our sponsor prize. This winner will be chosen randomly from all of the entries in the challenge! The sponsor for September is: Visible Image.

Visible Image header

Visible Image

Prize: 3 Stamp Sets

Our second winner is our Design Winner. This winner is chosen by our DT, who all vote for their favorite design from all of the entries. This winner will have their winning project published in Craft Stamper Magazine, they will have a GDT slot for an upcoming challenge, and will also feature in their very own Winners Profile blog post!

Now if that isn’t a reason to play along I’m not sure what is!!

I can’t wait to see what you come up with.

Supplies used:

Girl with Balloons Take Flight

Thanks for stopping by!

~Kymona

CS Take It Make It: Take a Stamp Challenge Inspiration

I’m here today with CS Take It Make It Design Team for our CS Take It Make It: Take a Stamp Challenge for the month of January.

This month’s theme is Take a Stamp!!  That means take any stamp and create something, anything goes!! Now if that isn’t easy, I’m not sure what is!!

Take a look at my card:

Hi

This image, Tiny Townie Penelope Has a Pencil is from Stamping bella and I think its the cutest thing!!  I created a pack of 5 cards to give away to a friend.

I stamped the image in the bottom right hand corner and then colored the image with Copic markers.

Here are the colors that I used:

Pencil: C4, C6, RV11, RV13, V95, Y21, Y19, YR23, E30, E31, W4, W9

Skin:E00, E11, E23,

ShirtB12, B14, B37,

Skirt: R24, R46, R59

Super fun to color!

Prizes:

We have two prizes to offer this month, the first is our sponsor prize. This winner will be chosen randomly from all of the entries in the challenge! The sponsor for January is: Dail Art!

Dali Art

prize

From left to right: assorted Indian ribbon and self adhesive Bindi embellishments, self adhesive gems in 5 colours and two sizes Indian Butterfly stamp.

Our second winner is our Design Winner. This winner is chosen by our DT, who all vote for their favorite design from all of the entries. This winner will have their winning project published in Craft Stamper Magazine, they will have a GDT slot for an upcoming challenge, and will also feature in their very own Winners Profile blog post!

Now if that isn’t a reason to play along I’m not sure what is!!

I can’t wait to see what you come up with.

Supplies used:

penelope-750x750MFT Hybrid Black InkRecollections White Heavyweight

Thank you so much for stopping by!

~Kymona

So Suzy Stamps April Release Blog Hop

April Blog Hop


Hello everyone!! I’m here with So Suzy Stamps.  Welcome to the full reveal and blog hop of So Suzy Stamps April Release!!  If you arrived here from So Suzy Stamps blog, then your on the right track.  If you arrived randomly, the blog hop starts at So Suzy Stamps blog.  Yuu don’t want to miss out on any of my design team members cards.  They did a fabulous job.

Check out the card I created for this hop:

Happy Birthday

I used the Girl on the Swing Stamp to create my card.  This little girl is so cute.  I had to take my time and color her.

I have to admit I messed up just a little bit.  Instead of using my new MFT Hybrid Black Ink or my Memento Black Ink, I used the VersaFine Black Onyx and stamped my image.

Big no, no!  The black ink bleeds. When I realized what happen, I was already to far gone with my coloring. I just took my sweet time and tried not to touch the stamped edge.

That was hard to do.  The image is so intricate that I had to get really close.  Never again will I make that mistake!!

In any case, she turned out well.  This card is a very CAS card.  Your attention is drawn to the girl on the swing.

Here is how I created this card:

1. I cut my cardstock to 4.25 x 5.50 scored at 4.25.

2. I used Simon Says Stamp Stitched Circle Die to cut out my circle off of the side of my card front.

3. I stamped my So Suzy Stamps Girl on the Swing image inside the circle cut out.

4. I used Copic Markers to color my image:

Dress, shoes and antennas: V01, V04, V06

Winks: BG11, BG13, BG15

Swing Bench: E13, E15

Swing String: C3

Skin: Eoo, E11

Hair: E33, E35

5. I attached Stampin’ UP! Coastal Cabana Bakers Twine to the top of my card.

6. I added Your Next Stamp Crystal Clear Gumdrops for added interest.

7. The sentiment is from Your Next Stamp Whatnot Sentiments Set.

I did a sneak peak of one of the new stamps a couple of weeks ago.  Check out that card here.

Easy Peasy!! Now its your turn to play along with us!  Oh wait, I didn’t tell you what the new challenge will be this month!!

Our new challenge is all about Birthday’s. So come one and all and create those super awesome birthday cards. You can link up your project on So Suzy Stamps blog.

April Birthday Challenge

Your next stop is the fabulous Jenny Johnson, who shares the same birthday with me April 4!  You don’t want to miss what she created for you.

Just in case you get lost along the way, here is a complete list of blog hoppers:

So Suzy Stamps

Kymona Tracey ←Me

Jenny Johnson

Steph Ackerman

Jennifer Loftfield

Sharon Smith

Kim Rippere

Martha Lucia Gomez

Monica Taylor

Justine Hovey

What is a blog hop without a Giveaway??

Giveaway:

So Suzy Stamps blog is hosting a giveaway, she will be giving away a $15 Gift Certificate to a random winner who comments on all of the blogs in the hop!

The Giveaway expires April 5, 2015 at 11:59pm.  The winner will be posted on So Suzy Stamps Blog and Facebook page on April 6th, 2015.

I hope you enjoy what you see and hop along with us.  You won’t be disappointed!!

Supplies used:

Stitiched CircleGirl on a SwingCoastal Cabana Bakers Twineclear gumdrops small whatnotsentimentsfourCopic Markers


Thank you for stopping by!

~Kymona

Winter Watercoloring

Hello everyone!!  I’m over on So Suzy Stamps blog today sharing a watercolor card that I created with her new Snow Girl stamp and my new Tombow Brush Pens!!

Take a look:

Snow Girl

Head on over to So Suzy Stamps blog to see how I created this card.  I included some great tips too!!

Our challenge is Watercoloring and you have 16 days left to enter for a chance to win a So Suzy Stamps gift certificate.  You can enter here.

So Suzy Stamps is also having a Design Team Call!!  If you love her stamps and want to join a fabulous team click here.

Supplies used:

a5c1d-snow2bgirldeb0d-cherish2bthe2bmomentsCanson Watercolor Paper 06741-group-4-3ww-l81MquTtBWML._SL1500_DC10-2T 1_312762_ZM Doddlebug Sprinkles enamel dot

Thank you so much for stopping by!

~Kymona

Fighting Breast Cancer…

Hello everyone!! Can you believe its October already.  The time really is flying.  September totally went by and I didn’t even get to celebrate my one year blogging anniversary!!   I will do something this month so stay tune in for that.

Today I’m here with the DoubleClick Skittles Challenge!  In Honor of Breast Cancer Awareness Month, our challenge is any project with pink!!

I am an Instagram junkie as my son would say.  I have to admit I had my reservation about it in the beginning.  I’m not big on share pictures of my kids and things like that for fear that someone stranger would have access to them.  It was my wonderful cousin Nicky who reassured me that I could use Instagram for just my paper-crafting business.  Well I started and now I can’t stop!!

I say all of that to say that, I’ve meet someone wonderful ladies on Instragam.  I feel like I’ve known them forever.  Its amazing what cardmaking can do.  This one young lady named Kendra Hernandez from Inkin’ It Up with Kendra introduced me to a new stamp company called Pretty Cute Stamps.

Their stamp sets are so stinking cute!  Their September release really had some great stamp sets.  You must check them out.

For my card today, I chose to use Fight Like a Girl!!  The images and the sentiments are to die for.  When I saw this set I knew I had to have it for the month of October.

Here is my card:

Breast Cancer 2

I know a couple of people who are breast cancer survivors and I’m so happy that they are fighting this fight.  They are the toughest women I know.  I Salute them!!

I also lost one of my most favorite patient to breast cancer two years ago now.  She was the happiest person that I ever met in the hospital where I worked.  She wouldn’t let anything stop her from living her life for her children, 3 of them at that, and no dad.  She relied heavy on the oldest.  She past about a week and have after her birthday.  I have to say I was really heart broken by it.  She had so much life, so much she wanted to do, so much she wanted to share with her children.  She wasn’t a patient to me, she had become my friend.  Her children had become mine children too.  What a beautiful soul!!

This card is dedicated to her!  I wish I could give her the biggest shout out but because of the nature of my work I can’t but she knows up there in heaven that I’m talking about her.

Her children are doing well.  The oldest boy finished college, the middle girl is about to finish college and the youngest girl is in high school.  I keep in touch with them.  I promised her.

People are placed in your life for a reason, sometimes you don’t know why until they are gone.  I miss her but I know she isn’t far.

To create this card:

I used some retired Stampin UP! pretty in pink cardstock and Lap of Luxury Designer Series Paper.

I stamped the image, colored it using Copic markers and fuss it cut it out.  I have the SVG file but my Silhouette Cameo doesn’t recognized those files.  I have to find out why.

I stamped the sentiment and used Avery Elle Custom Panels Die set to cut it out.

Then I added some Clear Wink of Stella to the boxing gloves so that they could shine.  You can see that a little bit in the photo.

Then I added may Pink Sherbert Skittles in all four corners.  They give the DSP a nice frame.

OOO, before I forget, if you purchase the stamp set Lisa the owner of Pretty Cute Stamps is donating $2.00 to the Susan G. Komen Foundation.  Such a great cause!!

So what do you think of my card?  I think the Copic Online Card Classess is helping me out a lot.  Let me know what you think.

Supplies used:

PCS-21-Fight-Like-a-Girl-4x6-Stamp-Preview PCS-SVG21-Fight-Like-a-Girl-SVGAvery Elle Custom Panel DieCopic MarkersWink of Stella clearPink Sherbet

Thanks for stopping by!

~Kymona

Die Cut Crazy Happy Birthday Blog Hop + Blog Candy Giveaway

August DCC BD Hop

Hello everyone!! Welcome to the Die Cut Crazy Birthday Blog Hop.  The Die Cut Crazy Contributors have created some amazing birthday projects to inspire your own die cut creativity to make any birthday special.  If you just joined the Birthday Hop at my site, be sure to go back to the beginning to Die Cut Crazy blog for the hop kick off, then hop along the list to each of our designers.  You won’t want to miss any of the special birthday projects in this hop for sure. The DCC Blog Hop will run from today, August 15th at 4:00AM CST and ends Monday August 18th 11:59 PM CST.

Besides a lot of die cut inspiration, one lucky hopper will win a special prize!! Die Cut Crazy Magazine will be giving a 3 month subscription to one lucky winner which will be announced on Tuesday, August 19th on the DCC blog and DCC Facebook Page.  To win, all yo have to do is leave a comment on each of our blogs and Like the Die Cut Crazy Facebook page and then leave a comment on the DCC blog saying that you did all of that.

My Birthday project I am sharing is a Happy Birthday Day Card.  I had a lot of fun making this card and a lot of thought went into creating this card at the end, lol, you’ll see why.

Take a look:
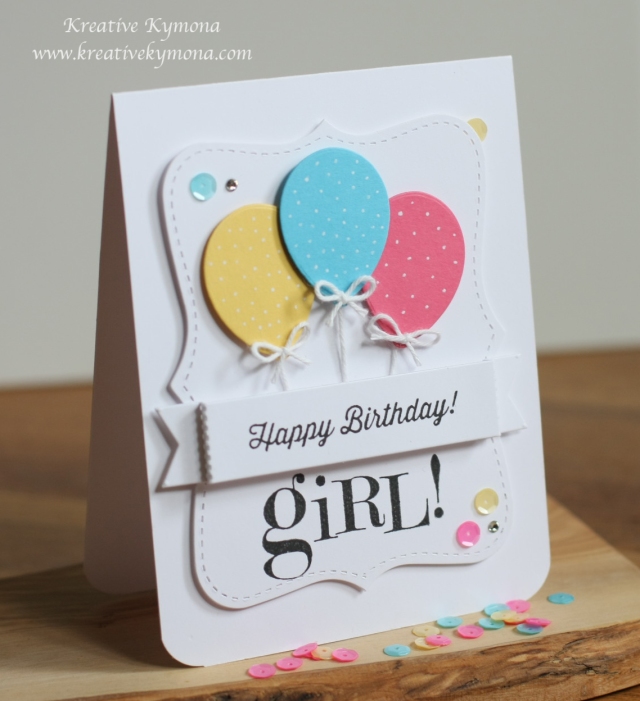
Happy Birthday Side View

What to know how I created this card, here you go:

1. I cut my Bazzill Marshmallow cardstock to an A2 size card (4-1/4 x 5-1/2 scored at 5-1/2).

2. I cut my card panel out of the same color cardstock to fit on top of my die. I love the white on white it makes the card look elegant with a pop of color.
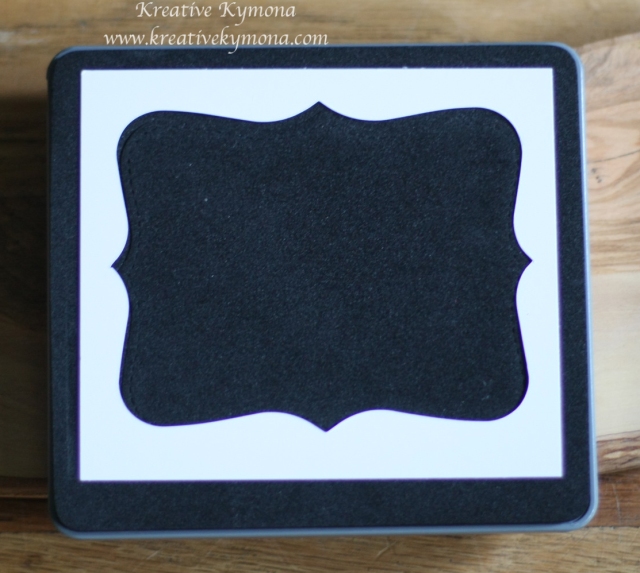
Top Note Die Cut

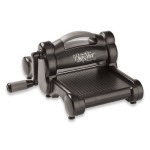
3. I used my Stampin’ Up! Top Note Die to cut out my card panel using my Stampin’ Up! Big Shot.
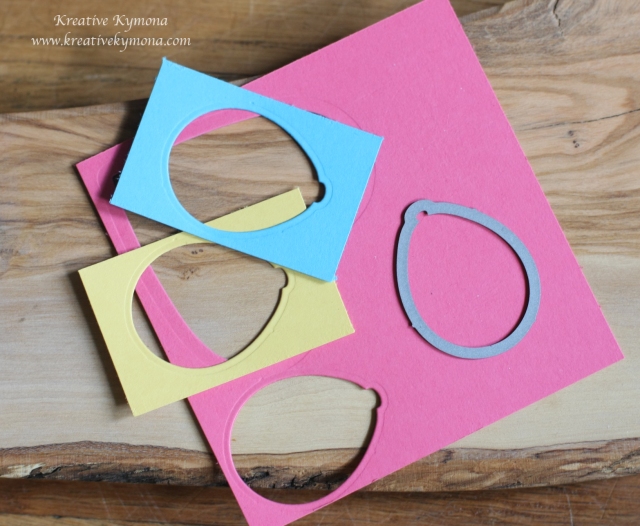
Happy Birthday Balloon die cut

4. Then I used my Simon Says Stamp Balloons Die to cut out the smallest balloon in the set.  I cut the balloons out of Stampin’ Up! Strawberry Slush, Daffodil Delight and Tempting Turquoise cardstock.
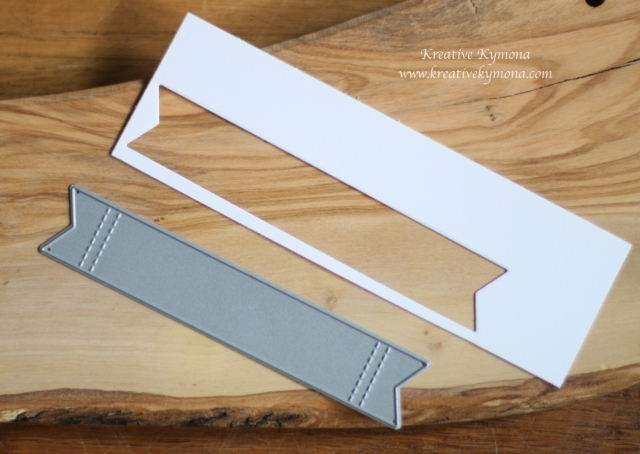
Happy Birthday Banner die cut

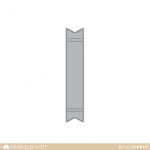
5. Then I used my Mama Elephant Bold Banner Creative Cuts to cut out my banner for my sentiment.

6.  After I die cut all of my pieces, I started to assemble my card.
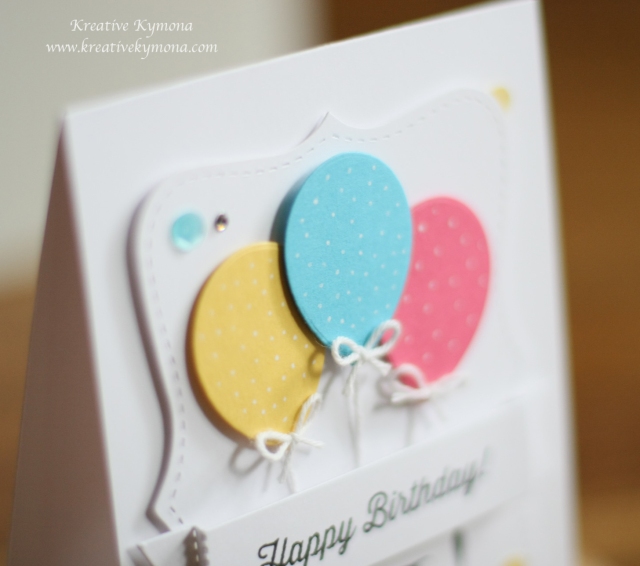
Happy Birthday Balloons close up

7. I added Stampin’ Up! Whisper White Bakers Twine to the back of my balloons using regular tape so that it looks like the string is attached to the balloons.

8. I tied small bows and add them to the front of the balloon using a small dot of glossy accents.

9. I attached my balloons using foam adhesive to the top note card panel.  I added two pieces of foam adhesive to the blue balloon so that it sits higher then the other two balloons.
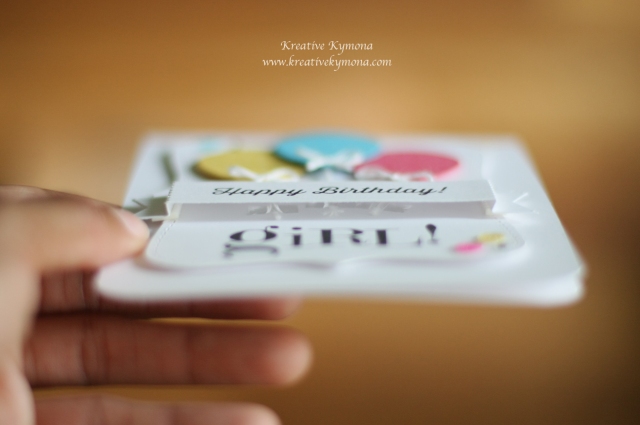
Happy Birthday Inside Banner close up

9. I taped down all of my balloon strings with regular tape so that the string looks tight.  I also cut them so that they don’t hang down past the banner.

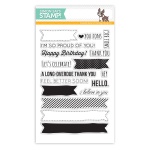
10. I stamped my sentiment on the banner using Simon Says Stamp More Sketchy Banner Greetings stamp set in Versafine Onyx Black ink.
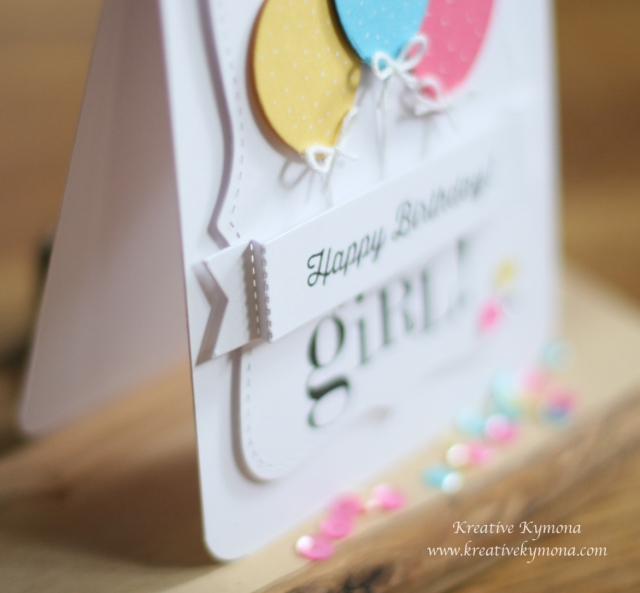
Happy Birthday Banner close up

11.  I attached the banner to the front of the card using foam adhesive right under the fold on both sides.

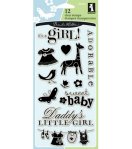
12. This is where I was stuck.  I couldn’t figure out what to stamp under my banner.  I didn’t really think this though before I put the card together.  I had to rattle my brain to figure out that I wanted to add to the bottom of my card.  I searched my stash and found this stamp from Inkadinkado called Baby Girl. I liked the “girl” sentiment but it had other words attached so I cut the stamp set.  Yes, you heard me right I cut the stamp!! It fit perfectly.
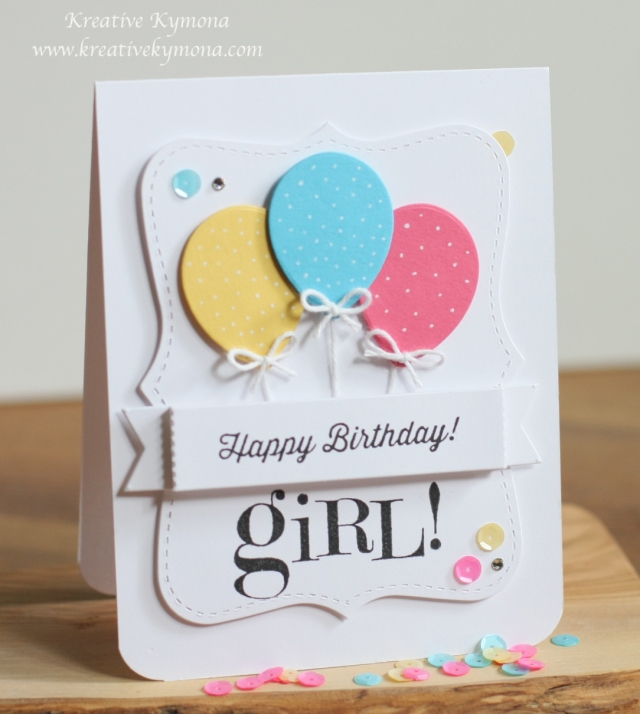
Happy Birthday Front

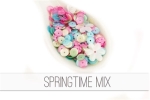
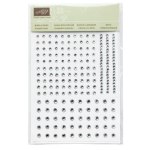
13. I added Pretty Pink Posh Springtime Mix sequins and some Stampin’ Up! rhinestones for dimension.

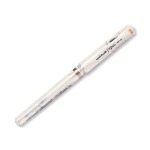
14. My balloons looked to plain so I used my White Signo Uni-Ball Gel Pen to add white dots to my balloons.

WALA, my card is done. The hardest part in creating this card was die cutting all of the pieces.  Once that’s complete, putting it together is easy.

I hope you give this design a try.

Now on to my Blog Candy Giveaway!!
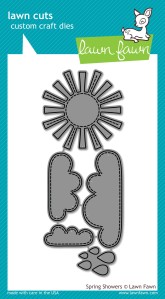
Hearts Lawn Cuts   LF Spring Showers

Happy Birthday to you!!!  I’m giving away two different Lawn Fawn Dies:  Hearts and Spring Showers!!

THE RULES: For your chance to win all the above goodies, please leave me a comment at the end of this post with your answer to the question below.  Deadline is 11:59 pm EST, Sunday, August 17th, at which time I’ll choose a random winner.

The Question: If you could have anything for your birthday, what would that be?

Edited to include the winner of this challenge
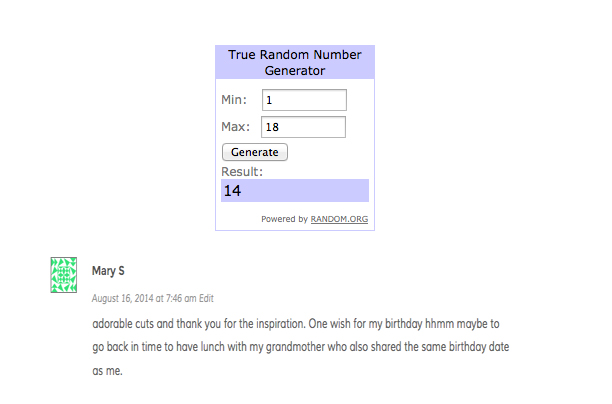
Winner of Challenge

Congratulations to Mary S!!  I will send you an email.  Thank you to everyone else who played along!!!

Thanks for stopping by.  I’m the last but not least stop on this hop.  If you want to start all over again, Die Cut Crazy is the first stop.

To make sure you don’t miss any of the birthday projects, here is the list of all of our blog hop designers:

Die Cut Crazy

Debbie

Deepti

Tina

Kelly

Lisa

Jennifer

Karen

Holly

Mary

Dianne Hosted at DCC

Kymona ← You are here!

Supplies used:

Daffodil Delight CSTempting TurquoiseStrawberry SlushBazzill Marshmallow CSTop Note DieBig Shot Die-Cut MachineBOLD BANNERWhite Baker's Twine3M Mounting Tapeglossy accentsMore Sketchy banner GreetingsOnyx Versafine InkInkadinkaso Baby GirlSpringtime Mix SequinsWhite Signo Uni-Ball Gel PenBasic Rhinestones Jewel Accents

Thank you for stopping by!!

~Kymona