Hello everyone!! I’m here today with CS Take It Make It Design Team for our first challenge of 2015, our January Challenge.
Some amazing changes are happening over at the CS Take it Make It Challenge. We are giving our challenge player TWO chances to win each month!!
One winner will be decided by a random number generator…so anyone who enters the challenge has a chance to win the fabulous sponsors prize we will be showcasing!
Our other winner will be our ‘Design Winner’, voted for by the blog and magazine DT. This winner will get their project published in Craft Stamper, be a Guest DT member for a challenge, AND get their own winners profile on the blog! The profile will be a wonderful opportunity to share your crafting styles and projects with the world, in a dedicated blog post just for you here on the CS blog!
(To be eligible for either prize you need to make sure your project follows all our guidelines, so please check them out, the guidelines are over on the sidebar!)
Our other HUGE change is that we are going to alternate our themes each month. One month will be a ‘Take A Stamp’ theme, the next ‘Take A Technique’ and so on. The ‘Take A Technique’ months will run in exactly the same way as before, we will look through Craft Stamper magazine and choose a technique for you all to have a go at. The ‘Take A Stamp’ months will be very exciting…..basically, its Anything Goes! You may enter any project you wish to the challenge…the only rule being you must ‘Take A Stamp’ and use it somewhere on your piece! So, any STAMPED project at all!
So with all of that said:
This month’s theme is Take a Stamp!! That means take any stamp and create something, anything goes!! Now if that isn’t easy, I’m not sure what is!!
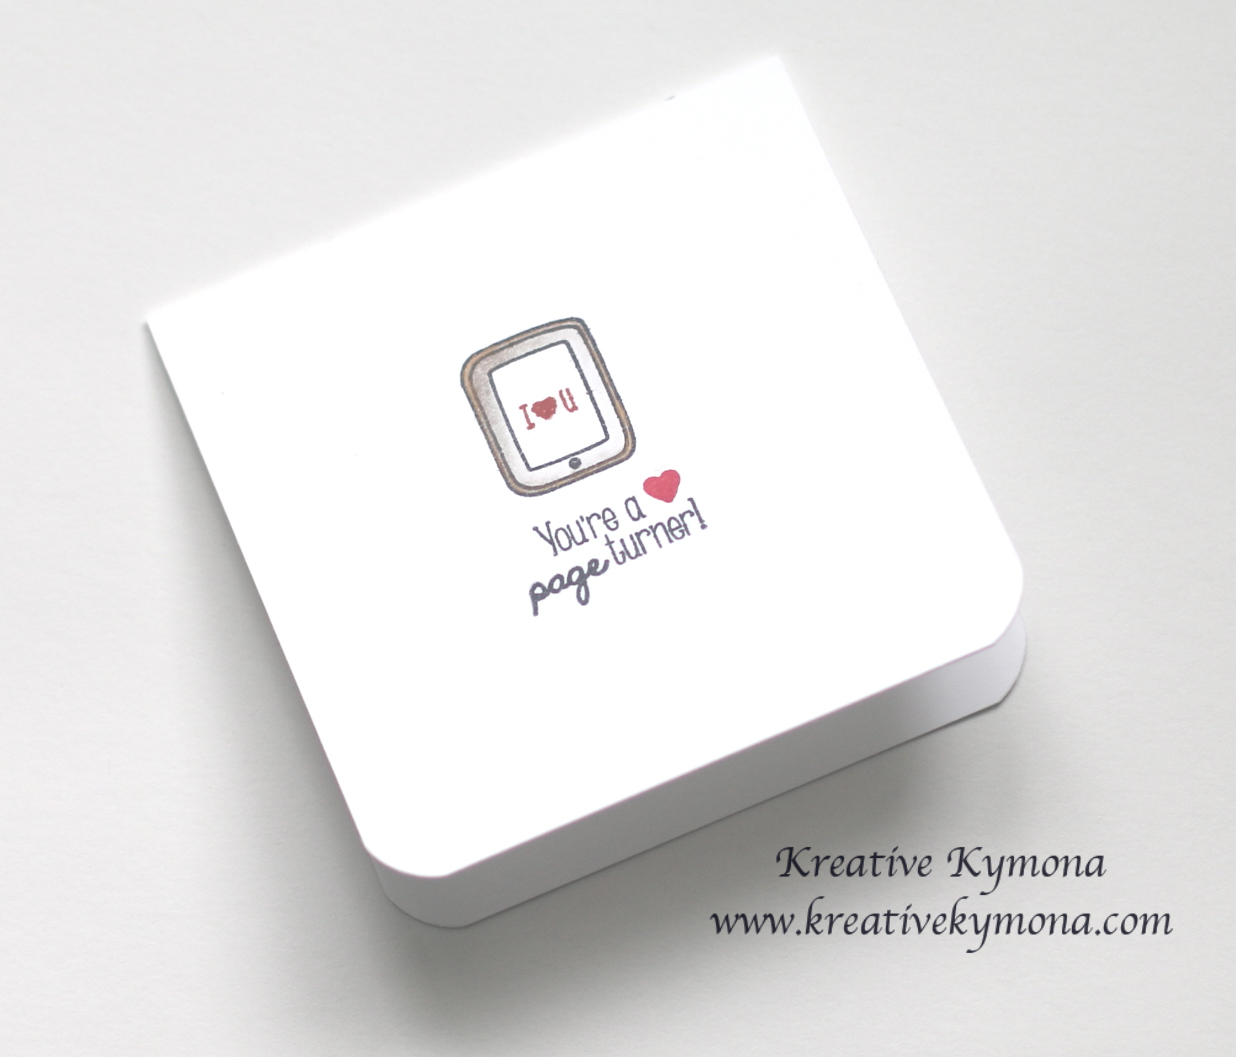
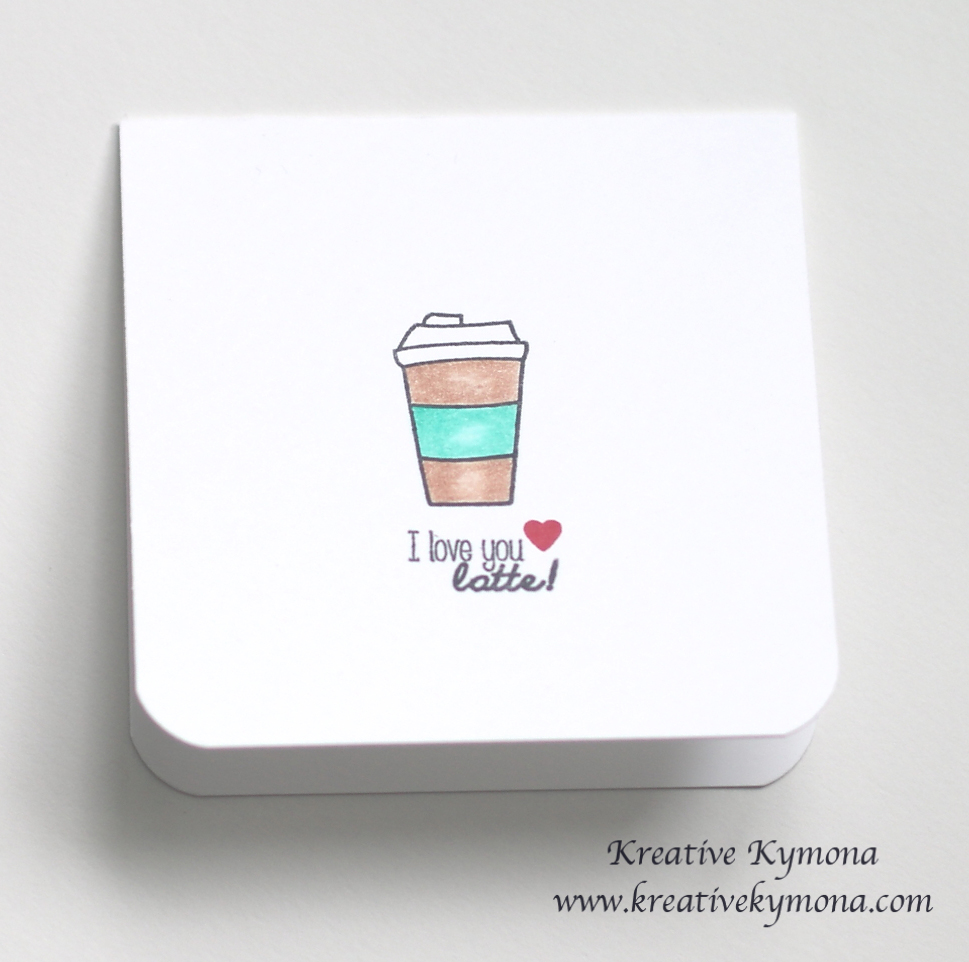
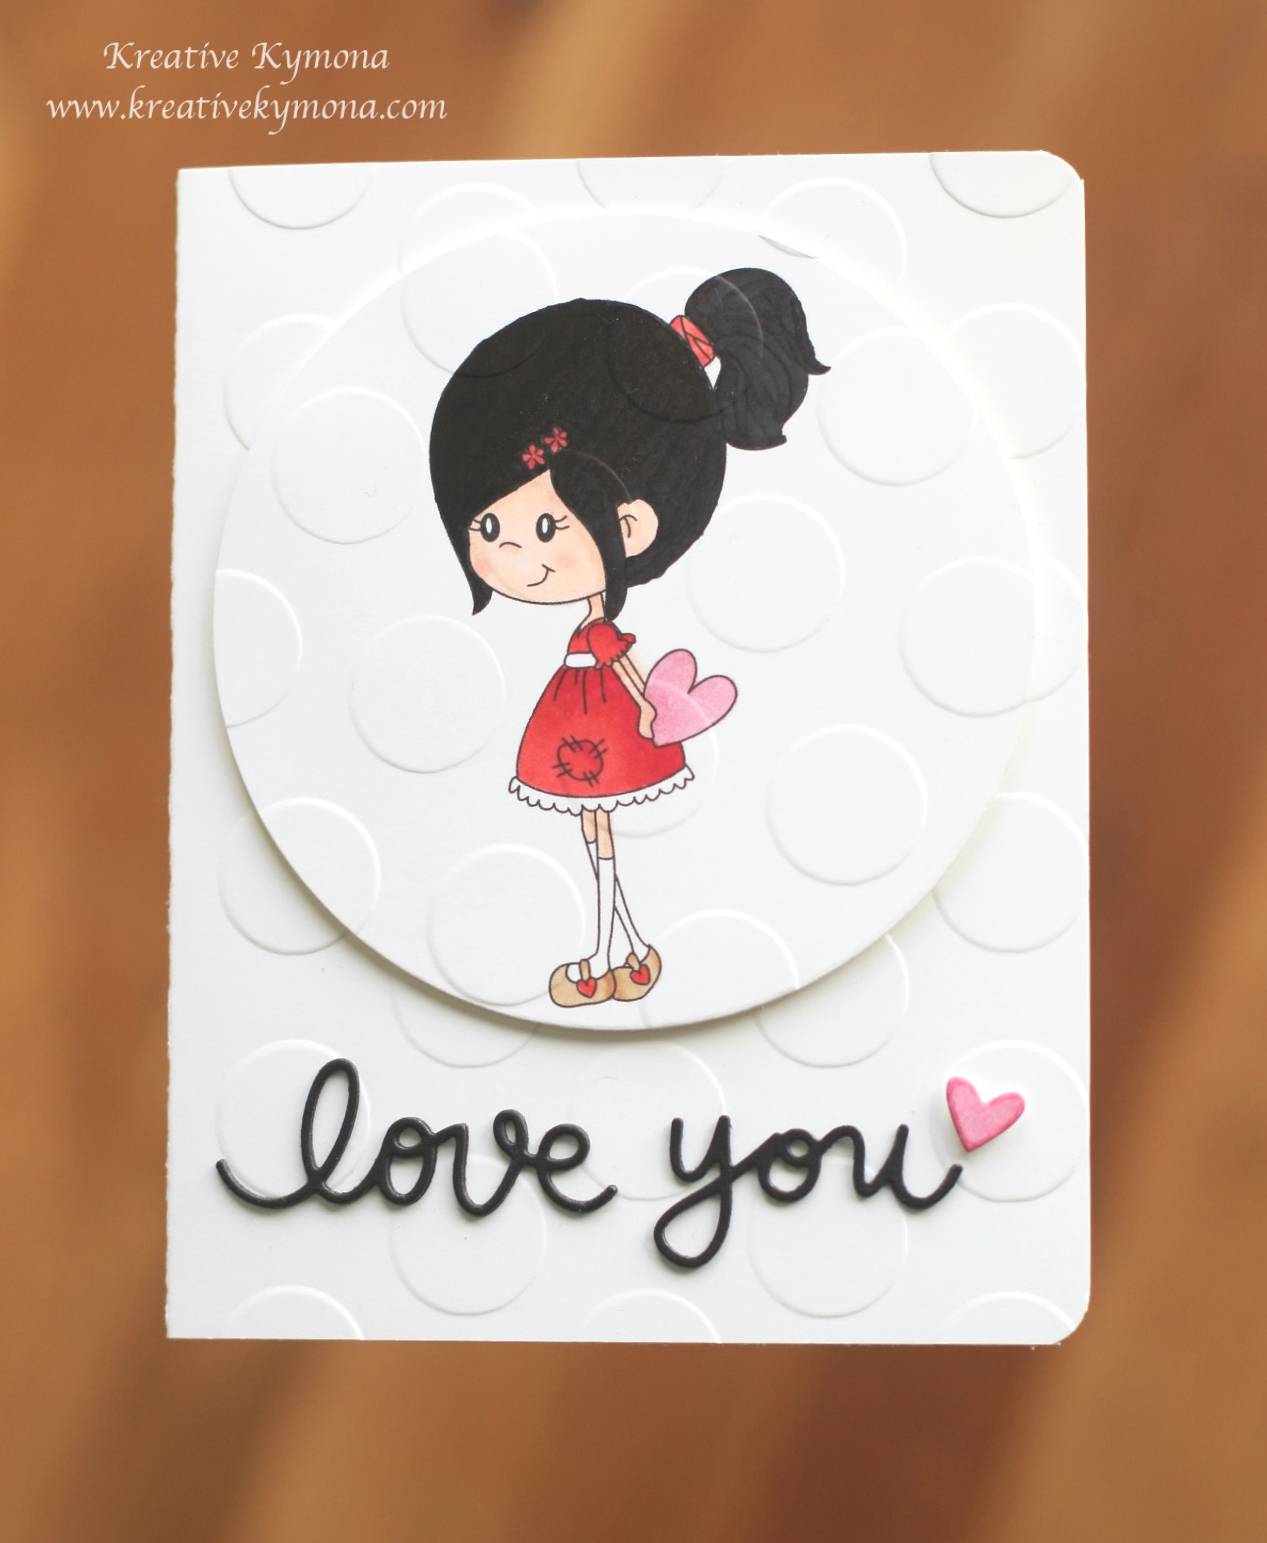
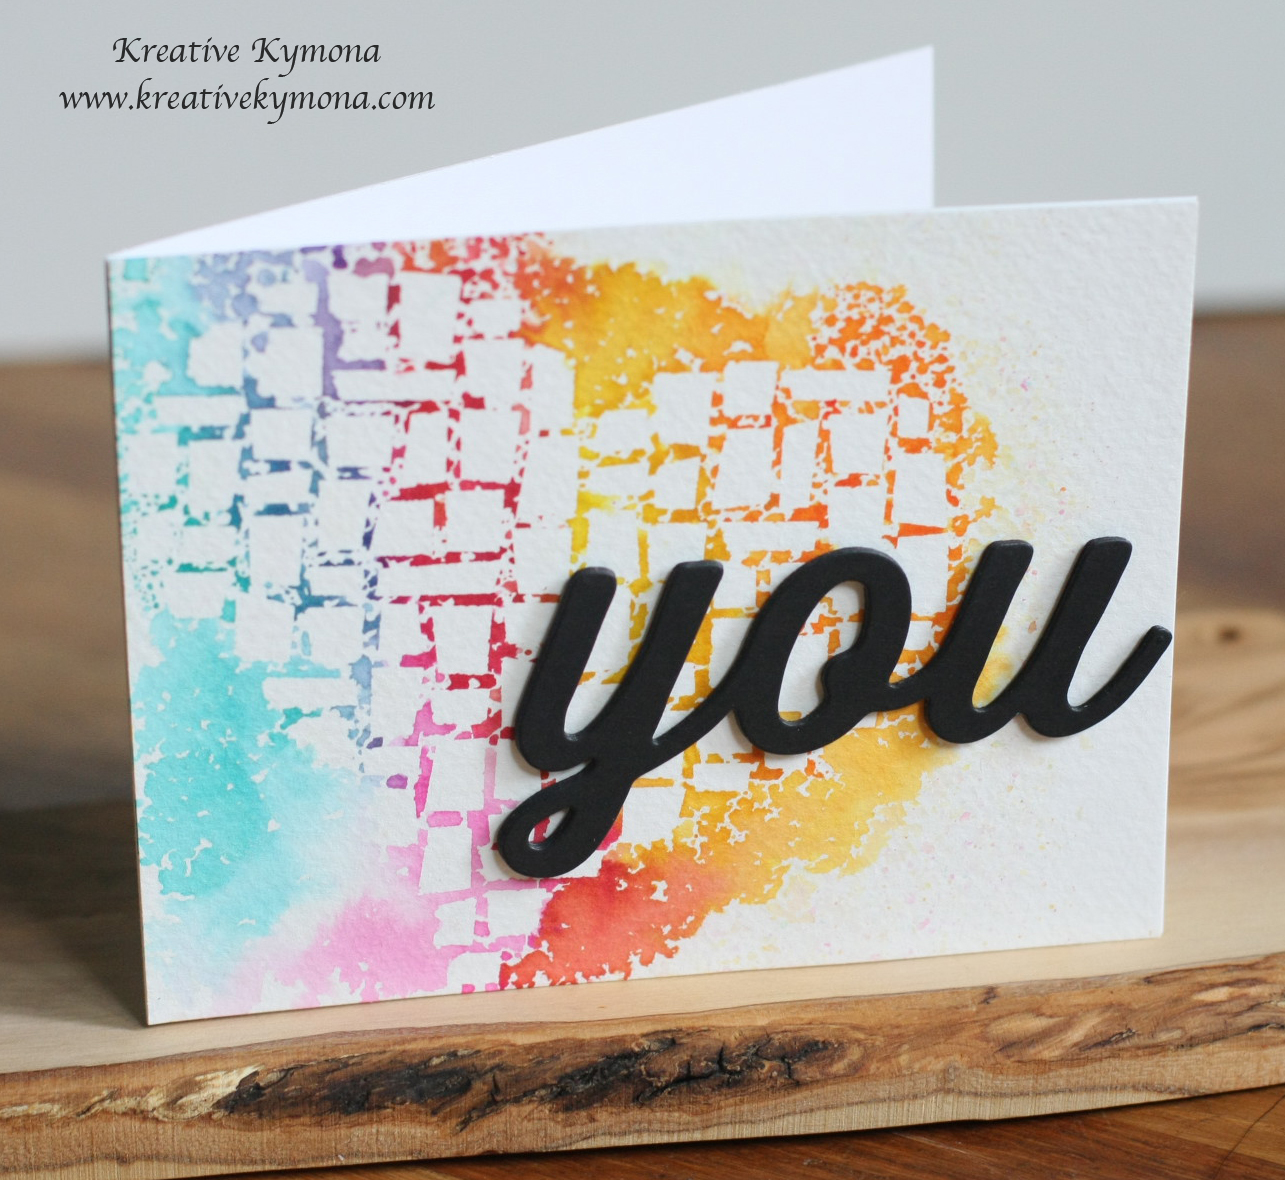
Take a look at my card:

The idea behind this card came from Therese Calvird from Lostinpaper, I’m such a hug fan of hers. She create a card a couple of days ago and I’ve been dying to try it.
Sooooo, what do you think? I stamped my Random Fan image and colored it with Copic markers.
I have to admit, I’m not good at all with coloring hair so I just colored the little girls hair all black.
I used these Copic markers for my image:
Hair: 100
Clips: R27
Hair Twist: R24, R27
Skin: Eoo, E11, R20
Shoes: E31, E33, R24
Dress: R24, R27, R29
Heart: R81, R85
To create the rest of the card:
I embossed the front of the card panel and my colored image die cut circle with the Stampin’ Up! Polka Dot Embossing Folder.
I die cut the Simon Says Stamp Small Love You Die from Simon Says Stamp Black cardstock, four times.
I attached the circle to the front of the card panel with foam adhesive.
I stacked the die cuts and attached it to my card front using Tombow Multipurpose Glue.
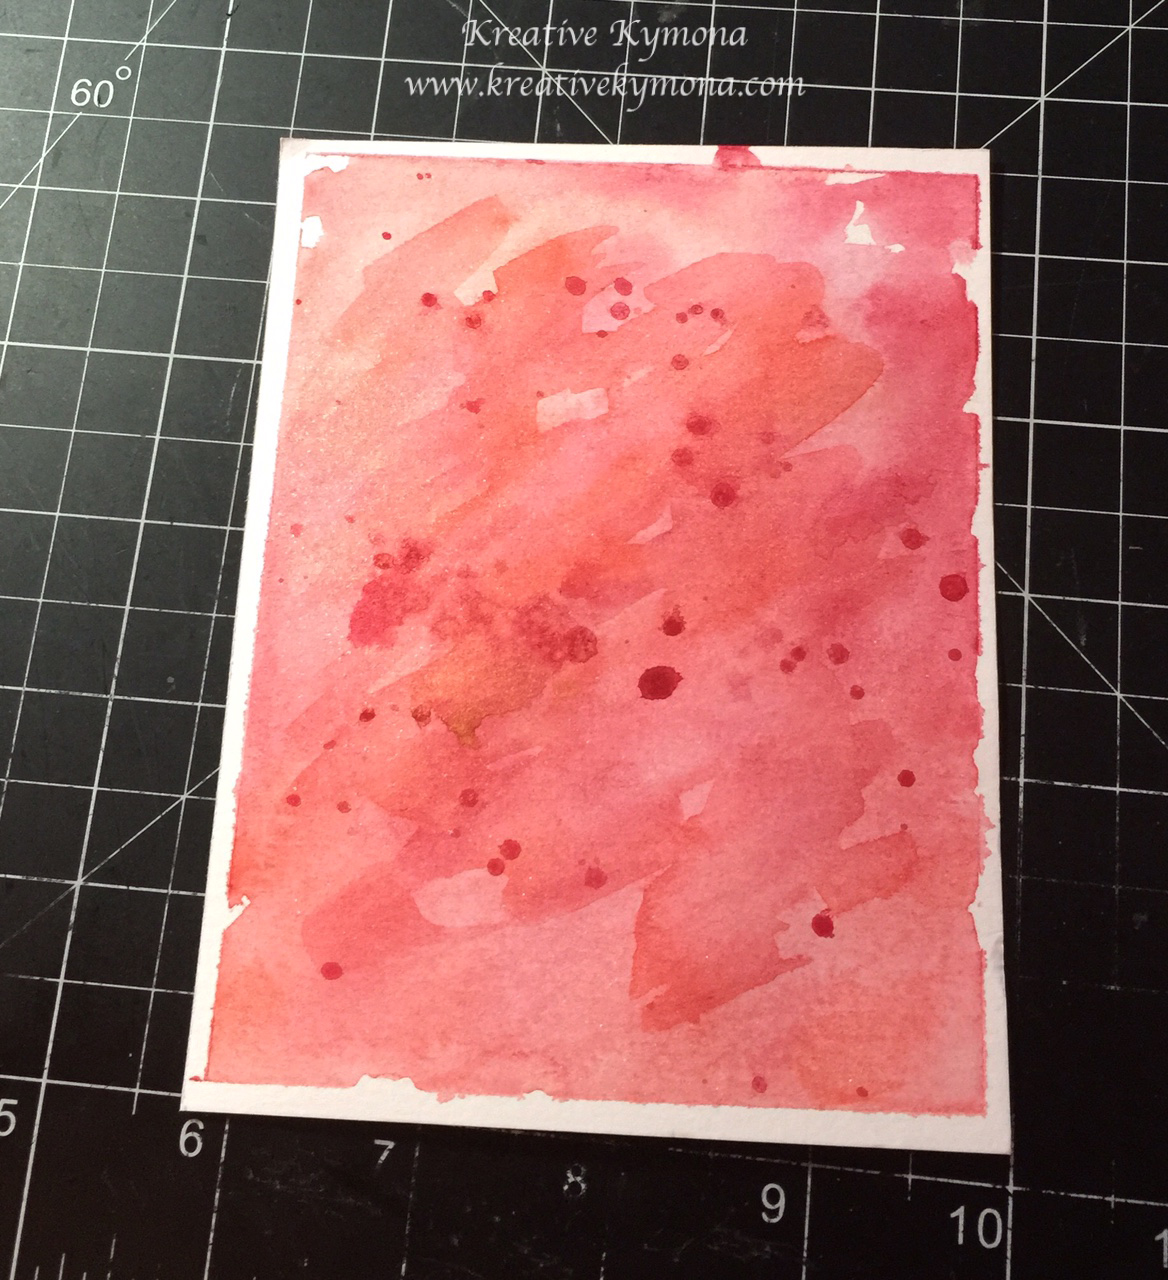
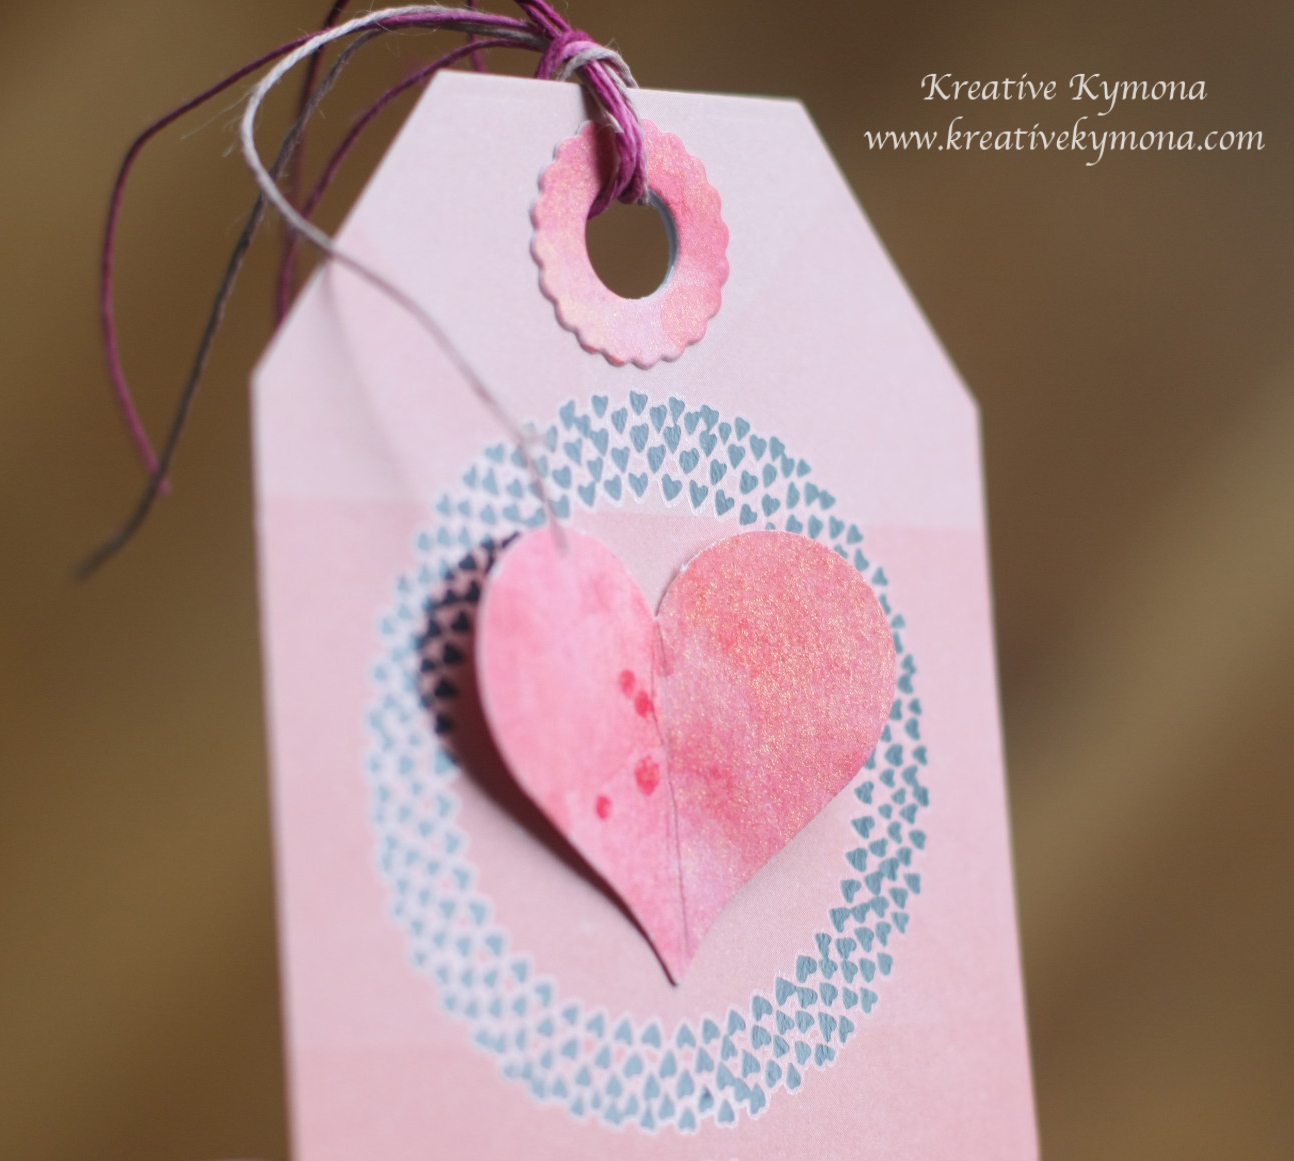
I used my Copic marker R81 to add color to a scrap piece of paper. I used Lawn Fawn Hearts to cut out the smallest heart.
I attached my heart with foam adhesive.
Super doper easy!! What do you think? What about my coloring? Please let me know.
You can stamp your to your hearts desire. The challenge just calls for a stamped image.
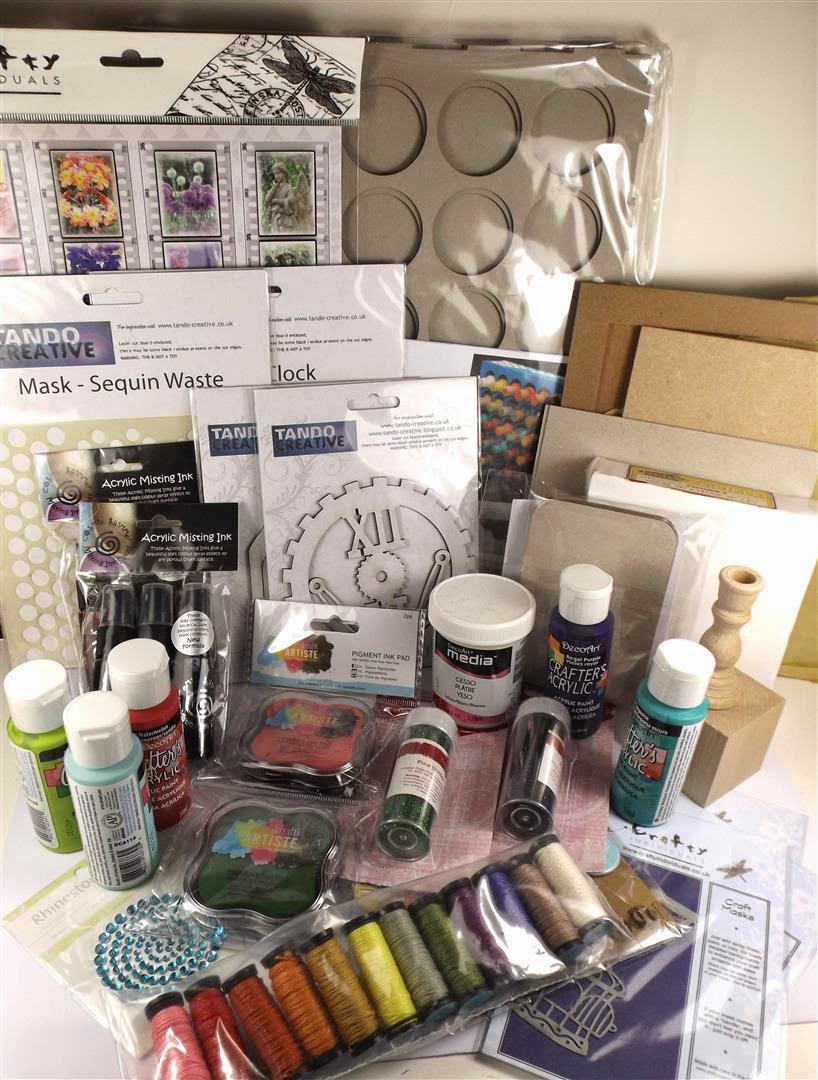
The prize pack for the one lucky randomly drawn winner is totally amazing!!
Check this out:
Don’t mind the photo, not enough light, but that box is full of stamps and stuff!!

This box is full of stamps and stuff!!

and her is everything else:

The random winner will win everything you see in these photos!! For a better idea, their is a comprehensive list of everything on the sidebar on the CS Take It Make It Blog.
I hope you join this challenge!! Check out my fabulous fellow DT members creations on the blog. I hope to see all of you there!!
I’m playing along with Simon Says Stamp: Something New.
I’m playing along with the NBUS Challenge.

I’m also linking up to Stempelkuche Anything Goes Challenge.

Supplies used:


Thank you so much for stopping by!!
~Kymona