Hello everyone!! Happy Leap Year!! Are you excited about the extra day of the year.
Do you know what a leap year is?
A leap year, where an extra day is added to the end of February every four years, is down to the solar system’s disparity with the Gregorian calendar.
I just learned that watching a TV show. All I knew was we had an extra day every four years in February. LOL!!

Well to your luck, the So Suzy Stamps Design Team is taking advantage of this day and having a fun Blog Hop. If you arrived from So Suzy Stamps blog, your on the right track. If you arrived here on your own, you will want to go back to the beginning as to not miss a thing!!
I’ve added a full list down below just in case you get lost!
The projects made for this hop are a big secret between the design team. Now of us know what stamps we are working with. Super fun. So the big reveal is for everyone.
I was sent two sentiment stamps! I think these stamps were chosen for me because in April I turn the BIG 40!!!
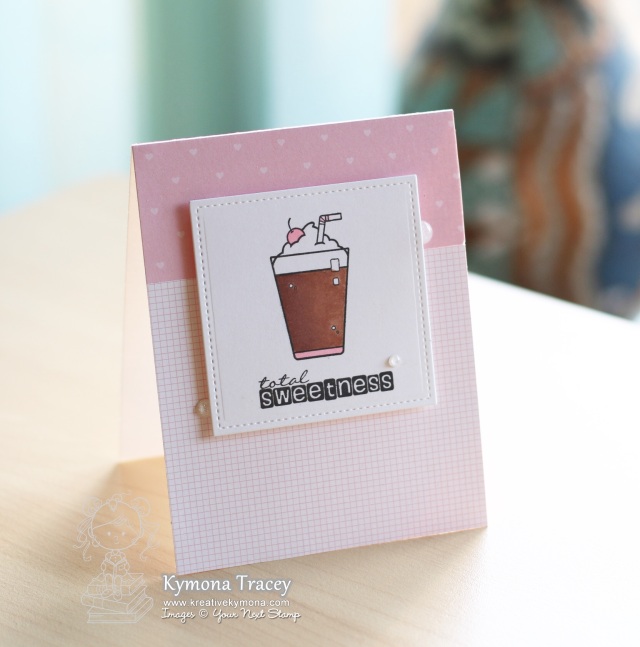
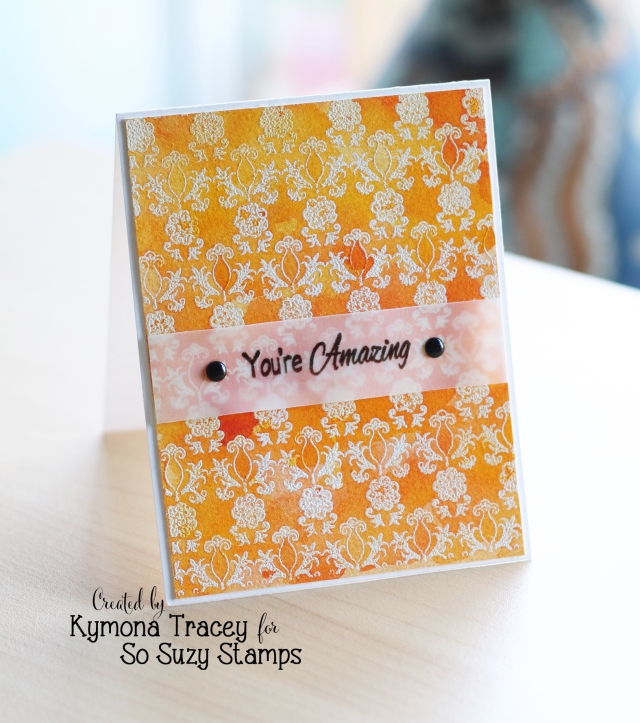
Take a look at my first card:

I’m excited about turning 40! Its a big year for me and I plan on doing big things. When I think of 40 I definitely think of Sexy! Not just in body shape but in my mind as well. I’ve grown so much and I’ve learned so much in the last 39 years that I am ready to hit the ground running.
Take a look at my second card:

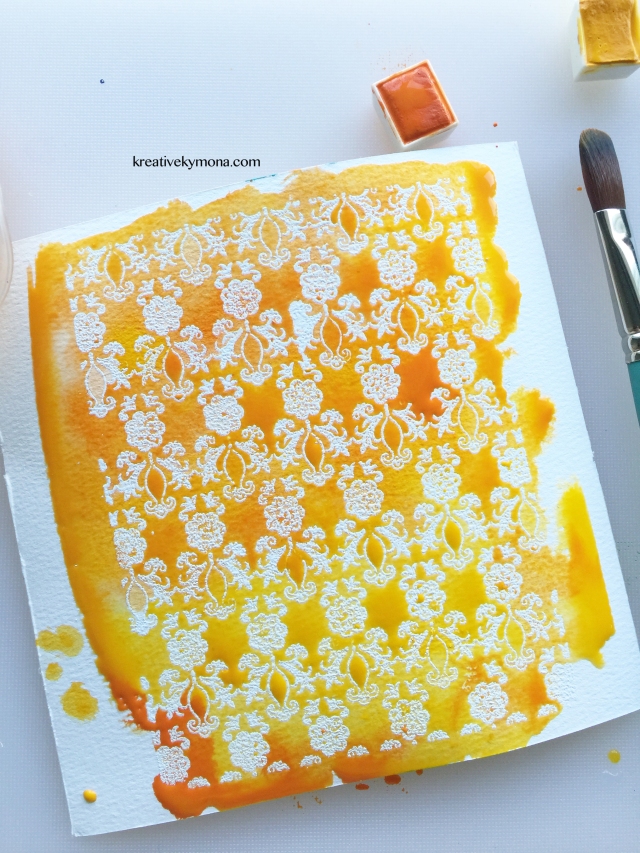
Did you know that watercoloring can be sexy too! LOL!! When you add the silver foil corset on top, boy o’ boy!!

Here’s a closer look:

Foiling has become one of my favorite crafting thing to do. I love how it turns out each and every time.
The company that made this corset die went out of business a last year so this die isn’t available any more.
So what do you think? Are you ready to be sexy at what ever age your going to be this year?
I would love to hear from you on what you think?
Now what is a blog hop without a prize!!
Here are the details:
This Blog Hop goes from today, February 29th through March 3rd. The winner will be announced on March 6th.
Here is what the winner will win:
One of our (the design team) cards from everyone, that’s 10 fabulous cards. How awesome is that!!
All you have to do is hop along leaving a comment on everyone’s blog as you go along. Yup, that’s it. Make sure you finish commenting by the 3rd of March.
Now your off to Terri’s blog!! Its sure to please.
So are you ready? Have fun!!
Here is the list of all the participants:
So Suzy Stamps
Kymona ←your here
Terri
Jennifer
Christine
Justine
Shannon
Monica
Janis
Martha
Chris
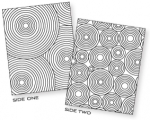
Supplies used:


Thanks for stopping by!!
~Kymona