Third Post for today
If your looking for a2z Scrapbooking post, click here
If your looking for So Suzy Stamps post, click here
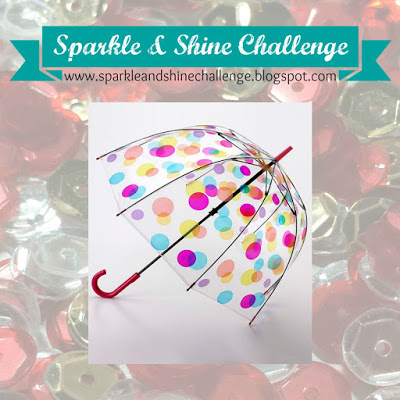
Hello everyone!! I’m here today with the Sparkle and Shine Challenge!!! How exciting is this!!!
Since its the first of the month, its time for our new challenge!!!
Here is the inspiration photo that guided us this time around:

Now take a look at my card:

I had so much fun watercoloring this Dahlias from WPlus 9 Beautiful Bouquets: Dahlias stamp set.
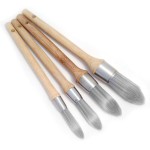
I used these amazing Daniel Smith dots:

Those small dots packs a big punch. This was the first time I used them and I like them. If I wanted to purchase any colors I have a true sample to guide me.
Here is how I created this card:
I used the Mini Misti to stamp the image and sentiment on Tim Holtz Watercolor papers using Ranger Archival Black Ink.
Then I used the watercolor dots to color the image in.
Nice and easy.
What do you think? I would love to hear from you.
Now its your turn to give this challenge a try!! I can’t wait to see what you come up with!!
Our sponsor for this challenge is Create a Smile Stamps!!
![]() The winner of this challenge will receive a $25 gift card to their online store and will be asked to be our Guest Designer for the next month.
The winner of this challenge will receive a $25 gift card to their online store and will be asked to be our Guest Designer for the next month.
Supplies used:


Thank you so much for stopping by!
~Kymona