Hello everyone!! It’s Tuesday and you know what that means, its CASology time. Yayyyy!! Last week, there were so many fabulous cards, it was super hard to choose one card.
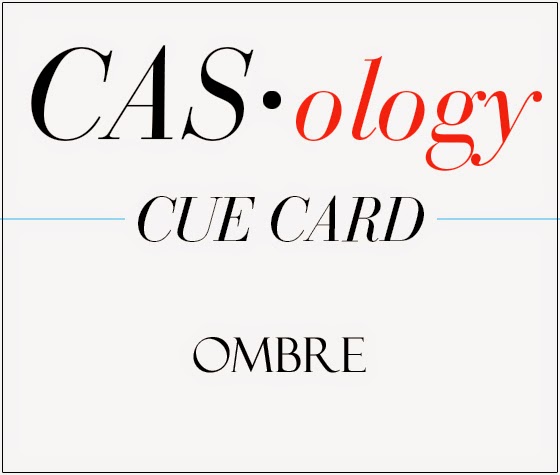
This weeks cue card it fabulous too. Check it out:

Such a fun word. The possibilities are endless. I saw a card Laura Bassen created and I and wanted to make a card similar to hers.
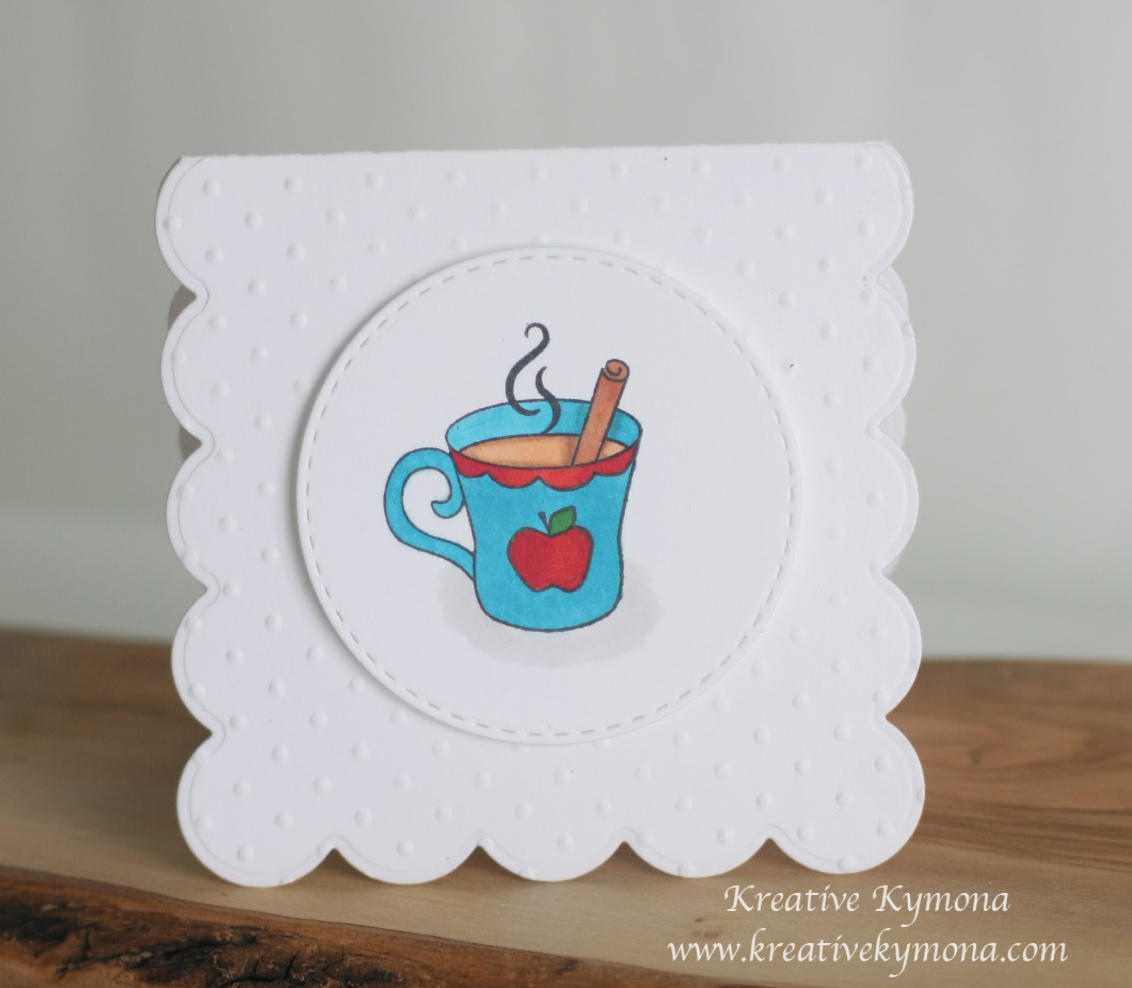
Take a look at my card:
 (this photo doesn’t do this card justice, its so pretty in person)
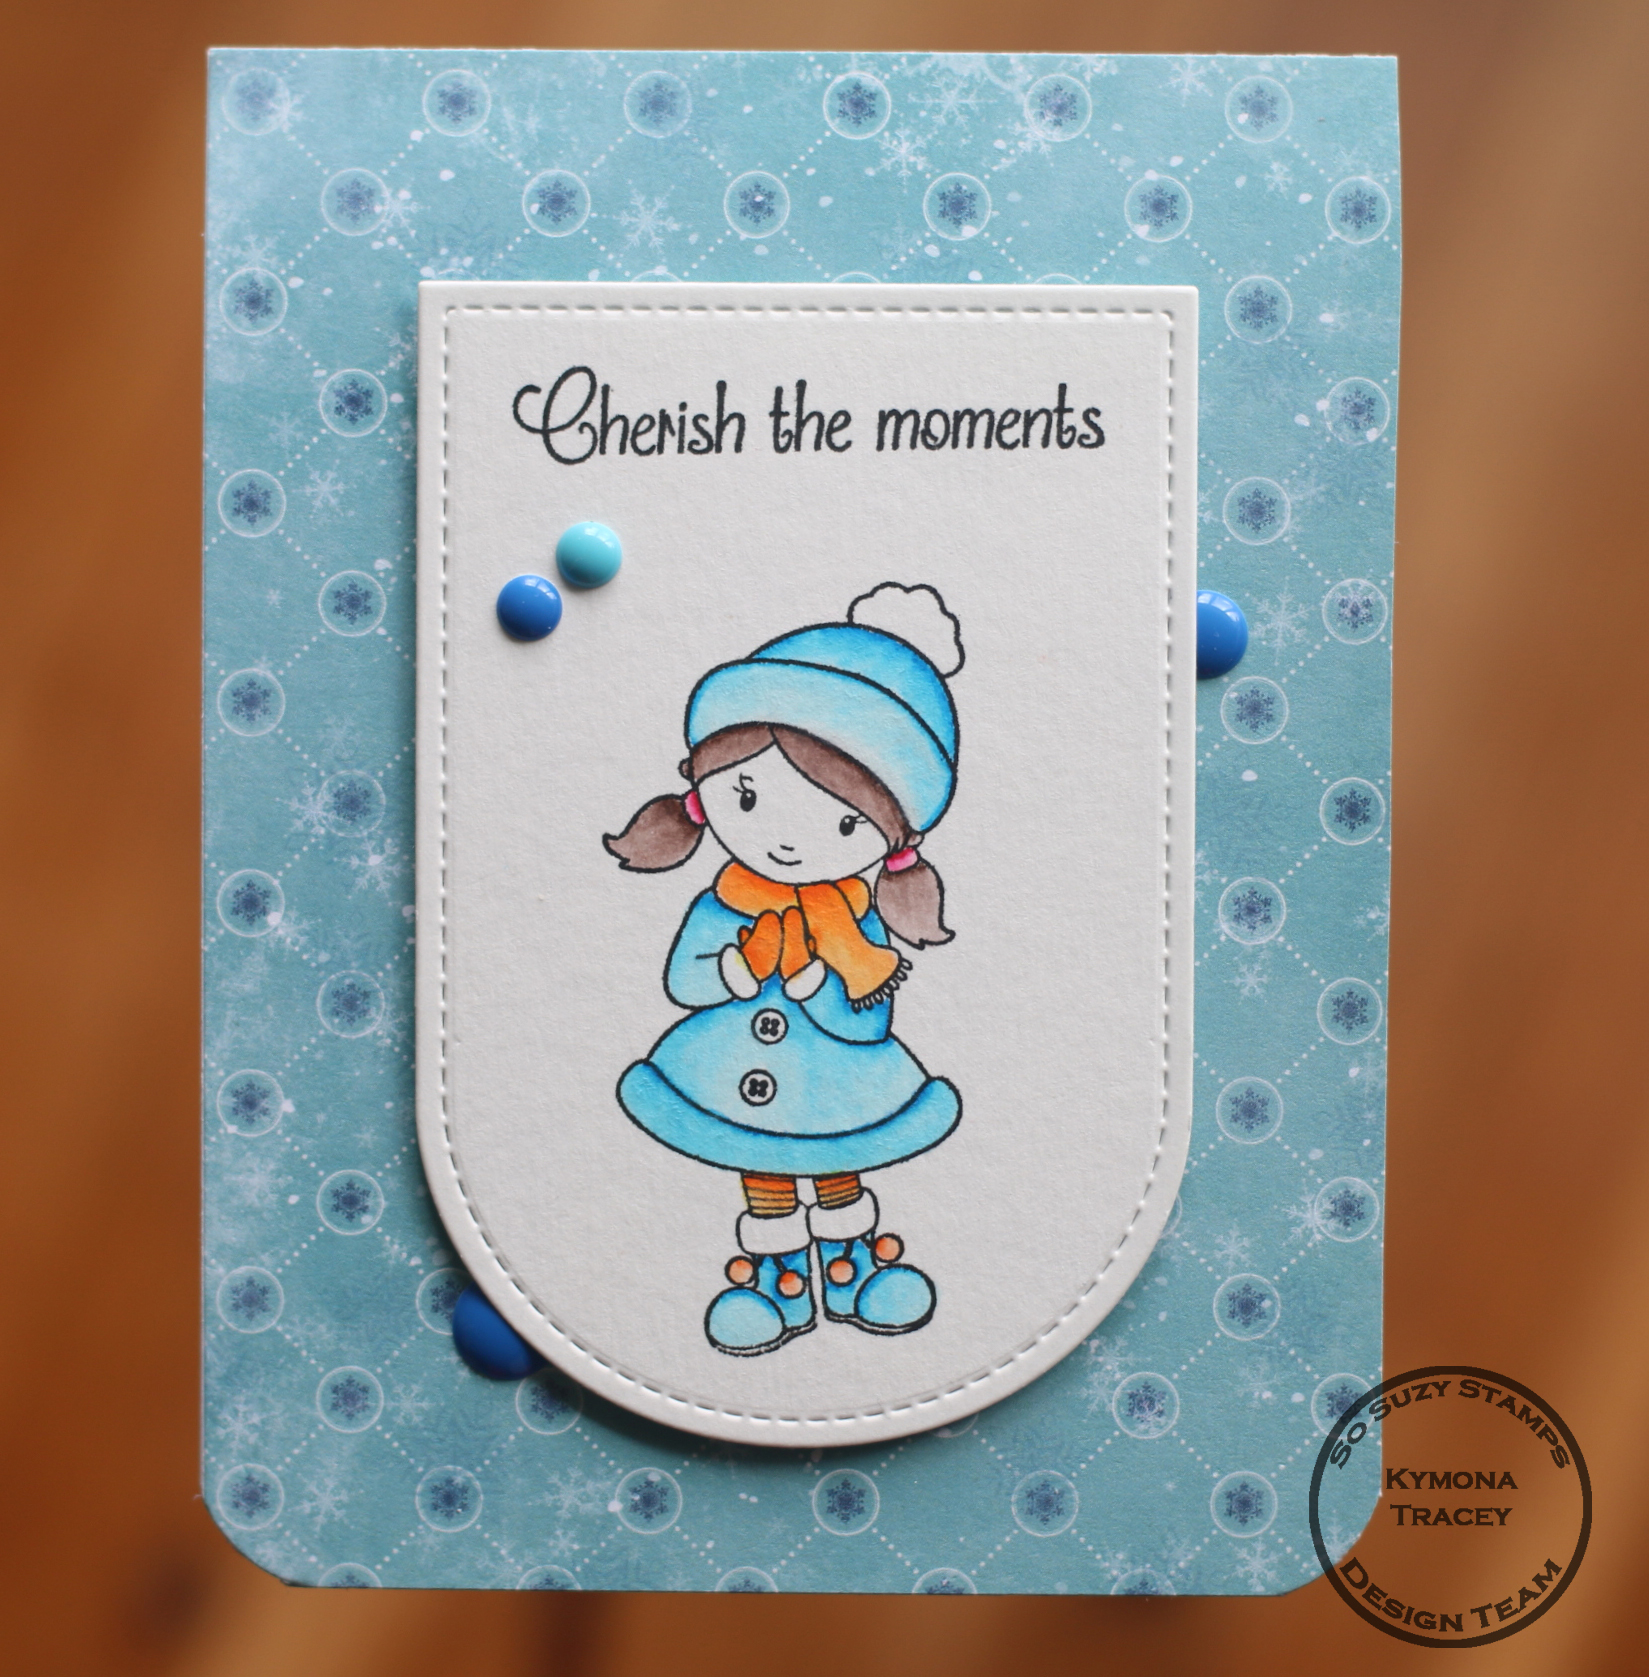
This little lady is all dressed up and ready to attend a birthday party. Isn’t she the cutest little you’ve seen!!
Here is how I created this card:
1. I cut my card base to an A2 (4.25 x 5.50) size card. I cut my card panel to (4 x 5.25).
2. I used Simon Says Stamp Stitched Circle die to create an opening on the card panel.
3. I use the cut circle to draw a circle on my card base to guide where my stamped imagine should be placed.
4. I stamped the little girl from Penny Black Cool Chicks Stamp Set within the drawn in circle on my card front. Once the ink dried, I erased the circle.
5. I colored the little girl with Copic Markers.
Hat: BG11, BG 13, BG15, R24, and Y06
Dress: R22, R24, and R27.
Necklace: BG34
Stocking: R24, and BG34
Shoes: R20 and R24
Skin: E00 and E11
6. I used Copic BG 34 to color a piece of cardstock to match the color in the little girls dress.
7. I die cut Simon Says Stamp Wishing Die 4 times (3 black die cuts and one out of the cardstock that I colored.
8. I stacked that word die on top of each other and adhered it to the front of my card.
9. I stamped the rest of the sentiment from Simon Says Stamp Sending and Wishing stamp set.
What do you think? What about my coloring? I would love to hear from you.
Check out what my fellow DT Members have created!!!

Ardyth Percy-Robb
Gillian Ross
Hazel Hodgkins
Jen Wills
Joyce Mehrberg
Judy Marino
Kimberly Wiener
Kymona Tracey ← Me!
May Park
Melissa Chipperfield
Tracey McNeely
Hannelie (Guest Designer)
Our sponsor for this challenge is STAMPlorations.
I can’t wait to see what everyone comes up with. I hope to see all of you there!
Supplies used:


Thanks for stopping by!!
~Kymona