Altenew Pattern Play

Hello everyone!!  I’m up on Altenew’s Scrapbook Blog today sharing my big and bold layout!!

Here’s a sneak peek:

sewing labels

To see the complete layout and full tutorial, head on over to Altenew’s Scrapbook Blog.  I can’t wait to see what you think!

Supplies used:

(Thank you so much for stopping by. Compensated affiliate links used at no cost to you.  All products were personally purchased.  This post was not paid or sponsored. )

        sewing labels stamp set

Thank you so much for stopping by!

Sparkle and Shine Challenge

Second Post for today
If your looking for Right At Home National Craft Month Blog Hop, click here

Hello everyone!!  I’m here today with the Sparkle and Shine Challenge!!!  

Since its the 15th of the month, its time for our new challenge!!!

Here is the inspiration photo that guided us this time around:

March 15_2016

Now take a look at my card:

Bunny felt (SSS)

I have to admit I was stuck when I saw the inspiration photo.  I don’t have any wreath stamps or dies.  The colors aren’t my favorite either.  What do I do?

This weekend my mother taught my daughter and nieces how to stitch and I remembered I had the Simon Says Stamp Stitch die, and the bunny at that. So I went with that.  I’ve never used any type of stitching on my cards.  So this was a bit fun.

The basket was created with felt but bunny, his carrot and flowers were created with paper (I didn’t have felt in those color, LOL)

Nice and some what easy!!

What do you think?

Now its your turn to give this challenge a try!! I can’t wait to see what you come up with!!

Our sponsor for this challenge is Right At Home!!

The winner of this challenge will receive a $15 gift card to their online store and will be asked to be our Guest Designer for the next month.

Supplies used:

plush bunnyplush basket Recollections White Heavyweightscript-greetings-sq

pumpkin pie cssand feltgarden green csNeedlesEmbroidery Thread


Thank you for stopping by!

~Kymona

CASology 158 – Precious

Hello everyone!!  It’s CASology Tuesday!!  We are back with another Cue Card for you!!!

This week’s cue card is super simple!!

Week 158 - Precious


Take a look at my card:

Hello (CAS)

When I thought of the word “precious” I thought of cute and cuddly.  I went straight for WPlus9 Bubble Talk.  I’ve had this set since its release but have never used it!  So why not use it today!

Creating this card was easy.  Here’s how:

I used My Favorite Things Blueprints 14 to cut two pieces of cardstock to form my card base.  I scored the back piece of cardstock a half and inch from the top to create a crease for the card to open. I adhered the two pieces of cardstock with adhesive.

I stamped the elephant and balloon with My Favorite Things Hybrid Ink.  I colored both with Copic markers: R29, C3, C5, O.  I used the ) Copic to create the texture on my baby elephant.  After coloring the balloon, I stamped the sentiment and the small hearts with the same ink.

Super doper easy.

Now its your turn!! I can’t wait to see what you come up with!

For more inspiration, check out my fellow Design Team members blog for more awesome work.

Design-Team


Thanks for stopping by!

~Kymona

Because I’m Happy…

still smilingstill smiling       still smiling

My smiles and happiness continues!!  I found out yesterday afternoon that I was one of the winners of the Muse Challenge#69.  I became a Featured Member yesterday. Yayyyy!!!! I worked really hard and it paid off.

Thank you to everyone who voted this week.  Congrats to the other wonderful women who won and played along this week!!

I’m back again to play along for this weeks challenge.  The Muze Challenge #70 was created by Vicki Dutcher.  Vicki’s card is full of details.  Take a look:

Vicki Dutcher

When I saw Vicki’s card, I knew I had a striped background stamp from Simon Says Stamp that I wanted to use.  Plus I love the color she used and decided to use the same color from Hero Arts.

Here is my take on Vicki’s card.


Enjoy Friends 2

The color made me feel happy and since I’ve been in a great mood, I decided to use the same color.  For my background I used Simon Says  Stamp Wide Stripes Background Stamp with Hero Arts Tide Pool Ink.

The striped mat was adhered to the card base with foam dimensionals.

For the mat under my sentiment die, I sponged the white card stock with same Hero Arts Tide Pool Ink very lightly in a whimsical motion, leaving some of the white card stock to show through. I was going to watercolor that mat but changed my mind.

For my sentiment piece, I rubbed my Hero Arts Tide Pool ink across my white card stock to create the same color.  I used Papertrey Inks Phase Plate #4 Die to cut the ENJOY sentiment and frame.

The mat and the sentiment plate was then sewn together to represent the flagged banner across the front of Vicki’s card.

The sentiment “friends” from Papertrey Ink’s Wet Paint 3 stamp set was stamped in the window with versamark onyx ink.

I added rhinestone for an added dimension.

Was my interpretation of Vicki’s card accurate?  Please let me know what you think.

~Kymona

Supplies used:

Phrase Play #4Wet Paint 3Wide Stripe Background StampclassiccrestsolarwhtieHero Arts Tide PoolSewing MachineStampin' TrimmerBasic Rhinestones Jewel AccentsStampin' DimensionalsOnyx Versafine Ink

What’s Your Favorite Watercolor Color?

watercolor for card makers

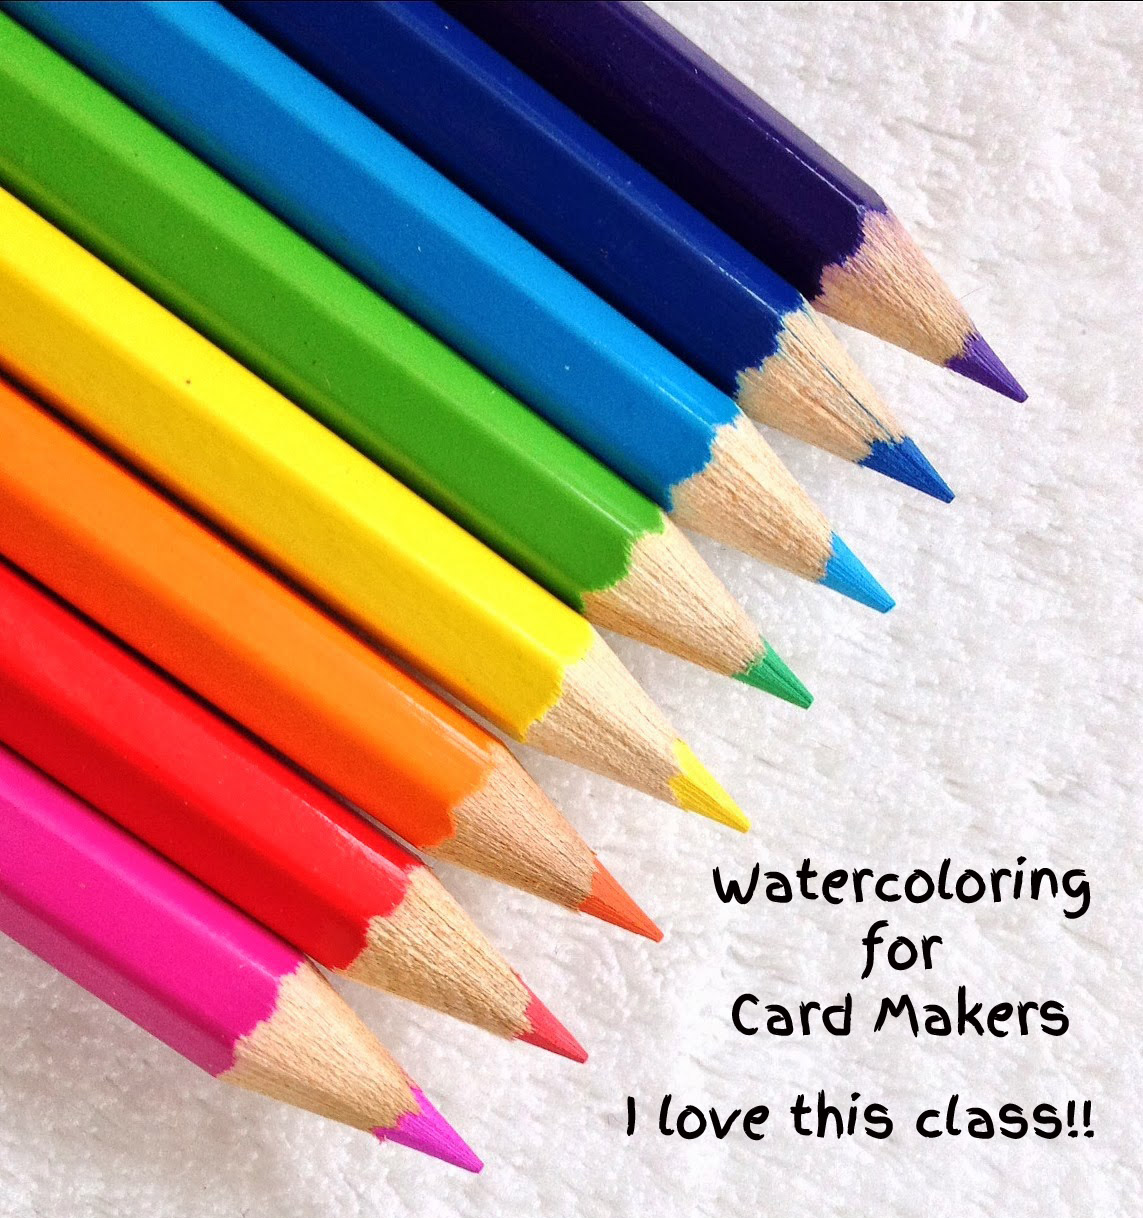
I must say this Watercolor for Card Makers is an awesome class.  I’m learning so much and sharing it with my daughter has been even better.  Both of us are having a lot of fun learning about colors and how the work with one another.  Once her cards are posted I will link them here in my blog so you can see what her take on the lessons were.

Today’s card is a Stamped Emboss Resist and Watercolor Wash Card.  Kristina Werner taught us how to add ink on top of an embossed image, the ink just happens to be watercolor.  I’ve practice this technique a couple of weeks ago and it took me a while but I got it down pack and my card came out really nice. You can check out my post on April 30.

For my new card, I wanted to create a male card.  I don’t have many of those, I wanted to make sure I tried colors that were suited for men.  I love blues, yellow, and coral.  I also tried something new.  ADDING STITCHING TO MY CARD!!!  I’ve never done that before but I wanted to finally try it.  It was exciting!

Love to call you my friend

I love how the colors blended to make colors that weren’t in my original palette.  When I added the yellow to the tip of the blue it create that pretty green.  The same when I added the coral to the yellow, it created the orange.  It was amazing.

Creating the background was pretty easy.

I used Impression Obsessions Honeycomb Stamp to create my background.  I stamped it with VersaMark and embossed it with Stampin’ Up! clear embossing powder.

I used my Koi Watercolors,  I used number 23, 24 and 8.

My vellum and card stock was attached with my small sewing machine.  I had that sewing machine for two years and never used.  I pulling it out to create this card and I’m so glad I did.

Guess what, I didn’t know how to use the sewing.  I had to ask my daughter to help set up the machine.  I thought that was funny and she loved teaching me.

All and all, my card came out the way I had hoped it would.  I’m very pleased with the look.  I hope you are too!


Supplies used:

Canson Watercolor PaperKio WaterColorsCover-a-Card HoneycombExpressions Thinlits Diesgumball-green-stampin-emboss-powderSnail AdhesiveStampin' TrimmerStampin' DimensionalsPacific PointSewing MachineLawn Fawn SequinExchanging FriendsTombow Multi-Purpose Adhesive