First for me…….

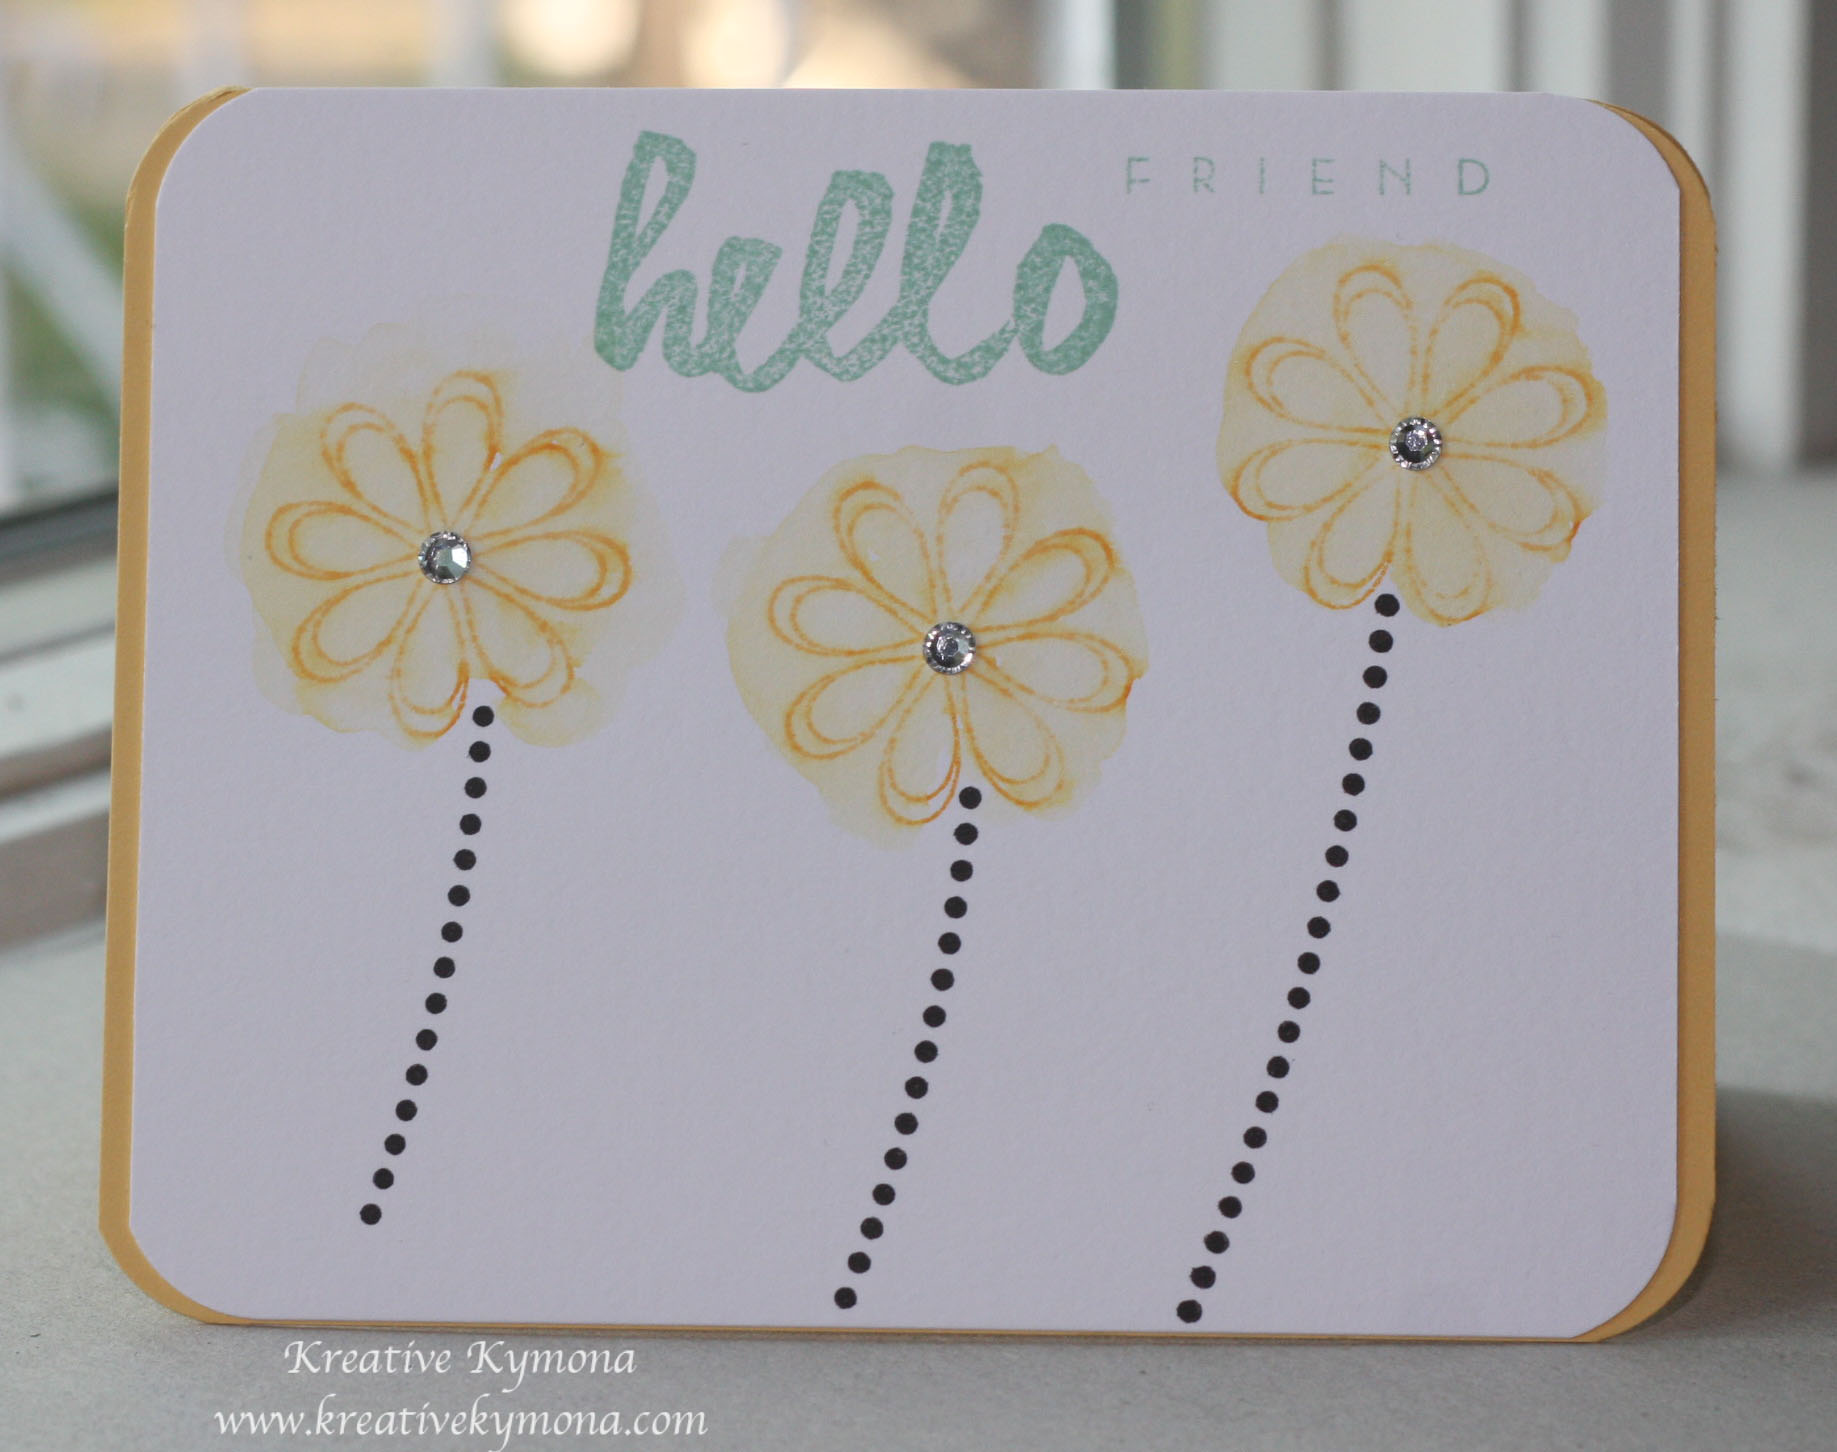
Hello everyone!!  I’m here today playing along with AAA Cards Challenge and the Muse Challenge #79.

I wanted to take this time to say Thank you so much to the ladies over at the Muse Challenge for choosing my card for Honorable Mention.  I really appreciate it. If you missed the card you can find it here.

Now on to this week’s challenges.  I had a lot of fun creating my project for these challenges.

AAAcardGame14

Muse VD

Both of these challenges used Water-coloring, which happens to be my favorite.  I decided to do something a little different then what your use to seeing.

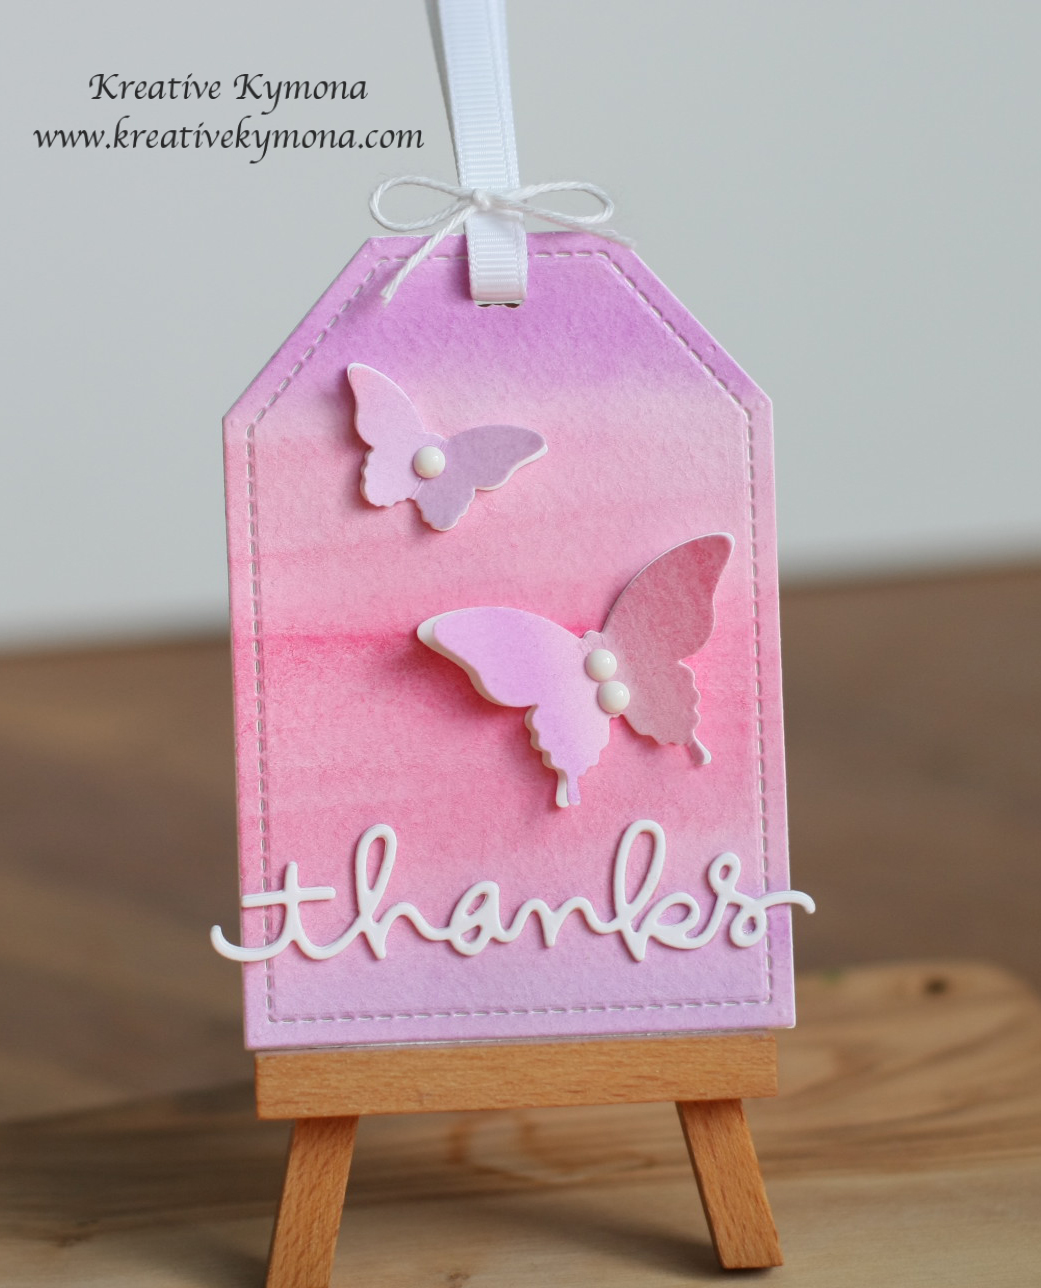
I created a TAG!!!  Yes, a tag and its not on a card.  This was a bit of a challenge because my working area was smaller then a normal card size.  I wasn’t sure if I needed to fill all of the space or should I leave some empty areas.  It took me one hour to decided just on that.  LOL!!!

Take a look at my TAG:

Watercolor Thanks

To create this tag:

I used a piece of watercolor paper and my Koi watercolors to create my background.

I cut my tag using Pretty Pink Posh Stitched Duo 1 Dies.

I cut my thank sentiment using Simon Says Stamps Thanks Die out of Bazzill Marshmallow cardstock 4 times from some dimension.

I used my Stampin’ Up! Bitty Butterfly Punch and Elegant Butterfly punch to punch out four butterflies, 2 from my scrap watercolor piece and 2 from Bazzill Marshmallow cardstock.

I added My Mind’s Eye White Enamel Dots to the center of the butterfly for detail and more contrast.

I punched a hole in the top of my tag using Stampin’ Up! 1/8″ Circle Handheld Punch.

I added 2 pieces of retired Stampin’  Up! ribbon and tied it with Stampin’ Up! Whisper White Bakers Twine.

Thats all!  Very easy and fun to do!! I hope you give it a try.  I will be making more tags from now on.

Here’s a close up:

Watercolor Thanks closeup

Supplies used:

Canson Watercolor PaperKio WaterColorsStitched Duo 1 DiesSSS Thanks dieBazzill Marshmallow CSBitty Butterfly PunchElegant Butterfly PunchMy Mind's Eye Enamel Dots1_8 circle handheld punchWhite Baker's Twine

Thanks for stopping by!

~Kymona

Watercolor Background: How Playful!!

I can’t believe my Watercolor for Card Makers class is coming to an end.  This Friday is the last day to submit all of our homework.  I have so much left to do.

It was truly an amazing class!  I learned a lot about water-coloring.  I was granted the opportunity to try different types of watercolors mediums (watercolor pencils and crayons, transparent water colors, opaque watercolors, kids watercolor, shimmer watercolors).

I’m hoping to make at least one water-coloring card a week.  This will allow me to spend more time with my daughter who also loves water-coloring.

Today’s watercolor technique was taught by Tim Holtz himself.  Truly fun and amazing.  He taught us how to make amazing backgrounds using “watercolor stamping or monoprint” using a stencil.

I had so much fun creating my card, that I made two cards..  I’m also submitting this card into the Papertrey Ink’s Make it Monday #165: Artsy Watercolor Backgrounds Challenge.  Betsy showed us how to create watercolor backgrounds using our current stamps.  I’m excited!!

Happy Watercolor

So, what do you think of this card?  It looks so delicious to me.  The colors are so vibrant.  My flower was punched from a watercolor background that I created.  I thought that bought more balance to the card.

Hello Friend

For my second card, I wet the outer edge of the flower to create the watercolor effect surrendering each individual flower.  That gives each flower a beautiful soft and subtle effect.

I love how both of my cards turned out.  I am going to try to create a couple more cards with this fun effect!!

Please let me know what you think.

Supplies used:

Canson Watercolor PaperWet PaintOopsie Daisy DieOopsie Daisy Stamp SetHarlequin StencilDistress Inks Kit 1Hawaiian ShoresPTI Summer Sunrise InkTim Holtz Watercolor CardstockStampin' TrimmerSnail AdhesiveOnyx VersafineBig Shot Die-Cut MachineStampin' DimensionalsBasic Rhinestones Jewel AccentsLarge Rhinestone Basic JewelsDaffodil Delight CSBasic Black CSWe R Memory Keepers Corner Chomper


~Kymona

What’s Your Favorite Watercolor Color?

watercolor for card makers

I must say this Watercolor for Card Makers is an awesome class.  I’m learning so much and sharing it with my daughter has been even better.  Both of us are having a lot of fun learning about colors and how the work with one another.  Once her cards are posted I will link them here in my blog so you can see what her take on the lessons were.

Today’s card is a Stamped Emboss Resist and Watercolor Wash Card.  Kristina Werner taught us how to add ink on top of an embossed image, the ink just happens to be watercolor.  I’ve practice this technique a couple of weeks ago and it took me a while but I got it down pack and my card came out really nice. You can check out my post on April 30.

For my new card, I wanted to create a male card.  I don’t have many of those, I wanted to make sure I tried colors that were suited for men.  I love blues, yellow, and coral.  I also tried something new.  ADDING STITCHING TO MY CARD!!!  I’ve never done that before but I wanted to finally try it.  It was exciting!

Love to call you my friend

I love how the colors blended to make colors that weren’t in my original palette.  When I added the yellow to the tip of the blue it create that pretty green.  The same when I added the coral to the yellow, it created the orange.  It was amazing.

Creating the background was pretty easy.

I used Impression Obsessions Honeycomb Stamp to create my background.  I stamped it with VersaMark and embossed it with Stampin’ Up! clear embossing powder.

I used my Koi Watercolors,  I used number 23, 24 and 8.

My vellum and card stock was attached with my small sewing machine.  I had that sewing machine for two years and never used.  I pulling it out to create this card and I’m so glad I did.

Guess what, I didn’t know how to use the sewing.  I had to ask my daughter to help set up the machine.  I thought that was funny and she loved teaching me.

All and all, my card came out the way I had hoped it would.  I’m very pleased with the look.  I hope you are too!


Supplies used:

Canson Watercolor PaperKio WaterColorsCover-a-Card HoneycombExpressions Thinlits Diesgumball-green-stampin-emboss-powderSnail AdhesiveStampin' TrimmerStampin' DimensionalsPacific PointSewing MachineLawn Fawn SequinExchanging FriendsTombow Multi-Purpose Adhesive