Hello everyone!! For our third lesson we worked with alphabet and sentiment stamps. We were taught how to really stretch our stamps in such amazing ways.
Julie Ebersole taught us how to create a word search using our alphabet stamps set. This was so much fun.
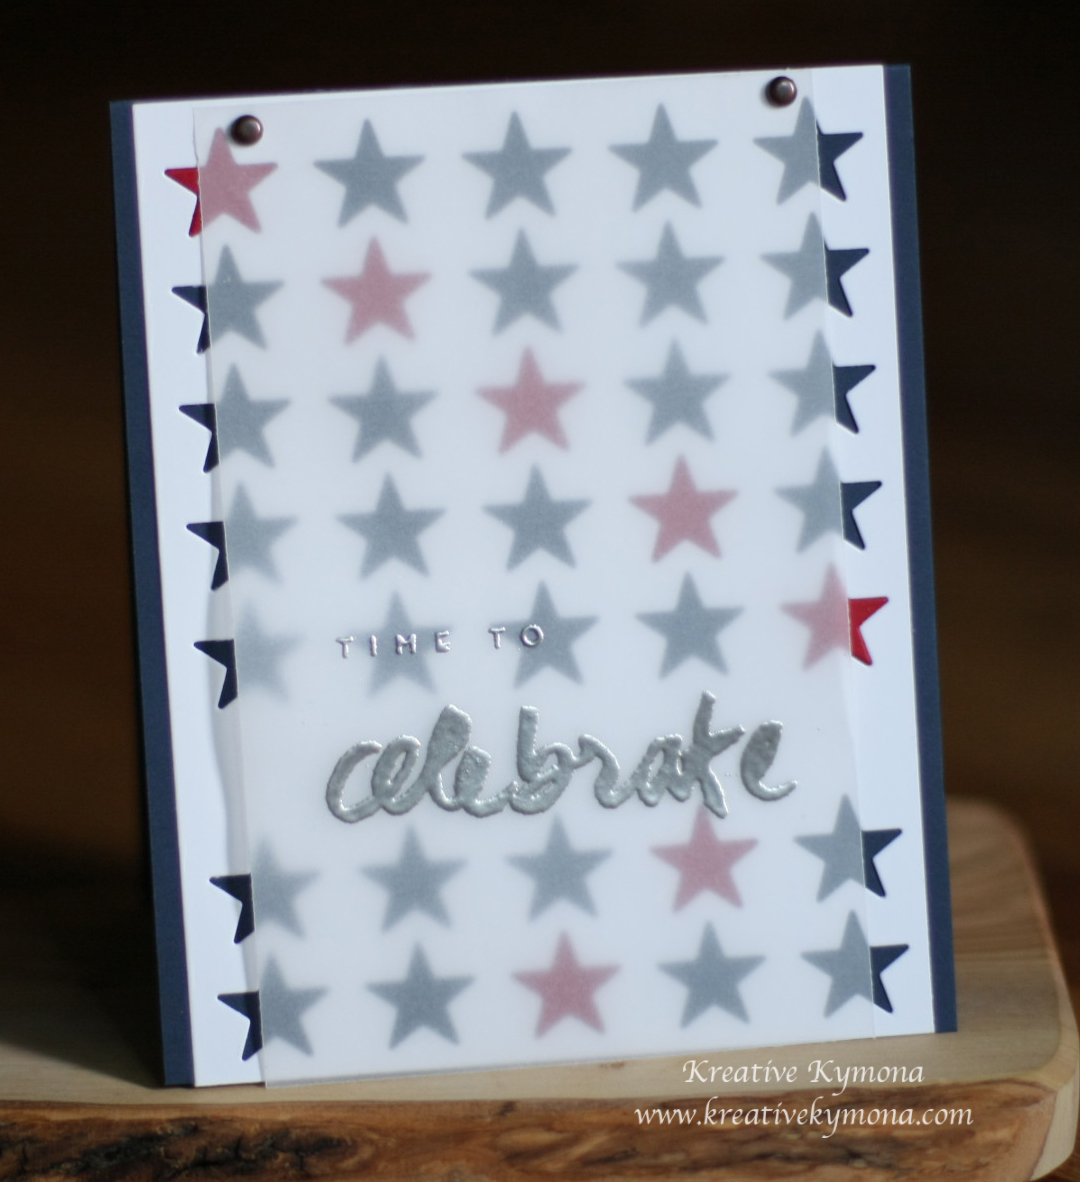
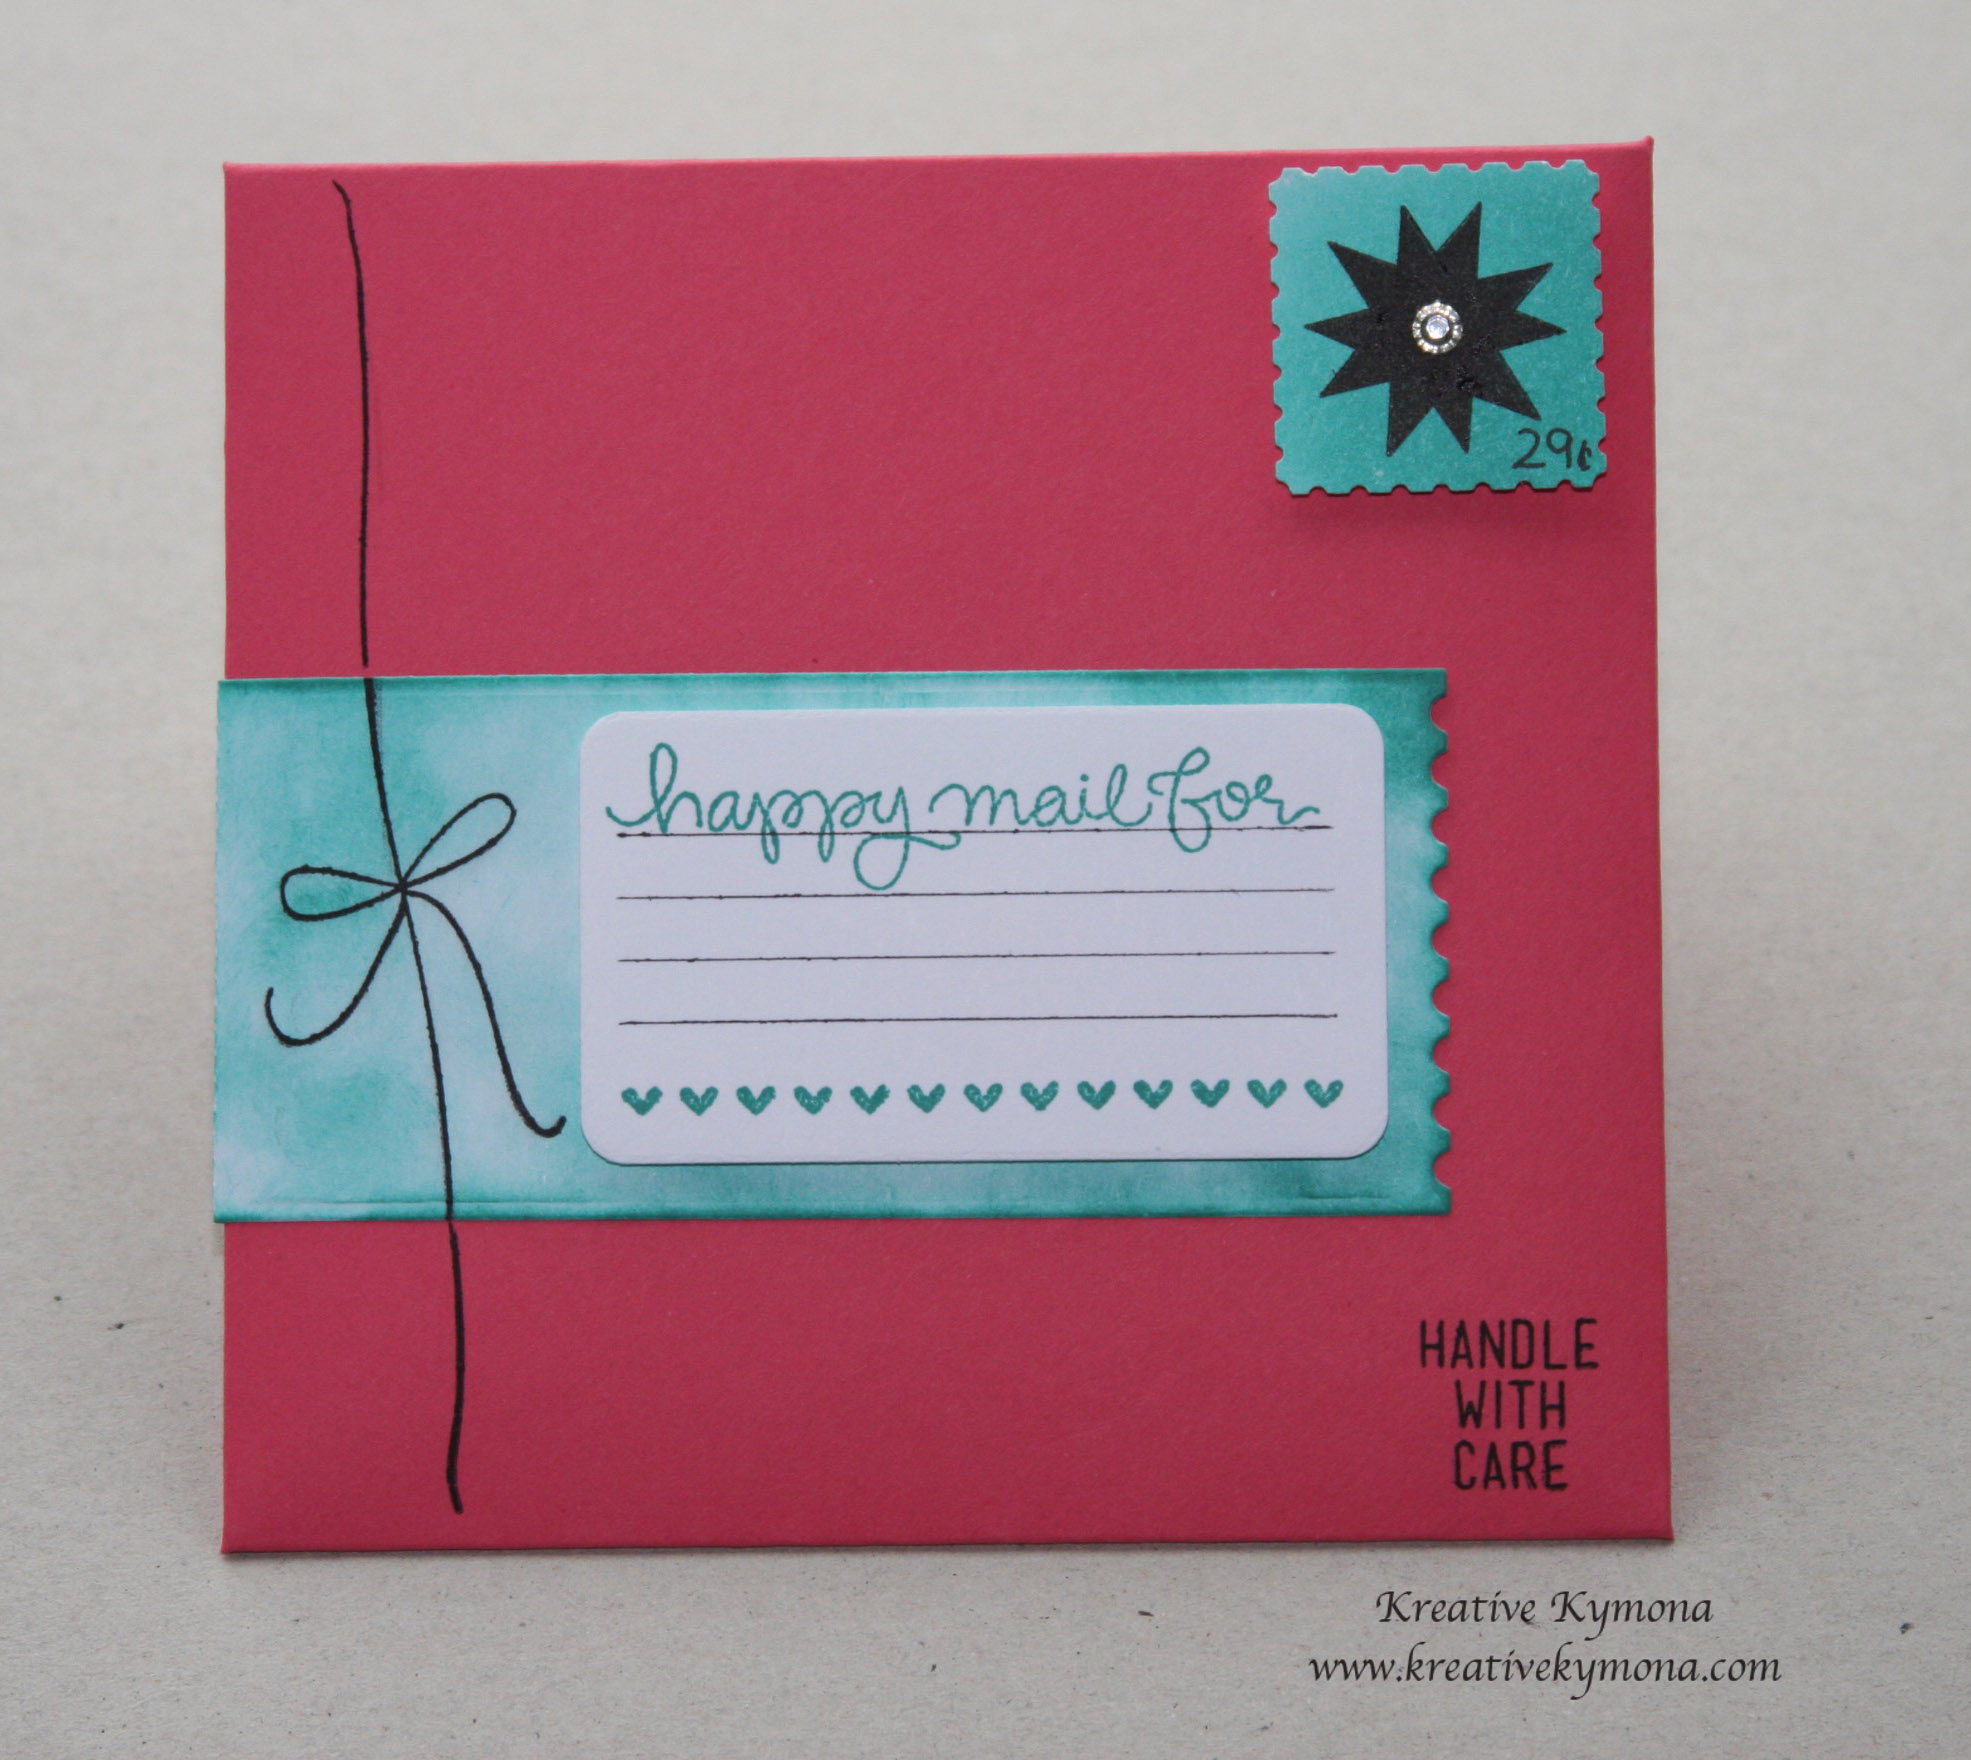
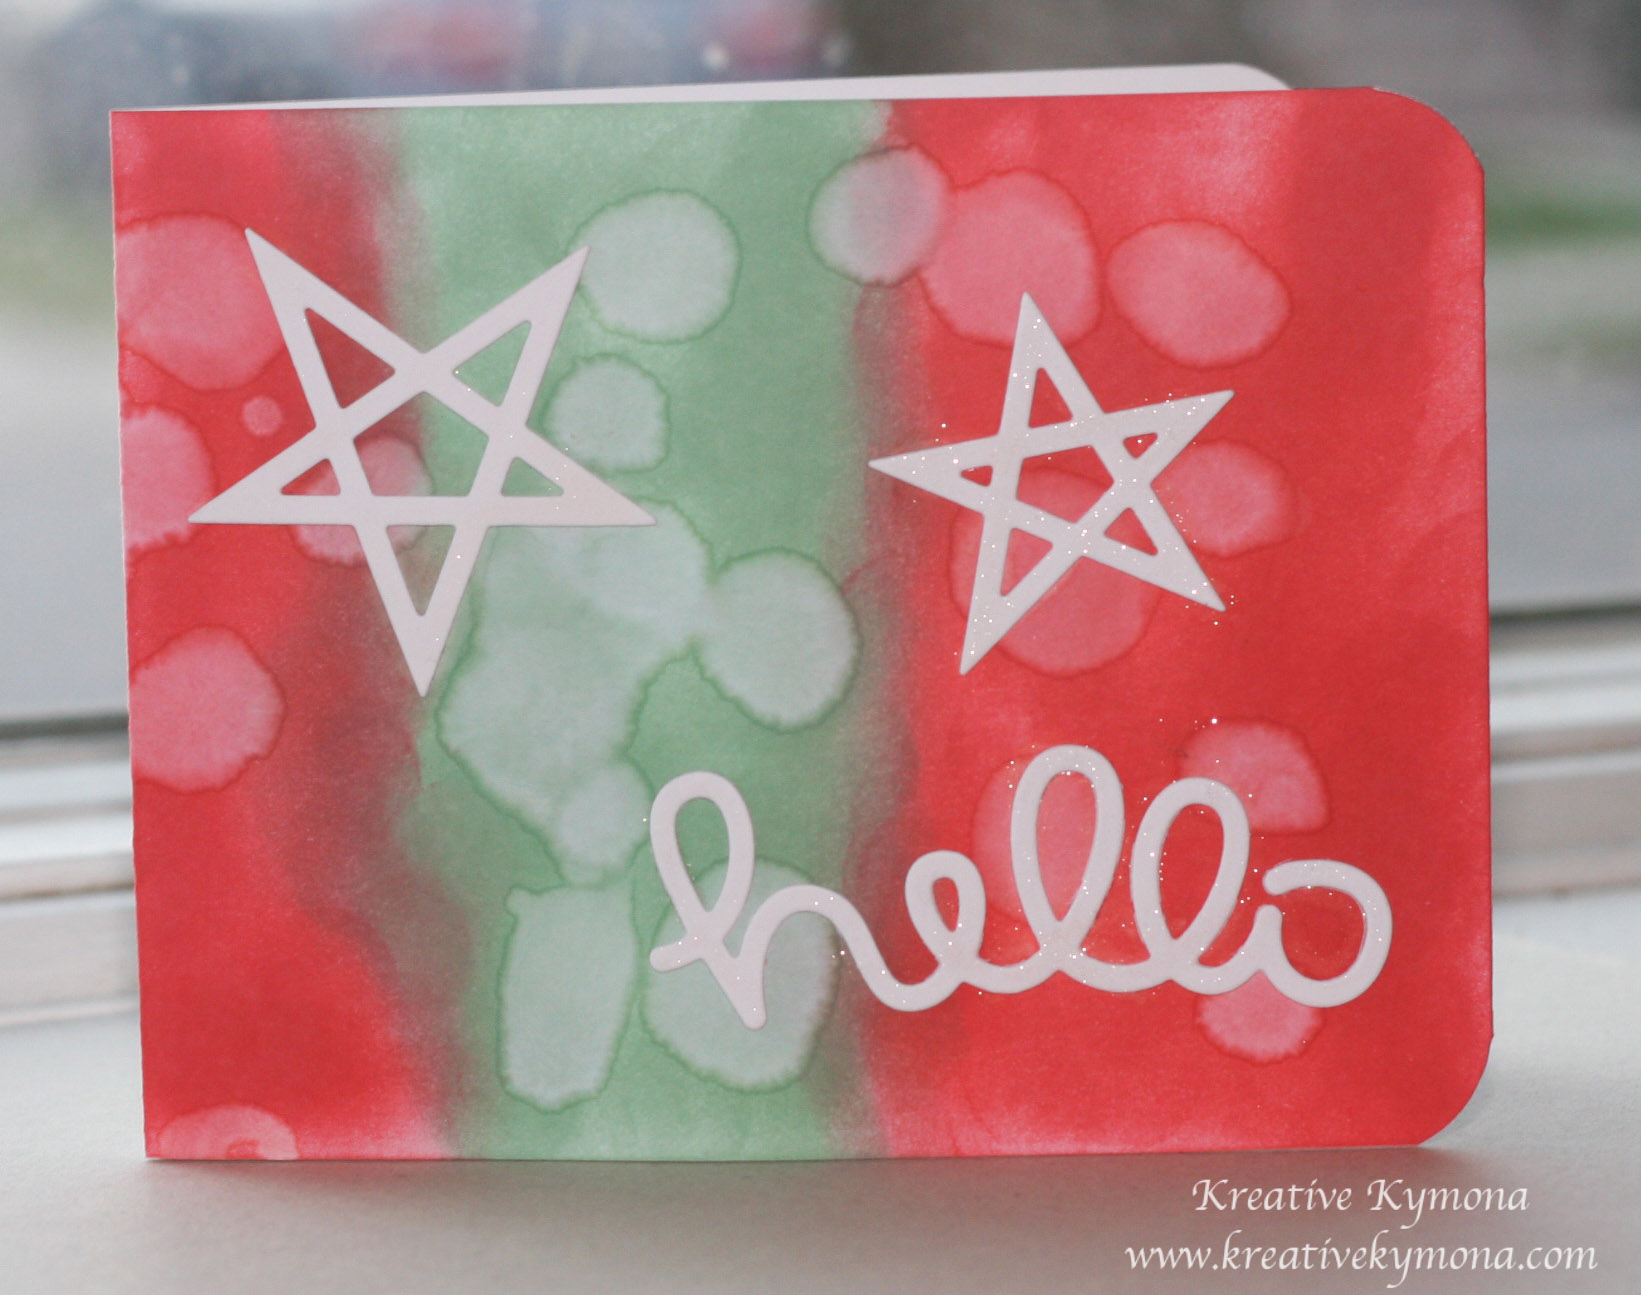
Take a look at my card:

I used Lawn Fawn’s Clark’s ABCs stamp set to create word search.
I placed my main sentiment on my acrylic block and stamped my card panel with Versafine Black Ink.
I covered the stamped image with clear embossing powder and heat set it.
Then I placed random letters on my acrylic block to finish the word search. I stamped those letters in Hero Arts Soft Granite ink.
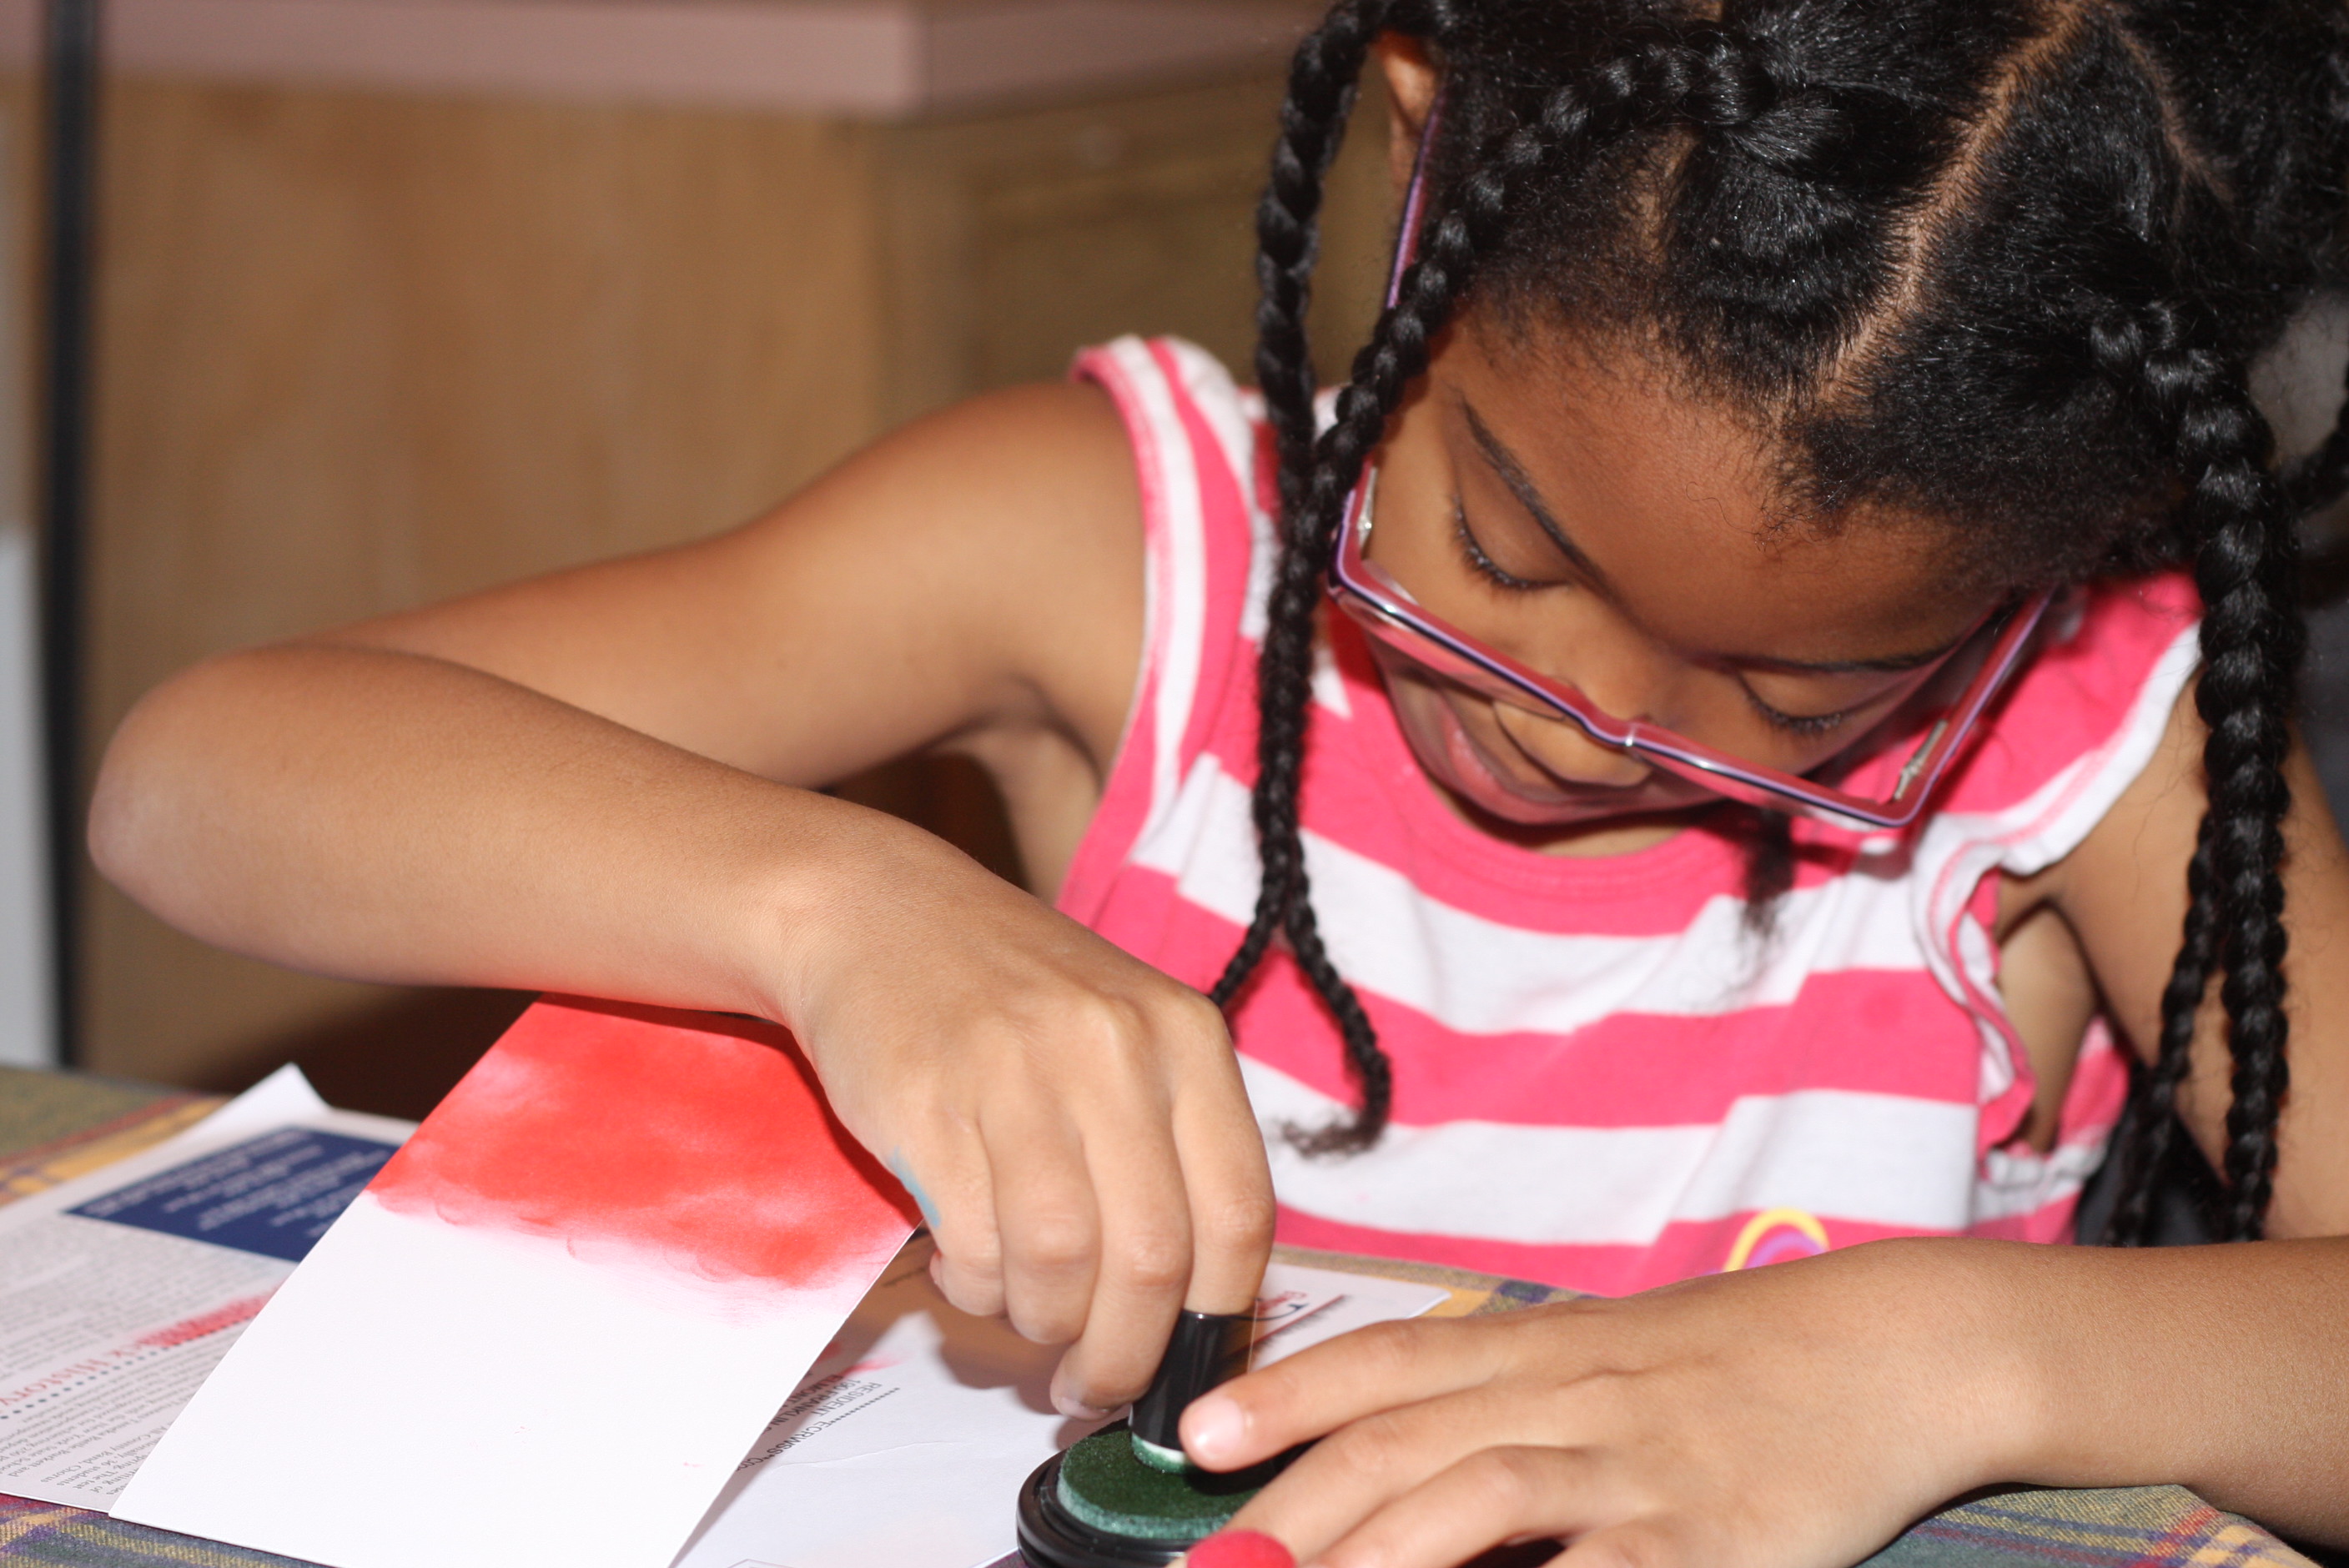
After all of my letters were stamped, I used my Koi watercolors to add a small amount of watercolor to the top of my cardstock.
I added some star wood veneers topped with white paint and Stampin’ Up! rhinestones to my project.
On my card base I drew a line around the card to create a boarder.
I added foam adhesive to my word search panel and placed in the center of my card.
So I have to confess, it was hard to line up my letters correctly but I kind of like it this way. I have to try again. Julie made it look so effortlessly.
So what do you think? Let me know!!
Supplies used:


Thank you for stopping by!
~Kymona