TAWS July Guest Designer – Take Two

Hello everyone!!  I’m here today Guest Designing for The Alley Way Stamps (TAWS)!!  This is my second and last post for the month of July!!

I had a lot of fun work and playing with their stamp sets.

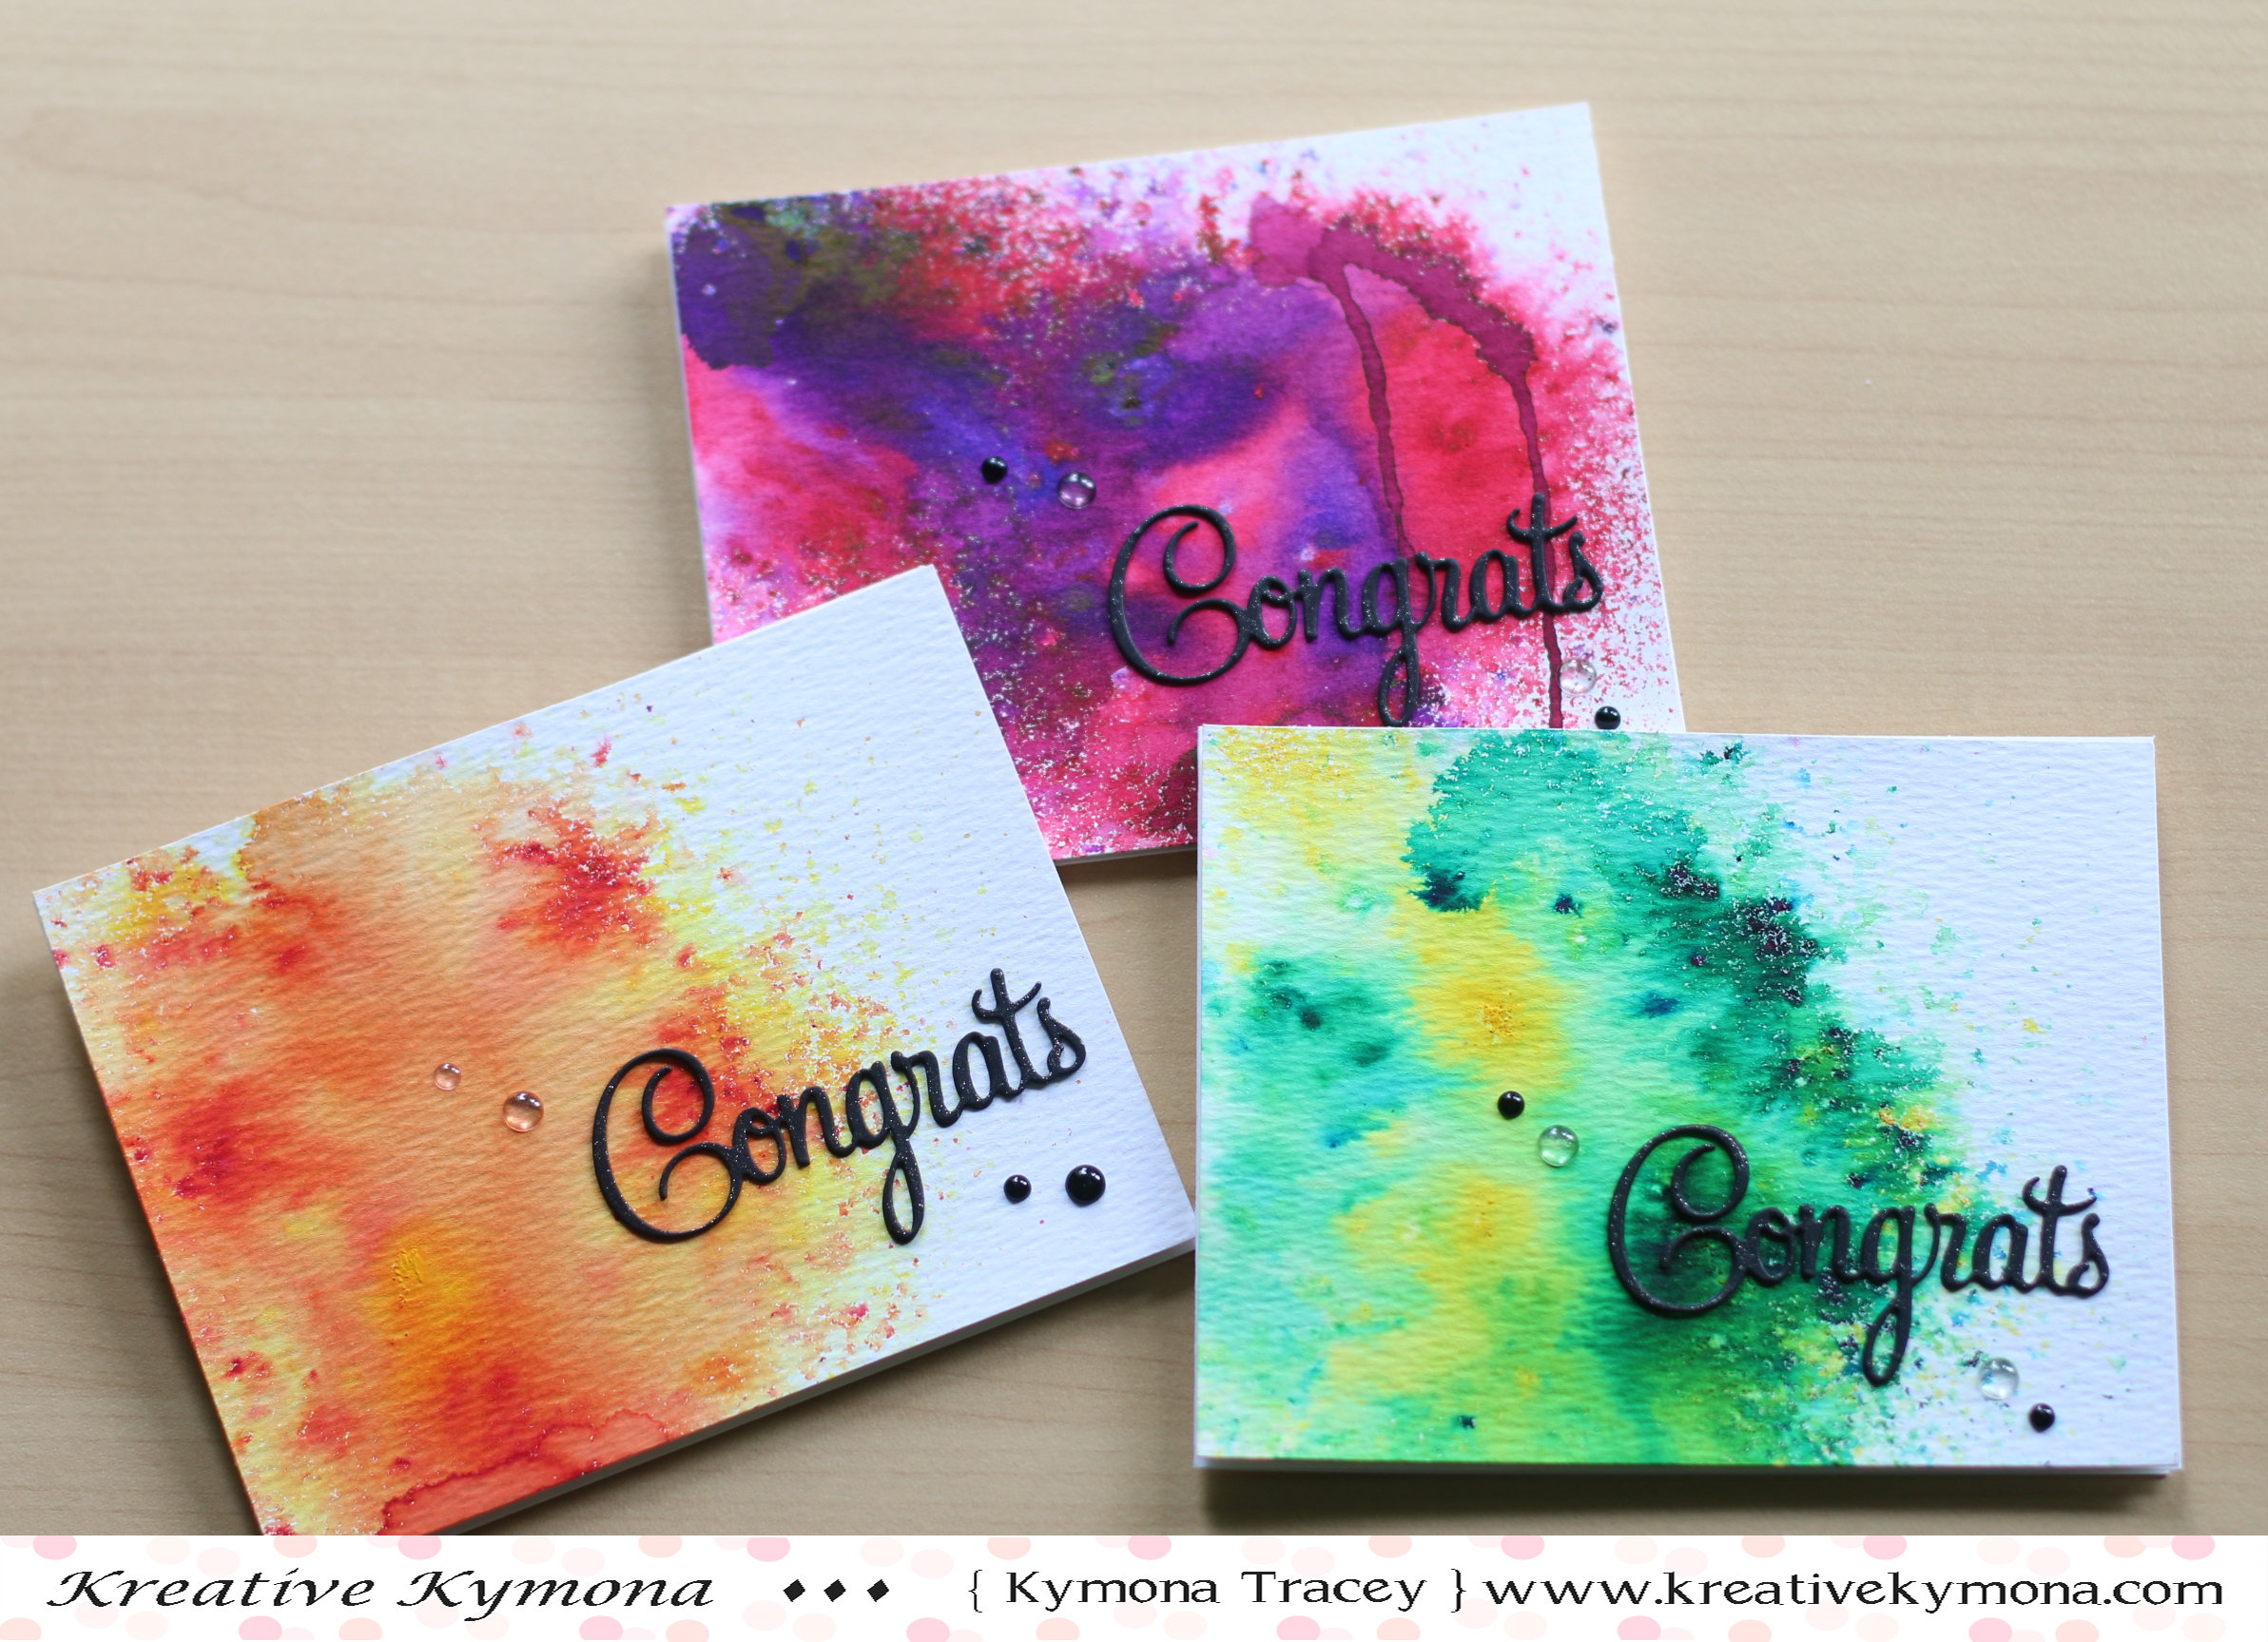
I have three cards for you today.  So see back relax and enjoy!

Card 1:

You ligthened my load (TAWS)

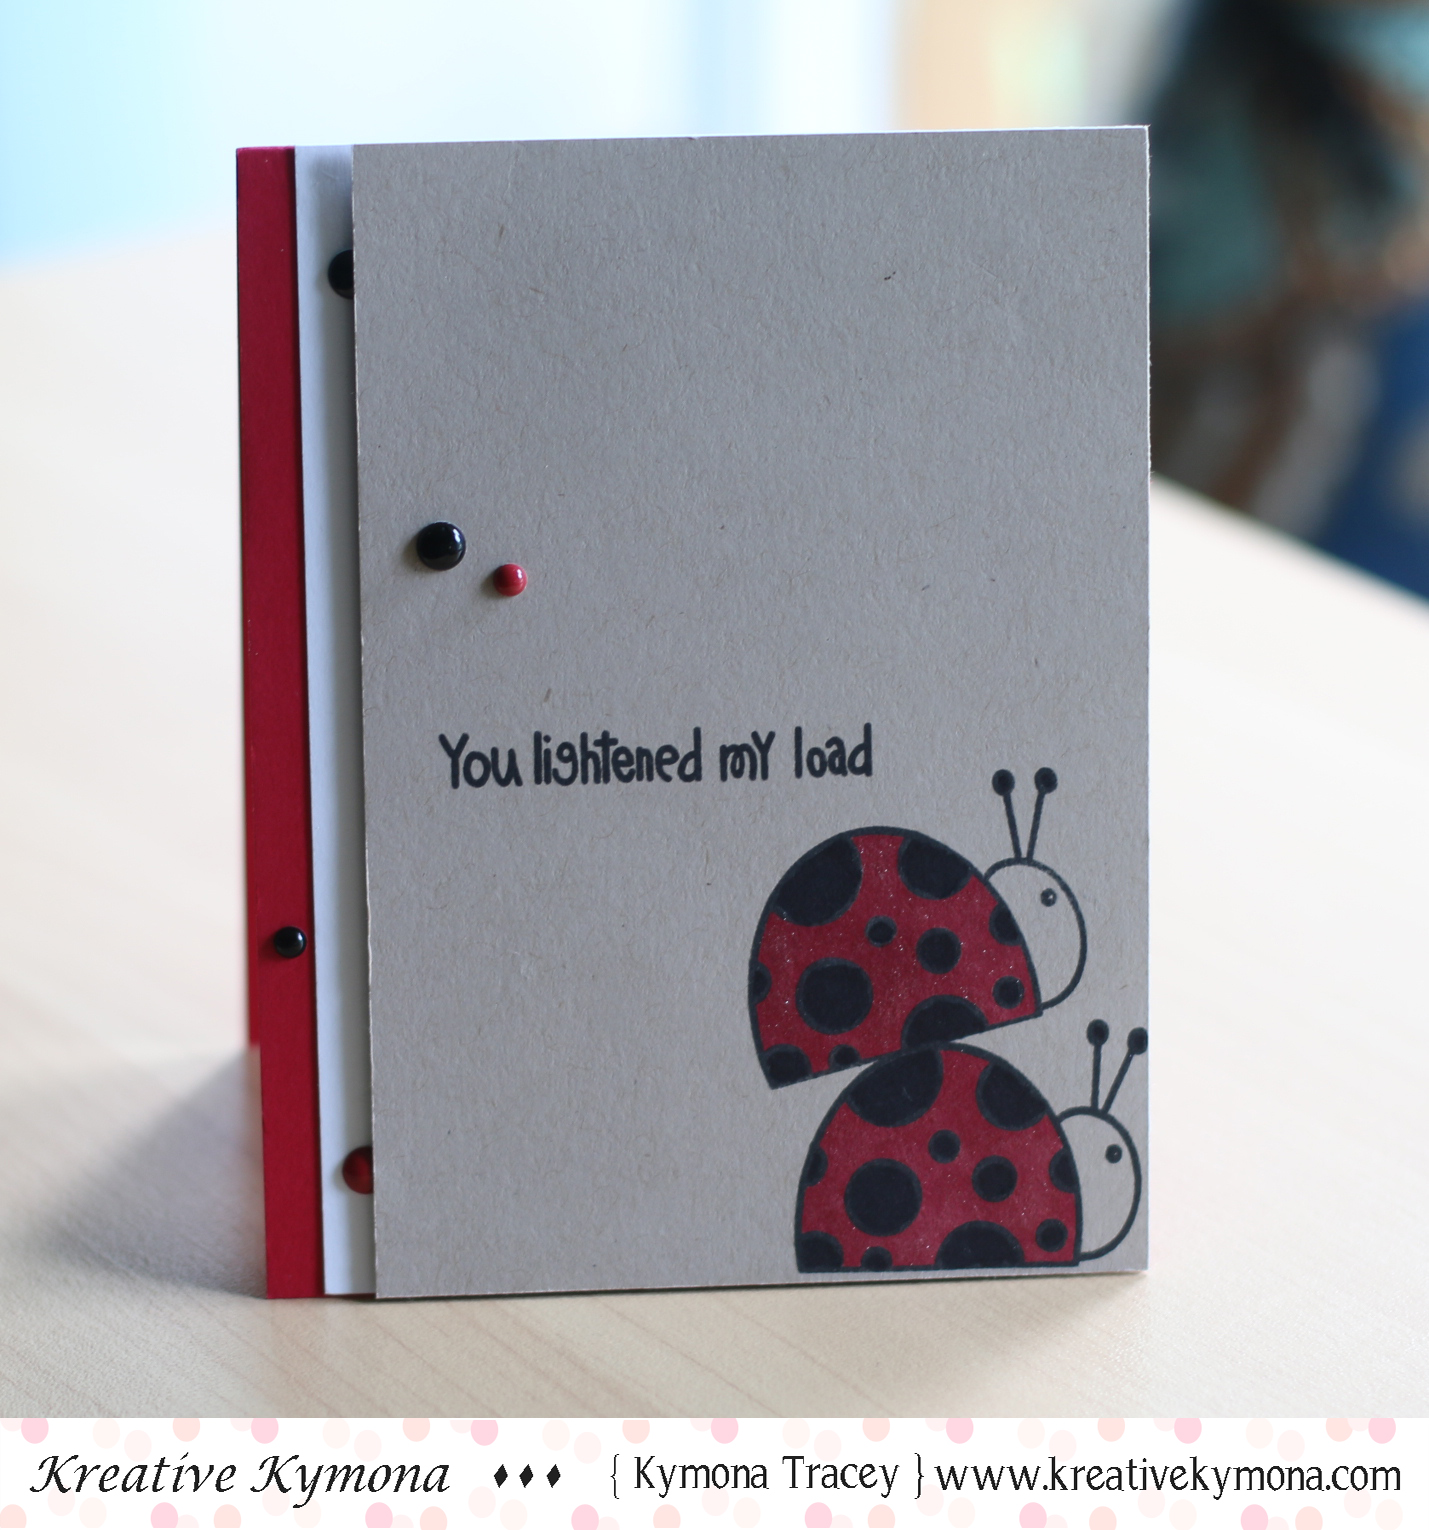
Aren’t these ladybugs so cute!!  I had so much fun coloring them.  I used them to practicing my coloring with different colors.

I thought this sentiment was fitting for both of these ladybugs.  There are times when we need someone to help us lightened our loads and that is what they are doing here.
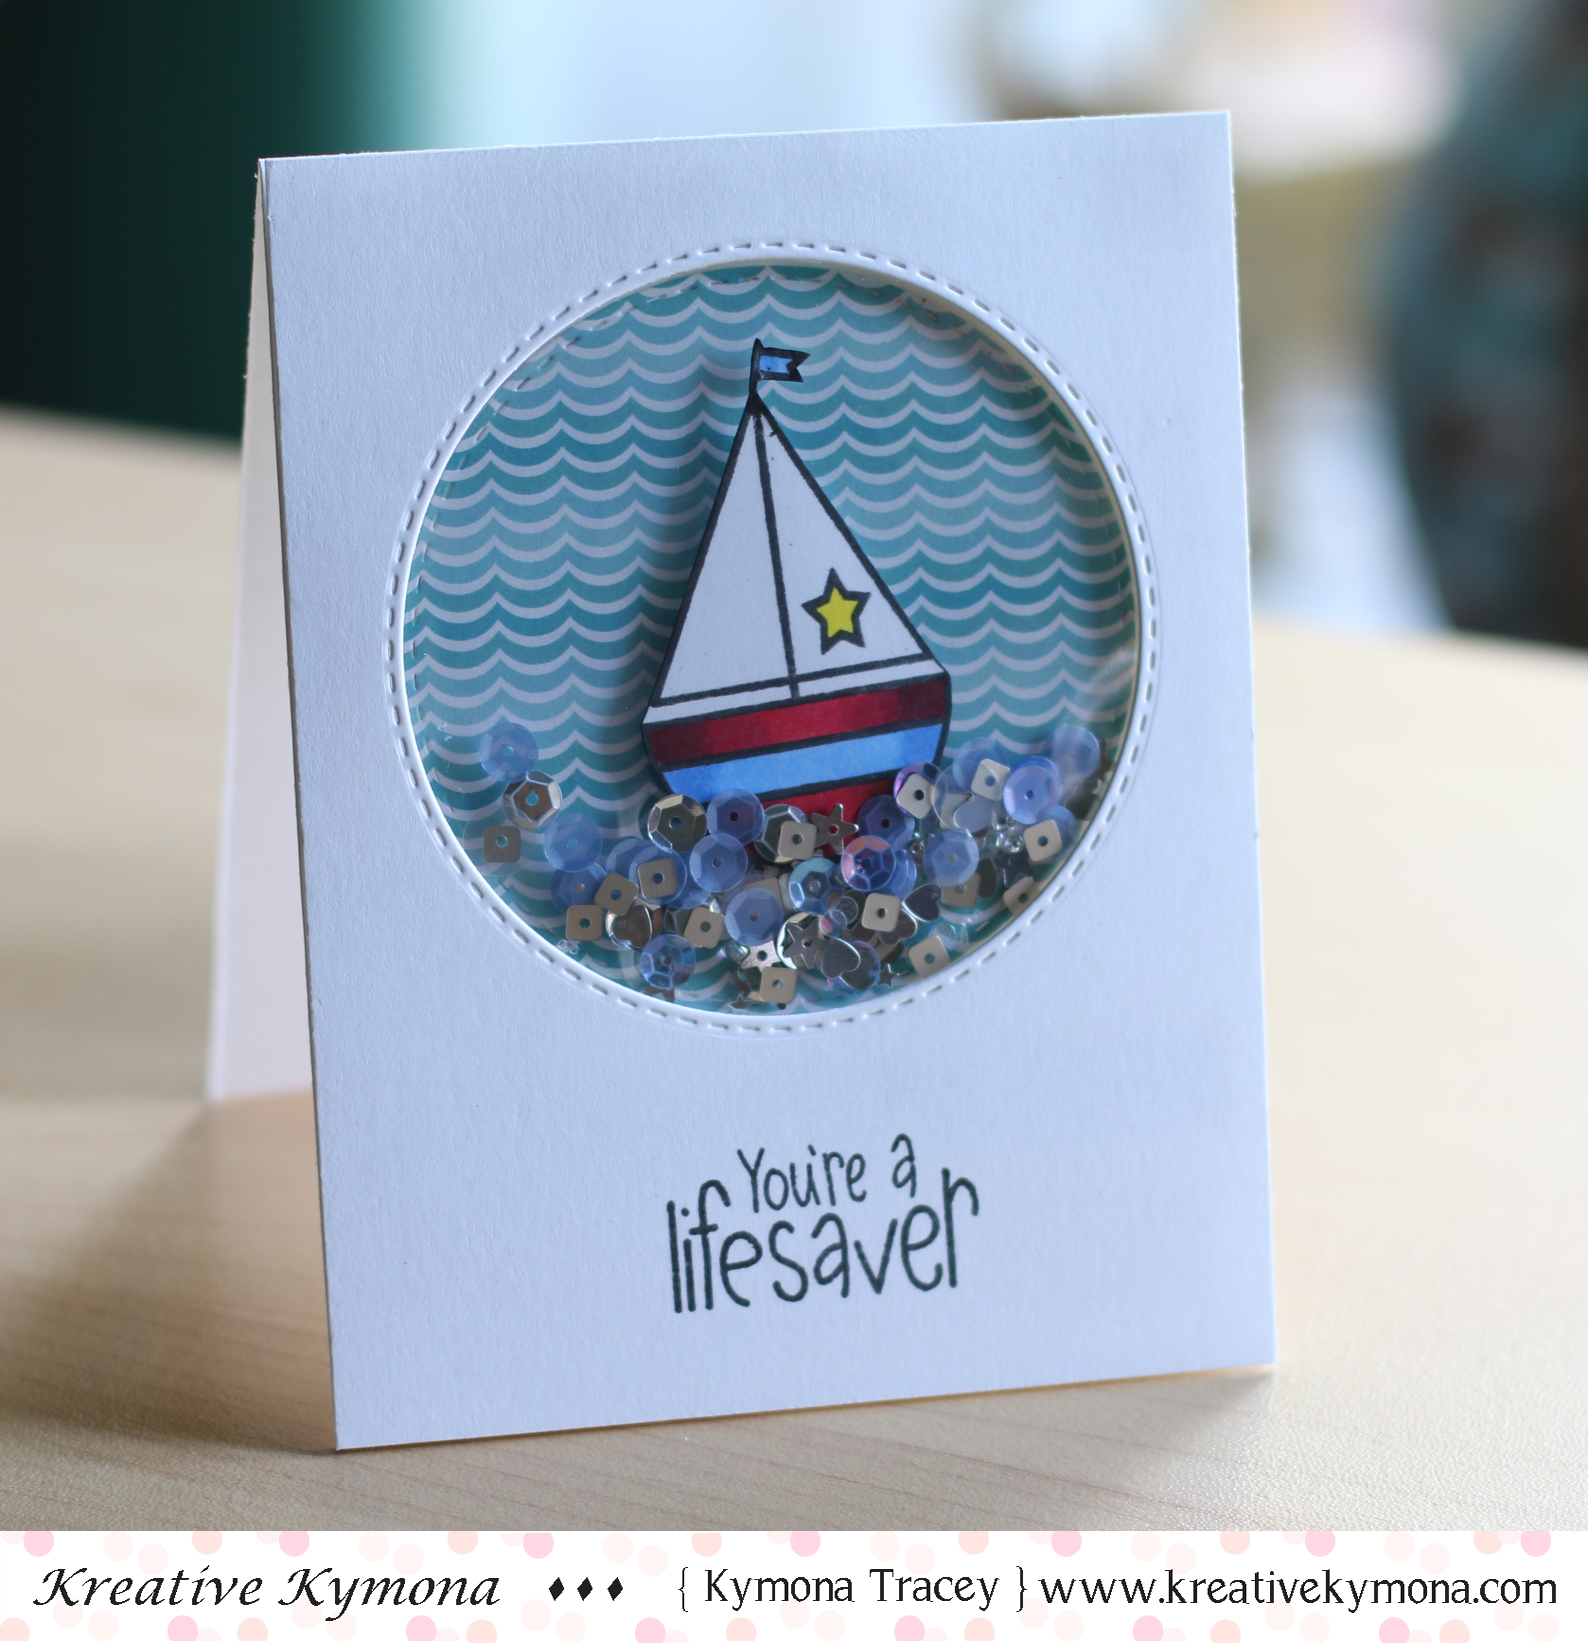
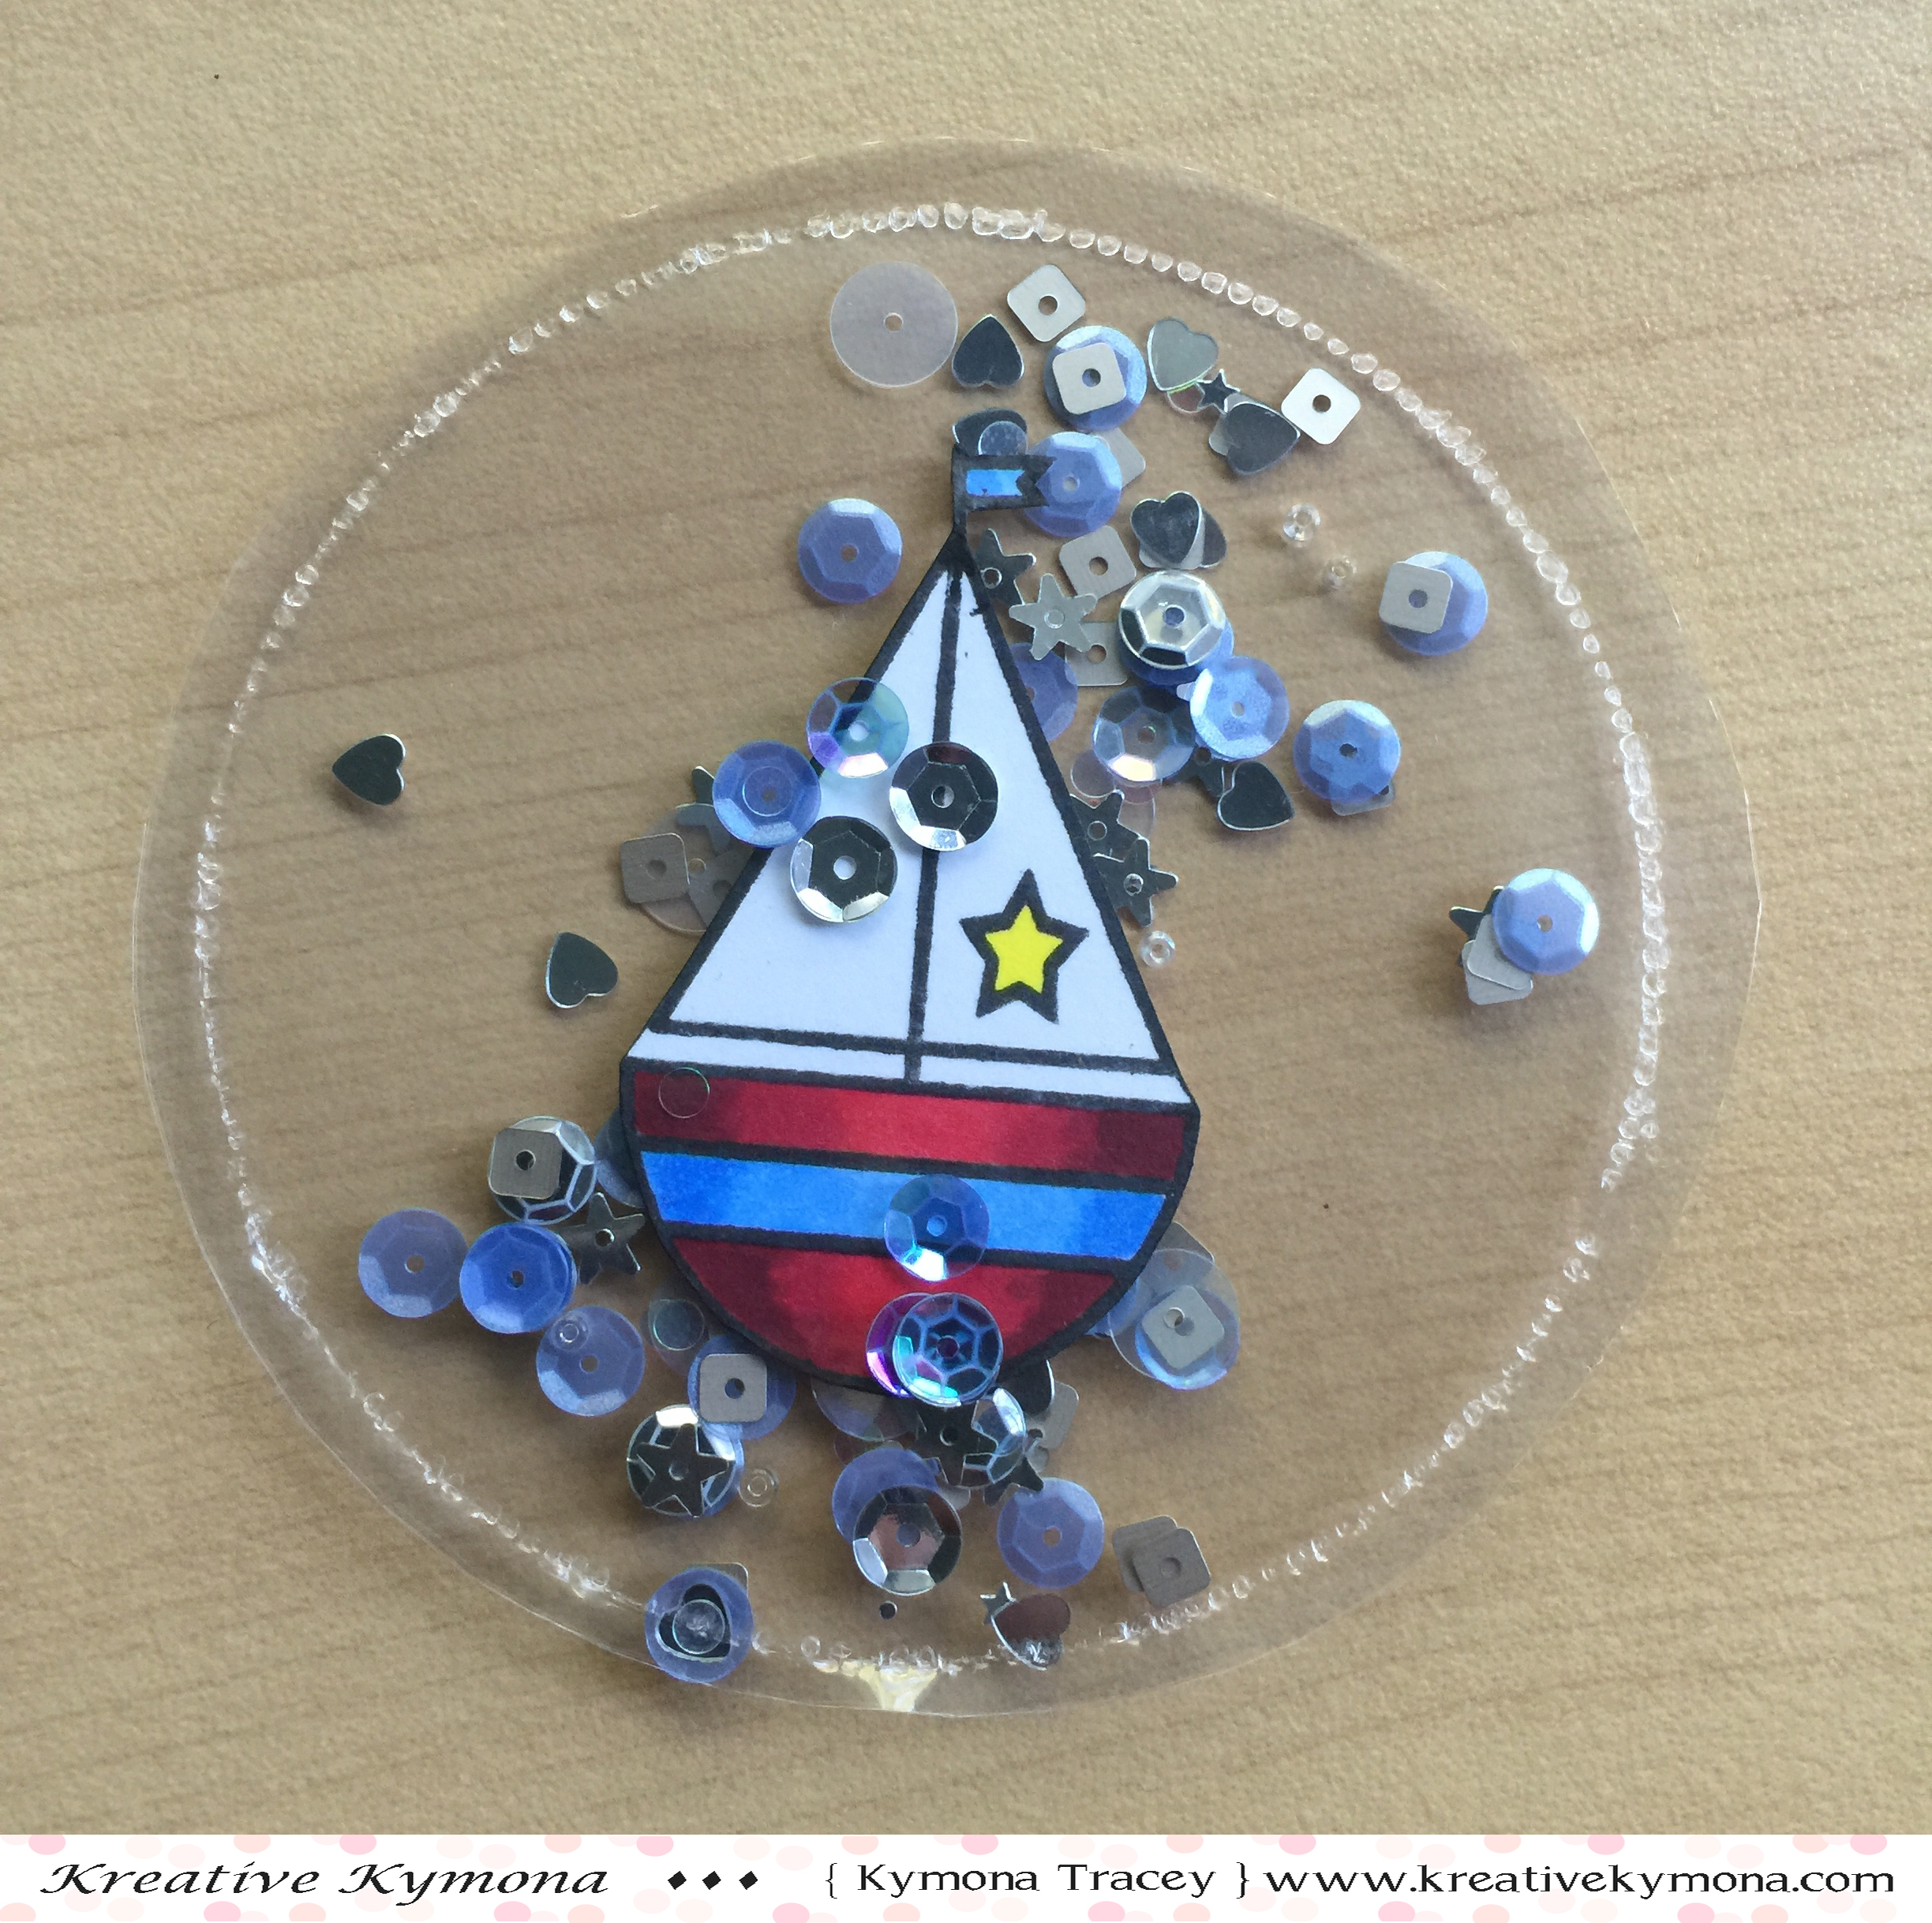
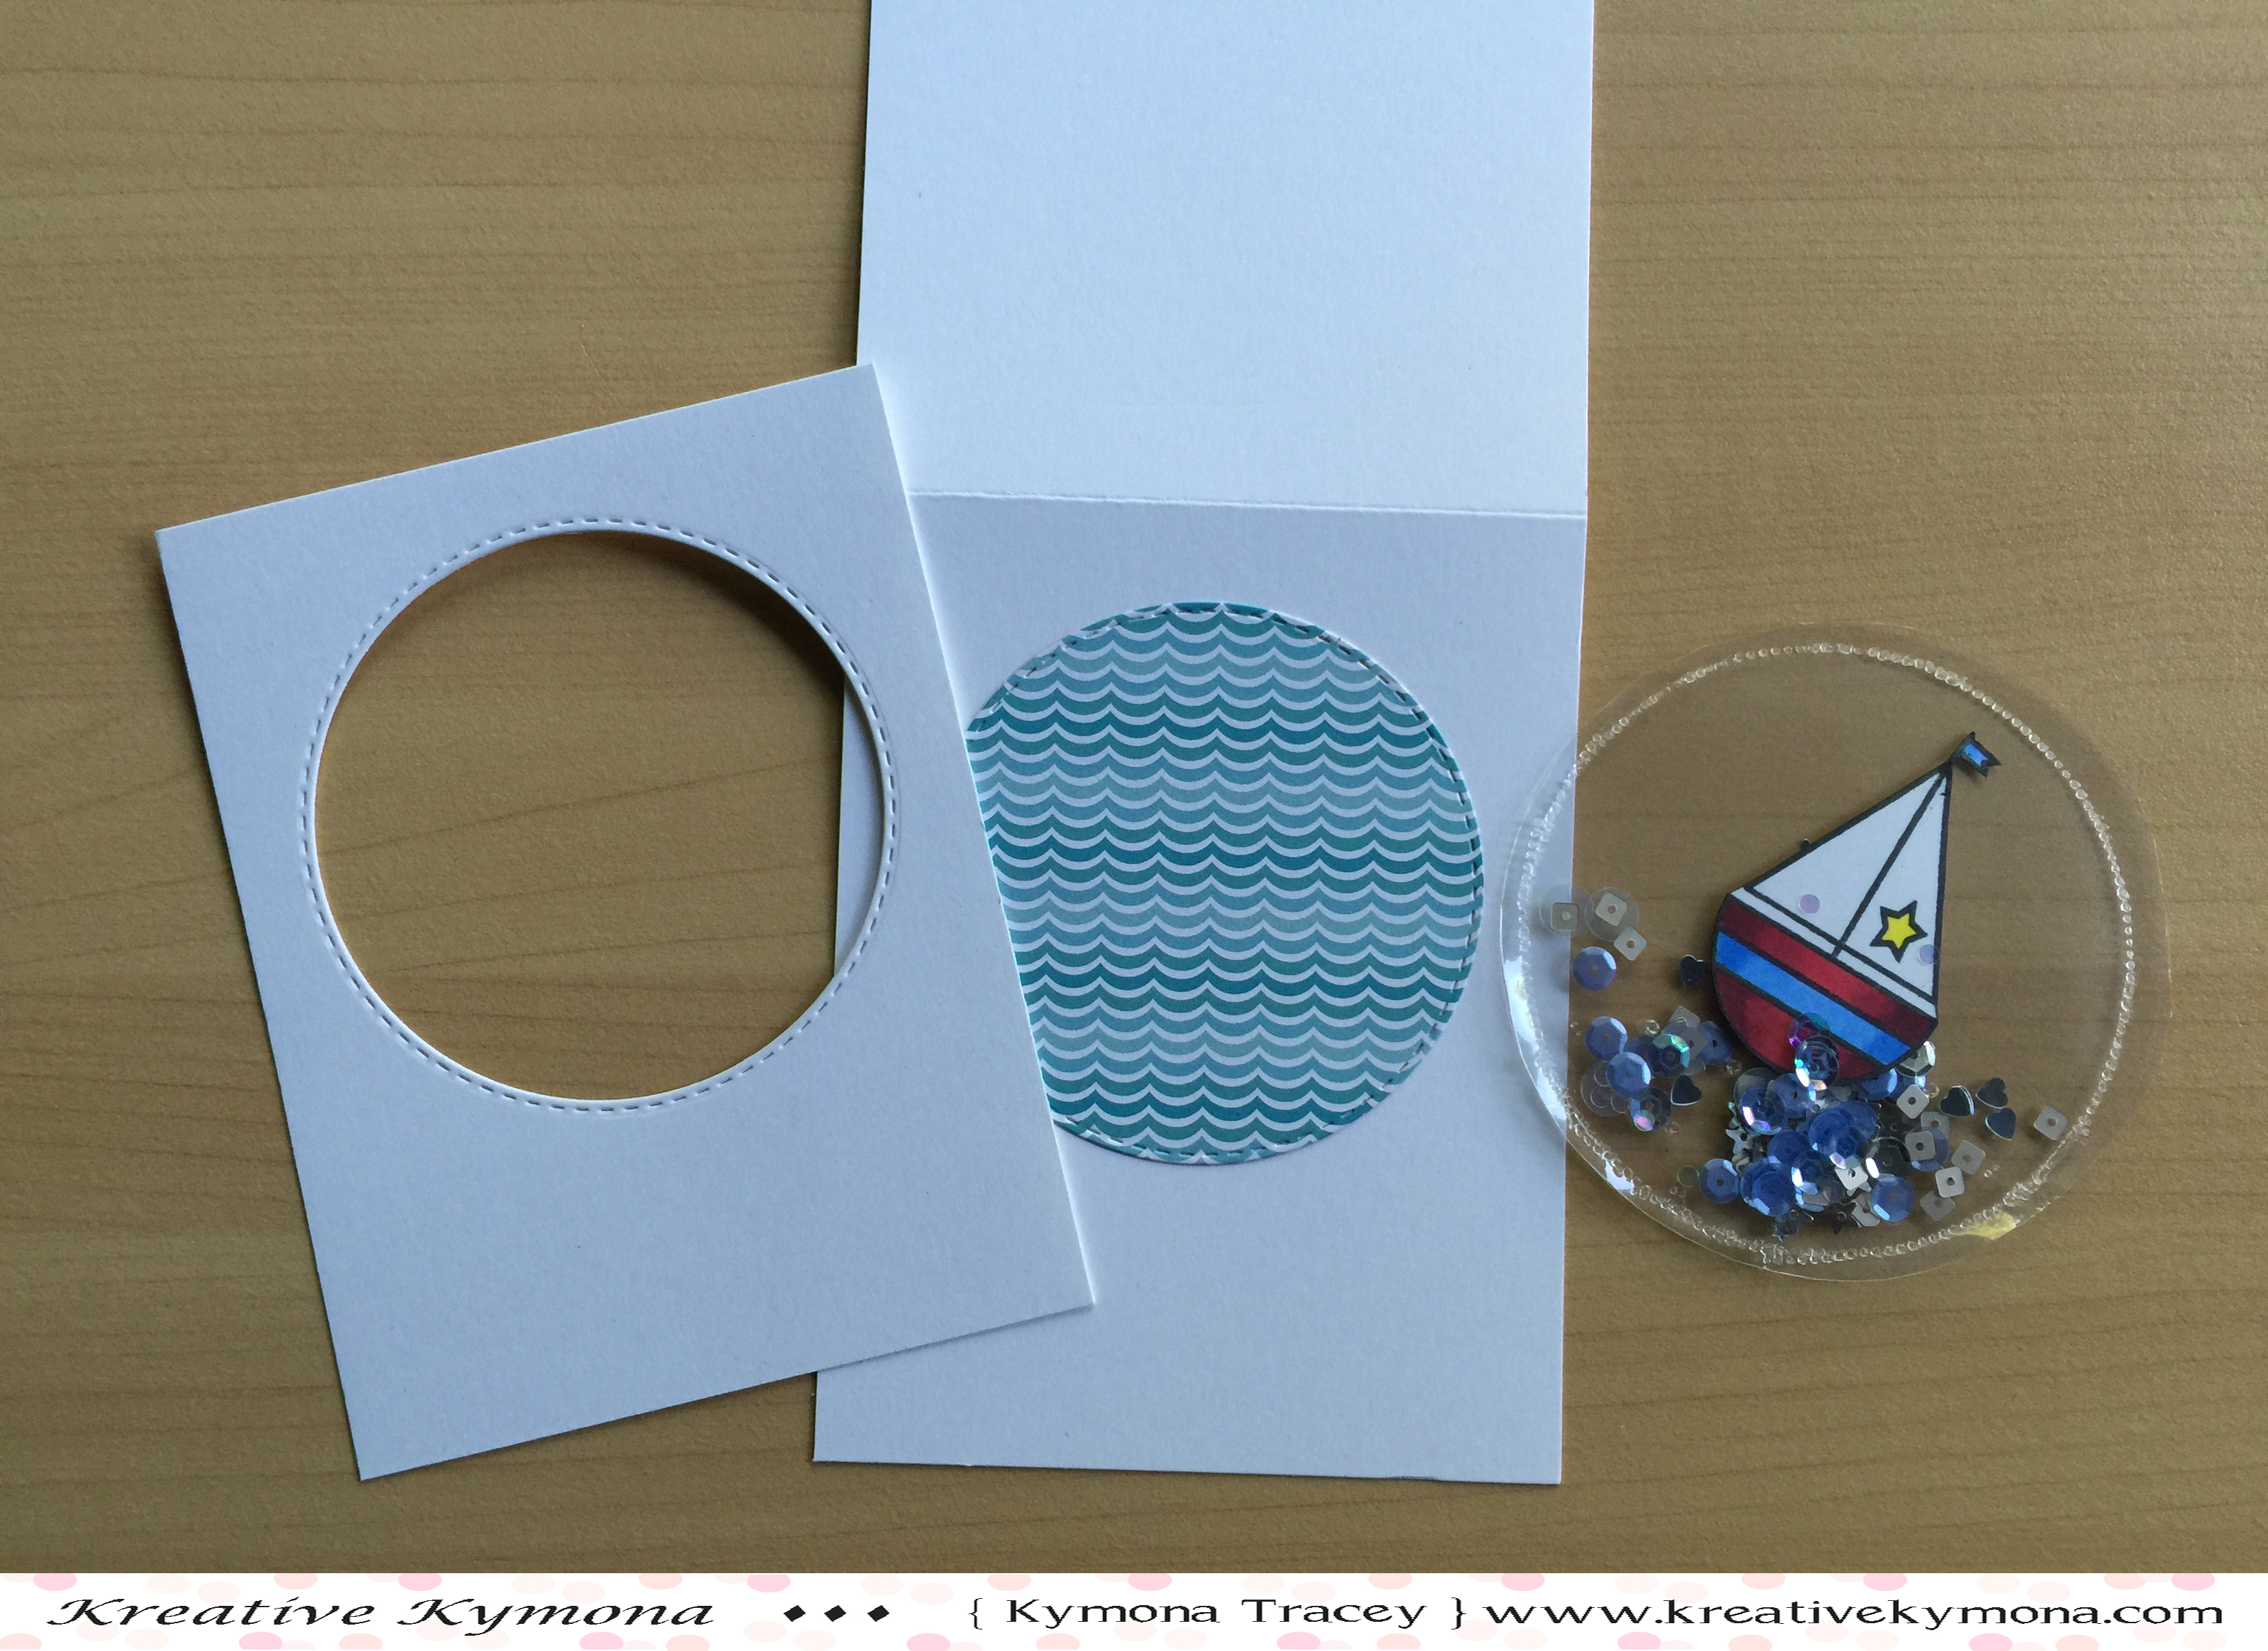
Card 2:

Merry Christmas (TAWS)

So for those of you who follow me, you already know my obsession with shaker cards.  This is a cute shaker card for the holiday season!!

There are a number of things you can do with this shaker card/pocket:

1. You can add a gift card before sealing it.

2. You can punch a hole at the top and add a string for an ornament.

3. You can add your message to the back of the pocket.

The possibilities are endless.

Card 3:

A Ray of Sunshine (TAWS)

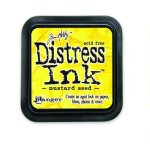
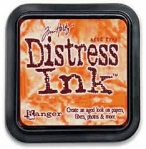
I totally love this card!!  The colors are awesome!! I ink blended mustard seed and spiced marmalade together and stamped the bee with Versamark Ink.  I used Hero Arts White Embossing Powder to bring out the stamped bumble bee.

I stamped the sentiment from the same stamp set and added Doodlebug Sprinkles for added accents.

Super clean and simple! What do you think?  Please let me know below.

Supplies used:

kidncaboodlemakingholidaysbright VersamarkMFT Hybrid Black InkHero Arts Clear Embossing PowderCopic Markers Mustard SeedSpiced MarmaladeTDD Vintage Die

Thank you so much!

~Kymona

Tag You’re It Challenge

Hell everyone!!  I popping in really quickly to play along with Tag You’re It Challenge this week.

Marybeth is the Designer this week and this is what she came up with:

TYIC+%2326


I love the butterfly on her tag so I wanted to give it a try!

I created these watercolor background pieces the other day and want to use one of them to create my tag.

Watercolor pieces

Take a look at my tag:

You make me smile upright

I love that watercolor piece and didn’t want to hide it so I decided to create my second tag using acetate to create my second tag.

You might be able to see it better here:

You make me smile tag flat


My sentiment is from Papertrey Ink Lunchbox Love Stamp Set and I stamped it in Versamark Ink and embossed it with Stampin’ Up! Gold embossing powder.

I punched out two butterflies using Stampin’ Up! Elegant Butterfly Punch and their Bitty Butterfly Punch out of the same watercolor piece.

I adhered everything with glue dots and added the Papertrey Ink Baker’s Twine Cream Cotton to finish off my tag.

Easy Peasy!! What do you think?  Let me know below in the comment section.

Supplies used:

PTI Lunchbox Love  VersamarkSU Gold Embossing PowderElegant Butterfly PunchSU Bitty Butterfly PunchPI Bakers Twine Cream Cotton


Thank you for stopping by!!

Kymona

Top Dog Dies – No Stamping Card

Hello everyone!!!  It’s Top Dog Die Wednesday!!  I’m here to showcasing Top Dog Dies Pretty Petals Die Set #2!!

TDD Pretty Petals 2 Die


This die set is such a versatile set.  You can use it to create some many different crafty things.

For my card today, I decided to use only my dies and no stamping on my card.

Take a look:

Hello Flowers (TDD)


I love how my flowers turned out and this card didn’t require any stamping.

For the card panel, I used retired Stampin’ Up! Polka Dot Embossing Folder to create the dots.

I die cut each flower out of Lawn Fawn Hello Sunshine pattern paper and attached them with foam tape.  I used my Copic Multiliner to draw the stem.  I added some Stampin” Up! Rhinestones to the center of each flower.

To add a sentiment, I die cut the Top Dog Dies Hello from the same pattern paper and used Tombow Liquid Glue to adhere it to the card panel.

I added my card panel to my card base and WaLa!!!!

Super simple and complete!!

What do you think? Let me know below!!

Supplies used:

TDD Pretty Petal #2   Hello Sunshine Petite Paper Pack Polka Dot Folder Basic Rhinestones Jewel AccentsLarge Rhinestone Basic JewelsCopic MultilinerTombow Multi-Purpose AdhesiveTDD Hello Die Set

Thanks for stopping by!!

~Kymona

CASology 155 – Cupcake

Second Post for today

If your looking for Creative Chick 10th Blogiversary Celebration post, click here

Hello everyone!! It’s CASology Tuesday!! We are back with another Cue Card for you!!

This week’s cue card is so super cute, fluffy and good to eat!   I can’t wait to see what everyone comes up with.

This week’s cue card:

Week 155 - CupcakeTake a look at my card:

Happy Birthday (CAS)

Tell me that cupcake doesn’t look delicious!!

Well I have a secret for you!!

The die that I used is a super sneak peek from Top Dog Dies August release!!  Its their New Cupcake Die.  The set comes with 9 dies and its the cutest set I’ve seen!

They will also release 4 other die sets that will knock your socks off!  Stay tune I will have a full revive in August plus a giveaway!!  You don’t want to miss that.

This card was very easy to do.

I simply die cut all of my cupcake pieces out of different cardstock.  I used Mama Elephant Femme Frames die cut to die cut my card base.  I assembled the cupcake and adhere it to the card front.  I used Mama Elephant Photo Bomb stamp set to stamp the sentiment.  Finished under 5 minutes!!  I love these types of card.

Super easy card!!

Now its your turn!!  I can’t wait to see what you come up with!

For more inspiration, check out my fellow Design Team members blog for more awesome work.

Design-Team

Gillian Ross

Hannelie Baster

Hazel Hodgkins

Jen Wills

Joyce Mehrberg

Judy Marino

Kimberly Wiener

Kymona Tracey ←Me

Melissa Chipperfield

Tracey McNeely

Our Guest Designer this week:

Ksenija

Our Sponsor this week is STAMPlorations.

Supplies used:

FEMME_FRAMES-CC_largePHOTO BOMBMFT Hybrid Black InkNeenah Desert Storm CSVery VanillaLets Polka MonAmie

Thank you for stopping by!!

~Kymona

Creative Chick 10th BLOGIVERSARY Celebration!!

event-banner


Hello everyone!!  I’m here today celebrating with my good friend Jenn Shurkus!!!  She is celebrating her 10 year Blogiversary!!!  How fabulous is that!!

Let me give you some history as to how I met Jenn!!  I first came across Jenn when she made the Simon Says Stamp Design Team.  I when I had a chance to participate in the challenges, I did.  Then one day while on Instagram, I saw a picture of a Loft Retreat in Rhode Island so I wanted to check it out.  I check out and realized the blog belong to Jenn from Simon Say Stamp.  So I looked further.

As I was reading all about the Loft Retreat, I was getting excited.  I look up how far she was from me and when google map said 3 hrs, I knew I had to go.  So I contacted Jenn via Instagram to let her know that I would be at her retreat.  I was super excited.  As time draw closer, I remembered that my brother was having an honors ceremony the very same day in DC.

I was trying to figure out how I could be in Rhode Island and DC at the same time or at least an hour late to one.  Well, you know that wasn’t going to happen so I contacted Jenn and let her know that I can’t come she said don’t worry she will have another one very soon. Cool!

As soon as she put out the schedule for her next retreat, I was all on it.  I contacted her and let her know I will be there.  I cleared my schedule and everything.  Jenn sent out the special invite for us to pay and I was happy.  Well, I forgot to respond tot he email until THE night before and she had one sit left.  It was meant to be.

I traveled all the way to RI by myself and boy did I have a great time!!  I chatted, crafted and had lunch with a great set of women.  I left feeling well crafted.  Wait did I tell you, it was a Mixed Media class.  Totally out of my element, but boy did I have a great time.

Jenn recently had her card retreat and I attended and had a wonderful time.  Since I’ve been to her classes and to her home, we are officially friends, or at least I hope so, LOL!!!

Soooo, I say all of that to say CONGRATS Jenn on 10 years of awesomeness!!

Here are Jenn’s cards that I CASED:

CASEing Jenn

Here are my cards that I made:

Jenn's Celebration CASE card

I choose these cards because if any one knows Jenn, they know she loves “happy mistakes”!!

Watercolor to me are happy mistakes.  They are one of a kind, no restrictions just fun!!

I hope I did well with this task that I was given to me!!

Now on to the super fun part of this celebration:

You can also play along and celebrate with Jenn for a chance to win some fabulous prizes from the sponsor below.

To participate all you have to do is CASE one of her cards or projects from her 10 years of blog post and then link up your project on her blog.  You have until August 4th to play along.  The winner will be announced August 7th!!

I hope you play along with us!!  You will not be disappointed!!


blogiversary-sponsors

Thank you so much for stopping by!!

~Kymona

CS Take It Make It: Take a Stamp Inspiration Photo

Second Post for today

If your looking for Your Next Stamp Color and Sketch post, click here.

Hello everyone!  I’m here today with CS Take It Make It Design Team for our CS Take It Make It: Take a Stamp Challenge.  This is our inspiration photo!

This month’s theme is Take a Stamp!!  That means take any stamp and create something, anything goes!! Now if that isn’t easy, I’m not sure what is!!

Take a look at my card:

Happy Birthday (TIMI)

This was a very simple and easy card.  I wanted all of the focus to be on this awesome flower by Tim Holtz,  its called Flower Garden.

The sentiment is from Tim Holtz and its called Handwritten Sentiments.

Here is how I created this card:

1. I cut my watercolor cardstock to an A2 size card, 4.25 x 5.50 scored 5.50.

2. I stamped the flower, stem and sentiment image with Ranger Archival Jet Black Ink.

3. I used Kuretake Gansai Tambi watercolor #43 and #33 to color my images.

4. I also used my Akashiya SAI Watercolor Brushes to add the brown to the flower, the green in the stem and the blue shading.

Super easy and relaxing to create!!

So what will you create for this challenge?

We have two prizes to offer this month, the first is our sponsor prize. This winner will be chosen randomly from all of the entries in the challenge! The sponsor for July is: Art Journey

CS TIMIHere are the prizes this month:

4 Plates!!

Sorry I don’t have an image but if you visit the store you will see the most amazing stamp sets!!

Our second winner is our Design Winner. This winner is chosen by our DT, who all vote for their favorite design from all of the entries. This winner will have their winning project published in Craft Stamper Magazine, they will have a GDT slot for an upcoming challenge, and will also feature in their very own Winners Profile blog post!

Now if that isn’t a reason to play along I’m not sure what is!!

I can’t wait to see what you come up with.

Supplies used:

TH Flower Garden TH Handwritten SentimentKuretake Gansai Tambi WatercolorAkashiya Sai Watercolor Brush PenCanson Watercolor PaperArchival Jet Black

Thanks for stopping by!!

~Kymona

YNS Sketch and Color Challenge #18

Hello everyone!!!  I’m here today with Your Next Stamp (YNS) and the Sketch and Color Challenge #18!!

Each challenge has a sketch and a color combo to choose from.

Take a look at the sketch:

YNSSketch18

Take a look at the color combo:

YNS Color Challenge 18

I choose to go with the sketch! Take a look at my card:

 Hello (YNS)

YNS Supplies: Waddles Rainbow Fun, Waddles Rainbow Fun Die Set, Whatnot Sentiment Five, Plant Some Kindness

Other Supplies: Simple Stories So Fancy Pattern Paper, Lucy Adams Cherry Blossom Sequin, Glossy AccentsCopic Markers, Circle Die, Neenah Solar White Cardstock

I cut all of my pieces of papers according to the sketch.  Instead of using an actually circle I decided to create a shaker window in the shape of a circle.

I use my fuse tool to create the shaker packet and adhered it to the front panel of the card.  I adhered all of the pieces together to create this cute and fun card.

I used Copic Markers: C1, C3, RV17 to color my penguins.

So are you ready for the new challenge?

You have until July 23rd at midnight EST to play along and submit your project on the YNS Blog post.  One random participant will win a $15 gift certificate to the Your Next Stamp Store.  If YNS stamps or dies are the focal point then the winner receives and additional $5 gift certificate fro a total of $20.  The winner will be announced on the YNS Blog the Sunday after the challenge closes.

Supplies used:

Waddles Rainbow FunWhatnot Sentiments FivePlant Some KindnessSo Fancy paper Cherry Blossom Sequinglossy accents Waddles Rainbow Fun DiesCopic Markersclassiccrestsolarwhtie

Thanks for coming back!!

~Kymona

Your Next Stamp DT Dare – Floral

Hello everyone!!  I’m here today with Your Next Stamp and our DT Dare!!!

What is a DT Dare you ask? It’s a fun monthly challenge for the YNS design team to show case more fabulous projects using the new release products!!

YNS-DARE-Badge

Fun right!!

Wait there is more!!  If you leave a comment on the YNS blog post you could Win a YNS Stamp Set of your choice!!! 

Exciting right!!  It sure is for me!!

The DT Dare Challenge this month is FLORAL!!  The design team was asked to create a project using anything floral (pattern paper, embellishments, etc.).

Take a look at my card:

Sweet Baby (YNS)

YNS Supplies: Word Critters – Exotic Animals and Scrapworks-Mini Sunburst Die Set

Here is how I created this card:

1. I cut my card base to a A2 size card, 4.25 x 5.50 scored at 5.50.

2. I cut the Simple Stories Summer Vibes pattern paper to 4.25 x 5.50 and used Your Next Stamp Scrapworks-Mini Sunburst Die Set to cut a flower in the center of the paper.

3. I used the pattern paper as a guide to draw a light flower on my card panel where I want my swing for the bear to appear.

4. I used the Misti and stamped the swing stamp where I wanted it. I erased the pencil mark.

5. I stamped the sentiment from the Words Critters – Exotic Animal Stamp Set with My Favorite Things Hybrid Ink.

6. I adhered the pattern paper to the card base using foam adhesive.

7. I colored my bear with Copic Markers: black, BG34, E13, R20.

8. I adhered my bear on top of the swing using foam adhesive.

Easy as 123!!

So tell me did I live up to the challenge?  I would love to know, let me know below!


Just a reminder….we have a New Release Sale!!!

July2015salebadge

Please go to YNS blog and leave a comment to WIN a YNS Stamp Set of your choice!!

DTDare2candy-547x232

Contest ends July 10th at midnight EST.  The winner will be announced on July 12th on the YNS blog!!

Supplies used:

Word Critters-Exotic AnimalsScrapworks Mini Sunburst DiesMFT Hybrid Black InkSummer Vibe paperCopic MarkersMisti

Thank you so much for stopping by!!

~Kymona

CASology 154 – Repeat

Hello everyone!! It’s CASology Tuesday!! We are back with another Cue Card for you!!

This week’s cue card had me doing things over and over again!  This cue card should produce some interesting sorts of cards!!  I can’t wait to see what everyone comes up with.

This week’s cue card:

Week 154 - Repeat

Take a look at my card:

Hello Friend (CAS)

I’ve been dying to use this stamp set from Mama Elephant its called Sunday Stroll and Sunday Sentiments!!  I’ve seen all of the beautiful cards with this set and wanted to join in!

Since our cue card is repeat, I decided to repeat the little girl, its triplets!!  So cute!!

Oh man, I should have had them holding hands, that would have been super cute too, LOL.  All after the fact, LOL!!

In any case, I blended Distress Ink Mowed Lawn to the bottom of my card.  Then I stamped my image 3 times using my Misti.  I colored them in with Copic Markers: E15, E02, E00, C1, C3, C5, R24.  I add Clear Wink of Stella to their hats.  I stamped my sentiment using My Favorite Things Hybrid Ink. I rounded the top two corners.

Done!!  That was easy!!

Now its your turn!!  I can’t wait to see what you come up with!

For more inspiration, check out my fellow Design Team members blog for more awesome work.

Design-Team

Gillian Ross

Hannelie Baster

Hazel Hodgkins

Jen Wills

Joyce Mehrberg

Judy Marino

Kimberly Wiener

Kymona Tracey ←Me

Melissa Chipperfield

Tracey McNeely

Our Guest Designer this week:

Cat

Our Sponsor this week is Cindy B Designs.

Supplies used:

SUNDAY STROLLSUNDAY SENTIMENTS Misti Copic Markers MFT Hybrid Black InkMowed Lawn

Thank you so much for stopping by!

~Kymona

TAWS July Guest Designer

Second Post for today

If your looking for the Your Next Stamp Blog Hop, click here

Edited to add more photos

Hello everyone!!  I’m here today Guest Designing for The Alley Way Stamps (TAWS)!!  I’m excited about this opportunity!!

Take a look at my card:

You're a lifesaver (TAWS)

I used The Alley Way Kids n’ Caboodle Stamp Set to create this shaker card!!  I had a ton of fun working with this stamp set.

kidncaboodle

All of the images in this stamp set are cute and chunky!!  Great for coloring!

When I saw the sailboat, I knew I need to make a shaker card.  I also knew I wanted the boat to be in the shaker pocket with the sequin, riding the waves!!  LOL!

Here is how I created this card:

1. I cut my card base to an A2 size card, 4.25 x 5.50.

2. I cut my card panel to the same size.

3. I used Simon Says Stamp Circle Stitched Circle Dies to cut the window in card panel.  I used the same stitched circle die to cut a circle out of a piece of pattern paper.

4. I used the panel as a guide to adhere the pattern circle to my card base.

5. I colored my sailboat with Copic Markers: R35, R37, R89, B24, B32,Y06 then cut it out.

Sailboat inside (TAWS)

6. I used my We R Memory Keepers Fuse Tool to create my shaker pocket.  I added my Lucy Adams Blue Topaz Sequin and my colored sailboat in the pocket before sealing it up.

If your unsure how to use the fuse tool to create a shaker pocket, check out this post.

7. I stamped my sentiment from the stamp set in My Favorite Things Hybrid Ink.

8. Once the pocket was sealed, I adhered it to the back of the card panel and added foam adhesive.

Sailboat pieces (TAWS)

9. I added the panel to the card base and I was done!!!

When you shake the card the boat moves along with the sequin.  It’s super cute.

So what do you think? Please leave a comment below.

I hope I’ve inspired you to check out The Alley Way Stamps Store if you haven’t already!!

Supplies used:


kidncaboodle Stitiched Circlefuse bundleBlue Topaz Sequin MFT Hybrid Black Ink

Thank you so much for stopping by!!

~Kymona