Second Post for today
If your looking for the Right At Home Blog Hop, click here
Hello everyone!! It’s CASology Tuesday!! We are back with another Clean and Simple Cue Card just for you!!
This week’s cue card is:
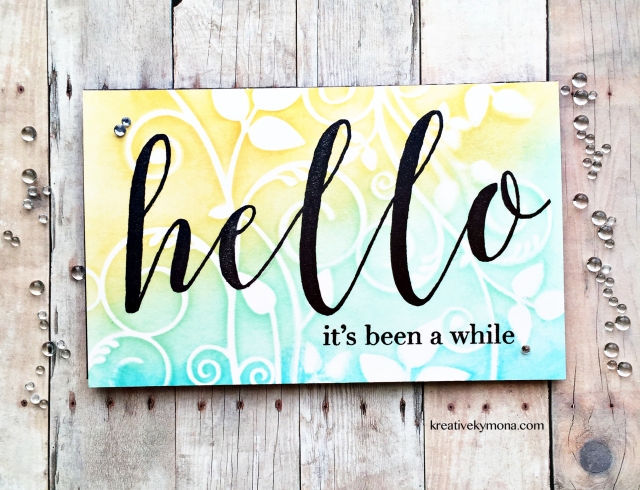
Take a look at my card:

When I saw the cue card, I knew I wanted to combine the rub-ons with the color pink.
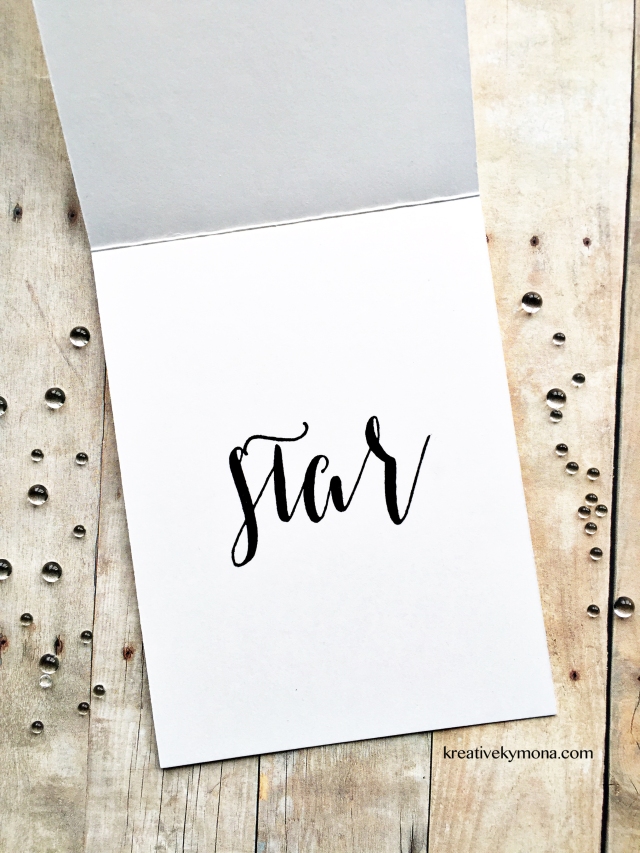
This is just one of the cards in my series called the Be Series!! Sometimes all we need is a pretty strong sentiment to get us though our day.
Creating this card was more then easy and it to me less then 4 minutes!
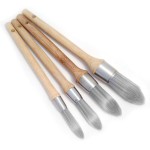
Check out my supplies:

Here is how I created this card:
- Cut your white card base to 4.25 x 5.50, scored at 5.50.
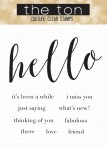
- Cut out the sentiment you want to use from Prima Loved Words Rub-Ons.
- Place the sentiment on the card front where you want them to be and rub.
- Remove the transparent sheet.
- Spring Wow! Fluorescent Magenta Embossing Powder over the sentiment and heat set it.
Done!! When I say easy, that might be an understatement. This was amazing easy.
Check out the rest of my cards:

Do you know someone who would love a card like this? Let me know, I will send one right on over.
What do you think? I can’t wait to see what you come up with!
For more inspiration, check out my fellow Design Team members blog for more awesome work.
![]()
Guest Designer
Our sponsor this week is Serendipity Stamps.
Supplies used:


Thank you so much for stopping by!
~Kymona


 Prize: All Six Kate Crane Art Journaling DVD’s