Hello everyone!!! I’m here today with Your Next Stamp (YNS) and the Sketch and Color Challenge #22!!
Each challenge has a sketch and a color combo to choose from.
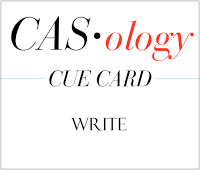
Take a look at the sketch:

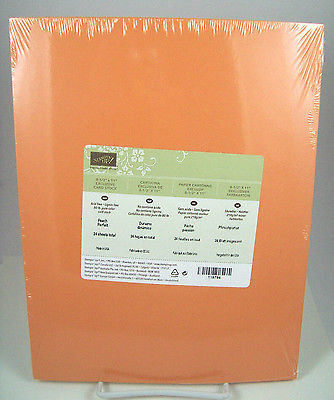
Take a look at the color combo:

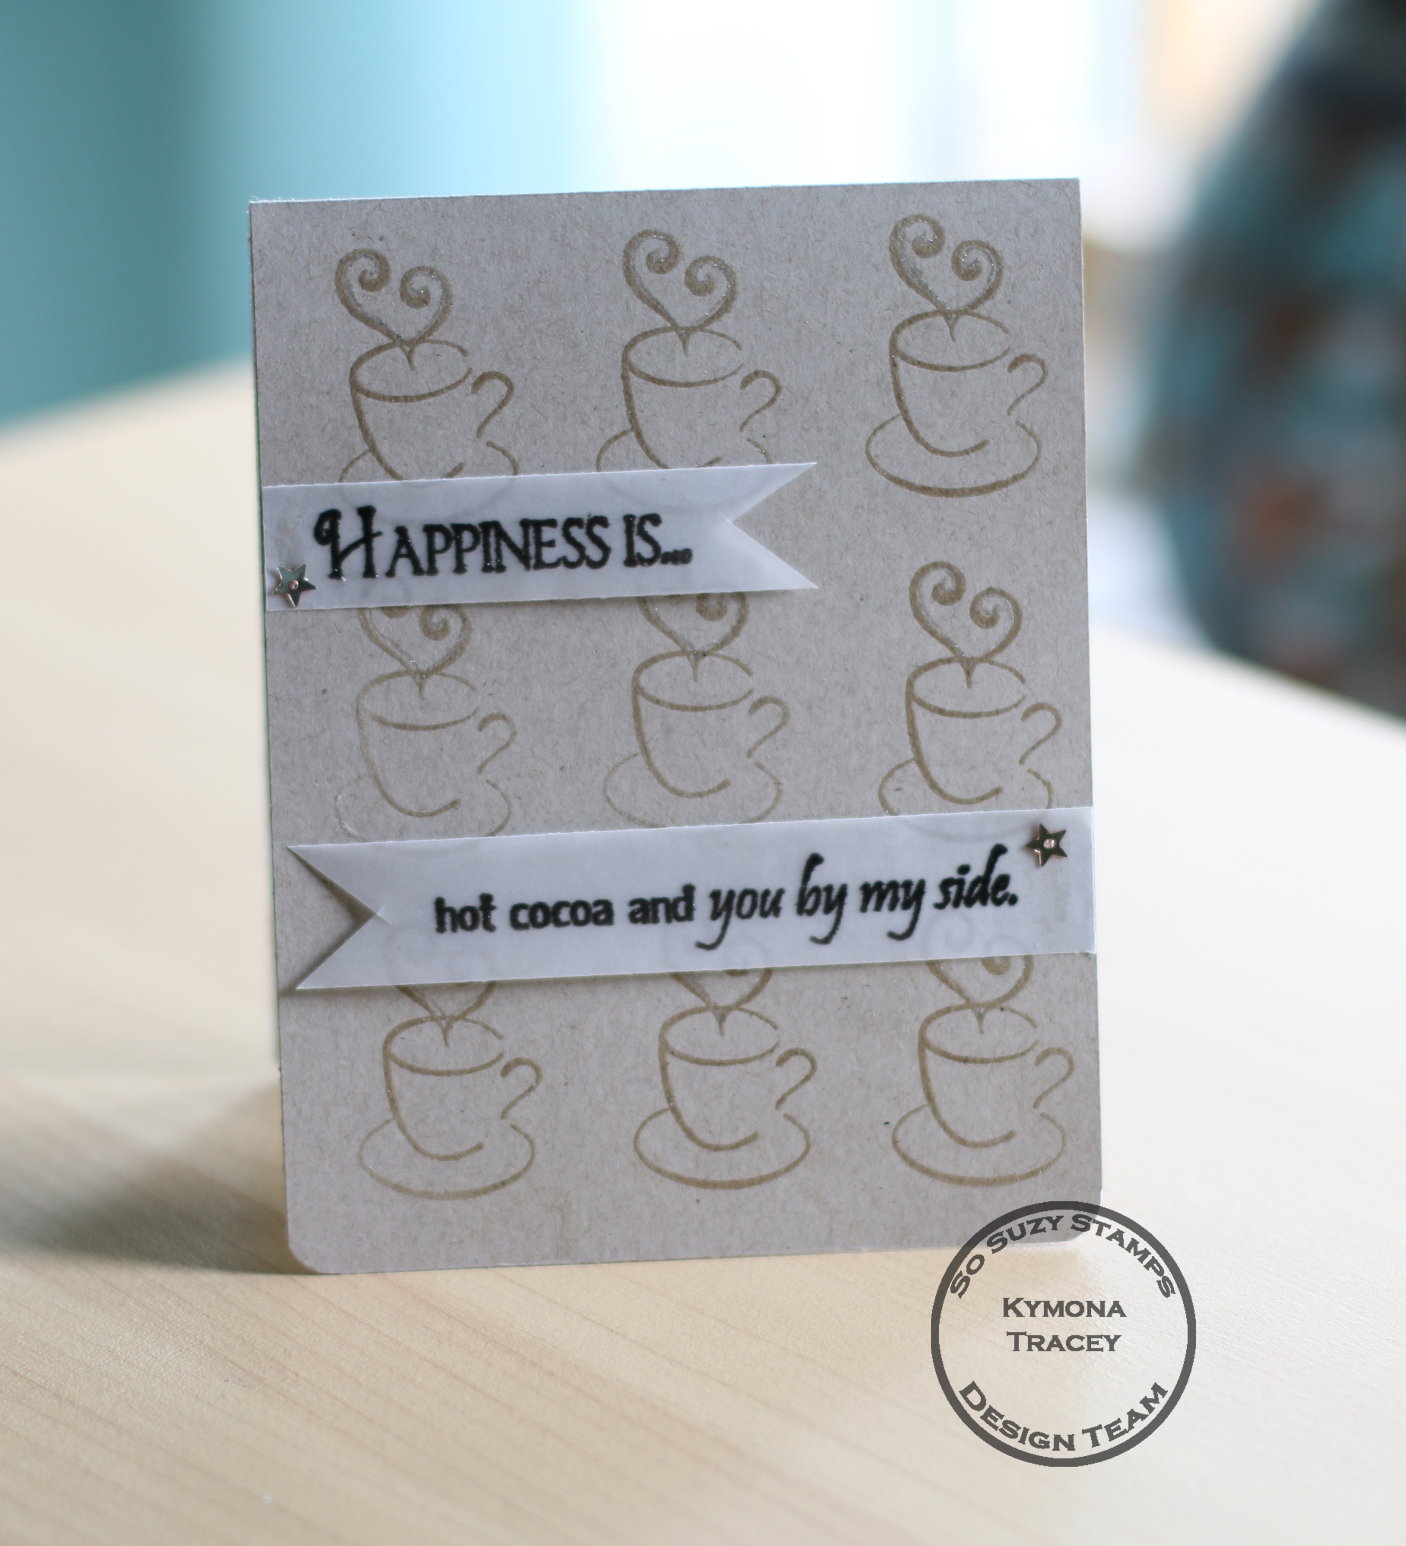
I choose to go with the sketch again!! Take a look at my card:

YNS Supplies:Your Next Stamps Phoebe with her Wagon Stamp Set, Your Next Stamp Phoebe with her Wagon Die Set,Crystal Clear Gumdrops
Other Supplies:Pink Fresh Studio Happy Things Pattern Paper, Copic Markers, Lawn Fawn Small Stitched Square Stackables, 3M Foam Tape,
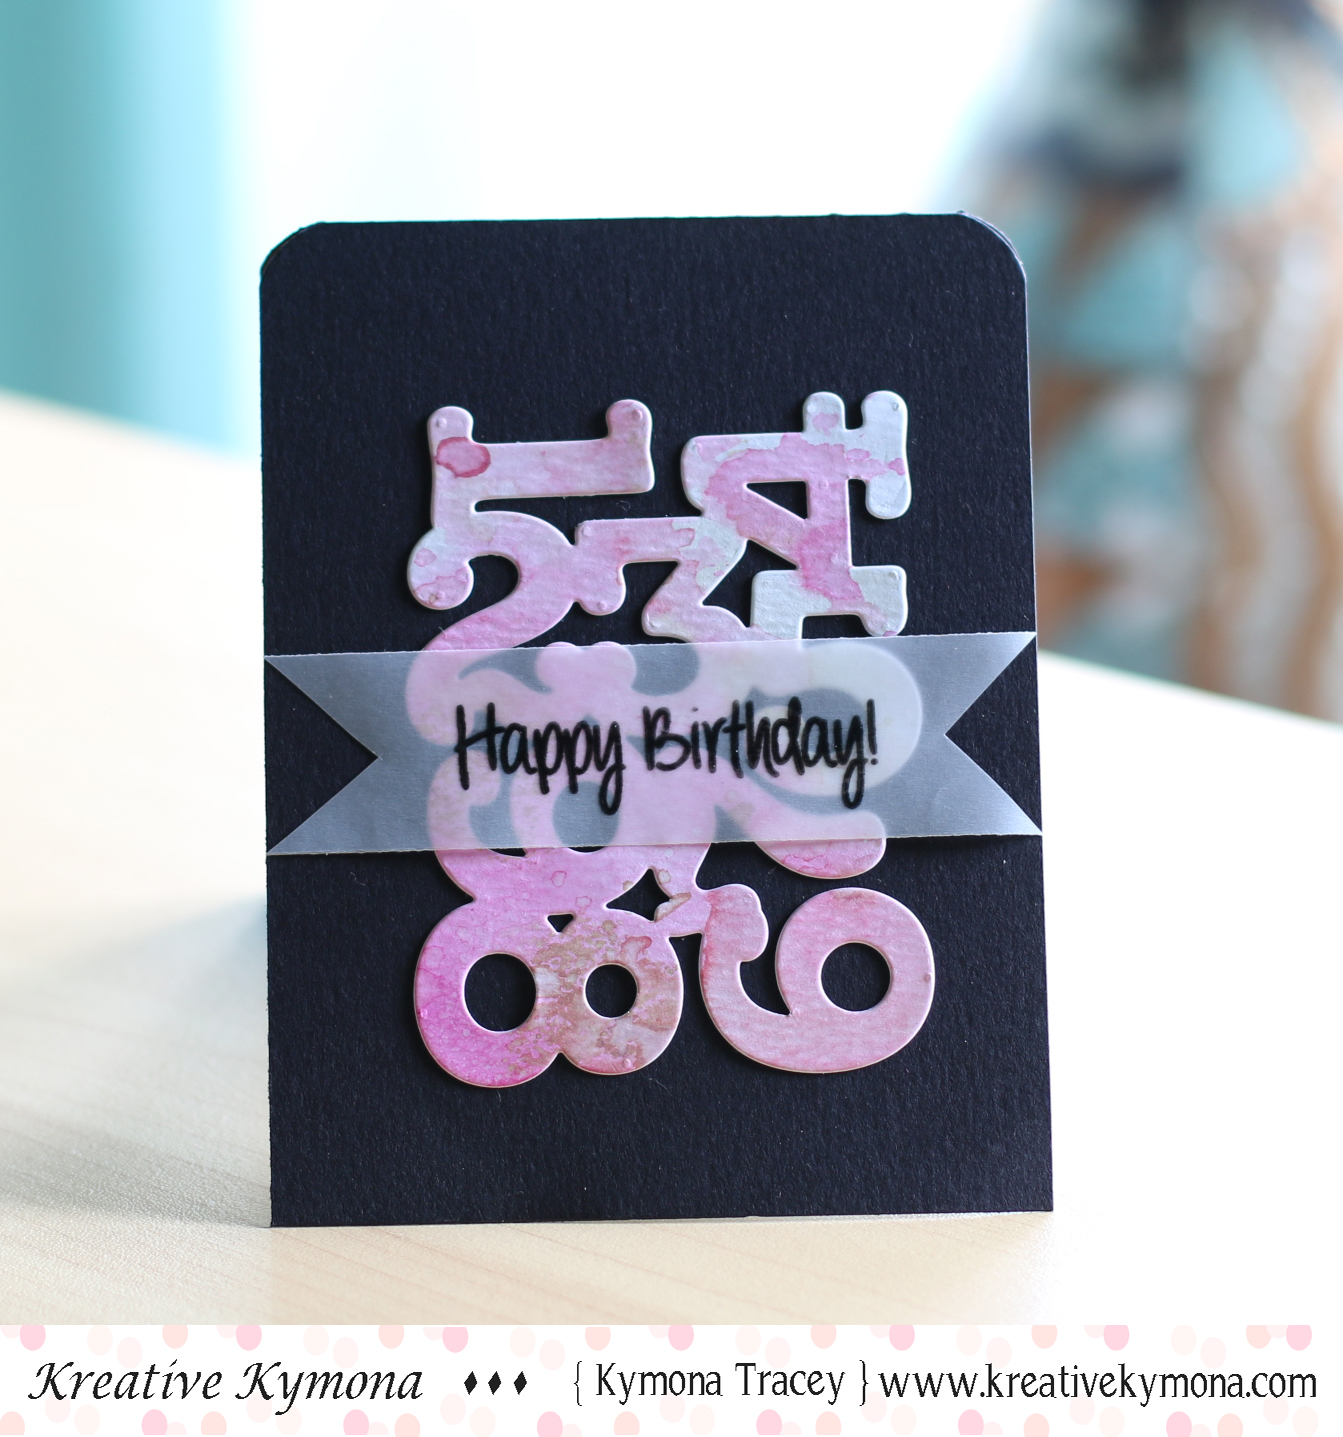
I must say I love this card!! The colors, the little dog, the wagon, the sentiment and the bow! It all just seems to fit so nicely.
I thought about cutting the pattern paper in have to leave a little white like the sketch but I didn’t like the way it looked so I used the bow as a separation piece. I hope that works.
For this card:
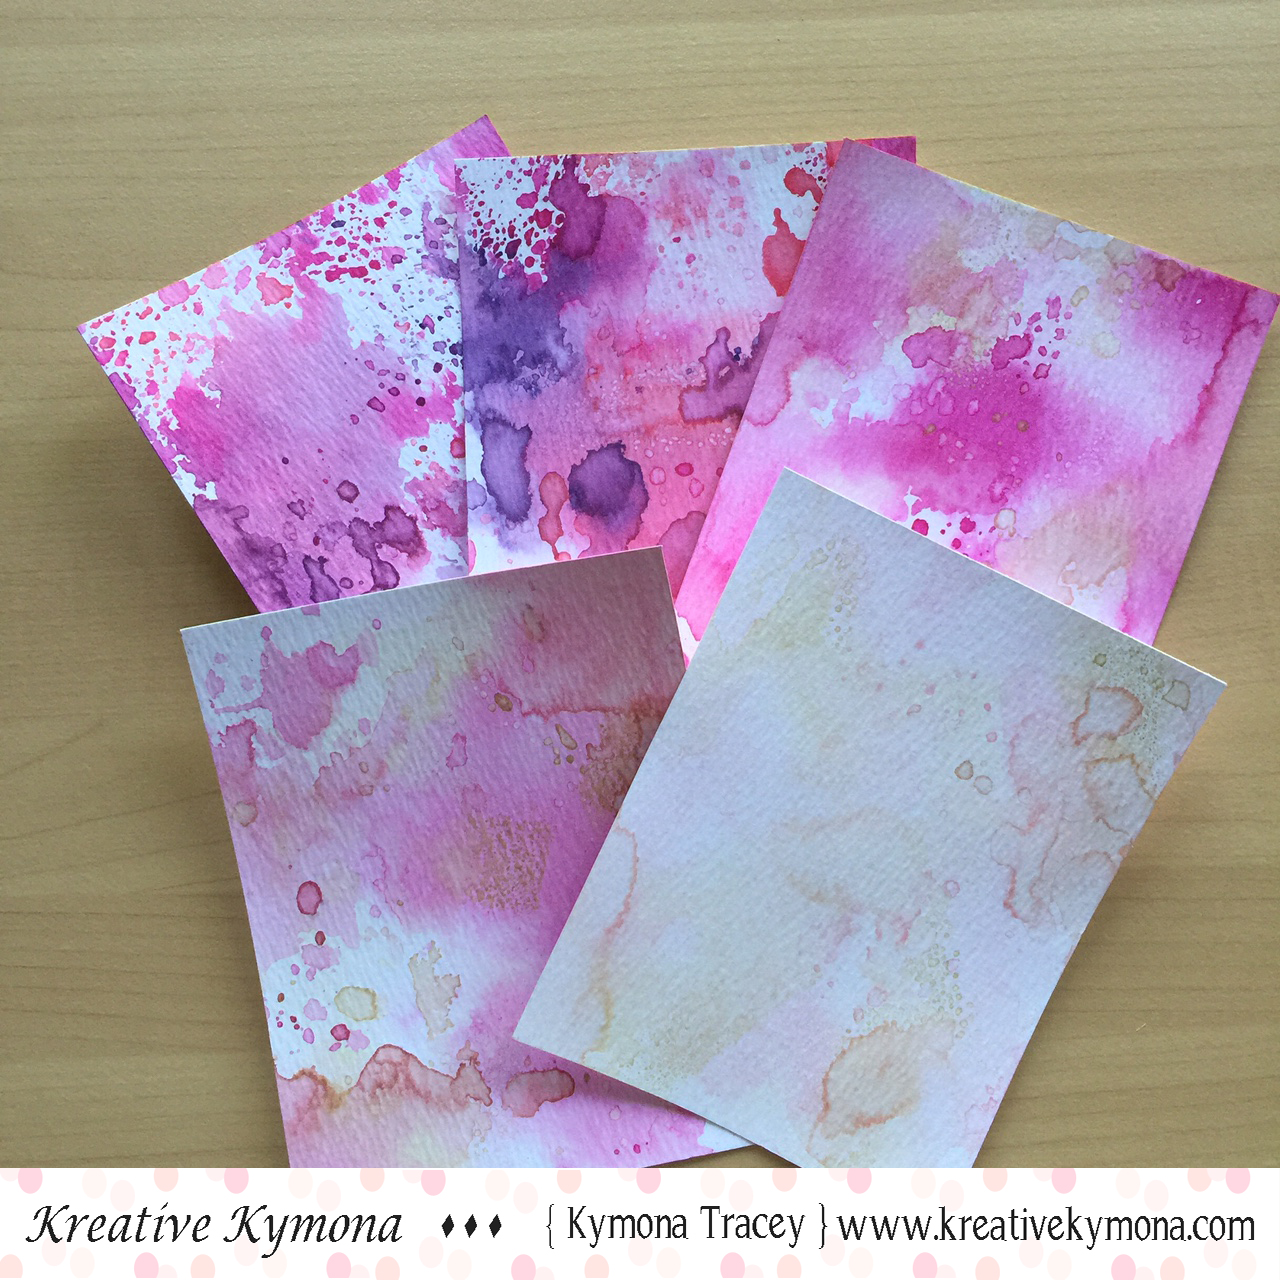
All I did was add a piece of Pink Fresh Studio Happy Things Pattern Paper and add it to my card front.
Then I added a bow out of some white ribbon.
After that, I used Lawn Fawn Small Stitched Squares Stackables to die cut my white square panel.
I used Your Next Stamps Phoebe with her Wagon Stamp Set to stamp the sentiment, the little dog and the wagon.
Then I used Your Next Stamp Phoebe with her Wagon Die Set to die cut the wagon and the dog.
I colored the dog with Copic Marker E23, E25 and E27 and the wagon with R35 and R37.
Then I added the wagon and the dog to the square panel using foam tape.
To finish off the card, I added Crystal Clear Gumdrops behind the white square panel.
Nice and easy. Did you notice that I used the wagon handle as the panel you see in the sketch. I thought that was clever. Do you?
So what do you think? Let me know below!
So are you ready for the new challenge?
You have until September 17th at midnight EST to play along and submit your project on the YNS Blog post. One random participant will win a $15 gift certificate to the Your Next Stamp Store. If YNS stamps or dies are the focal point then the winner receives and additional $5 gift certificate fro a total of $20. The winner will be announced on the YNS Blog the Sunday after the challenge closes.
I hope to see your projects!!
Supplies used:


Thanks you so much for stopping by!
~Kymona