Stretch your Stamps 2: Day 1Homework

This is my second post for the day.

If your looking for the Create a Smile Guest Designer Search post click here.


Hello everyone!  My favorite online card classes are back in session and I’m super excited!  I love these classes.  I learn so much and met so many wonder crafters from all over the world.

SYS2

Stretch your Stamps 2 helps us look at our stamps in a whole new way!! The class started yesterday and I’ve learned a lot thus far.

For our first lesson, Kristina Werner taught us how to multilayer emboss resist with a regular background stamp.

For this lesson we used Hero Arts Highline Ironwork Background Stamp because it has a lot of detail that can be painted and repainted.

First we did a simple wash of watercolor, dried the complete background and then add another layer of watercolor to spot highlight the design.  This stamp works because the design is open and has lots of open spaces to paint.

Take a look at my watercolor piece when I was finished with it:

watercolor pieces

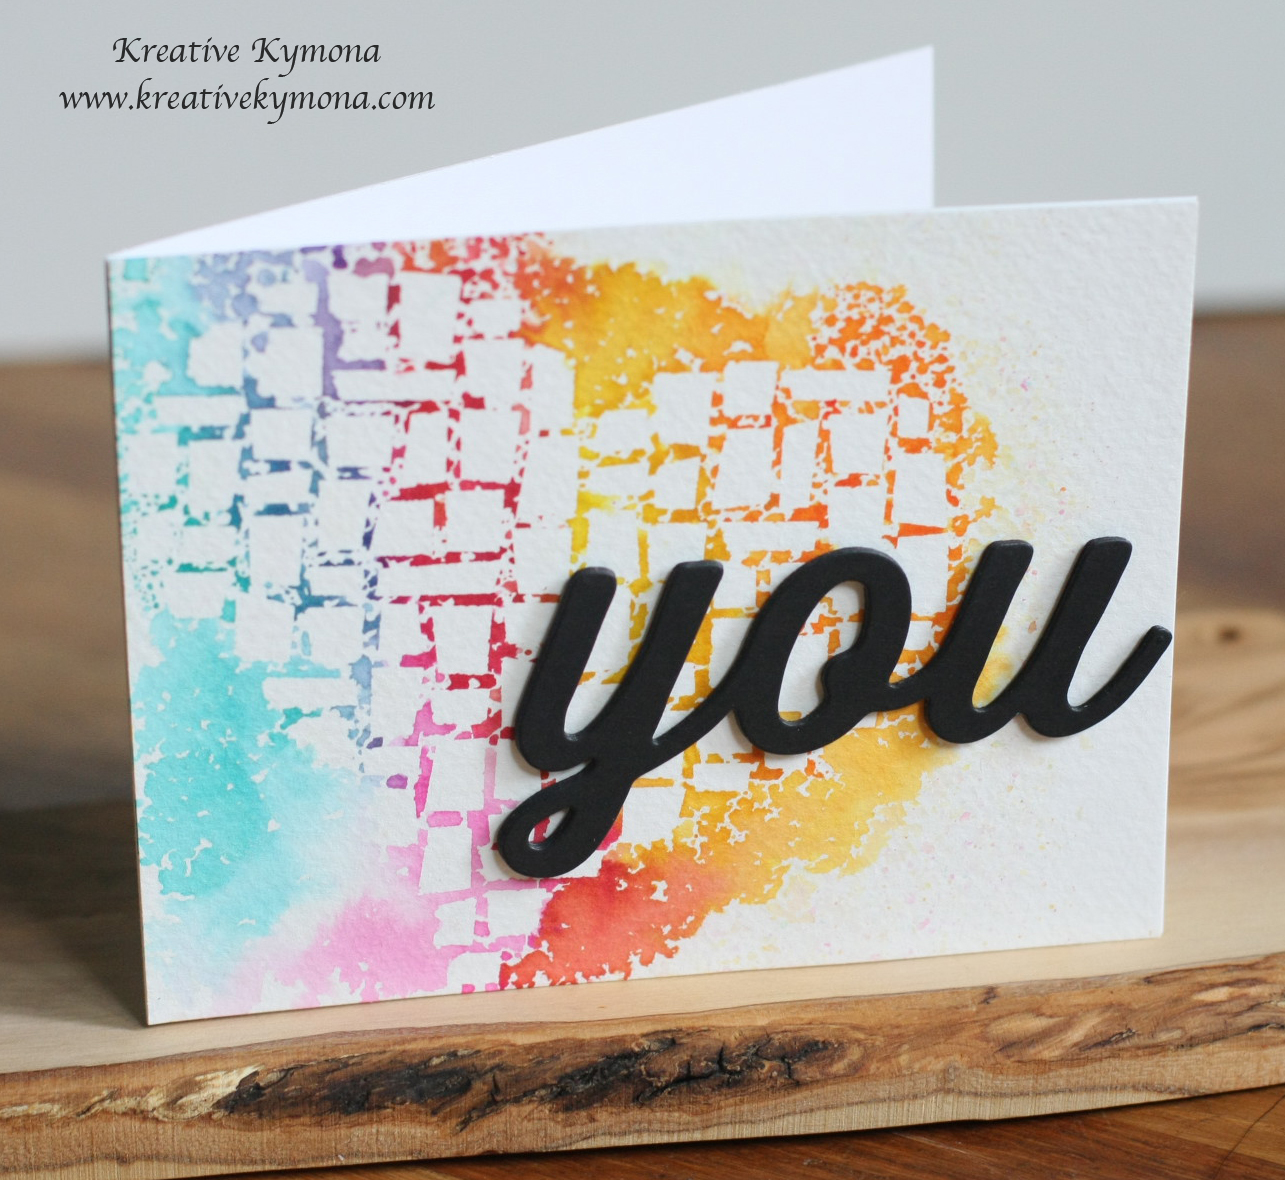
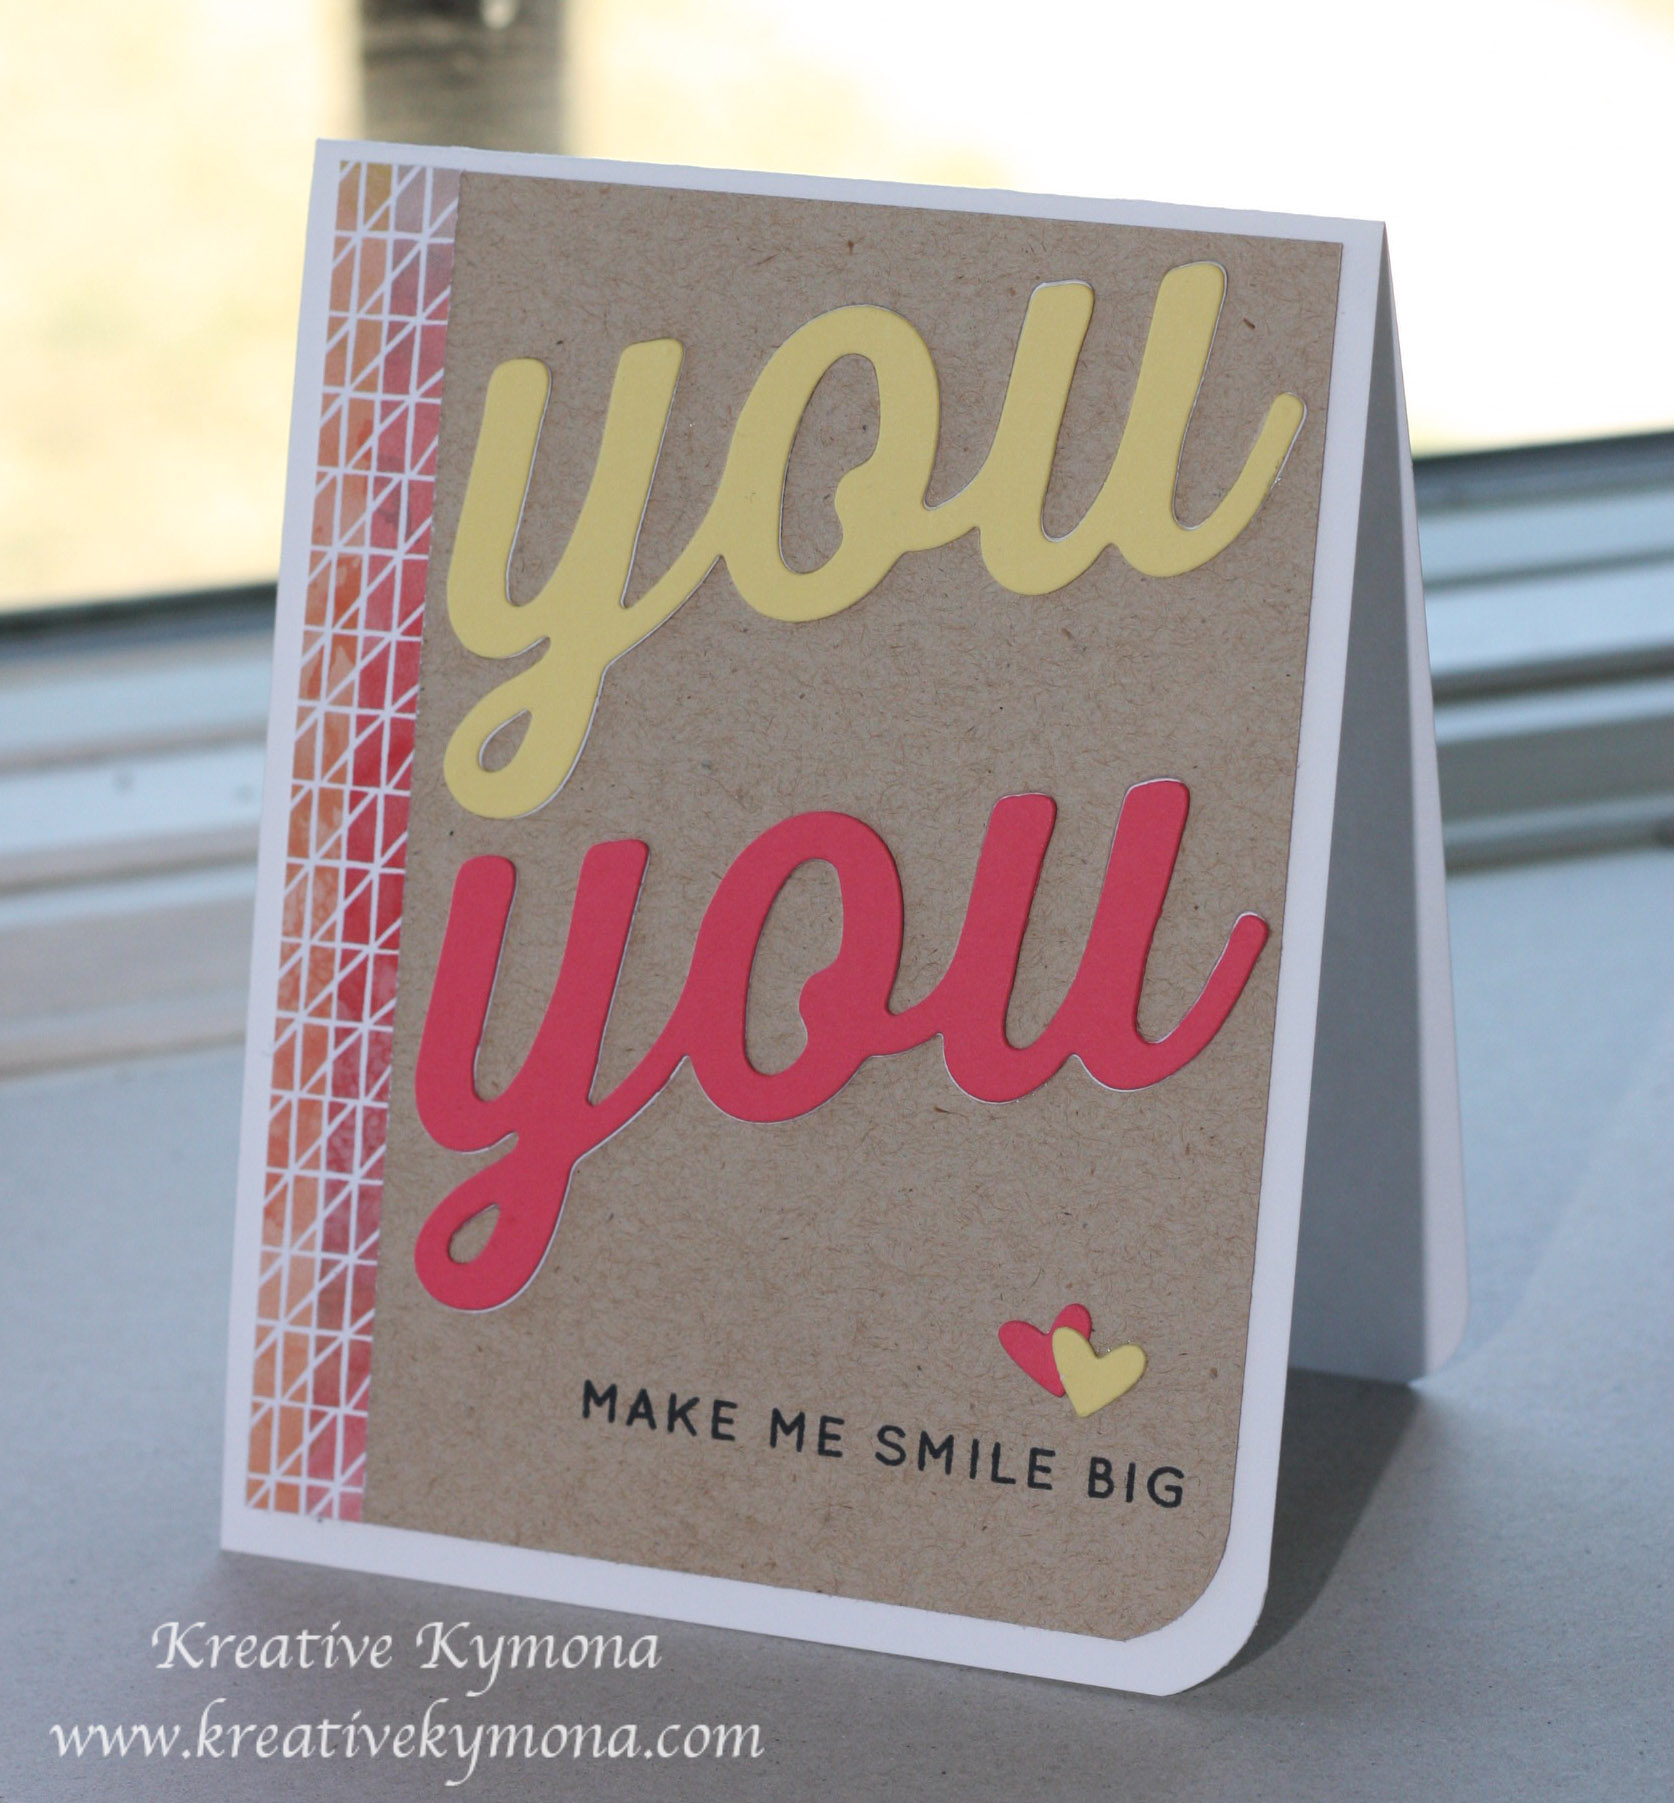
From this piece I created these cards:

Big Hug and Background

Big Hugs close up

Big You and Background Stamp

Big You whole card

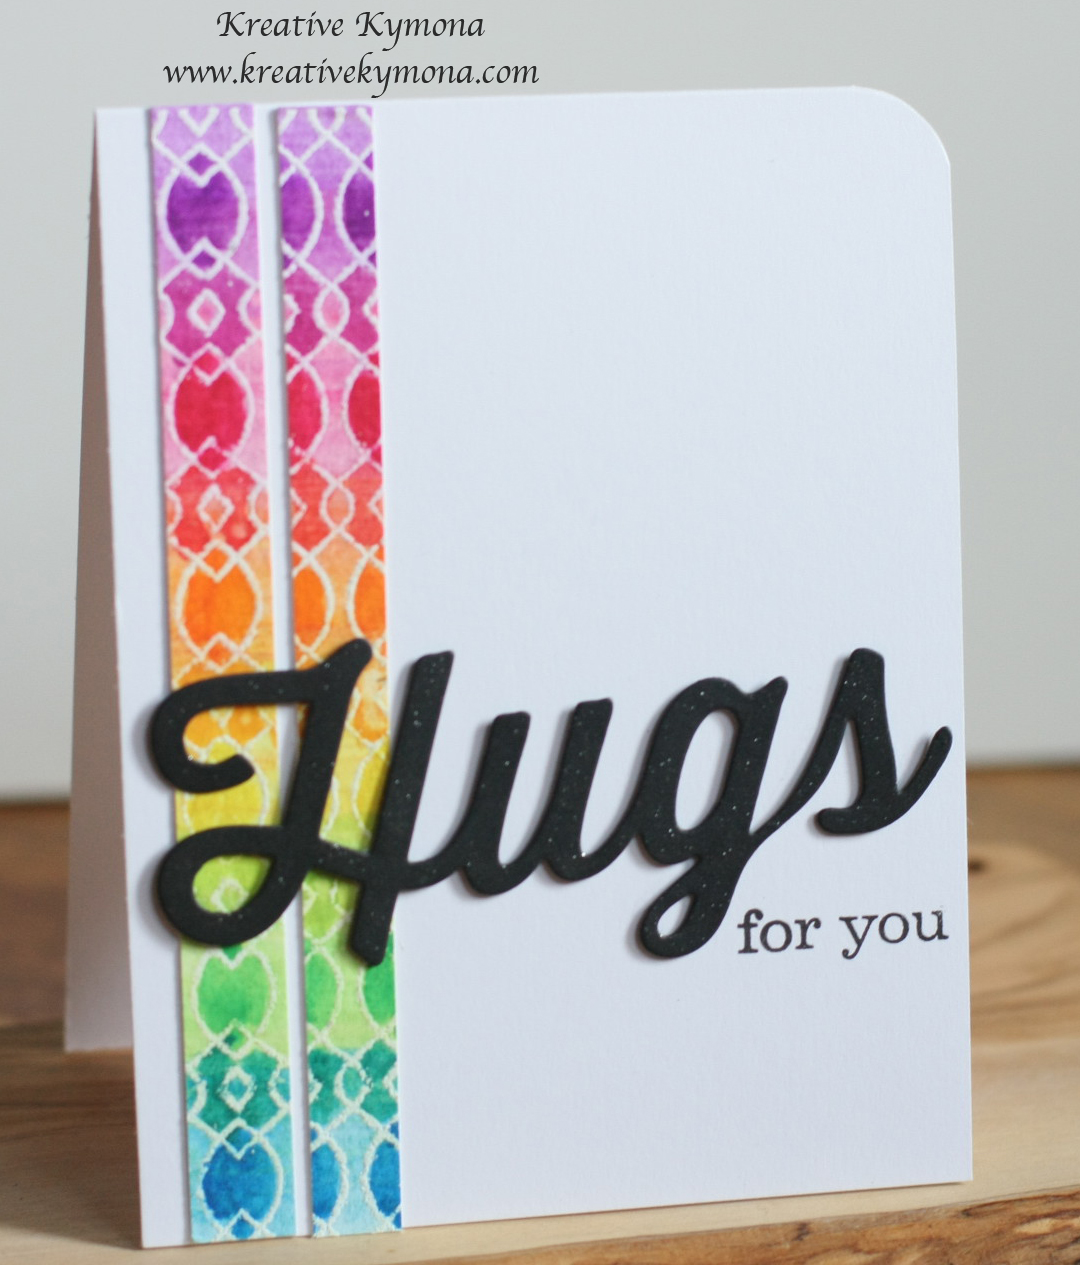
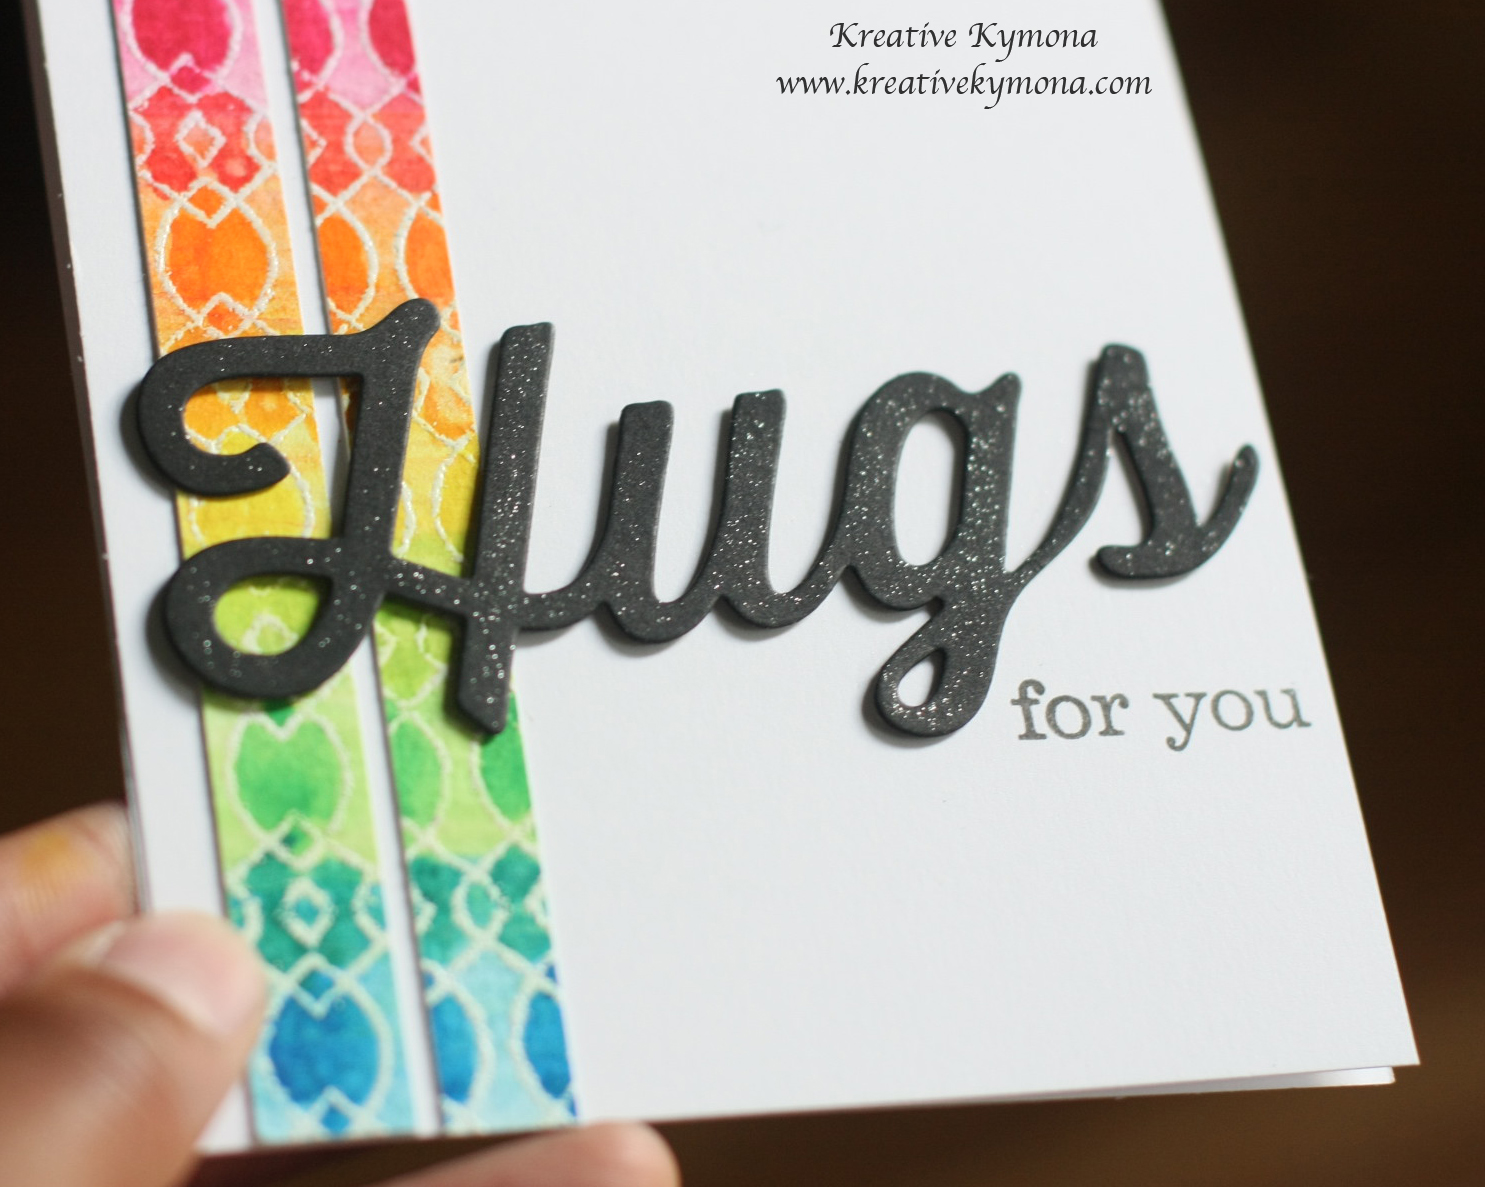
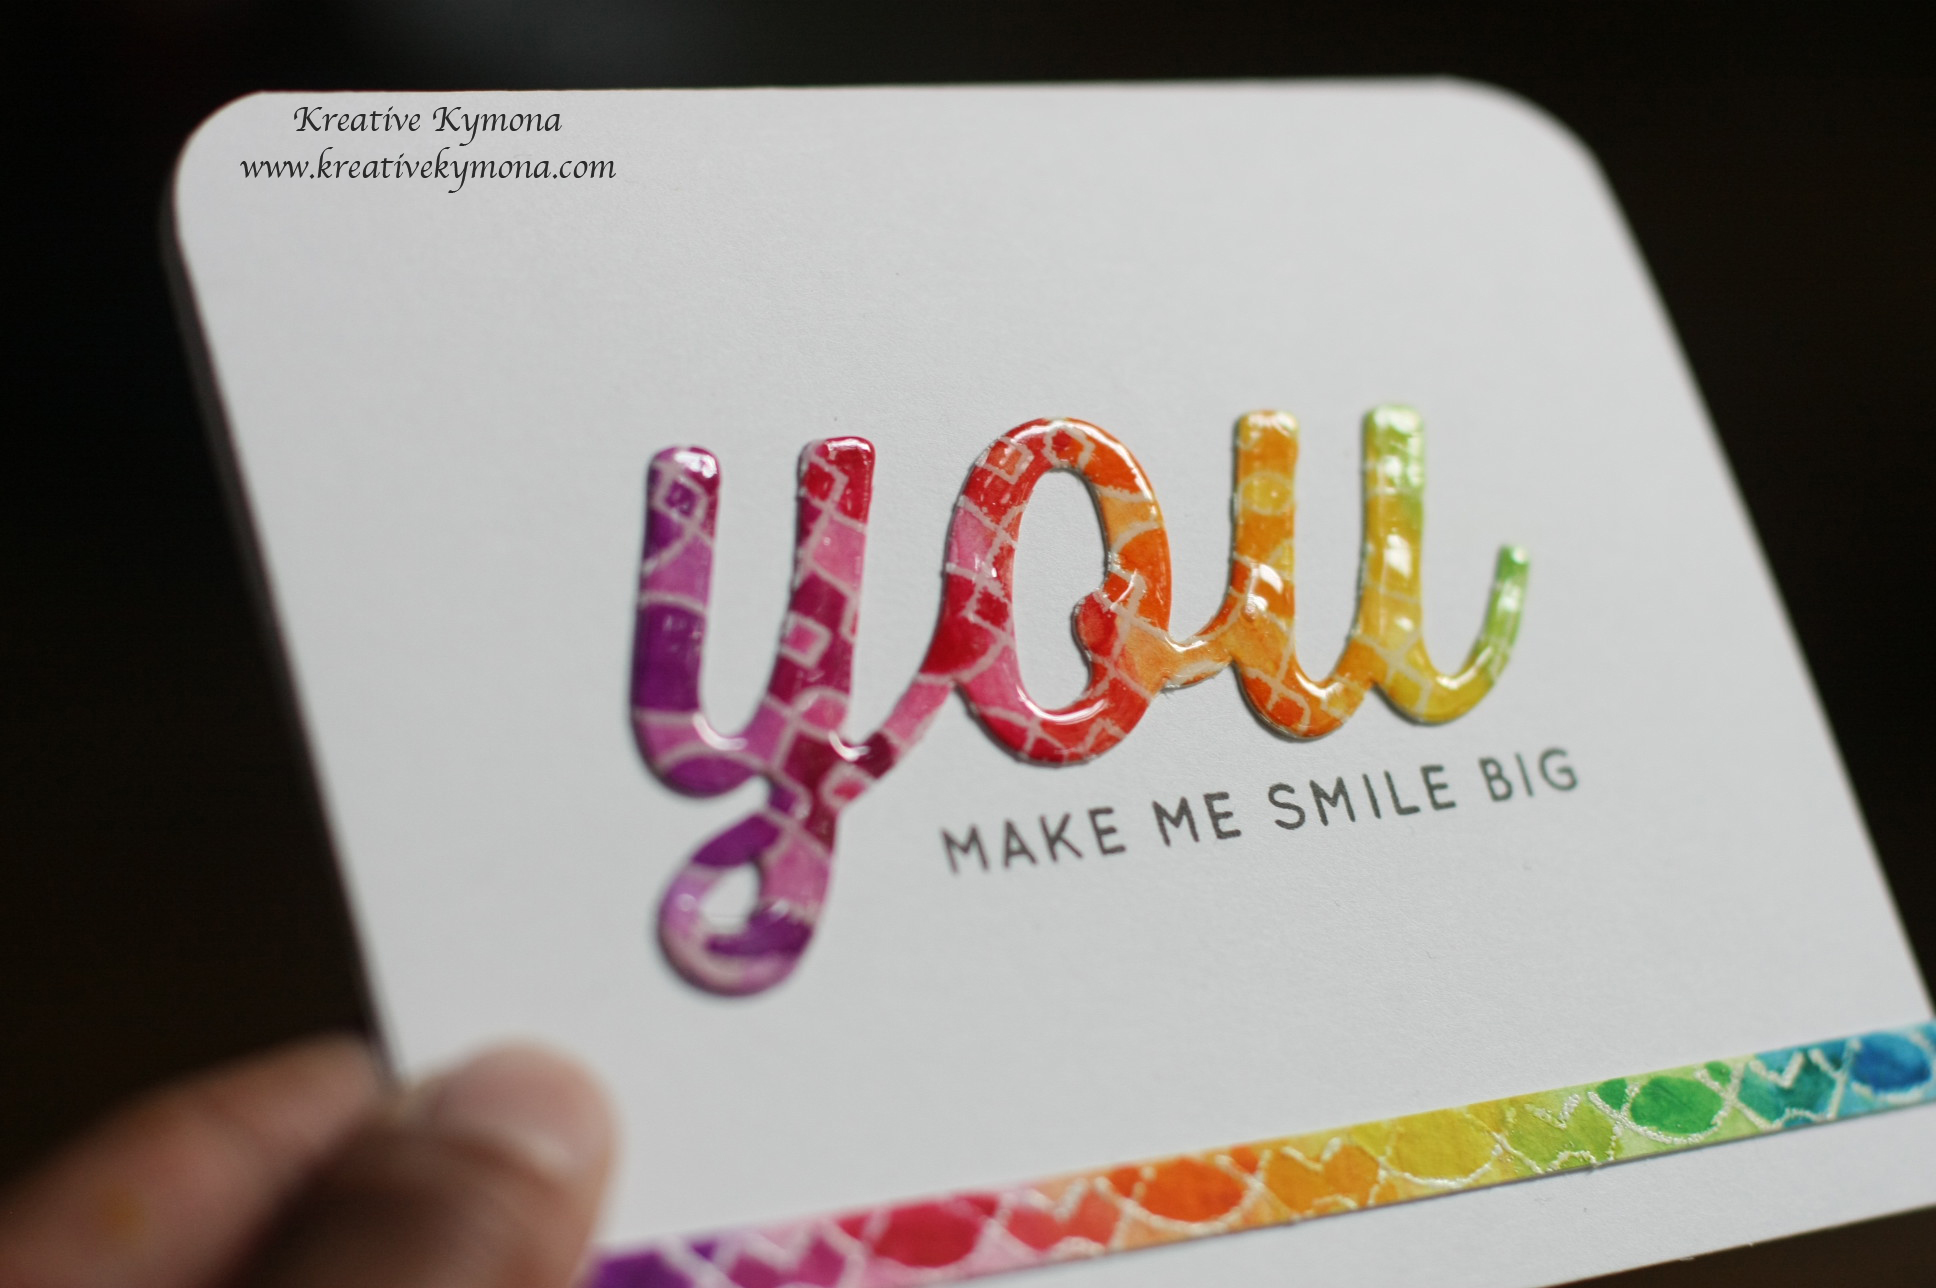
I was able to make three cards with this one watercolor piece.  I really loved this technique.  I would have never thought to use this back ground stamp in this manner.

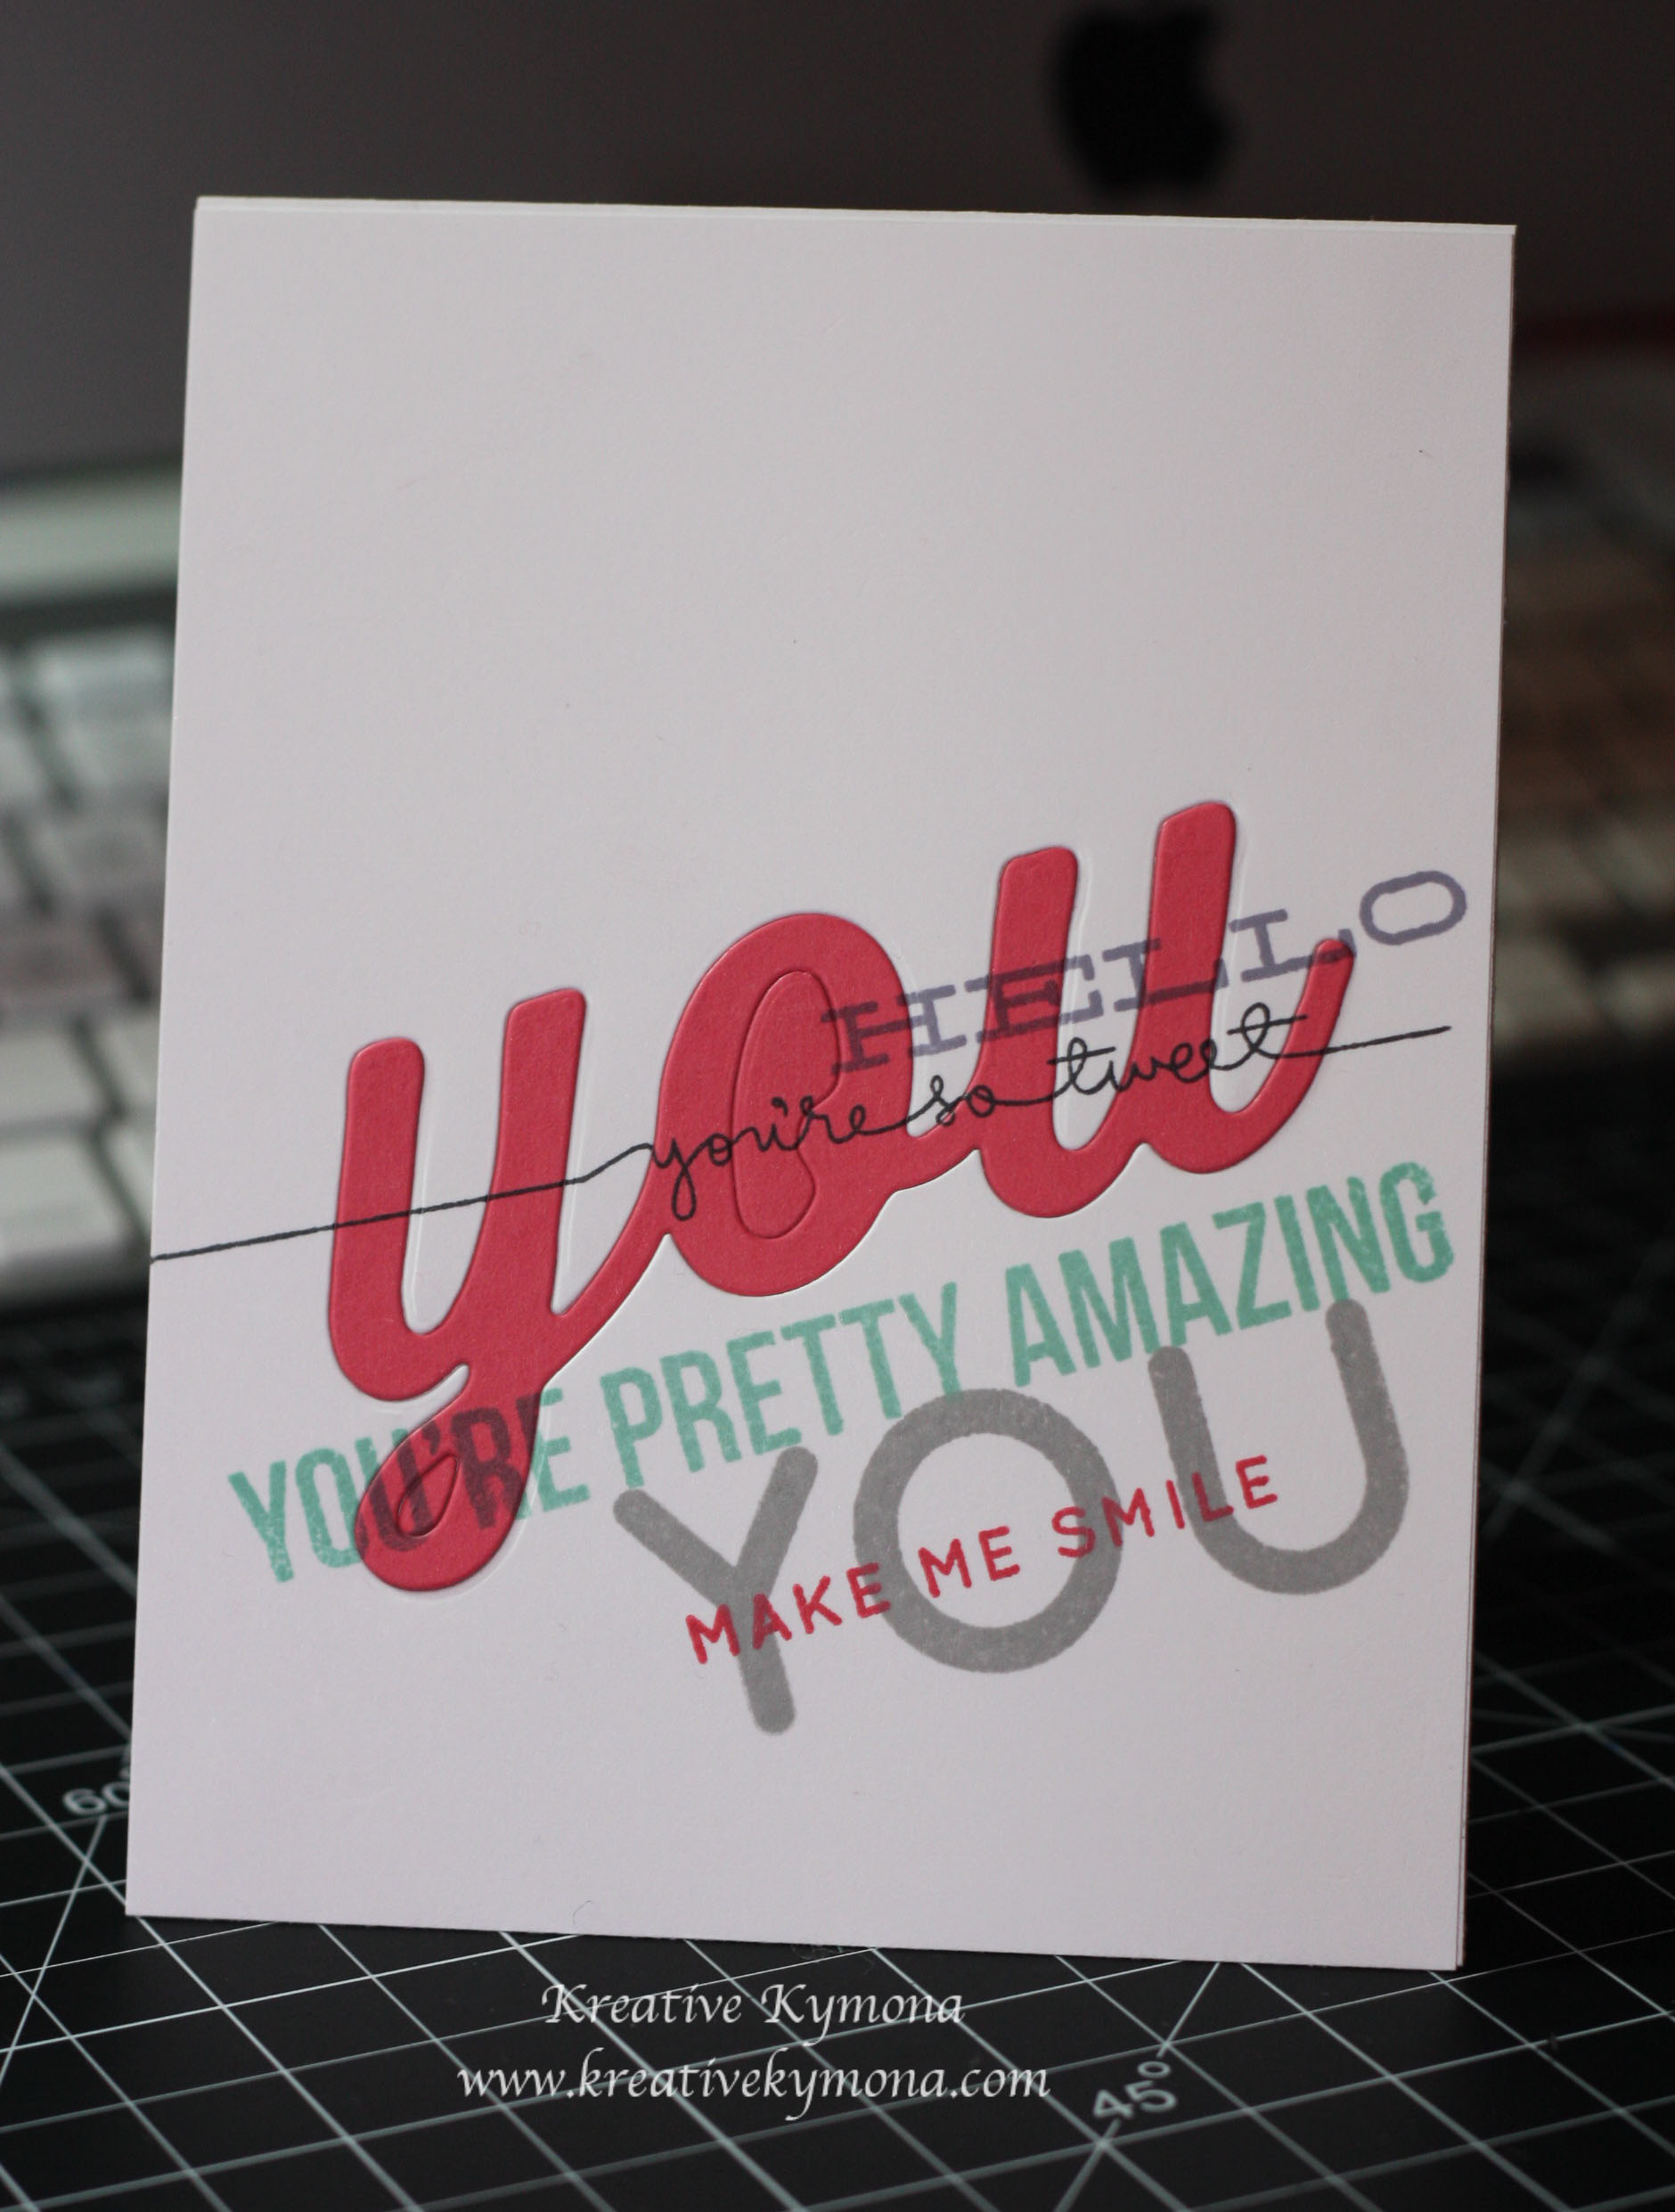
I’ve used this stamp before, take a look at this card.  You can clearly see the difference in the way the stamp was used.

I have two other techniques to try for this first lesson.  I’m going to try and post the assignments as I do them.  Please don’t hold me to that totally, things do come up.

Supplies used:

Hero Arts Highline IronworkKio WaterColorsSSS HelloYouOnyx Versafine Inkglossy accentsWink of Stella clearBazzill Marshmallow CSStampin' TrimmerTombow Multi-Purpose AdhesiveStrathmore Watercolor paper

Thank you for stopping by!

~Kymona

Watercolor Love You

Hello everyone!  I’m back again with AAA Cards Game #10 Watercolor techniques and Virginia’s View Challenge #5.

AAAcardGame10

V. V. Challenge #5 (2)

Take a look at my card:

Watercolor Love you

I used Simon Says Stamp Mosaic Heart Stencil and Distress Inks Pack 1 to create my beautiful heart on watercolor paper.

Watercolor Love You close up

I used Simon Says Stamp Big You die to cut out 4 “you” dies out of basic black cardstock and stacked them together to add dimension.

I choose to use black cardstock so that the “you” would pop against the bright watercolor heart. I used clear foam tape to adhere the “you’ to my card.  I love this tape because you will never see the tape behind your project.  Thank you Jennifer McGuire for that one.

I love how it turned out.  I went to my brother and asked him to tell me what the card said and he nailed it on the first try.

So, I’m confident you will see that my card says I Love You!

Let me know what you think.  I would love to get feedback.

Supplies used:

Basic Black CSSSS Mosaic Heart StencilDistress Inks Kit 1SSS Big You DieTombow Power Adhesive Glue TabsCanson Watercolor PaperStampin' Trimmer

Thanks for stopping by!!

~Kymona

What’s Popping, “YOU” Are!!!

Hello everyone!!  It’s a new week, which means new Muse Challenge.  I’m excited again because I was given honorable mention from the ladies over at the Muse Challenge for last weeks card!!  I get all giggly when I see my name and card showcased.   The winners and the other honorable mentions are talented women and I’m so happy for all of them.

So this week I’m back again with another card for this week Muse Challenge #71.  Our Muse for this week is Therese Calvird.  Stacking die cuts are what we are challenged to do.

Take a look at Therese’s card:

Hello

I love how she was able to match the lines in her background with the lines on her hello’s.  Everything follows so nicely and it looks so pretty.  I tried this same technique with my card.

Take a look at my card:

You are a true friend

I created this card using all of the Stampin’ Up! in colors.  I used Simon Says Stamps wide stripes stamp to created the background.  I die cut 5 of the you’s and stacked them with a stamp you.  I added the “you” to the background and aligned the colors on the you with the background for a seamless finished.

You are a true friend closeup

Here is a close up of the stacked” you”.  I stamped the sentiment right under the you so that it looks natural.  This technique was fun to do so I might try it again on another card.

Let me know what you think of my card.

Supplies used:

Tangelo Twist InkMossy Meadow InkLost Lagoon InkHello Honey InkBlackberry Bliss InkSSS Big You DieSSS HelloYouOnyx Versafine InkWide Stripe Background StampBasic Rhinestones Jewel Accents

Please leave a comment below letting me know what you think!

~Kymona


You Make Me Smile Big

I’m back again with another fun card for you.  I made this card using the Big You die from Simon Says Stamp and the Hello You stamp set.  The card stock and pattern paper came from one of SSS card kit.

Take a look:

You make me smile big

I gave the you’s some dimension by die cutting eight extra yous and stacking them together.  I love how the you’s compliment the strip of pattern paper. I added two hearts to balance out the bottom of the card.

Please let me know what you think of my card.

Supplies used:

SSS HelloYouBigYouStamp Runner Dot AdhesiveUltra Thick White CS 120Hearts Lawn CutsWe R Memory Keepers Corner Chomper

*The color card stock and pattern paper is from Simon Says Stamp Card Kit.  I’m not sure which one.

Clean & Simple 3 Card Class – Day 6 Graffiti Stamping

I have to say that I absolutely LOVE the card I made today for my homework.  I took my time and really put my heart and soul into this card because I wanted it so be super clean and crisp.  I’m still working on the backgrounds into the foreground.  Today’s technique is called Graffiti Stamping.  Graffiti stamping is when you create a background cluster of colors and layers. 

I have to say, the “You” die is my favorite.  I love the look it gives to the cards I’ve seen it on.  I’m so glad I was able to use it to make my card. 

Check out my one layer card graffiti stamped card:

You

So, I said in the beginning of this post, that I took my time and really pulled my card off with a crisp, clean look. Well, I do have a small error that I didn’t notice until after I was done and I couldn’t fix it.  Can you tell what the boo-boo is that I made?

The “strawberry slash” you has to pieces that should be white.  Inside the “O” and the loop in the “Y” should both be white.  Instead of placing the white pieces, I put the strawberry slash color.  The “You” is suppose to look like I wrote it on the white background, when we write those areas would match their background.  Although small it changes the look of the graffiti.  I still like it. 

I will make another card using this die and show you what I mean.

Please let me know what you think of my card in the comment section.

Supplies Used:

SSS Hello You

SSS Hello You

SSS Stripe Greetings

SSS Stripe Greetings

SSS Giving Thanks

SSS Giving Thanks


SSS Big You Die

SSS Big You Die

Classic Crest Solar White CS

Classic Crest Solar White CS

Strawberry Slush 131178

Strawberry Slush
131178


Coastal Cabana 131175

Coastal Cabana
131175

Wisteria Wonder 126985

Wisteria Wonder
126985

Smoky Slate 131179

Smoky Slate
131179


Snail Adhesive 104332

Snail Adhesive
104332

Stampin' Trimmer 126889

Stampin’ Trimmer
126889

Memento Tuxedo Black

Memento Tuxedo Black


Signature