Hello everyone!! I’m here today with CS Take It Make It Design Team for our CS Take It Make It: Take a Stamp Challenge for the month of December.
I’m so sad to say that this is my last post as a CS Take It Make It Design Team member. I want to thank Trish for the opportunity to be apart of this amazing design team since 2014!! This was one of my very first design teams and I’ve had a blast. It was a hard decision to step down but it’s time for me to focus on other things.
I hope all of you continue to play along with this challenge because its super fun. I will participate from time to time when I can. Maybe I could win one of those fabulous prizes, LOL!!!
Well enough of this mushy talk, let’s get on with the challenge!
This month’s theme is Snow and Ice!! Create a seasonal project or use lots of white products! Think gesso, embossing paste, white paint, embossing powders and glitters. Just remember to include a rubber/polymer stamping on your project somehow, somewhere!!
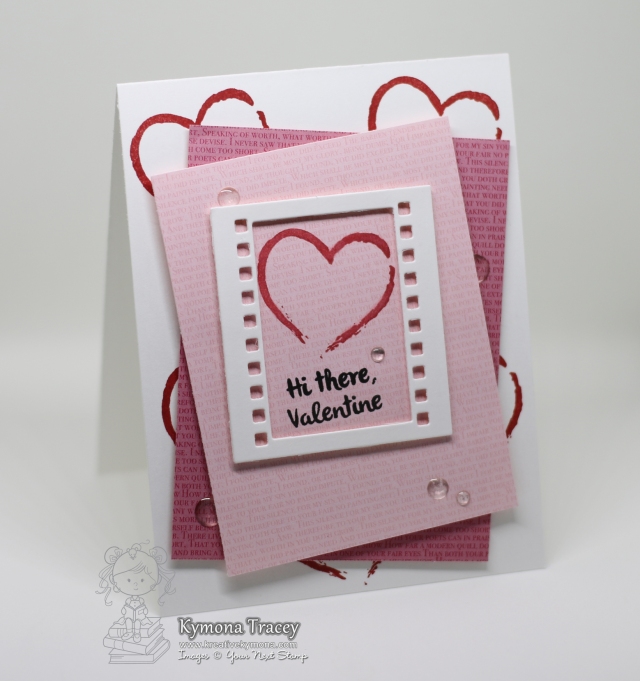
Take a look at my card:

I went with some white and some snow!! This WPlus9 Merry Ornament Shaker Die is so super cute and fun to play with.
To create this card, I die cute the shape out of the white cardstock. Then I used We R Memory Keepers Fuse Tool and We R Memory Keepers 4 x 6 Waterfall Photo Sleeves to create the shaker pocket. I added some Stampendous Shaved Ice into the pocket. Then I added 3M Foam tape around the shaker pocket and to the perimeters of the white panel. I attached the white panel to the red card base to finish the card off.
Where is my stamping you ask? It’s on the inside of my card. The front was so pretty, I just couldn’t stamp on it so I added my stamping to the inside of my card!!
Take a look:

I used Mama Elephant Jingle Greetings Stamp set for the inside of the card.
Nice and easy!
Sooooo, what do you think? Please let me know below.
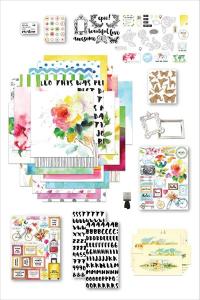
Prizes:
We have two prizes to offer this month, the first is our sponsor prize. This winner will be chosen randomly from all of the entries in the challenge! The sponsor for December is: Craft Box!


Prize: A Bundle of Goodies
Our second winner is our Design Winner. This winner is chosen by our DT, who all vote for their favorite design from all of the entries. This winner will have their winning project published in Craft Stamper Magazine, they will have a GDT slot for an upcoming challenge, and will also feature in their very own Winners Profile blog post!
Now if that isn’t a reason to play along I’m not sure what is!!
I can’t wait to see what you come up with.
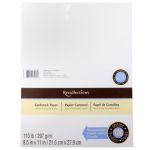
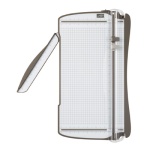
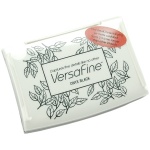
Supplies used:


Thanks again for all of your support and for stopping by!
~Kymona


 Prize: All Six Kate Crane Art Journaling DVD’s