Happy Birthday to you!!

Second Post for the day!  I’m on a roll today!

Hello everyone!  I’m back again with another post for all of you.  I’m here with Simon Says Stamp Wednesday Blog Challenge: Shaker It and a birthday card for Darnell, the party is at Ardyth’s Blog Maskerade.

Take a look at my card:

Make a wish side

For this card, I used Mama Elephant’s Make a Wish stamp set to create my birthday card.  I used Stampin’ Up! postage punch to create my shaker card.  I decided to use gold and red because these colors are perfect for an elegant birthday party.

Make a Wish front

So what do you think?  Will Darnell like this card?  I hope so!

Supplies used:

MAKE A WISHclassiccrestsolarwhtieMemento Black InkPostage Stamp PunchGold Foil SheetsBasic Rhinestones Jewel AccentsGold Sequin3M Mounting TapeStampin' Trimmer

I also used red sequin from my local craft store.


Thank you so much for stopping by!

~Kymona


Oh Happy Day

Hello everyone! I haven’t posted in the last couple of days because my camera card refused to work.  What nerve!!  We spend all of this money on these cards and they want to act funny.  Luck for me I do not reuse cards.  Once a card is full I buy another, so I have plenty on hand.  Unlucky for me I had to go through one of them and delete some photos so I can take these photos.  Yes, Oh Happy Day for me.  LOL.

Ok, on to why I’m here today.

I’m here today playing with the Muse Challenge #74.  The Muse for this week is Jennifer Wills!

Check out her card:

IMG_7562.1

I have to say, when I saw this card I was a bit intimidated.  I wasn’t sure what I wanted to do, what I can do or what I should do.  My brain was on frozen mode.  Then I thought I want to keep my card clean and simple.  Then I thought maybe I will die cut, but I knew everyone else would, so I didn’t want to do that.

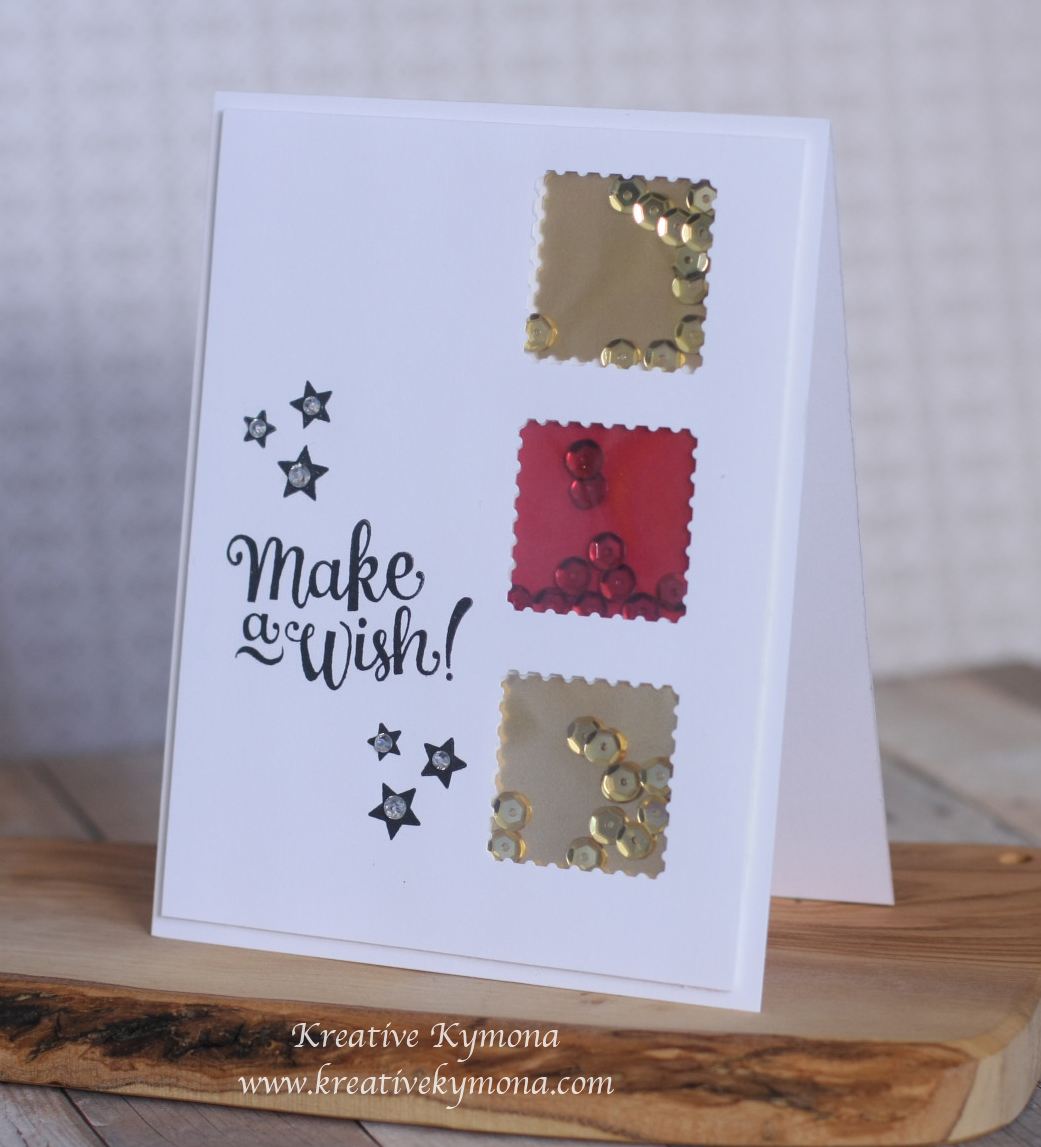
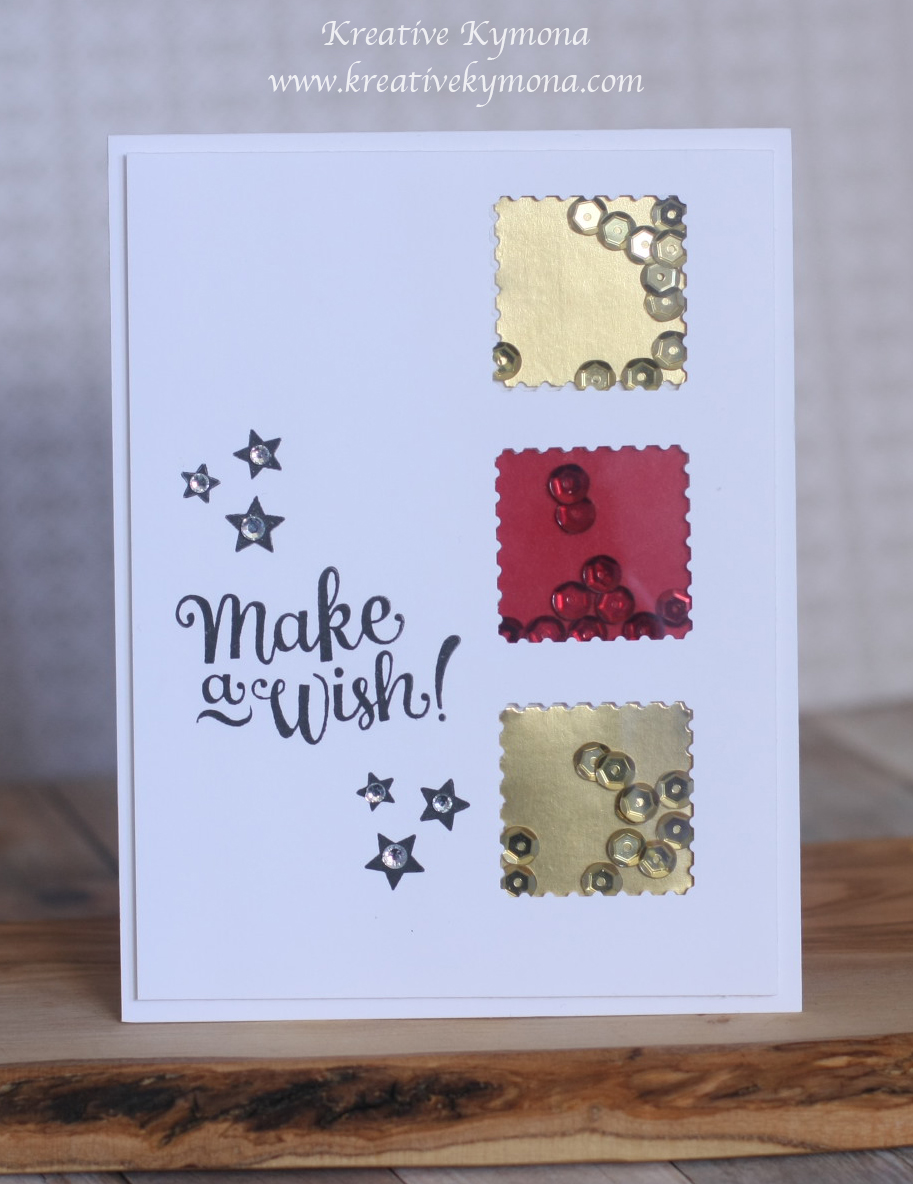
I decided that I would only die cut my center piece and then add embellishments to give the card dimension.
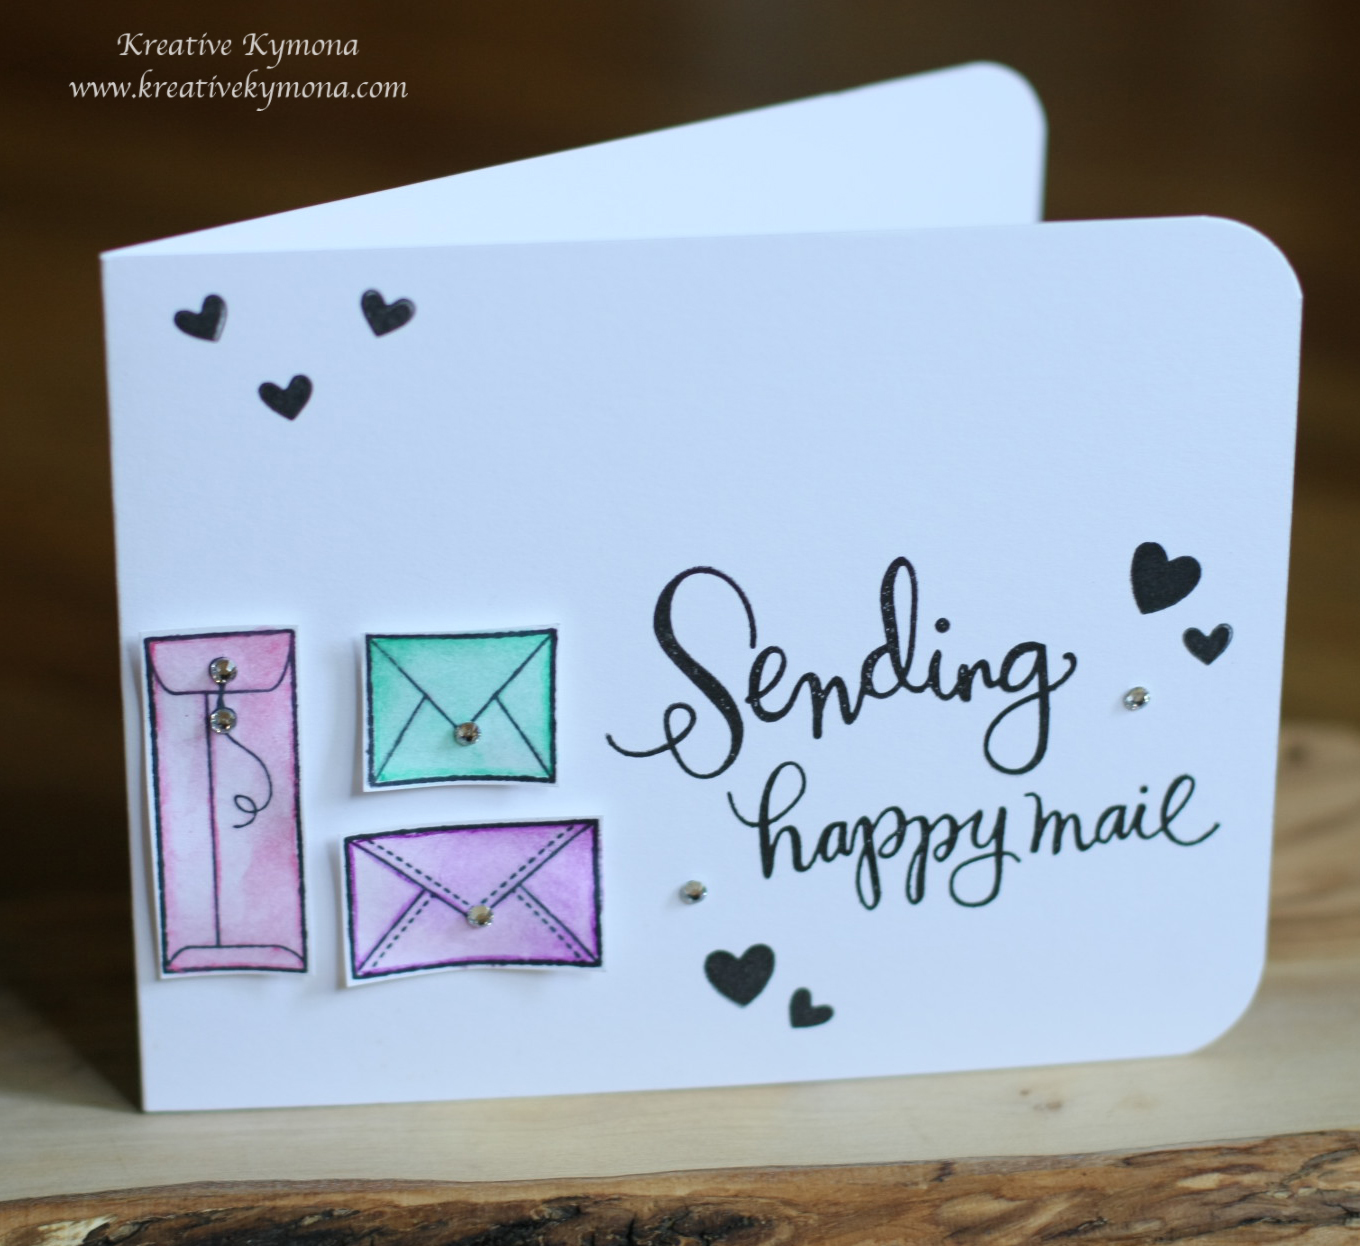
Take a look:

Oh Happy Day side

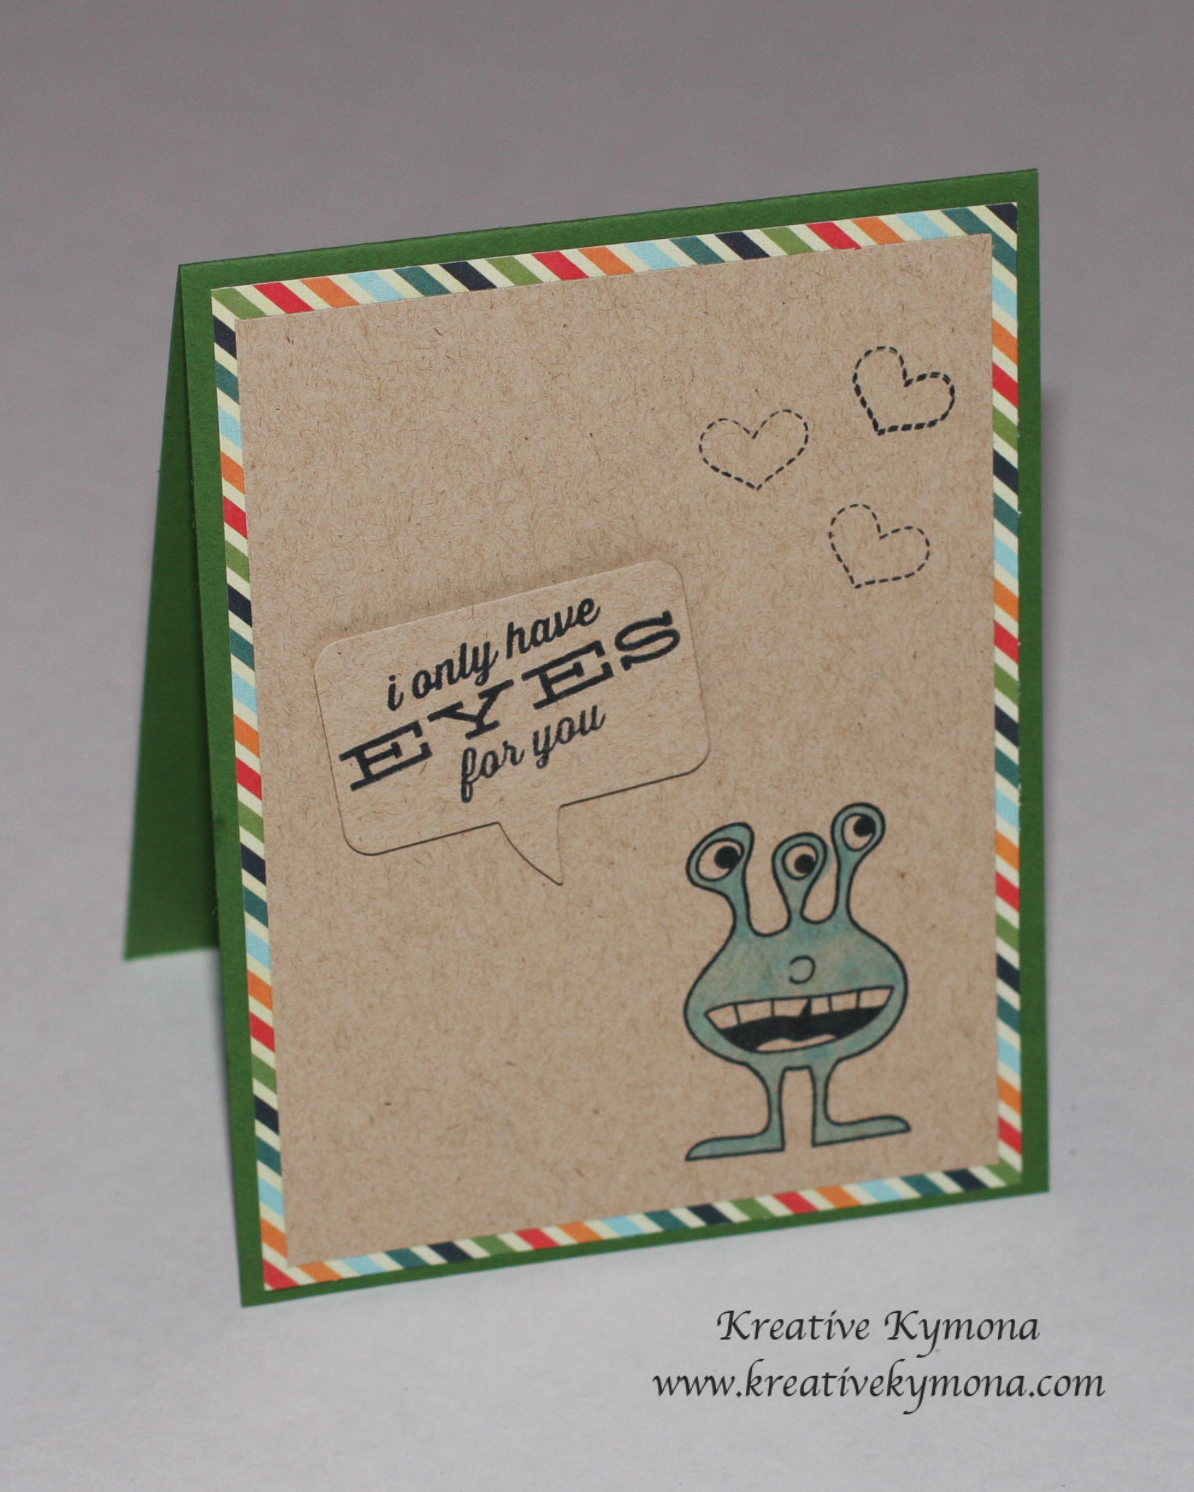
I die cut my square then added pattern paper.

I rounded the corner, stamped my sentiment, added my twine and button.

Clean and Simple to the max.

By the way, I have been playing with my camera, trying to get brighter pictures that are sharp and crisp.  What do you think?  Any suggestions.

I used my:

Canon 40D

Shooting Mode: AV (Aperture Value)

50mm lens f/1.4

Aperture: 1.4

Shutter speed: 1/80

Exposure Compensation: +1

White Balance: Daylight (I will try Auto next time to see what results I get)

Please let me know what you think.
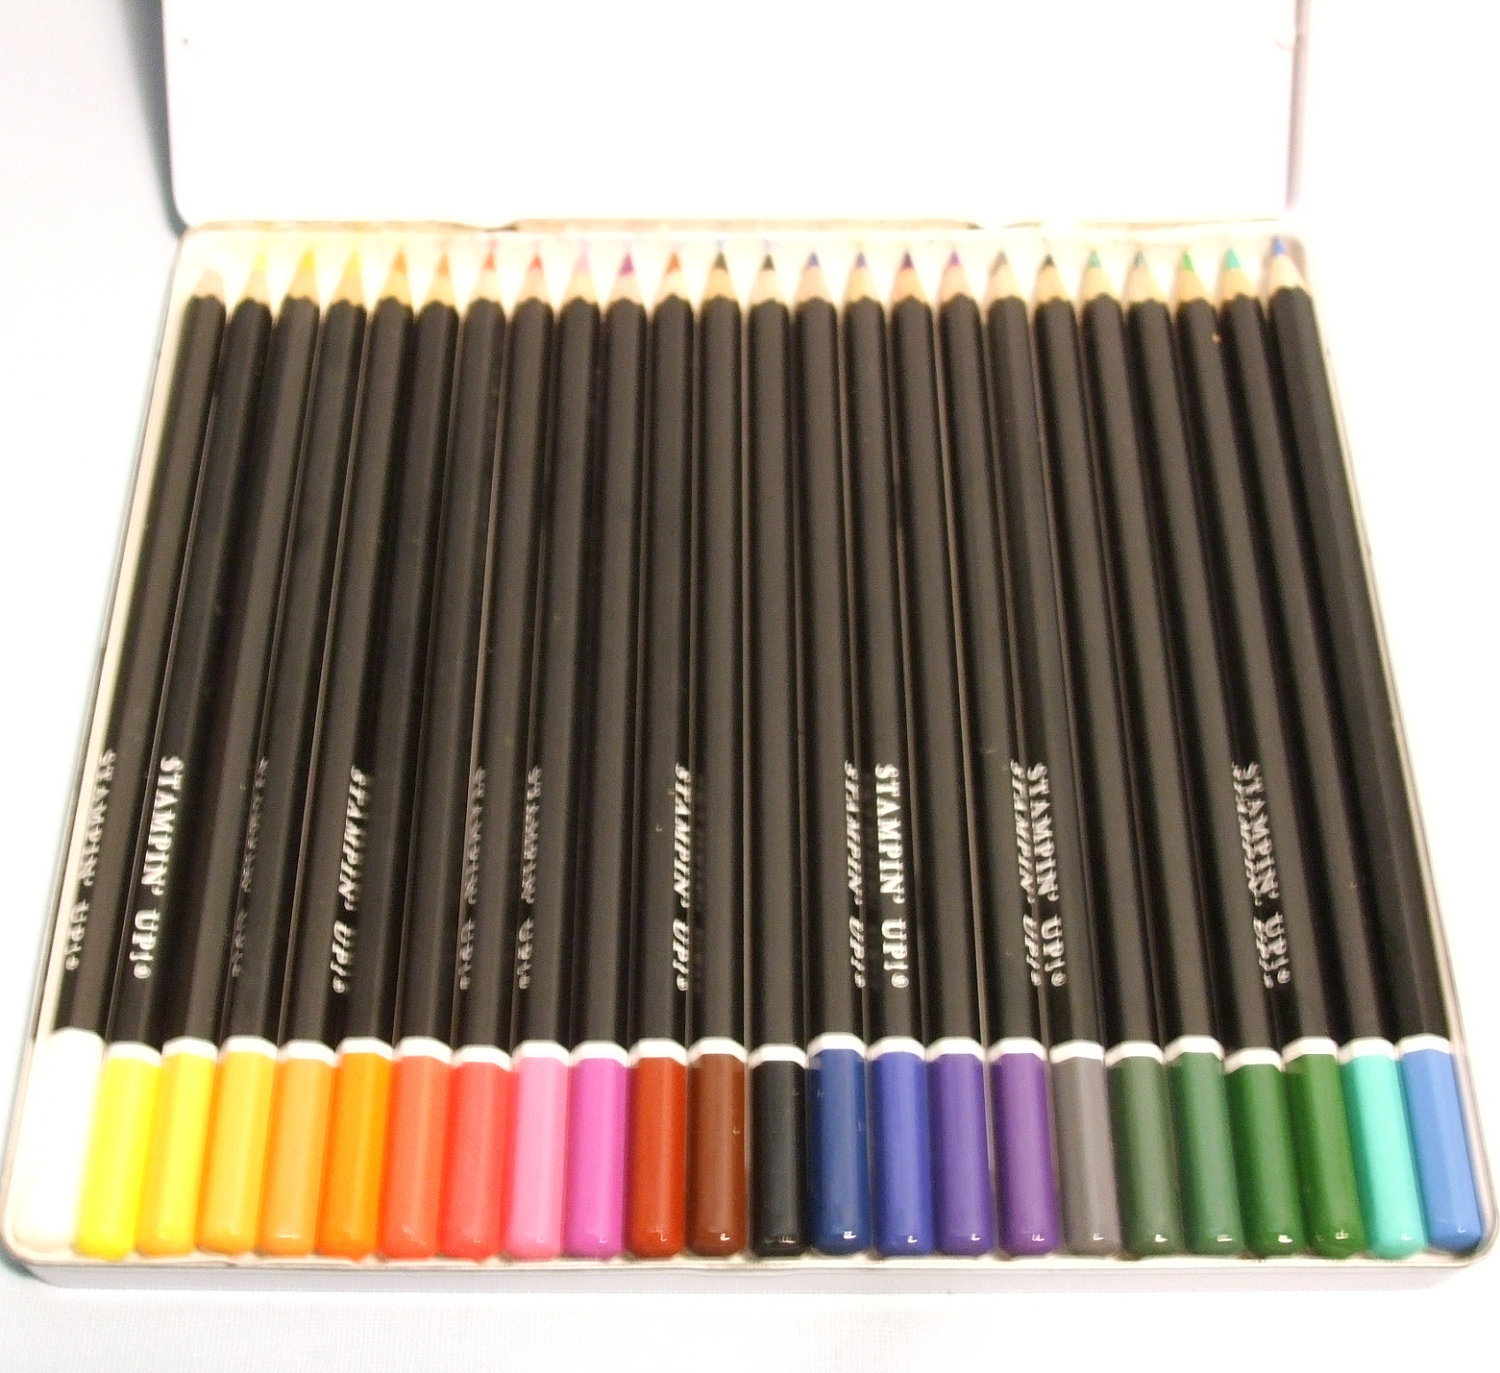
 

Supplies used:

Neenah Desert Storm CSclassiccrestsolarwhtieStudio Calico Snippets paper padWoodButtons_EtchedButterfly-360x360Bermuda Bay Bakers TwineWe R Memory Keepers Corner ChomperHello Sunshine Stamp SetStampin' Dimensionals
Thank you so much for stopping by!

~Kymona

Announcements!!!!

Hello everyone!!  Happy 4th of July!  I hope everyone is having a great day.  Its raining and no BBQ today for me.  Tomorrow is suppose to be much nicer. So I will BBQ then.

In the meantime, I have a couple of announcements.

1.  I created new cards but I haven’t had a chance to photograph them today.  I will try and get those up tomorrow.

2. I was featured on Paperie Designs’ Studio today.  I’m so excited about that.  Big shot out to Deepti of Dee’s Art Utopia for asking me and conducting the interview.

3. My daughter posted her 4th blog post today titled, Thank You So Much.  Take a look here.  It’s such a cute post.

4.  I received Honorable Mention from CASology on July 1st for my watercolor and woodgrain card.  Can you image how excited I am!!  You can see that post here.

5. I am working diligently on improving my photos so that I can set up my Etsy account.

I will see everyone tomorrow for my regular post!!

Thanks for stopping by!

~Kymona


Huh..Black Butterfly?

Hello everyone!  I’m here today with Papertrey Ink’s Make It Monday #170: Masking with Die Cuts.

How cool is this effect! What you have to do is cut masks out of dies that have matching stamps. You create an easy one-layer card that will be striking.

Have you ever seen a black butterfly?  They are just as pretty as the colorful ones.

black__white_butterfly-1152x864Photo credit

So for those of you who know me, knows that I’m going to draw for my beautiful butterfly stamp and die set.  I have to say this is my favorite set.  It works with everything.

Take a look at my card:

Happy Butterfly

Here are the steps to creating this beautiful one layer card.

1. I cut my butterfly out using my Papertrey Ink’s Life is Beautiful die and some Inkadinkado masking paper.

2. I place the masked butterfly down on my cardstock where I wanted it to be.

3. I sponged Stampin’ Up! Daffodil Delight, Mellon Mambo, and Pumpkin Pie Classic Stampin’ Pad with sponge daubers.

4. I removed the masking to reveal the colorless butterfly surrounded by the beautiful background.

5. I stamp the butterfly detail in Versafine Onyx Black Ink using Papertrey Ink’s Life is Beautiful stamp set.

6. Then I stamped the sentiment using Papertrey Ink’s Wet Paint stamp set using the Versafine Onyx Black Ink.

I decided to use the black ink for my butterfly and sentiment so that they will really pop out of the colorful background.

What do you think?  Let me know by leaving a comment below.

Supplies used:

Life is Beautiful DieLife is Beautiful Stamp SetDaffodil delight inkmelon mambo inkPumpkin Pie InkOnyx Versafine InkWet PaintInkadinkado Masking PaperUltra Thick White CS 120Stampin' TrimmerSponage Daubers

Thank you so much for stopping by!

~Kymona


Cherry Berry FLOAT..

Hello everyone!  I’m here today playing along with CASology Week 102: Float!!!

Week 102 - Float

I have to admit when I saw this cue card, I wanted to do a hot air balloon or just regular balloons.  I thought that would be easy.

Then I said to myself, why not be different.  Why not be unpredictable.  So, I went through all of my stamps to see what would float?  What could give the feeling of floating?

Guess what!  I found something.  Yes, yes, yes! What could we all use on a nice summer day to cool us down?

Yes, yes, yes!!  A float!  Not just any float or the most common one, A CHERRY BERRY FLOAT with two straws!

Take a look:

Cherry Berry Float

D-E-L-I-C-I-O-U-S

How cute is this!!!  Did you see the sparkle on my ice cream!!!  I was going to add some other embellishments but decided against it since this is a clean and simple card challenge and white space matters, lol.

The Copic colors I used were R29, BG49

So0000, tell me what you think.  Really, let me know.  What is a good idea or what!

Supplies used:

Here's the ScoopWink of Stella clearCopic MarkersStampin' TrimmerWe R Memory Keepers Corner Chomper

Thank you so much for stopping by!

~Kymona

Eyes For You..

Hello everyone! I’m here today with another card for CAS(E) this Sketch and Simon Says Stamp Wednesday Challenge Anything Goes.

CTS_Sketch82n


wed-newchallenge-header


Take a look at my card:

I only have EYES for you

I think this little monster is so cute.  He surely has a lot of eyes.  He can spot anyone in a heartbeat, LOL.

So what do you think?

Supplies used:

SSS May 2014 Card Kit Only Have Eyes For YouMemento Tuxedo BlackCopic MarkersStampin' TrimmerFuse Fast Adhesive

Thank you for stopping by!

~Kymona

Red, White and Blue…

Hello everyone! I’m here today with a Papertrey Ink Make it Monday #169: Vellum Overlays.  I’m so late in posting this card.  I couldn’t decide what I wanted to create for this challenge.

So, I picked the colors that I wanted to work with first.  Since July 4 is this Friday, I decided to go with red, white and blue.  Once I knew that, I saw it fitting to use PTI’s Cover Plate: Stars Die.

After figuring all of that out, I needed to see how my vellum piece would look attached to my card.  Once I added it, I realized I didn’t have a sentiment on my card.  That’s when it hit me that I should add the sentiment to the vellum and in silver for an extra pop.

Yes, that turned out neatly!

Take a look at my card:

Time to Celebrate top

Time to celebrate


I attached my vellum with two bronze brads.  I must me honest, when I decided to add brads, I knew for sure I had silver ones.  Well, I such everywhere and I could not find them.  So, I decided to us the bronze brads and I like it.

What do you think?  Don’t be afraid to let me know, good or bad.

Supplies Used:

PTI Stars DieWet Paint 3Bazzill Blueberry SourSSS Lipstick Red CardstockBazzill Marshmallow CSWhite VellumBig Shot Die-Cut MachineMagnetic PlatformStampin' TrimmerTombow Multi-Purpose Adhesive

I also used Stampin’ Up!’s Retired Pewter embossing power and brads.


Thank you so much for stopping by!

~Kymona

Shaker, Shaker…

Hello everyone!!! I’m super duper excited!! My card was chosen as one of the CAS(E) this Sketch Favorites yesterday!!!  I have to say this card is one of my favorite cards of all times.  The white and gold are so pretty together.  I’m so glad I participated.

I’m back today with CAS(E) this Sketch #82.  This sketch was created by N@ Ali.

CTS_Sketch82n

When I saw this sketch, I know I wanted to play with Mama Elephant’s Just Hatched stamp set.  I ordered it back in March when it was release but haven’t had a chance to use it.  So I saw it fitting to use it today.

Take a look at my card:

Chirp, Chirp

It’s a shaker card!!! This is the first time I’ve created a shaker card.  It wasn’t hard at all.  I have to thank Laura Bassen for the inspiration.  She always makes shakers cards look so easy to make.

1. I colored my chick with Copic markers # YR16, Y13, Y19, YG17.

2. My speech bubble was created using a die from Lawn Fawn’s Large Stitched Journaling Card Dies.

3. I stamped the sentiment on the card base using the die cut speech bubble as a reference so that the sentiment was centered.

4. A piece of acetate was attached to the front panel.

5. I added a lot of foam adhesive around the speech bubble so that the sequin wouldn’t fall out.  Adhesive was also added to the edge of the panel so that it will sit nice and neat on the card base.

So what do you think?  I’m impressed at my first shaker card.  I can’t wait to try this with a watercolor panel.

Supplies used:

Just HatchedCopic MarkersLargeStitchedJournalingCardHello Sunshine Mixed SequinsAcetateOnyx Versafine InkStampin' Trimmer

Thank you for stopping by!

~Kymona

A Rainbow of “Butterflies”

Second post for today

Hello everyone! I’m back again with another post for Simon Says Stamp Wednesday Challenge, Anything Goes!

For this card, I wanted to display Stampin’ Up! new In Colors and other products in a fun way.

Take a look:

A little something cute

I used Stampin’ Up!’s Elegant Butterfly Punch to punch out a butterfly from each of the new colors.

The sentiment comes from a new stamp set called Something To Say Wood Mount Stamp Set and I stamped it using the Lost Lagoon Ink.

I layered two different pieces of the new Moonlight DSP Stack on top of the Whisper White cardstock.

For the finishing touches, I added rhinestones to he butterflies.

Very easy to make.

So tell me, what do you think.

Supplies used:

Something to SayElegant Butterfly PunchMoonlight DSP StackWhisper WhiteStampin' TrimmerFuse Fast AdhesiveBasic Rhinestones Jewel AccentsLost Lagoon Ink2014-2016 InColors

Thanks for stopping by!

~Kymona

Air Mail..with LOVE!

Hello everyone! Good Afternoon on this bright and sunny day.  I love days like this.  The sun is out and I can bask in the sunshine. I just love that.

I’m here today with Simon Says Stamp Wednesday Challenge.   The theme is ANYTHING GOES! How great is that.  You can create anything you want.

Since I received my July Card Kit this week, I decided that I wanted to create my card with the Sending Happy Thoughts Stamp Set that is included in the kit.

I wanted to create a clean and simple card for this challenge.

Take a look at my card:

Sending Happy Mail

1. I used the envelopes from that stamp set, water-colored each envelope then cut them out.

2. I adhered them using dimensionals.

3. I stamped the sentiment and hearts.

4. I added rhinestones to envelopes and around the greeting.

I like how the card turned out but I can’t help but feel like something is missing from the top right corner.  Do you feel the same way?  If so, please let me know what you think should have gone there or if it is fine just the way it is.

Supplies used:

SSS July 2014 Card KitStampin Up Watercolor PencilsOnyx VersafineBasic Rhinestones Jewel AccentsStampin' TrimmerStampin' Dimensionals

Thank you for stopping by!

~Kymona