NOTEbook

I’m back again with another card today.  This time it’s for CASology week 91 and the cue word is NOTE.

I thought long and hard on what type of card to make and I decided to pull out my stamps and dies from Lawn Fawn.  I used the Quinn’s Capital ABCs die and the Science of Love stamp set and die.  I had fun creating this card.  It took me a couple of trial and errors before I settled on my card.

Take a look:

Notebook

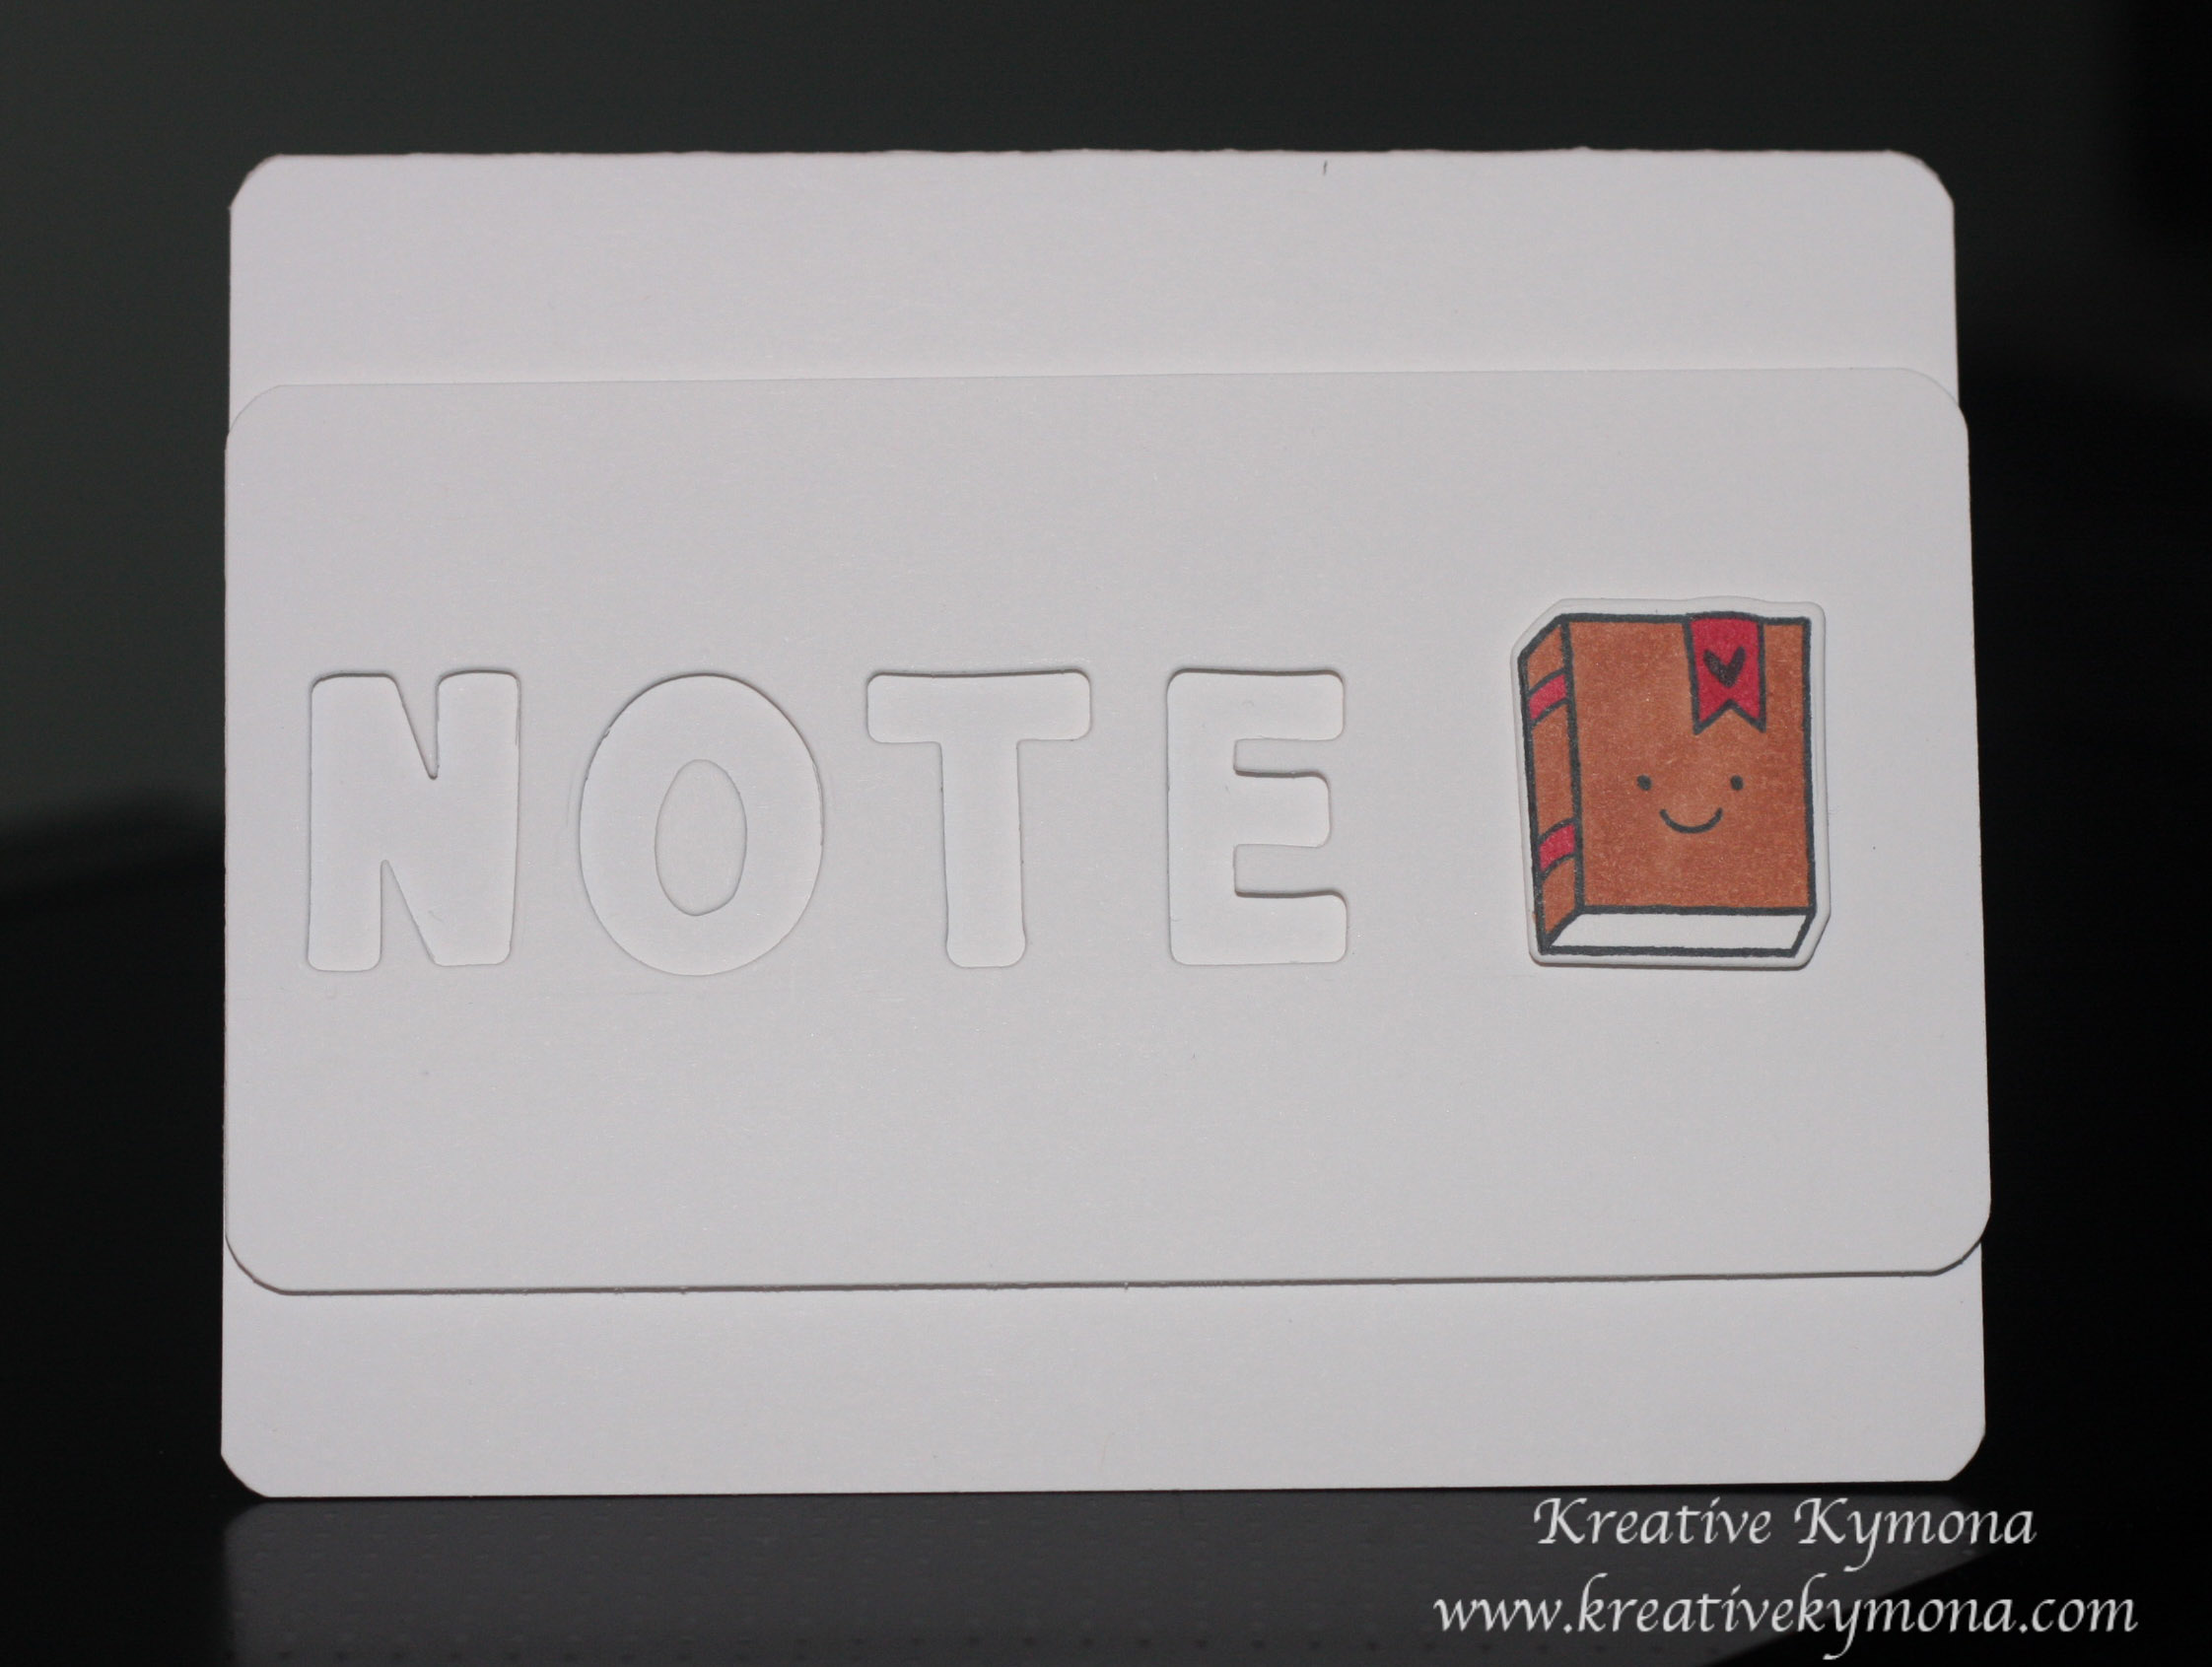
I wanted to create a card that would be different then expected.  I love white on white, its classy and clean.  I die cut the word note out of my mask layer.  Then colored my notebook with my Copic markers and adhere it next to the word cue word, note!  Kreative, I must say.

I used Copic marker E15 and R46

Supplies used:

LF589_QuinnsCapitalABCsLawnCuts_1024x1024LF597_ScienceOfLove_1024x1024LF599_ScienceOfLoveLawnCuts_1024x1024classiccrestsolarwhtieCopic MarkersWe R Memory Keepers Corner Chomper

I would love to hear from you, please leave a comment below.

Someone Like You….

I’m back again with another card for Less is More week 168 theme challenge. This weeks challenge is “Makes me smile”.  It’s simply that…something that makes you smile.

I was surfing Pinterest and came across a card that made me smile so I decided to make my own version of the card.  I used three stamp sets to create this card.

Take a look:

Someone Like You should be celebrated everyday

The sentiment and the colors on this card makes me happy.  I hope it makes you happy as well.

Please leave a comment letting me know what you think of my card.

Supplies used:

MAKE A WISHLoveThisCupcake PartyOnyx VersafineclassiccrestsolarwhtieBermuda Bay InkDaffodil Delight InkMelon Mambo Classic InkBasic Black Stampin Write MarkerPost-it Full Adhesive Roll

Gelatos Stenciling

I’m back again for the 4th time with another stenciling card for Virginia’s View Challenge #2 on Stenciling.  I’m trying to get this card in before the challenge closes and that is in 1 hour in 10 minutes.

I used Faber-Castell Mix & Match Gelatos Tropical Colors and embossing paste to create my last card.  I had a lot of fun using the Gelatos.  This was my first time using them and it was easy.  It didn’t take long for the Gelatos to mix with the embossing paste to create the beautiful color on my card.

Take a look:

Love this

Pewter embossing powder is my favorite embossing powder.  It gives such a great silver look on this vellum.

Please leave a comment and let me know what you think.

Supplies used:

classiccrestsolarwhtieLoveThisCupcake Partywhitepastepalette knifeHS00828doilypewter powderWhite VellumTombow Multi-Purpose Adhesivegelatos


Shadow Stamping

This week’s challenge technique is a one layer Shadow Stamping card for Less is More.

Shadow Stamping is stamping the an image twice without re-inking the stamp.  You will see the stamp lighter the second time, which creates a shadow.

I used Stampin’ Up!’s Peachy Keen stamp set to create this effect.

Take a look:

Double Heart Enjoy

I stamped the first heart with Crisp Cantaloupe ink,  then without re-inking the stamp I stamped the heart again, giving the heart a shadow.  I repeated those steps using the Bermuda Bay ink.  I stamped the sentiment from the Simply Celebrate stamp set in Memento Tuxedo Black ink.  I added a rhinestone to finish the card off.

I am pleased with how my shadow stamping turned out.

Please leave a comment below letting me know what you think.

Supplies used:

classiccrestsolarwhtieBermuda Bay InkCrisp CantaloupePeachy KeenSimply CelebrateBasic Rhinestones Jewel Accents

You’re Pretty Amazing

I’m back again with another stencil card for Virginia’s View Challenge #2. I’m having so much fun stenciling that I couldn’t help myself so I made another card.  For this card, I used three different inks and my Kelly Purkey Teardrop stencil.  It took no time, as a matter of fact I made two cards with two different sentiments but the one I’m posting today, the sentiment was a better fit.

Take a look:

You're Pretty Amazing

This one layer card is sooooo “fiery”.  I just love it.

Please leave me a comment below letting me know what you think.

Supplies used:

classiccrestsolarwhtieHero Arts Butter BarHero Arts Orange Soda InkWorn Lipstick InkpadBlending toolteardropPost-it Full Adhesive RollSSS Stripe GreetingsMemento Tuxedo Black


This Is How We Do It

I have to say stenciling is my favorite technique.  Once I started yesterday I couldn’t stop.  So I created another card to enter into Virginia’s View Challenge and Less is More Challenge.

Virginia’s View Challenge: Stencils

Less is More Challenge: A Touch of Turquoise

The create I create has both elements.  I use Simon Says Stamp Medium Dots Stencil and Tumble Glass Distress Ink and Stampin’ Up Tempting Turquoise embossing power.

I left a lot of white space but elegantly add a bit of color.  I love how the card came out.

Take a look:

This Is How We Do It

All I did was stencil the right corner of the mask layer, embossed my image on the vellum tag and adhere all of it together.  Simple and easy.

Please let me know what you think.  I would really appreciate your feedback.

Supplies:

SSS Medium Dots StencilBasic Rhinestones Jewel Accents 119246White Baker's Twine 124262

Tempting Turquoise Embossing Powder 122950Stampin' Dimensionals 104430Ultra Thick White CS 120White Vellum

Tombow Power Adhesive Glue TabsBlending toolHeat ToolBasic Rhinestones Jewel Accents

Scalloped Tag Topper PunchStampin' TrimmerPost-It Full Adhesive RollWe R Memory Keepers Corner Chomper


Embossing BuddyGood Times


Signature


Virginia’s View Challenge #2 Stencil + Hand Stamped Sentiments #183

I’m back again with two more challenges.  I love all of these challenges.  They allow me to put my creative hat 0n more often.  I’m having a lot of fun.

Today’s challenges are Virginia’s View Challenge #2 Stencil and Hand Stamped Sentiment.  Yes, stenciling with Gumball Green, Crushed Curry and Coastal Cabana.  I love working with stencils since my Online Card Class.

When I got home today, I had a couple of boxes of craft stuff waiting for me.  My “Make a Wish” stamp set from Mama Elephant and my “Hexagon Hive Thinlits Die” from Stampin Up were amongst my new stuff.  I knew I wanted to use both of these products.

Take a look:

Hex stencil

I used my blending tool and added each of my colors in a circular motion to make sure to completely cover my stencil.  Take a look at my finished card.

Make a Wish rounded corners

After lifting the stencil, I added my sentiment and the stars to the one layer card.  I love the way my card came out.  The actually stencil, came out just a nice.  I will add that to another card and share it with you.

Please let me know what you think, I would love to hear what you think of my card.

Supplies used:

Mama Elephant  MAKE A WISH

Mama Elephant
MAKE A WISH

Hexagon Hive Thinlits Die 132965

Hexagon Hive Thinlits Die 132965

Coastal Cabana 131175

Coastal Cabana
131175

Crushed Curry Ink 131173

Crushed Curry Ink
131173

Gumball Green 126861

Gumball Green
126861

Onyx Versafine Pigment Ink Pad

Onyx Versafine Pigment Ink Pad

Post-it Full Adhesive Roll

Post-it Full Adhesive Roll

Simon Says Stamp Ultra Thick White CS 120

Simon Says Stamp Ultra Thick White CS 120

Ranger Mini Round Blending Tool

Ranger Mini Round Blending Tool

Less is More Challenge – Colour Week 166

Today’s card was made for the Less is More Challenge.  The colour challenge this month is A Touch of Turquoise!

I created my card using Stampin’ Up!’s Happy Watercolor Stamp Set.  I’ve wanted to use this stamp set for awhile but haven’t had a chance to and today I decided was that day.  I love how the flower looks on the watercolor pool party stamp.

Take a look:

Watercolor Thank You

I have a secret to share with all of you.  I had to make this card three time before I got it just right.  I kept smudging the thank you sentiment.   I was so excited about making this card that I refused to let the sentiment dry before I add the mask to the front of the card.

This has taught me great patience.  I used the Versafine Onyx Black Ink and that takes a minute to dry.  Now I really know.

All in all, I love the look of my card!

Please, leave me a comment letting me know what you think of my card.

Supplies used:

Ultra Thick White CS 120

Ultra Thick White CS 120

Pool Party 122924

Pool Party
122924

Happy Watercolor 133191

Happy Watercolor
133191


Onyx Versafine Ink

Onyx Versafine Ink

Stamp Runner Dot Adhesive

Stamp Runner Dot Adhesive

Hello Sunshine Mixed Sequin

Hello Sunshine Mixed Sequin


We R Memory Keepers Corner Chomper

We R Memory Keepers Corner Chomper


Signature


SSS Wednesday Blog Challenge – Happy Birthday Card 2

I’m back with another card for Simon Says Stamp Wednesday Blog Challenge.

I’ve been watching a lot of videos on using watercolor on cards and I love how it looks.  So I decided to try the technique myself.

Take a look:

Happy Birthday Watercolor

The die cut balloon is what I used the watercolor technique on.  For my first try, I think I did an OK job.

As I look at the card, I realized that the background on the card is competing with the balloon image.  It might look better if the card base was blank, then the balloon image would really stand out on its own.  All in all, this was a learning experience for me.

Please, leave a comment letting me know what you think.

Supplies used:

Classic Crest Solar White CS

Classic Crest Solar White CS

Hero Arts Tide Pool Ink

Hero Arts Tide Pool Ink

Hero Arts Orange Soda Ink

Hero Arts Orange Soda Ink


On Point Borders

On Point Borders

Birthday Balloons

Birthday Balloons

SSS Balloons Craft Dies

SSS Balloons Craft Dies


Memento Tuxedo Black

Memento Tuxedo Black

Stampin' Dimensionals 104430

Stampin’ Dimensionals
104430


I also used a gold trim elastic cord from Stampin’ Up!’s Sale-A-Bration free kits.

Signature

SSS Wednesday Blog Challenge – Happy Birthday Card 1

Simon Says Stamp is celebrating 5 years of challenges and they wanted to see some Happy Birthday/Birthday Celebration Creations!!

I love the month of April because I celebrate my birthday too!!!!  As a matter of fact, today April 4 is my birthday!!

Happy-Birthday-To-MeSo for the challenge, I created a couple of cards that I will post separately.  The first card is a black and white Happy Birthday card that I think is really simple and classy.

Take a look:

Happy Birthday Black and White

The stars have a Wink of Stella glitter that is hard to see, but its there.   I used SSS stamp and die along with Mama Elephant’s background stamp set.

Shhh! I have a secret!

I tied some bakers twine around the bottom of the large balloon but it didn’t look right after I added the smaller balloons so I just tucked it underneath the smaller balloons since I couldn’t take it off.

Please leave a comment below, I would love to know what you think.

Supplies Used:

Classic Crest Solar White CS

Classic Crest Solar White CS

Birthday Balloons

Birthday Balloons

SSS Balloons Craft Dies

SSS Balloons Craft Dies


On Point Borders

On Point Borders

White Baker's Twine 124262

White Baker’s Twine
124262

Big Shot Die-Cut Machine 113439

Big Shot Die-Cut Machine
113439


Stampin' Dimensionals 104430

Stampin’ Dimensionals
104430

Memento Tuxedo Black

Memento Tuxedo Black


Signature