CS Take It Make It: Take a Technique

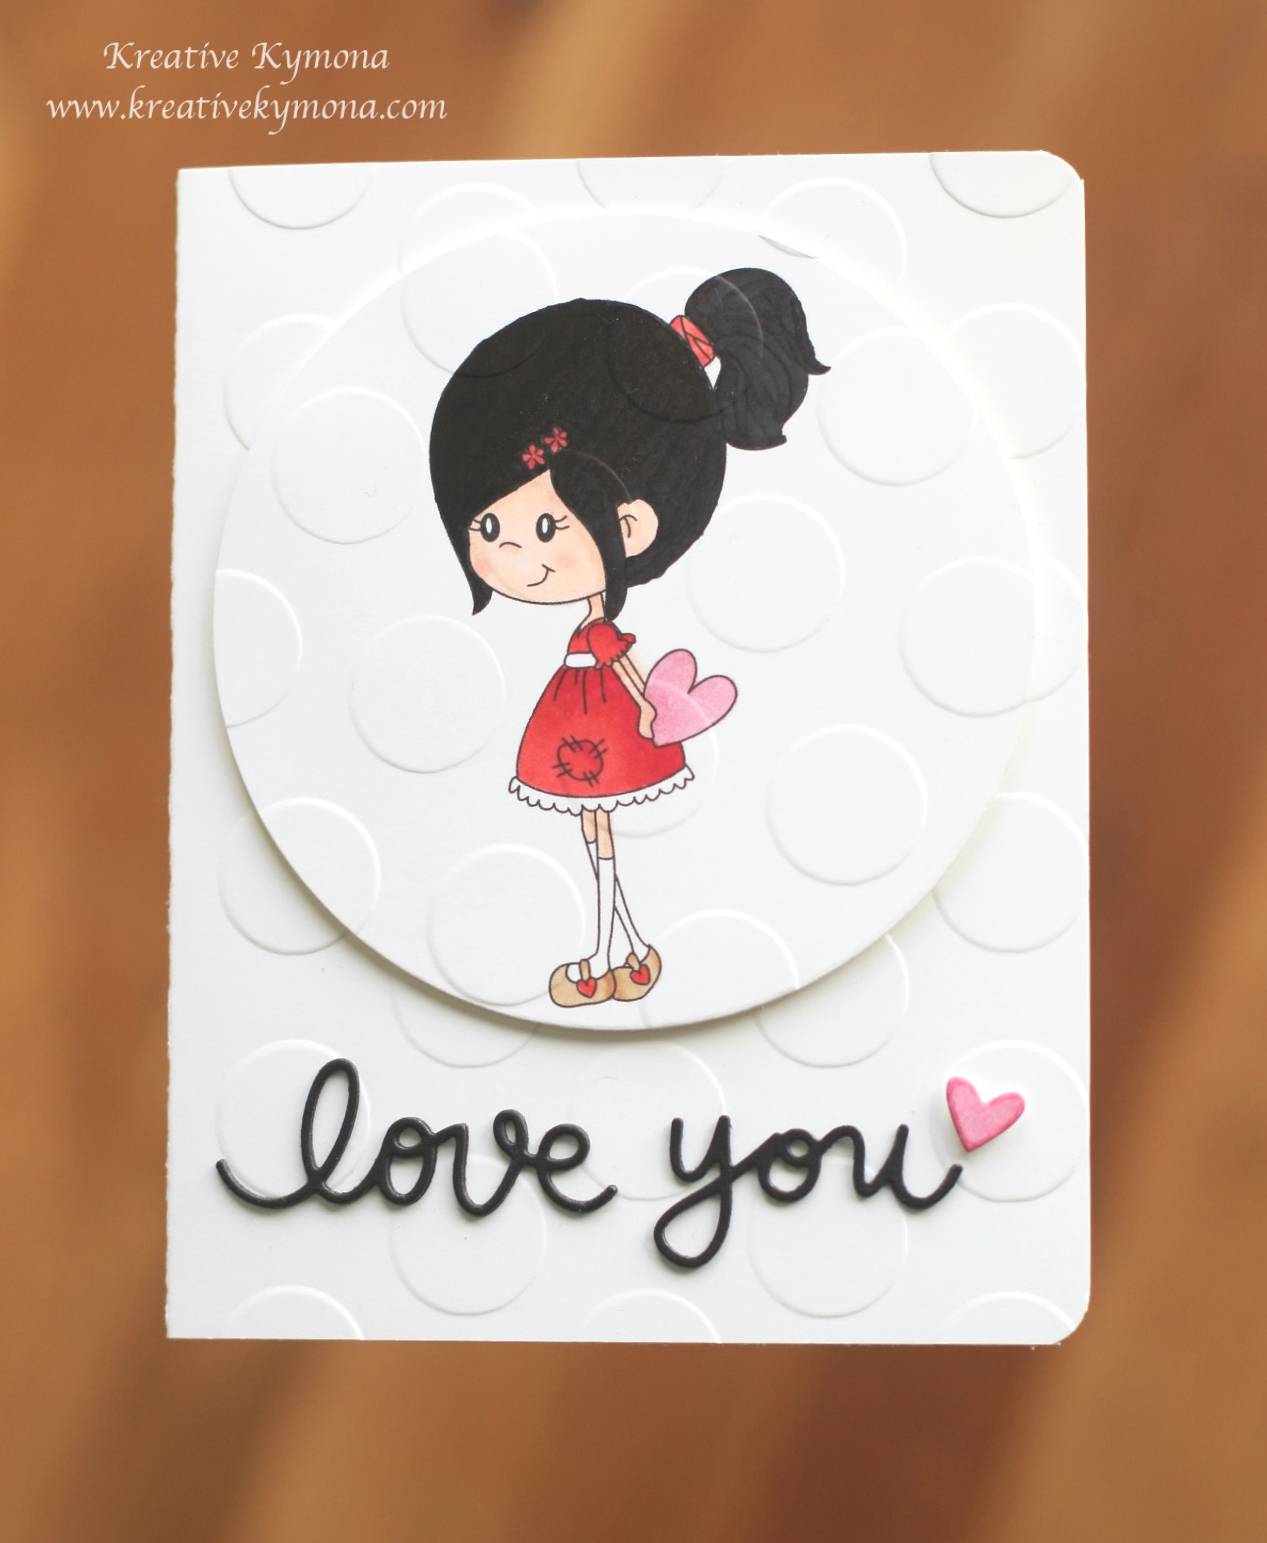
Hello everyone!!  I’m here today with CS Take It Make It Design Team for our April Challenge!

This months challenge is going to be super fun!!  Its all about getting Your Color On!

You can color anything as long as its bright, vibrant and full of color.  No monochrome, dark or grungy projects, they need to be BRIGHT!! You don’t have to use every color in the rainbow all at once…but think along those lines!!

I told you this well be super fun.  I was apart of a 30 day coloring challenge last month so this will be awesome to continue that fun.

Take a look at my project:

Hello my friend (CS)

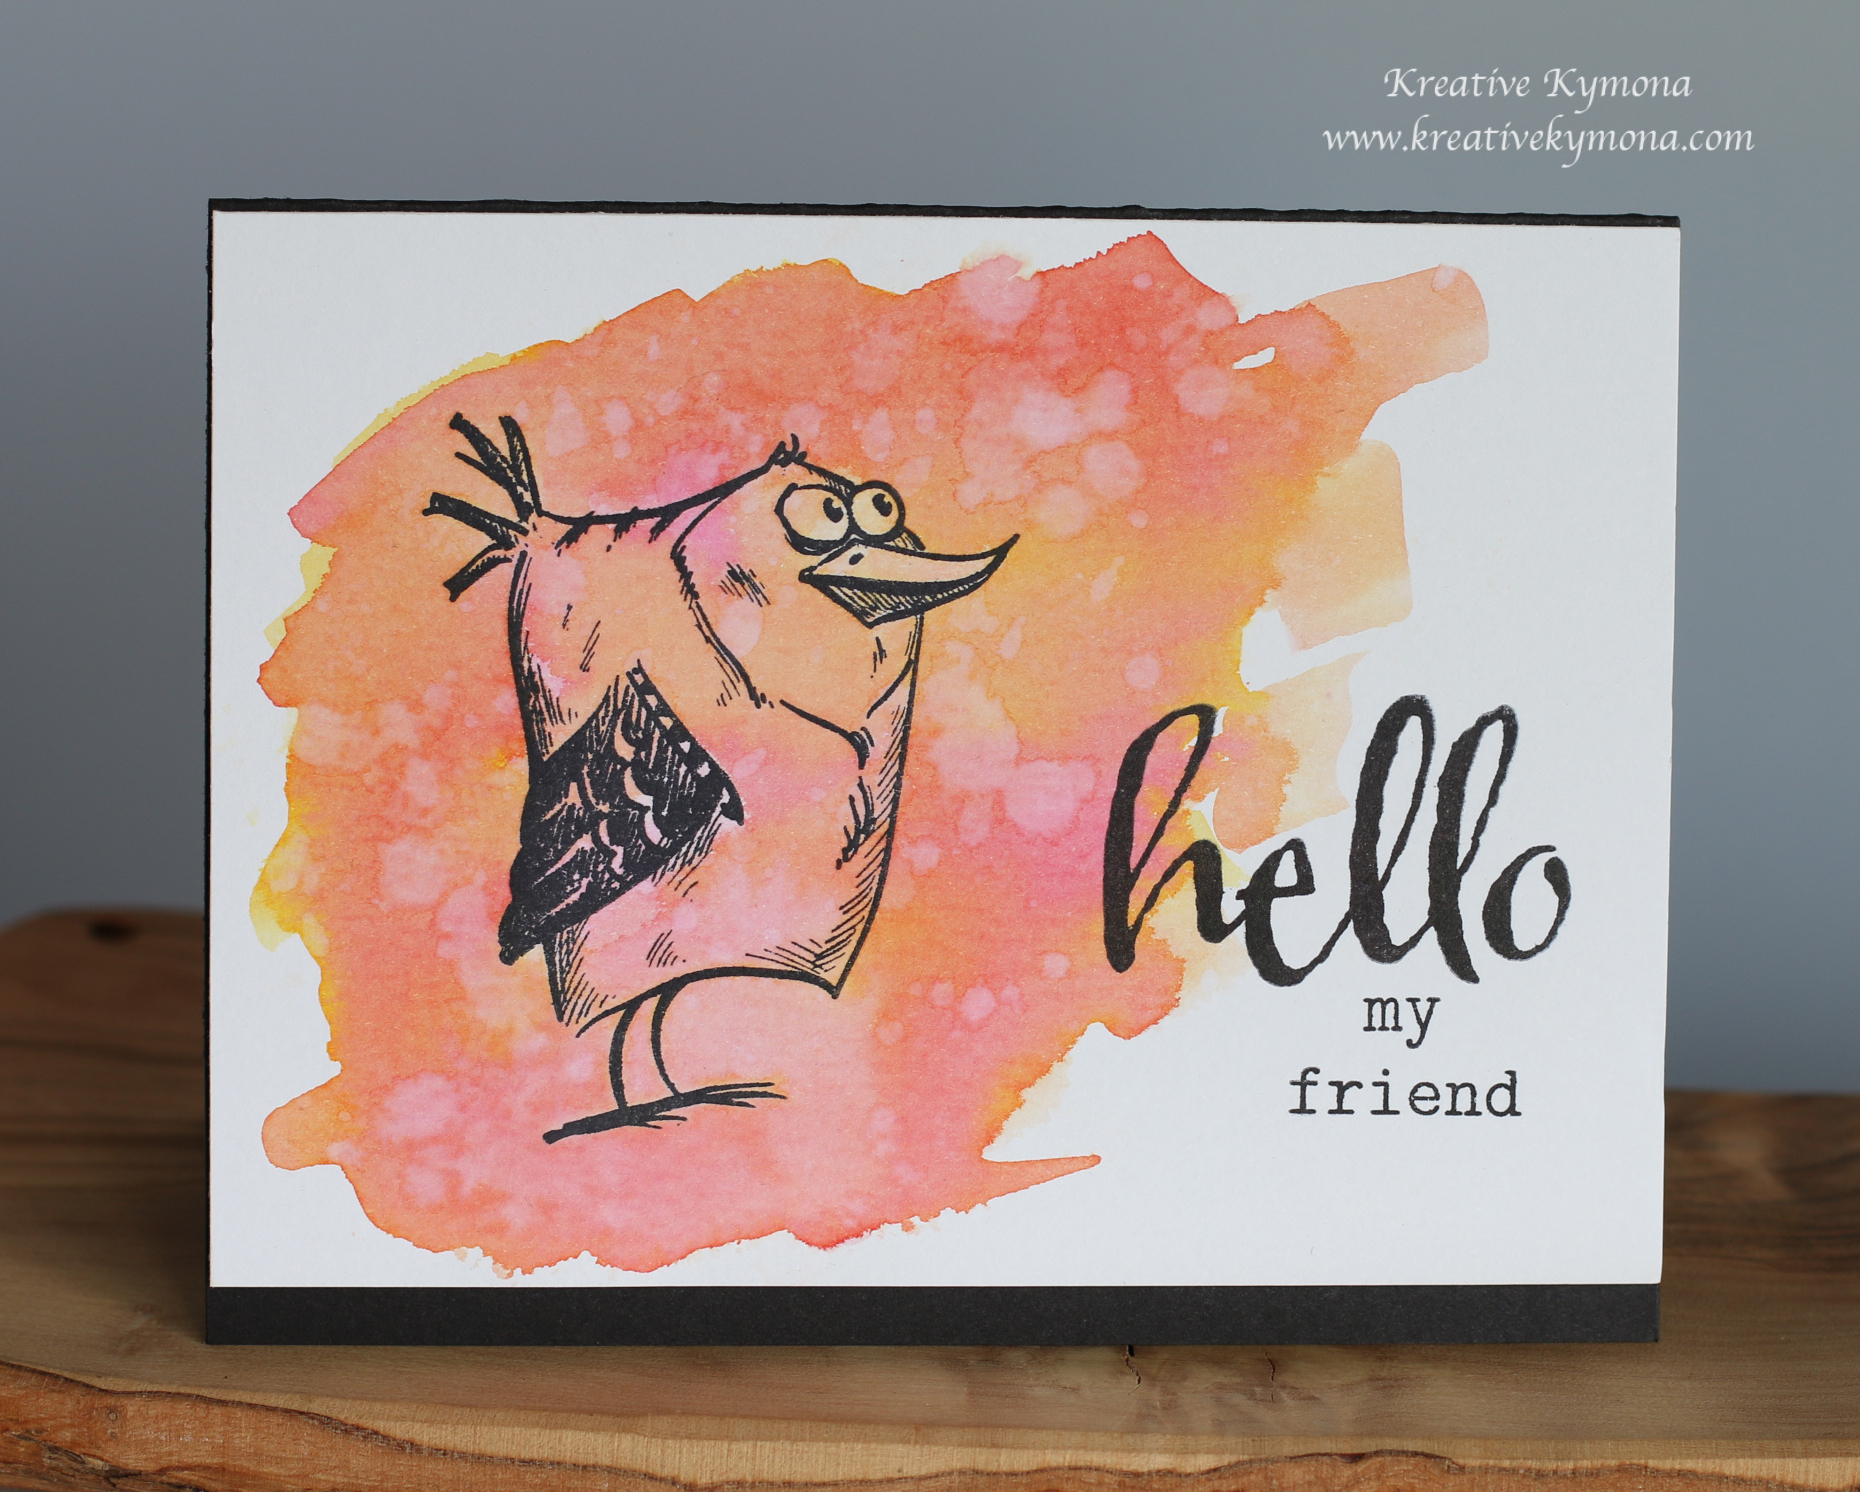
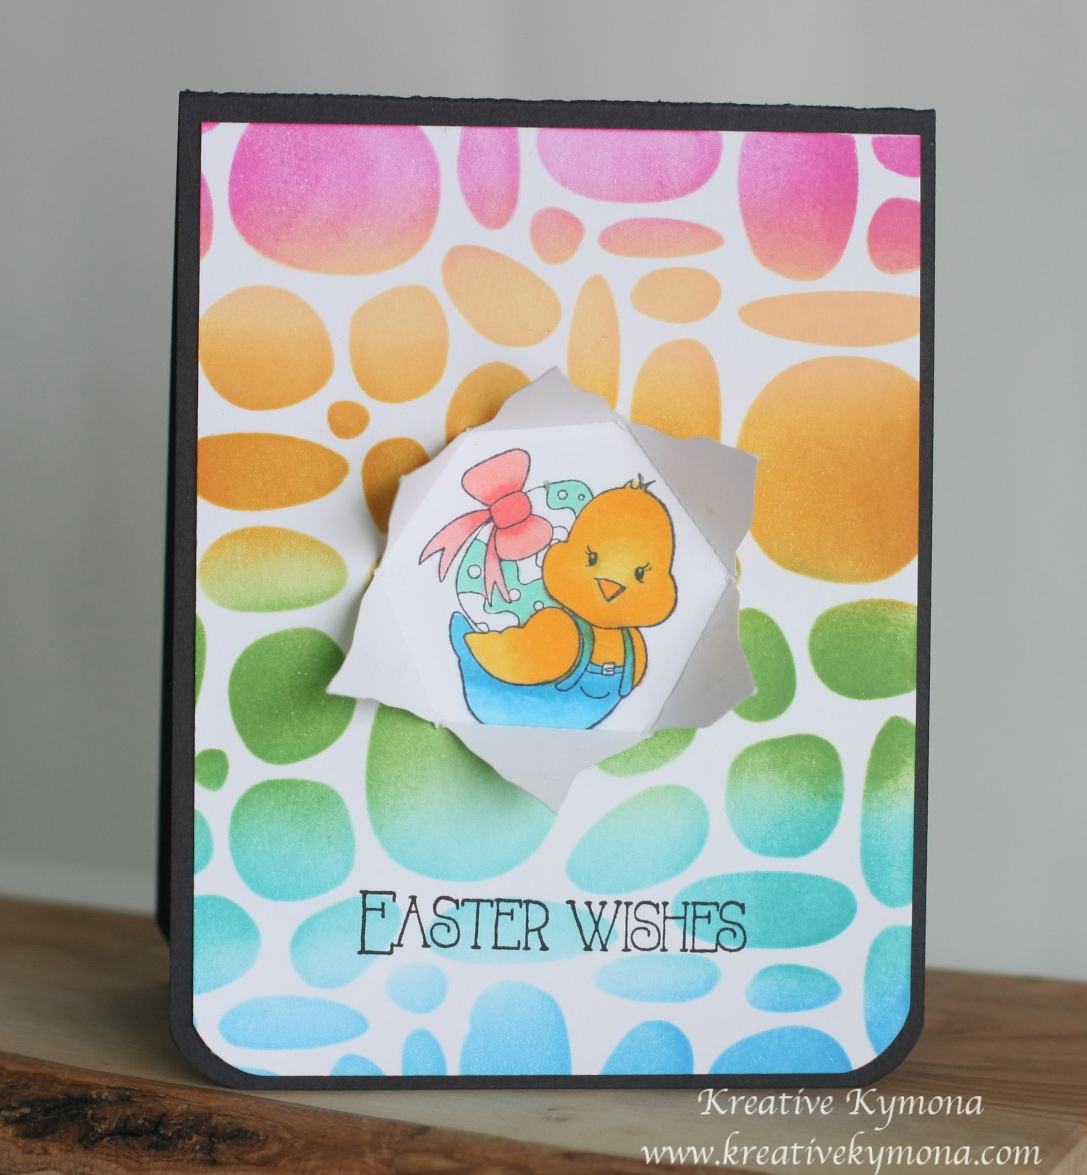
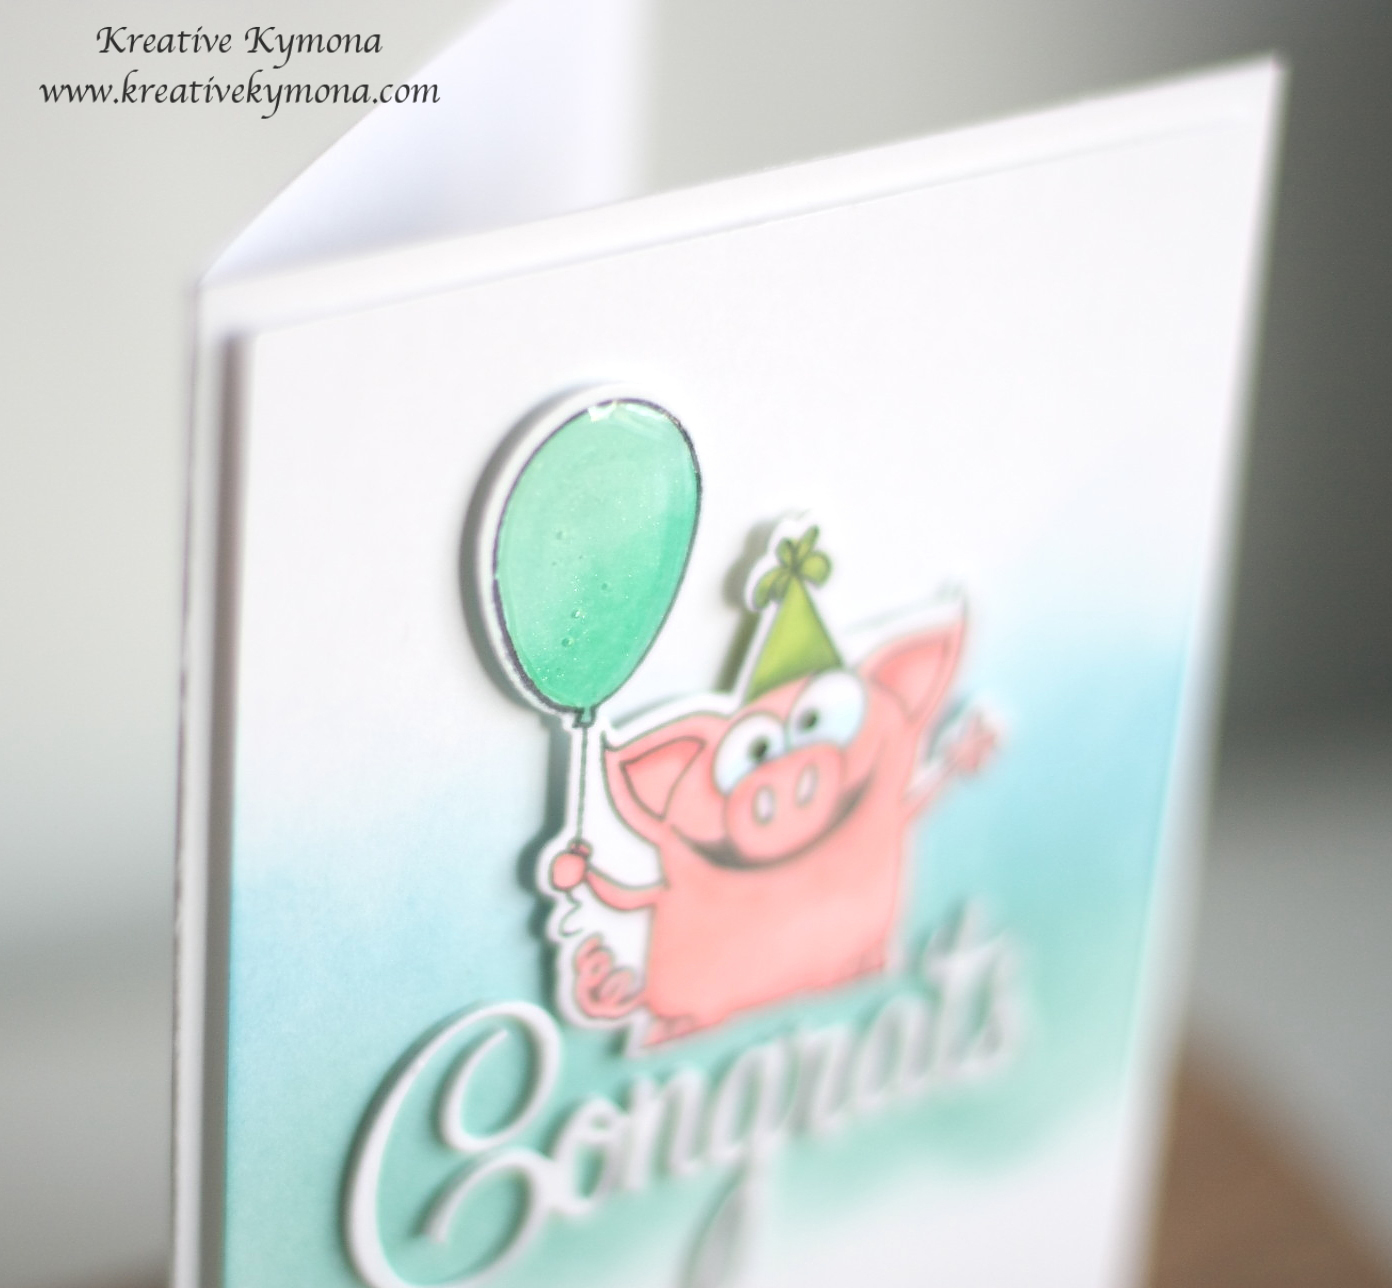
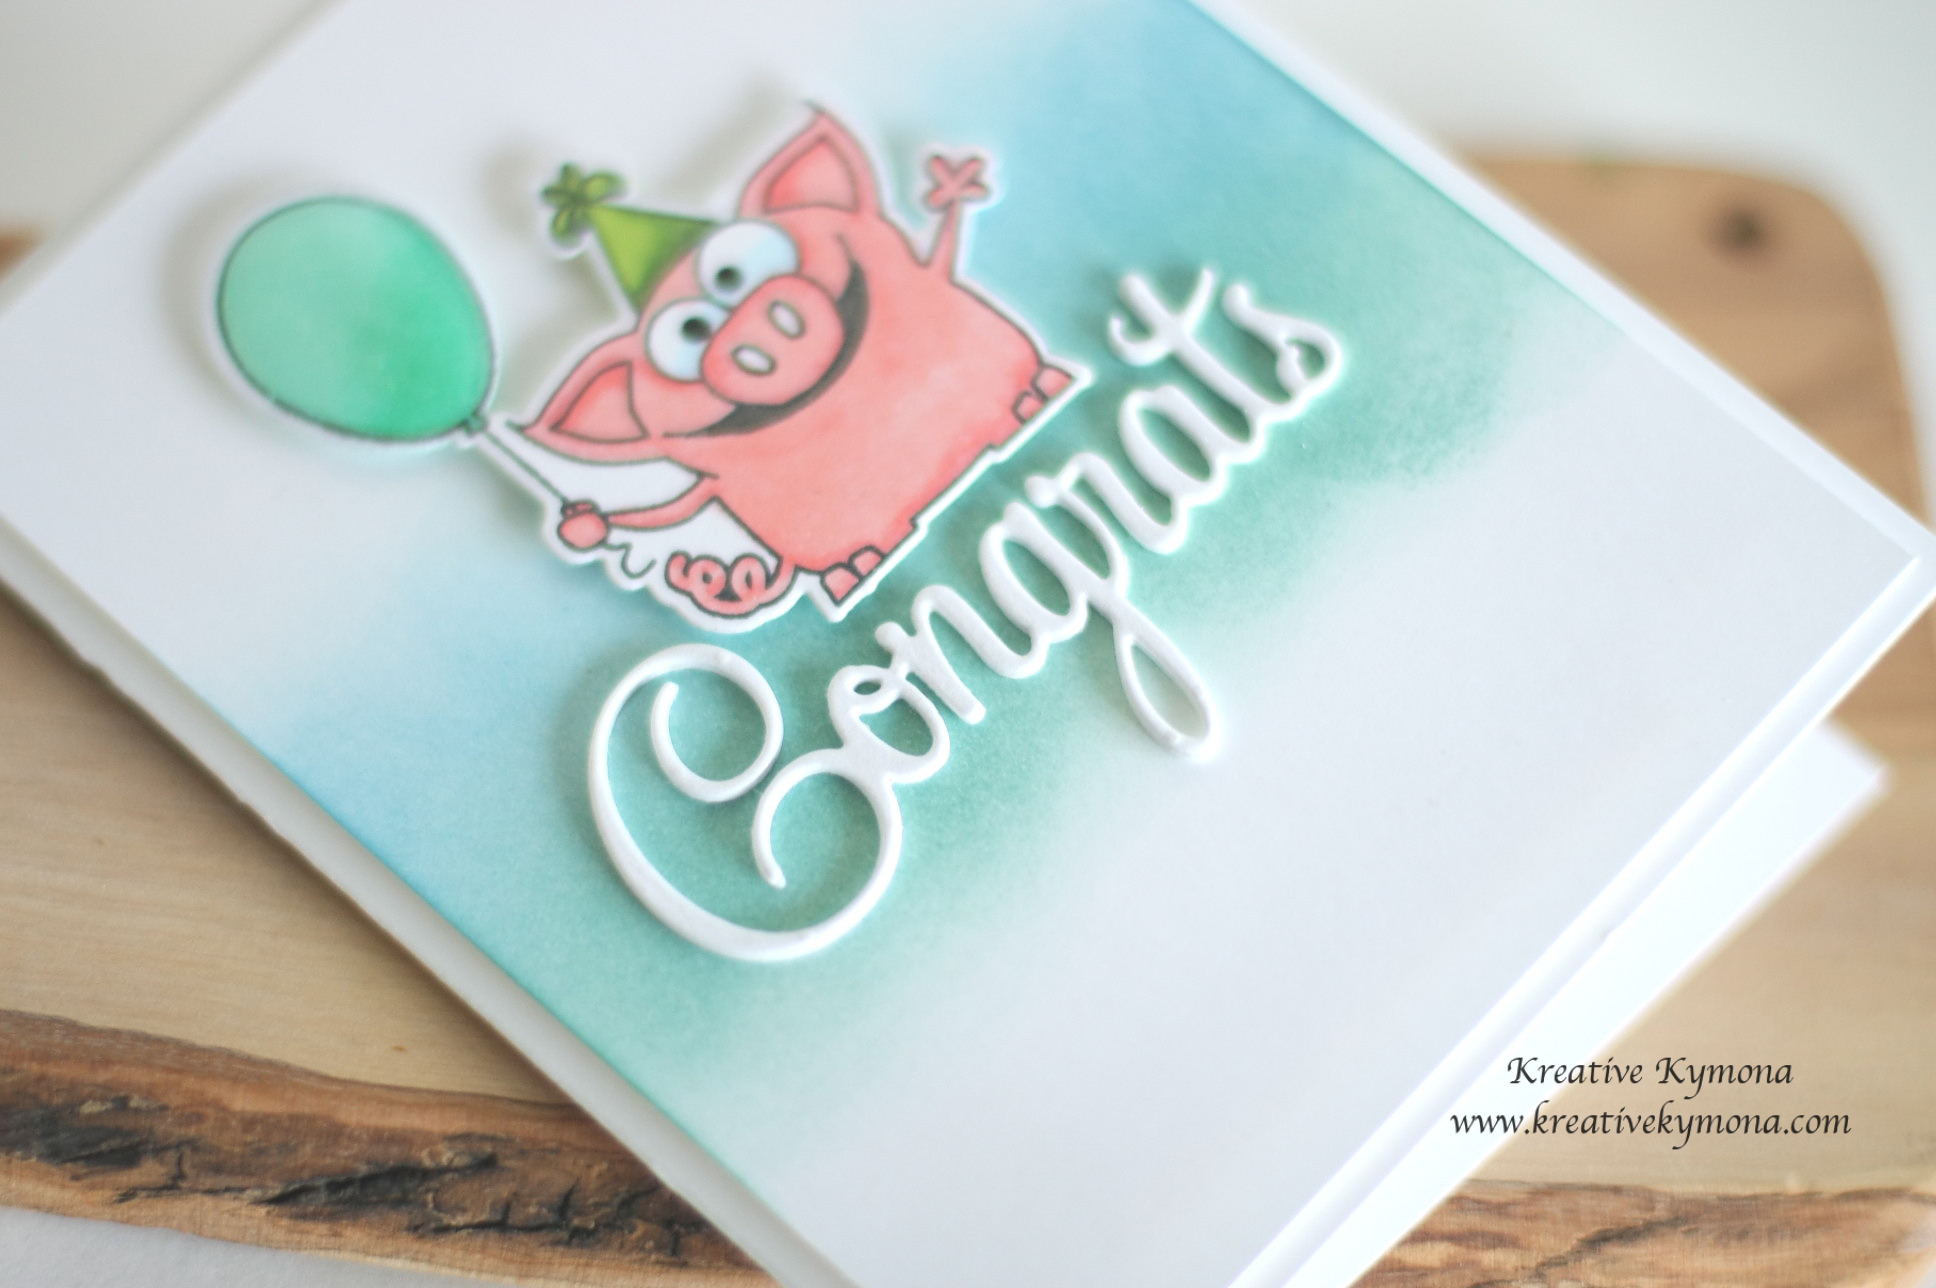
If you’ve been following me on Instagram, you will know that I love these birds.  I think they are the funniest image ever.

They are such great images to practice your coloring on.  I’ve used all different types of mediums with them.

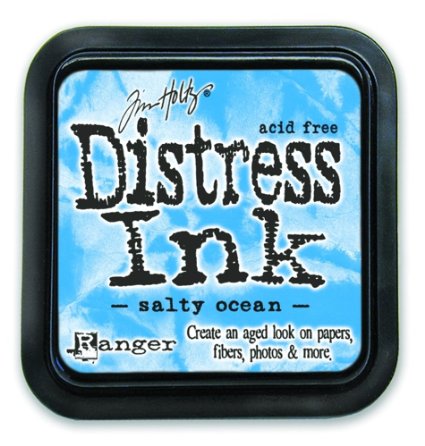
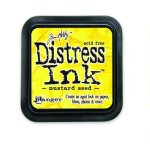
For this card I used distress inks to watercolor this bird.  I love how picked raspberry and mustard seed blend together.

Check out this card:

Hello Hello You (CS)

I told you I can’t get enough of this stamp set!  LOL!!

Creating these cards were so easy and stress relieving.

Here’s how:

1. I cut my watercolor paper panel a couple sizes smaller then my black card base.

2. I stamped Tim Holtz Bird Crazy onto my watercolor panel using Ranger Archival Jet Black Ink.  I used that ink because its waterproof, which means no smudging!!

3. I spread Picked Raspberry and Mustard Seed Distress Ink onto my craft sheet.  I spritz it with water and used my paintbrush to add the colors to my watercolor panel, very freely.

4. Once I had enough color on my paper I heat set it.

5. I used Winnie and Walters The Big, the Bold and the Happy to stamp my sentiment using the same jet black ink.

6. I adhered the watercolor panel to my black card base using fun foam. The fun foam keeps the watercolor panel straight and even.

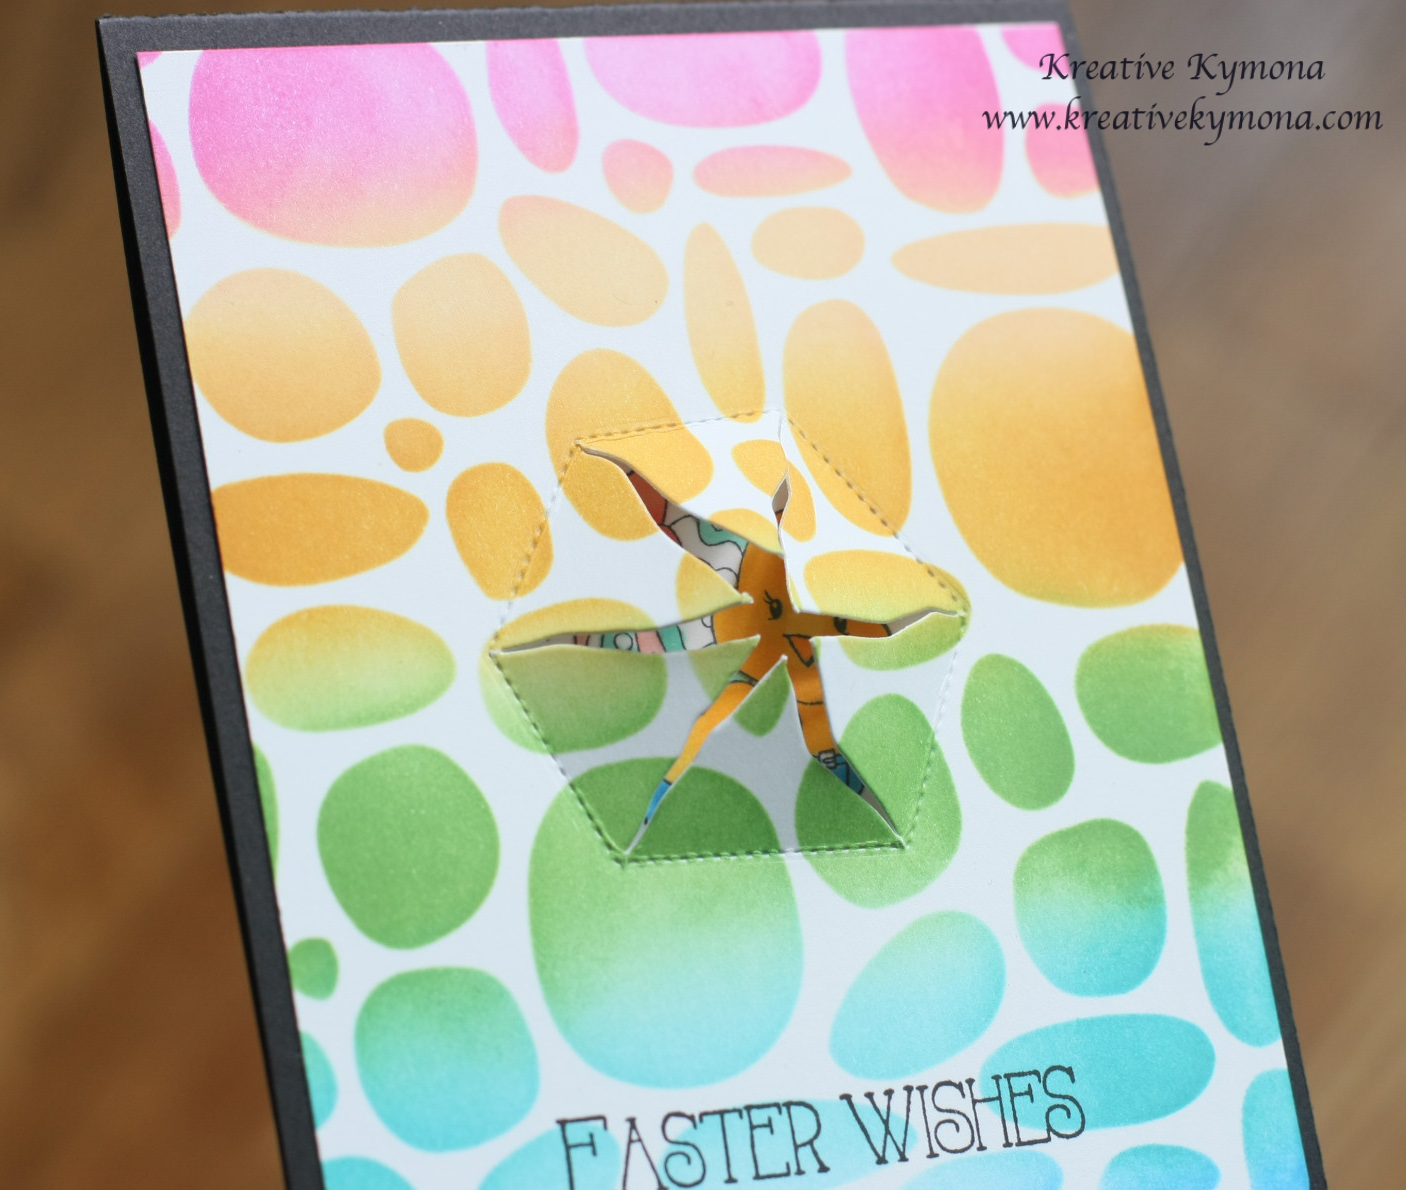
7. For the second card I used Evergreen Bough and Mustard Seed Distress Ink.

I love how my cards turned out.  They are nice a bright with color!!

Now its your turn to play along with us.

We have a great prize pack for you.

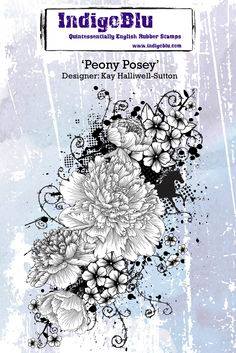
We have two prizes to offer this month, the first is our sponsor prize. This winner will be chosen randomly from all of the entries in the challenge! The sponsor for April is:

 IndigoBlu

Indigo Blue

Random Winners will win these two stamp sets!

Giant Peony

Peony Posey

Our second winner is our Design Winner. This winner is chosen by our DT, who all vote for their favorite design from all of the entries. This winner will have their winning project published in Craft Stamper Magazine, they will have a GDT slot for an upcoming challenge, and will also feature in their very own Winners Profile blog post!

Now if that isn’t a reason to play along I’m not sure what is!!

I can’t wait to see what you come up with.

Supplies used:

Crazy Birds Archival Jet Black Big Bold HappyPicked RaspberryMustard SeedFun FoamDistress Ink Evergreen Bough

Thank you so much for stopping by!

~Kymona


CS Take It Make It: Take a Stamp Challenge Inspiration Card

Hello everyone!!  I’m here again with CS Take In Make It: Take a Stamp Inspiration for our March Challenge.

Our theme is Take a Stamp!! That means take any stamp and create something, anything goes!!!  Now if that isn’t easy, I’m not sure what is!!

Take a look at my inspiration card:

You've been on my mind

Take a look at those flowers!! I masked and stamped them in clusters.

I used Simon Says Stamp Flowers on my Mind stamp set to stamp my flowers.

I stamped the flowers using My Favorite Things Wild Cherry Die Ink and Lemon Drop Die Ink.

I cut a very thin strip of black cardstock and adhered it to the bottom of my card base.

I added Your Next Stamp Black Gumdrops for added interest.

So what do you think? Are you ready to play along with us? I hope so!! The prize pack is awesome.

Our sponsor is PaperArtsy!

10169261_10153054470012052_3790245028104761716_n

Check out the prizes:

11024706_10153054470252052_7518911218736410018_n

Set of Lin Brown New Limited Edition Paints

11043236_10153062199502052_4762929908374190226_n

New Release Darcy Wilkinson Stamp Set

Now its your turn!!

I hope you join this challenge!! Check out my fabulous fellow DT members creations on the blog. I hope to see all of you there!!

Supplies used:

SSS Flowers on my Mindmft-wildcherrymft-lemondropblack gumdrops small

Thank you so much for stopping!!

~Kymona

CS Take It Make It: Take a Stamp Challenge

Hello everyone!!  I’m here today with CS Take It Make It Design Team for our CS Take It Make It: Take a Stamp Challenge for the month of March.

This month’s theme is Take a Stamp!!  That means take any stamp and create something, anything goes!! Now if that isn’t easy, I’m not sure what is!!

Take a look at my card:

Watt's Up M2

The stamp set that I used is Your Next Stamp Perfect Chemistry.  I love this stamp set and knew it would be perfect for this challenge.  All of the images can be colored in.  They are all super cute too!

I pair this stamp up with their Your Next Stamp Stitching Marks Circle Die Set!!  Now I have to say that I totally, totally love this die set! This die set only leaves the stitching marks, it does not cut the circle!!

Then I add Your Next Stamp Black Gumdrop to embellish my card.

This card was super easy to create. Here’s how:

1. I cut my card base to an A2 size card (4.25 x 5.50) scored at 4.25.

2. I used three of the dies, starting with the second biggest one, to add the stitching to my card front.

3. Then I stamped the image using Memento Black Ink.

4. I used my Copic markers, Y11, Y13, Y15, and R24 to color my image.

5. I added Clear Wink of Stella to the image.

6. I stamped my sentiment from the same stamp set.

7. I added the black gumdrops to finish off the cards.

8. At the last minute I added glossy accents to his eyes.

Clean and simple!!

I created another card using the same stamp set.  Take a look:

It's all about the Chemistry

For this card, I used Kraft cardstock.  I love how colors looks on Kraft cardstock.

To create this card was simple too.

1. I cut my cardstock to 3 x 6 scored at 3.

2. I stamped the word chemistry in Versamark ink to create my own background.

3. Then I stamped my image and colored it with Copic markers, R22, R24, R29.  I used the Your Next Stamp Perfect Chemistry Coordinating Die Set to cut out my image.

4. I stamped my sentiment using Versafine Onyx Black Ink before adhering my die cut.

5. I adhered my die cut using foam adhesive.

6. I added Your Next Stamp Crystal Clear Gumdrops for more pop!!

Amazing, if can say so myself!!  Totally love this stamp set and all of the the embellishments.

What do you think? Please let me know.

You can stamp your to your hearts desire.  The challenge just calls for a stamped image.

Now let’s talk about the Sponsor and the prize pack!!

Our sponsor is PaperArtsy!

10169261_10153054470012052_3790245028104761716_n

Check out the prizes:

11024706_10153054470252052_7518911218736410018_n

Set of Lin Brown New Limited Edition Paints

11043236_10153062199502052_4762929908374190226_n

New Release Darcy Wilkinson Stamp Set

Now its your turn!!

I hope you join this challenge!! Check out my fabulous fellow DT members creations on the blog.  I hope to see all of you there!!

Supplies used:

Stitching Marks Circle DiePerfect ChemistryPerfect Chemistry Die Setclear gumdrops smallblack gumdrops small Wink of Stella clearMemento Black InkVersamarkOnyx Versafine Ink3M Double Coated Foam TapeCopic Markersglossy accents

Thanks for stopping by!!

~Kymona

CS Take It Make It: Take a Technique Inspiration

Hello everyone!!  I’m here again with CS Take It Make It: Take a Technique for our February Challenge.

Our theme is Stenciling!!! No specific stenciling technique, just make sure you use a stencil somehow, somewhere on your project.

Remember, if you do not have stencils, cut or punch shapes from a piece of cardstock or acetate and use that as a stencil.

Take a look at my inspiration project:

Peak-a-Boo Easter Wish

Take a look at my colorful background!!

Lets take a closer look:

Easter Wishes closeup3

Easter Wishes closeup4

I used my Hero Arts Stone Circle Pattern Stencil and Distress Ink Dried Marigold, Wild Honey, Picked Raspberry, Salty Ocean and Mowed Lawn to create all of those Easter egg looking shapes.

I used my new Pretty Pink Posh Peek-A-Boo Die to create a window for my beautiful So Suzy Stamps Chicky with Egg stamped image.

I colored my little chick with Copic Markers:Y15, Y17, Y19, B00, B02, B04, R20 and R22.

I stamped my So Suzy Stamps “Easter Wishes” sentiment with Memento black ink.

I added my panel to my black base cardstock.

So what do you think?  Are you ready to play along with us?  I hope so!  The prize pack is awesome.

Supplies used:

Hero Arts Stone Circle Pattern Stencil Dried MarigoldWild HoneyPicked RaspberryDistress Ink Salty OceanMowed LawnPeek-A-Boo Die 19831-chicky_with_egg_wm__91849-1418596897-451-416Copic MarkersMemento Black Ink

We have a great prize pack for you.

Our sponsor is Paperbabe Stamps this month.

Paperbabe Stamps

The winner will get to pick 2 stamp plates of their choice.

I hope you join us this month for this super fun challenge!!

So what do you think? Let me know!

Thanks for stopping by!

~Kymona


CS Take It Make It: Take A Technique

Hello everyone!! I’m here today with CS Take It Make It Design Team for our February Challenge.

You are going to love this months challenge.  I had so much fun creating my card for this challenge.  So do you want to know what the challenge is?

Its all about Stenciling!!  No specific stenciling technique, just make sure you use a stencil somehow, somewhere on your project.

If you do not have stencils, cut or punch shapes from a piece of cardstock or acetate and use that as a stencil!!

Super easy and super cool!!

Take a look at my project:

(CS Take it) Enjoy

I used two different stencils and embossing paste to create this card.  I totally love how my card turned out. My inspiration comes from my current online card class Clean and Simple 4.

This is how I created this card:

1. I cut my ranger watercolor paper to 4 x 5.25.  My card base was cut to 4.25 x 5.50.

2. I used my watercolor brush to add clean water to the corners of my watercolor paper panel.  I used my Koi Watercolor to add two different colors to the corners of my watercolor panel.  I just added color with no thinking as to how I wanted it to look.  I heat set the paint.

3. Then I position my Hero Arts Triangle Pattern Stencil over my watercolor panel and secured it with painter’s tape.

4. I added a very think layer of Ranger Textured Paste over my stencil making sure to smooth it over the entire stencil.

5. I carefully remove the stencil and wash the paste off of the stencil.  I allowed the paste to try.

6. Once the pasted dried, I position my second stencil, the  Heidi Swapp Bird Stencil Set, over my watercolor panel where I want the flowers to be.

7. I applied a thin layer of embossing paste over the stencil, making sure to have an even impression. I carefully lifted the stencil and washed it right away.

8. I die cut the sentiment from Penny Black Hooray Die Set and adhered it to my embossed panel.  I used my hand to hold the sentiment in place for a couple of minutes.

9. I added some Stampin’ Up! Whisper White Bakers Twine and some Pretty Pink Posh Sequin.

10. I adhered the completed panel to my card base.  I only adhered the top of the panel, leaving the bottom unattached.

So what do you think?  I would love to hear from you.

I used not one but two stencils!!  I challenge you to get your stencils out and play along with us.

We have a great prize pack for you.

Our sponsor is Paperbabe Stamps this month.

Paperbabe Stamps

The winner will get to pick 2 stamp plates of their choice.

I hope you join us this month for this super fun challenge!!

Winner Announcement from last month’s Blog Hop!!

I didn’t get a chance to announce the winner from my blog comments.  See the complete list here.

Congrats go to:

Jenny

January 20, 2015 at 7:36 am

Ha Ha I love this little pig – a brilliant card – thank you for making me smile.

Jenny won both cards that I create for the January Challenge.

Congrats to all of the winners. We had 181 entries.  Wonderful!!


Supplies used:

Ranger Watercolor PaperKoi WatercolorsHero Arts Triangle Patten Stenciltextured pasteMixed Media Bird Stencil SetPenny Black Hooray DiesWhisper White Baker's TwinePretty Pink Posh 6mm Sequins

Thank you so much for stopping by!!

~Kymona

Craft Stamper Blog Hop

Blog Hop Logo

Hello everyone!!   Welcome to Craft Stamper Magazines very first Take it, Make It blog hop!

If you have landed here from Jolande blog then you’re in the right place!

A list of all the blog hop links can be found HERE.

The January challenge is called ‘Take A Stamp’, and is really simple…just use a stamp somewhere in your art!

Take a look at the project I am sharing today (the pictures do not do it justice):

Congrats front

How cool is this little guy!! I had so much fun coloring this little pig from Simon Say Stamps Birthday Farm Animals.  Thanks Kay Miller for the inspiration for this card!!

Lets take a closer look at that balloon:

Congrats balloon

Look at that glossy balloon!!  It adds so much to the card.

Lets take a closer look at the die cut “Congrats” from Penny Black’s Creative Dies – Hooray.

Congrats closeup

This card was super easy to create.  I’m going to tell you how.

1. I cut my card base to an A2 size card (4.25 x 5.50) scored at 4.25.

2. I used Distress Inks Evergreen Bough and Salty Ocean to blend the colors across the center of the card.

3. I stamped my party pig with Memento Tuxedo Black Ink because I was using Copic Markers to color in pig.

Copics used: Pig (R20, R22); Pig eyes (BG00); Pig Mouth ( W5, W7); Balloon (BG11, BG34); Party Hat (YG03, YG17, YG67)

4. I added glossy accents to the balloon.

5. I die cut the Congrats 3 times and stacked them on top of each other with  Tombow Multipurpose Adhesive to give the word some dimension, then adhered the word to the center of my card.

6. I added foam adhesive to the back of my pig and balloon and adhered it right above my die cut sentiment.

7. I attached my card panel with foam adhesive and that was it!!

Soooo, what do you think?  Now its your turn!!

The main challenge this month has a HUGE prize up for grabs, all you need to do is enter a project into the challenge to earn your place in the random draw!

As well as the main prize, we are also offering blog hop prizes too….

You can win this fabulous mixed media substrate pack:

Mixed Media prize pack

We have:
MDF collage frame (22cm x 22cm)
2 x Greyboard squares (6″ x6″)
Chunky Box Canvas (5″ x 5″)
MDF plaque (8″ x 6″ x 6mm)
Wooden cube (5cm)
Wooden candlestick (to be used as a stand for the cube, or anything else!) (7.6cm)
Papier Mache House (6cm x 8 cm x 5cm)
Papier Mache Heart (10.5cm)


To win, simply leave a comment on this (or any of the other blog hop) post. When the challenge ends, we will randomly draw a name from the comments left! There is one prize on offer for EACH blog post….so 12 chances to win (13 if you count the HUGE prize for the challenge winner!)

The lucky winners from each blog will not only win a mixed media substrate pack, they will win a piece of original art from the blog author! So, the lucky winner chosen from the comments left here will win the project I have shared above! Winners from the other blogs along the hop will receive the original art shared there too…how cool is that?!

So, leave your comment here, and then hop along to the next blog, the fabulously talented: Linda

Once you’re all done with the hop, don’t forget to enter the main challenge! All the details can be found HERE!

Have fun! I can’t wait to see what you come up with!!

Supplies used:

Birthday Farm Animals51-029_sentimentDistress Ink Evergreen BoughDistress Ink Salty OceanMemento Black InkCopic Markersglossy accents

Thanks for stopping by!!!

~Kymona

CS Take It Make It: Take A Stamp Challenge

Hello everyone!!  I’m here today with CS Take It Make It Design Team for our first challenge of 2015, our January Challenge.

Some amazing changes are happening over at the CS Take it Make It Challenge. We are giving our challenge player TWO chances to win each month!!

One winner will be decided by a random number generator…so anyone who enters the challenge has a chance to win the fabulous sponsors prize we will be showcasing!

Our other winner will be our ‘Design Winner’, voted for by the blog and magazine DT. This winner will get their project published in Craft Stamper, be a Guest DT member for a challenge, AND get their own winners profile on the blog! The profile will be a wonderful opportunity to share your crafting styles and projects with the world, in a dedicated blog post just for you here on the CS blog!

(To be eligible for either prize you need to make sure your project follows all our guidelines, so please check them out, the guidelines are over on the sidebar!)

Our other HUGE change is that we are going to alternate our themes each month. One month will be a ‘Take A Stamp’ theme, the next ‘Take A Technique’ and so on. The ‘Take A Technique’ months will run in exactly the same way as before, we will look through Craft Stamper magazine and choose a technique for you all to have a go at. The ‘Take A Stamp’ months will be very exciting…..basically, its Anything Goes! You may enter any project you wish to the challenge…the only rule being you must ‘Take A Stamp’ and use it somewhere on your piece! So, any STAMPED project at all!

So with all of that said:

This month’s theme is Take a Stamp!!  That means take any stamp and create something, anything goes!!  Now if that isn’t easy, I’m not sure what is!!

Take a look at my card:

Love You (CS)

The idea behind this card came from Therese Calvird from Lostinpaper, I’m such a hug fan of hers.  She create a card a couple of days ago and I’ve been dying to try it.

Sooooo, what do you think?  I stamped my Random Fan image and colored it with Copic markers.

I have to admit, I’m not good at all with coloring hair so I just colored the little girls hair all black.

I used these Copic markers for my image:

Hair: 100

Clips: R27

Hair Twist: R24, R27

Skin: Eoo, E11, R20

Shoes: E31, E33, R24

Dress: R24, R27, R29

Heart: R81, R85

To create the rest of the card:

I embossed the front of the card panel and my colored image die cut circle with the Stampin’ Up! Polka Dot Embossing Folder.

I die cut the Simon Says Stamp Small Love You Die from Simon Says Stamp Black cardstock, four times.

I attached the circle to the front of the card panel with foam adhesive.

I stacked the die cuts and attached it to my card front using Tombow Multipurpose Glue.

I used my Copic marker R81 to add color to a scrap piece of paper.  I used Lawn Fawn Hearts to cut out the smallest heart.

I attached my heart with foam adhesive.

Super doper easy!!  What do you think?  What about my coloring?  Please let me know.

You can stamp your to your hearts desire.  The challenge just calls for a stamped image.

The prize pack for the one lucky randomly drawn winner is totally amazing!!

Check this out:

Don’t mind the photo, not enough light, but that box is full of stamps and stuff!!

013+(Large)

This box is full of stamps and stuff!!

003+(Large)

and her is everything else:

008+(Large)

The random winner will win everything you see in these photos!!  For a better idea, their is a comprehensive list of everything on the sidebar on the CS Take It Make It Blog.

I hope you join this challenge!! Check out my fabulous fellow DT members creations on the blog.  I hope to see all of you there!!

I’m playing along with Simon Says Stamp: Something New.

wednesdayblog-logo

I’m playing along with the NBUS Challenge.

NBUS

I’m also linking up to Stempelkuche Anything Goes Challenge.

Stempelkuche blog badge

Supplies used:

Polka Dot Embossing FolderCopic MarkersSSS Love you dieSSS Black csTombow Multi-Purpose AdhesiveHearts Lawn Cuts 3M Mounting Tape

Thank you so much for stopping by!!

~Kymona

More White Stamping

Hello everyone!!  I’m here again with CS Take It Make It Design Team for our December Challenge!

Once again, the theme is White Stamping.  That could be white ink, white paint or white embossing stamped image.

I decided to go with white ink and a dauber for a Bokeh effect!!

Take a look at my card:

Sending Happy Mail Bokeh

I love this affect, thanks Dawn Woleslagle for the tutorial!!

Here’s how I created this card:

1. I added Alizarin Crimson Hue and Cadmium Yellow Hue watercolor paint to my water-socked Carson XL Watercolor Paper.

2. I stamped my sentiment using Mama Elephant Happy Everything in the center of my watercolor piece.

3. I created my own circle stencil out of acetate.

4. I used the stencil to stamp various size circles with my ink dauber and Hero Arts Unicorn Pigment Ink.

5. The bigger circles were stamped lighter then the smaller circles. I overlapped the circles to create this effect.

6. I trimmed my watercolor panel down and adhered it to the front of my card base using foam adhesive.

7. I added Pretty Pink Posh 4mm and 6 mm Sparkling Clear sequins.

Easy Peasy! What do you think? Let me know.

Now its your turn!!

You can stamp away to your hearts desire, using white ink, gesso or white paint. You can even stamp an image and then emboss with white embossing powder if you want to too!!

To be clear, you CAN stamp in other colors too, but we need to see some parts of your project have clearly been stamped in white!

We are delighted to be sponsored this month by Rubber Dance!

header

Rubber Dance carry an amazing range of wonderful stamps, you really need to check them out if you haven’t already!

The prize this month is a voucher to spend in the shop…..

voucher

PLUS:The Design Team will have a look at all your gorgeous work, and choose their Top Three….. and the overall Winner will get published in Craft Stamper magazine! Yes, the winning entry will appear in the UK’s number one stamping magazine! AND: The Challenge winner will be offered a Guest Designer spot for an upcoming challenge!

So, £20 worth of rubber stamps, publication AND a guest DT slot? What are you waiting for?!

I can’t wait to see what you come up with.


Supplies used:

HAPPY_EVERYTHING_large Hero Arts Unicorn Pigment Ink3M Mounting TapePretty Pink Posh Sequins 4mm Pretty Pink Posh 6mm Sequins Canson Watercolor Paper Winsor And Newton Cotman Water Color Paint

Thank you so much for stopping by!!

~Kymona

White Stamping

Hello everyone!!  I’m here today with CS Take It Make It Design Team for our December Challenge!

This month’s theme is White Stamping!!  That could be white ink, white paint or white embossed stamped image.  This technique is so pretty when its complete.

I saw Kristina Werner create a card that had white embossing and I knew I had to give it a try.

So take a look at my card:

Happy Holidays White Stamping

Isn’t this such a pretty technique!  That white embossing on the blue is so pretty.  That pop of red stands out.

Here is how I created my card:

1. I cut my Simon Says Stamp Audrey Blue cardstock on an angle and adhered it to my Neenah Solar 110lb White cardstock using foam adhesive.

2. I used Simon Says Stamp Presents and Ornaments to stamp my snowflakes and bows using Versamark ink.

3. I sprinkled Hero Arts Embossing Powder on my stamped images and heat set it.

4. I added versamark ink to the edge of the a Audrey blue cardstock, added white embossing powder and heat set it for added embossed dimension.

5. I stamped my sentiment using Simon Says Stamp Be Joyful stamp set with Simon Says Stamp Audrey Blue Ink.

6. I used my Copic marker R29 and colored a piece of white cardstock and die cut a heart using the smallest heart from Lawn Fawn Hearts Cuts.

7. I added Clear Wink of Stella to the heart and adhered the heart with foam adhesive.

8. I added Stampin’ Up! Rhinestones to the center of all of my snowflakes.

Easy Peasy!  What do you think? Let me know.

Now its your turn!!

You can stamp away to your hearts desire, using white ink, gesso or white paint.  You can even stamp an image and then emboss with white embossing powder if you want to too!!

To be clear, you CAN stamp in other colors too, but we need to see some parts of your project have clearly been stamped in white!

We are delighted to be sponsored this month by Rubber Dance!

header

Rubber Dance carry an amazing range of wonderful stamps, you really need to check them out if you haven’t already!

The prize this month is a voucher to spend in the shop…..

voucher

PLUS:The Design Team will have a look at all your gorgeous work, and choose their Top Three….. and the overall Winner will get published in Craft Stamper magazine! Yes, the winning entry will appear in the UK’s number one stamping magazine! AND: The Challenge winner will be offered a Guest Designer spot for an upcoming challenge!

So, £20 worth of rubber stamps, publication AND a guest DT slot? What are you waiting for?!

I can’t wait to see what you come up with.


Supplies used:

SSS Presents and ornamentsVersaMarkHero Arts White Embossing PowderclassiccrestsolarwhtieSSS Be JoyfulAudrey Blue InkHearts Lawn Cuts Wink of Stella clear3M Mounting TapeBasic Rhinestones Jewel Accents

Thanks for stopping by!

~Kymona

Not A Christmas Stamp 2…

Hello everyone!! I’m here today with CS Take It Make It Design Team for our November Challenge!!

This month’s theme is Christmas Images using Non Christmas Stamps!! This was a really fun technique. I had to really shop my stash to see what stamps I have that I could use for this.

This is my second time attempting this technique and I really had a lot more fun with it this time around.

Take a look at my card:

Be Joyful

I used a stamp set this is so far from Christmas you wouldn’t believe.

Here is the stamp set that I used to create this card:

Lifes JourneyI use the stamp that says “Enjoy the Journey”.  That circle image would be perfect for an ornament.

To achieve this affect, I just inked the circle and not the sentiment.  I did that three times to create the three ornaments.

I used my Copic markers and colored them in. I love purple and green for Christmas colors.

So what do you think?  I think you should try this technique for a chance to win a great prize.

We are delighted to be sponsored this month by The Artistic Stamper.

Logo

The Artistic Stamper is a shop full to bursting with fabulous stamps, stash and ideas galore!

The prize this month is this set of stamps.

prize

I love these border stamps!!

PLUS:The Design Team will have a look at all your gorgeous work, and choose their Top Three….. and the overall Winner will get published in Craft Stamper magazine! Yes, the winning entry will appear in the UK’s number one stamping magazine! AND: The Challenge winner will be offered a Guest Designer spot for an upcoming challenge!

So, a fab set of stamps, publication AND a guest DT slot? What are you waiting for?! Please join us this month.

I can’t wait to see what you come up with!

Supplies used:

Lifes JourneyclassiccrestsolarwhtieCopic AnniversarySSS Be Joyfultextured pasteDistress Stickles clear rock candy

 Thank you for stopping by!!

~Kymona