Hello everyone and happy Monday to you!! Today we are excited that Hero Arts will be hosting a blog hop with A2Z Scrapbooking, their new digital retailers. Currently, a2z Scrapboooking offers a selection of Hero Arts digital goodies, but in the coming weeks, they will be adding to their collection and stocking Hero Arts entire range. To celebrate Hero Arts new collaboration, a number of artists from a2z Scrapbooking and Hero Arts, teamed up to provide you with a whole host of inspiration and fun. Just hop along and see how our digital products can be used.
You should be arriving from Kelly Latevola’s blog. If this is your first stop you’ll want to begin at Hero Arts blog so you don’t miss out on any of the fun, interesting projects we are sharing.
And to add to the excitement, a2z Scrapbooking will be giving away a $50 gift certificate to one lucky commenter. Prize winners will be randomly selected from ALL Comments received on the participating designer’s blogs. The more comment you leave along the hop, the better your odds of winning, so be sure to comment on every blog, starting with this Hero Arts blog!! You have until Sunday August 31st at 11:59 EST to leave your comments and the winner will be announced on the 3rd of September on the a2z Scrapbooking blog.
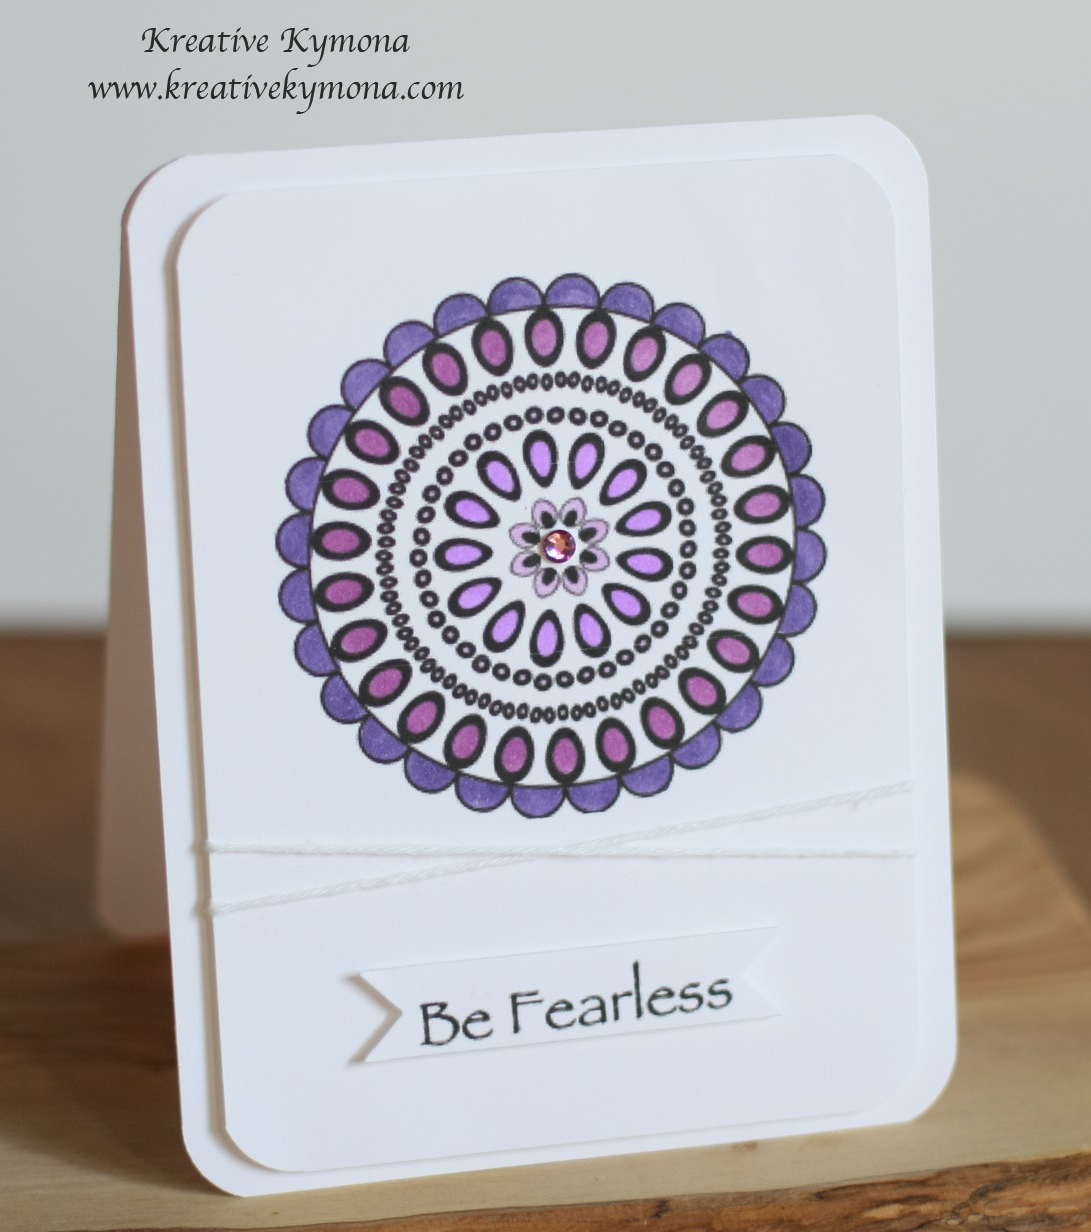
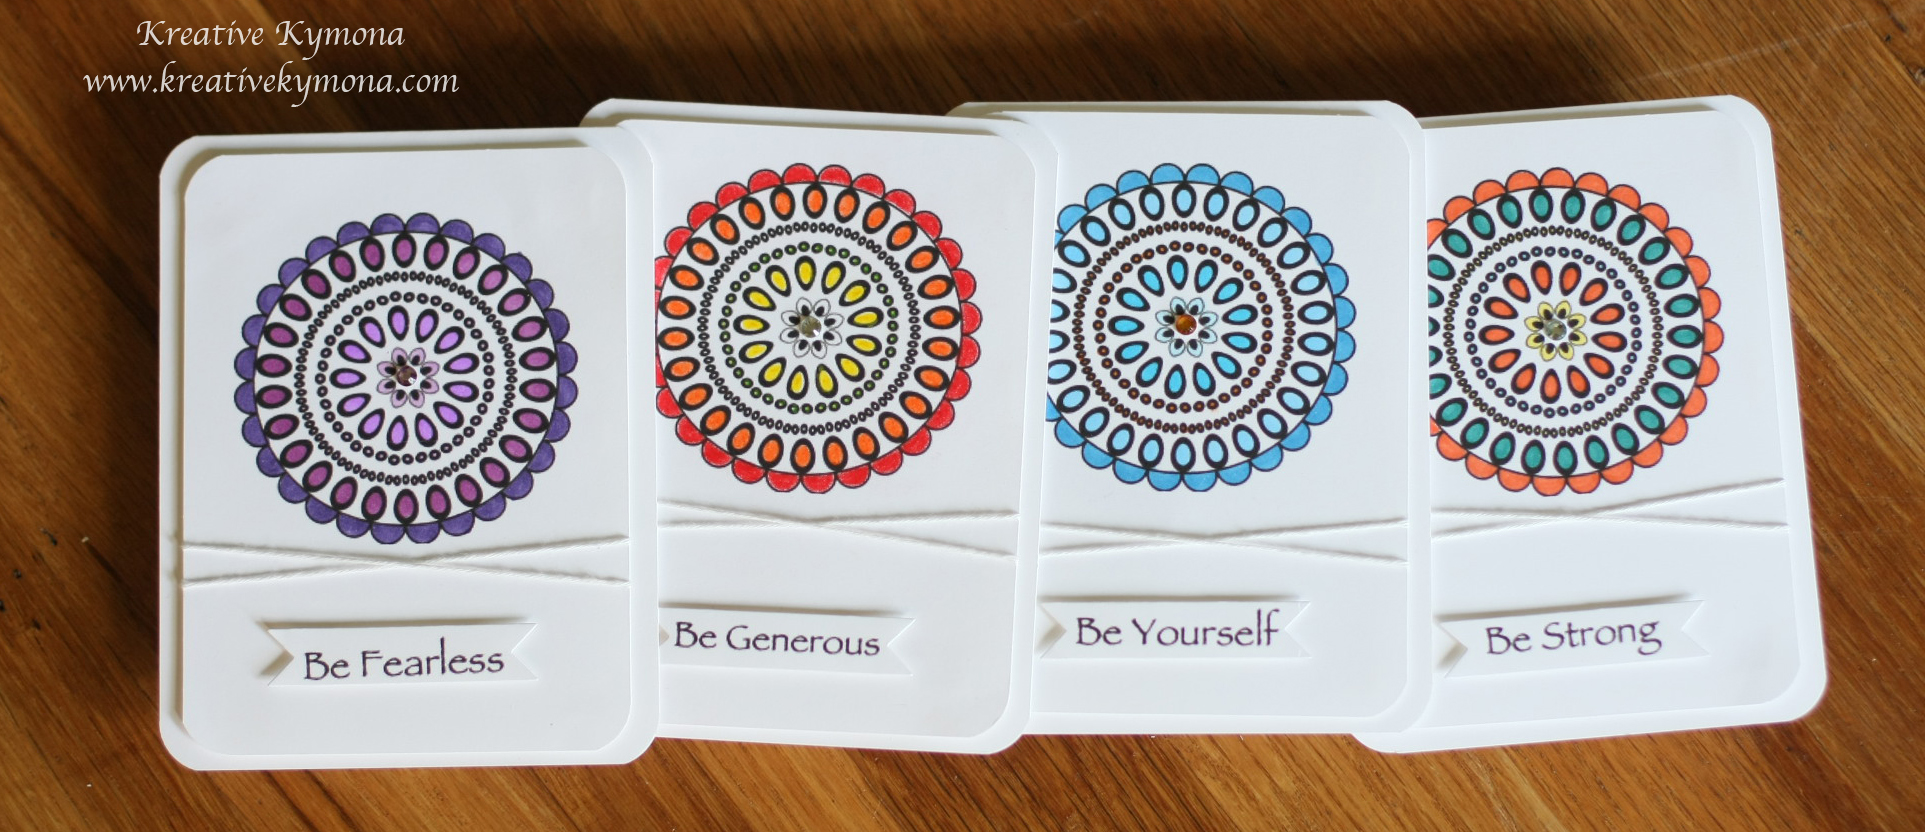
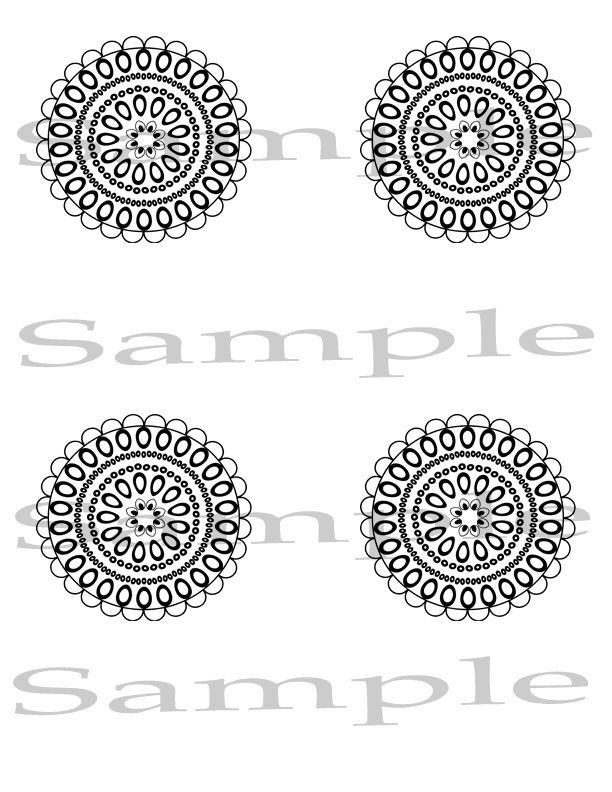
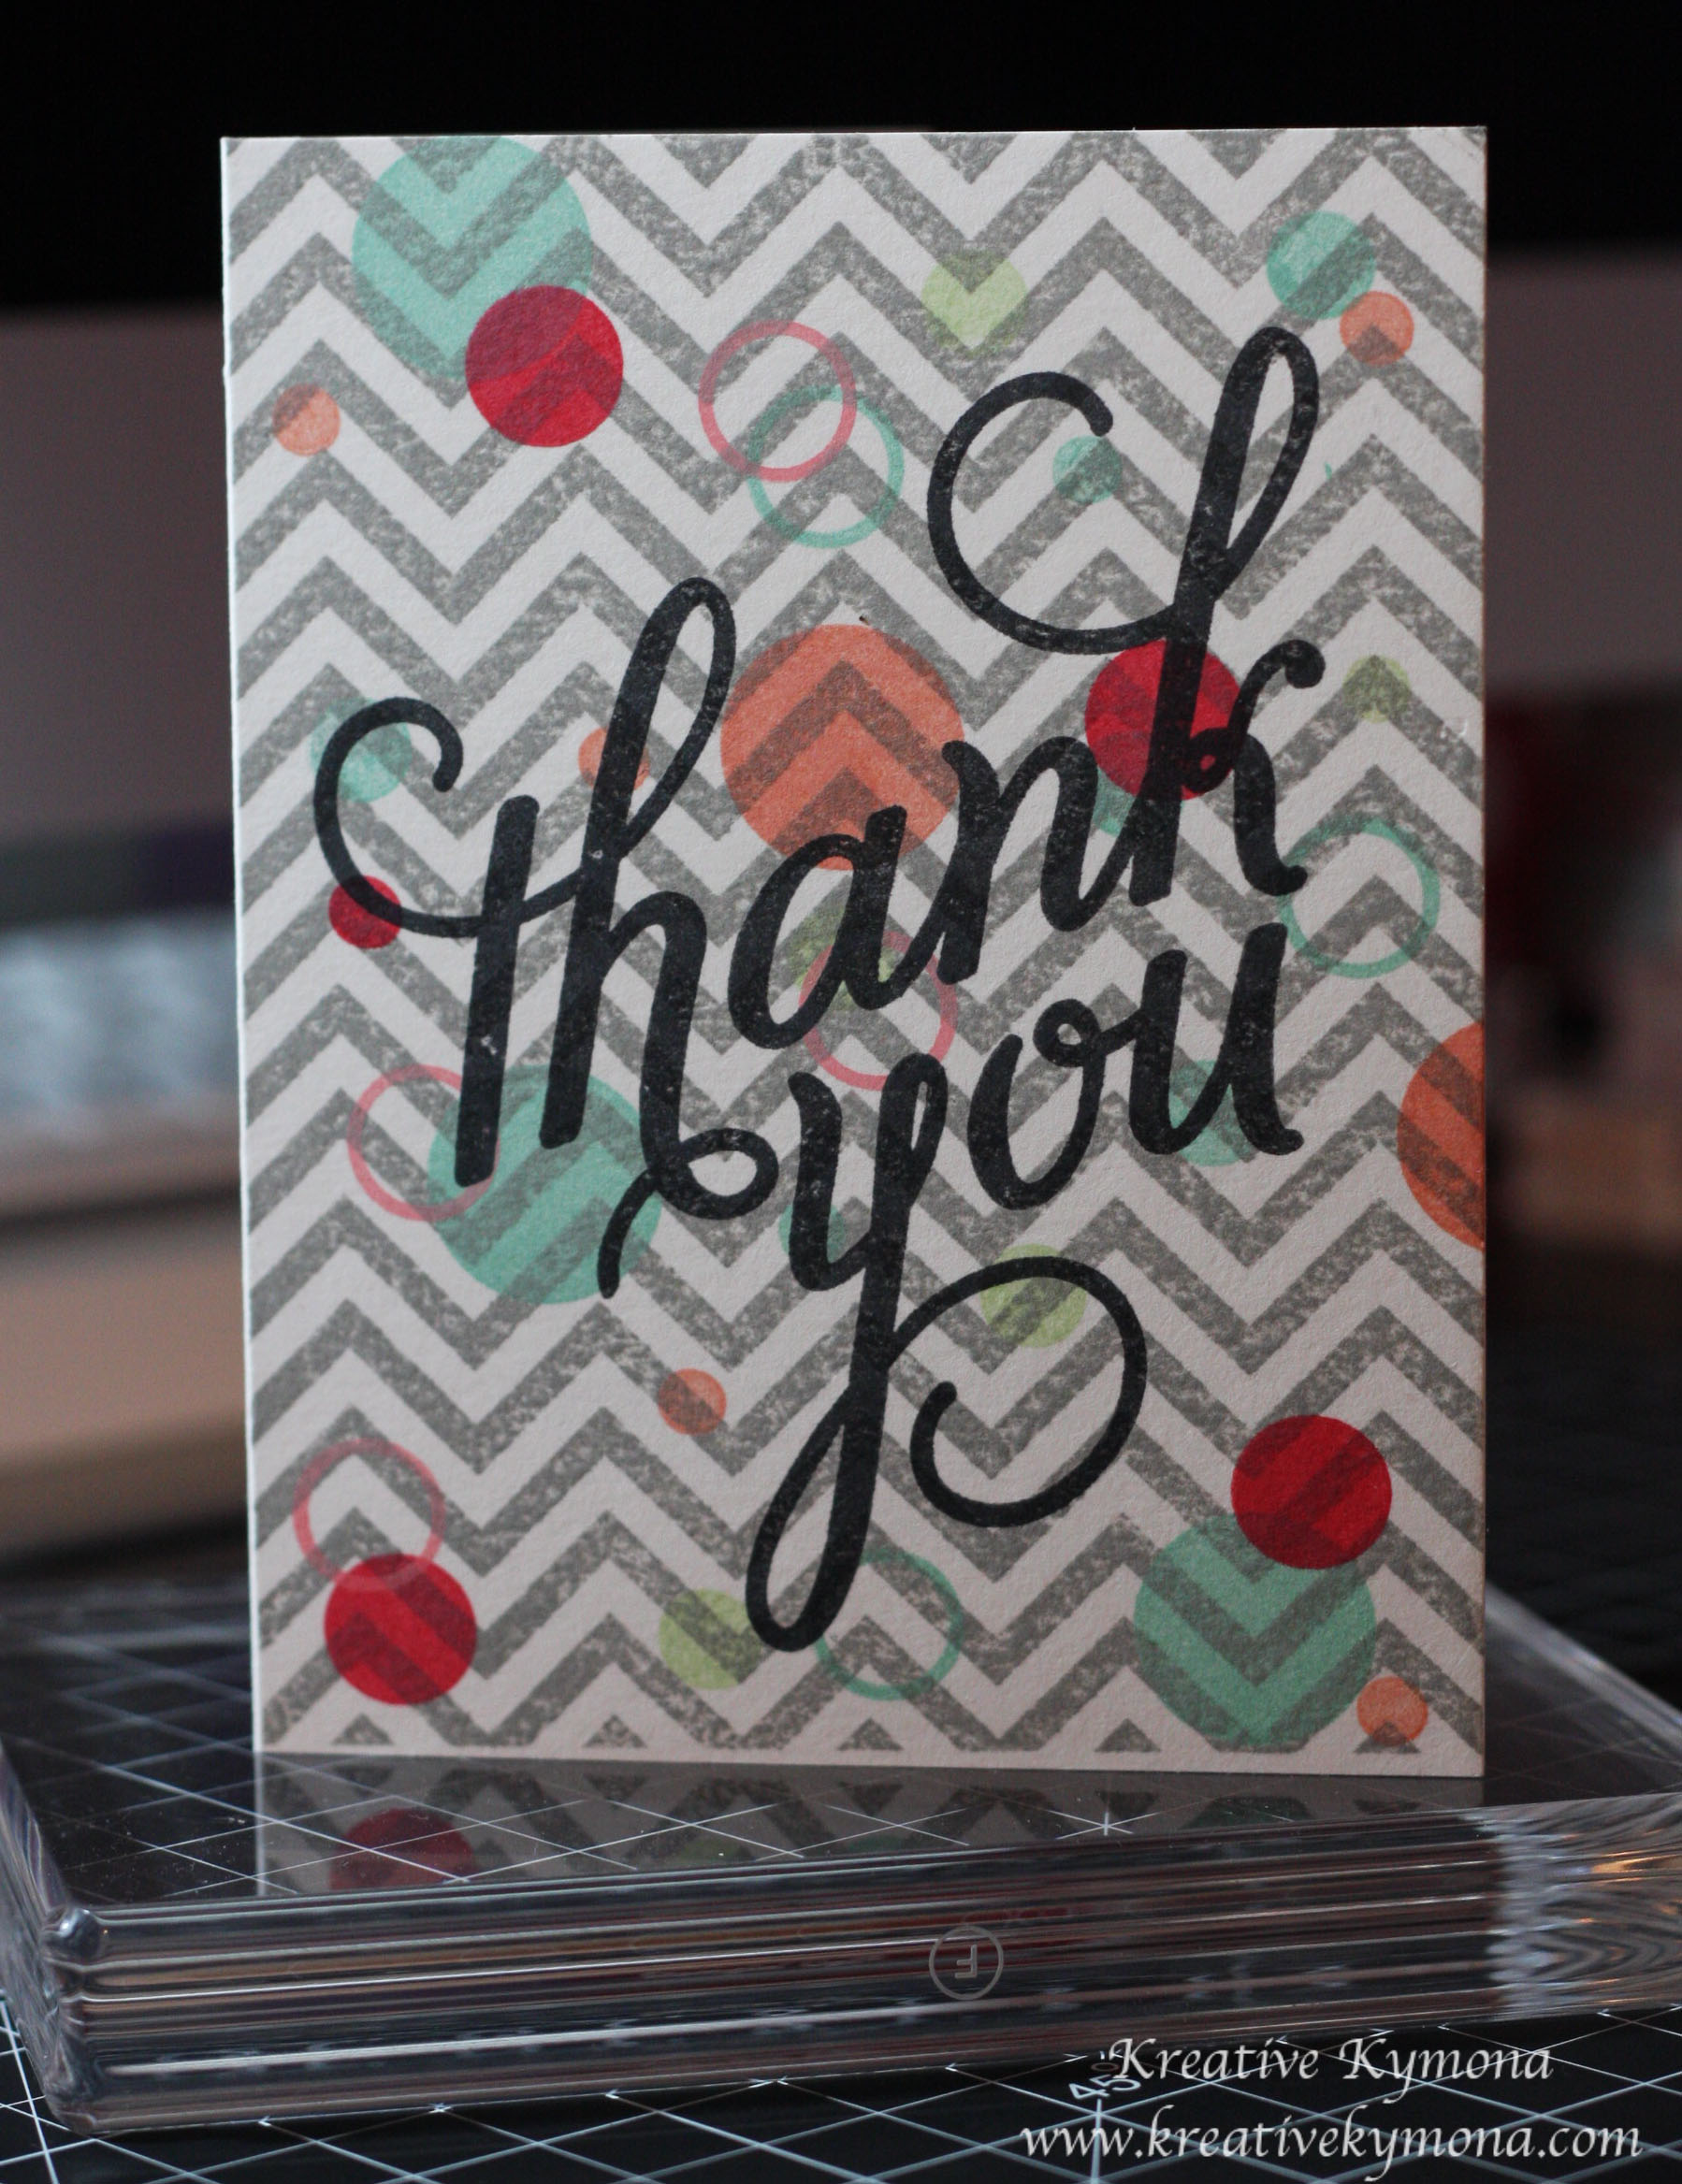
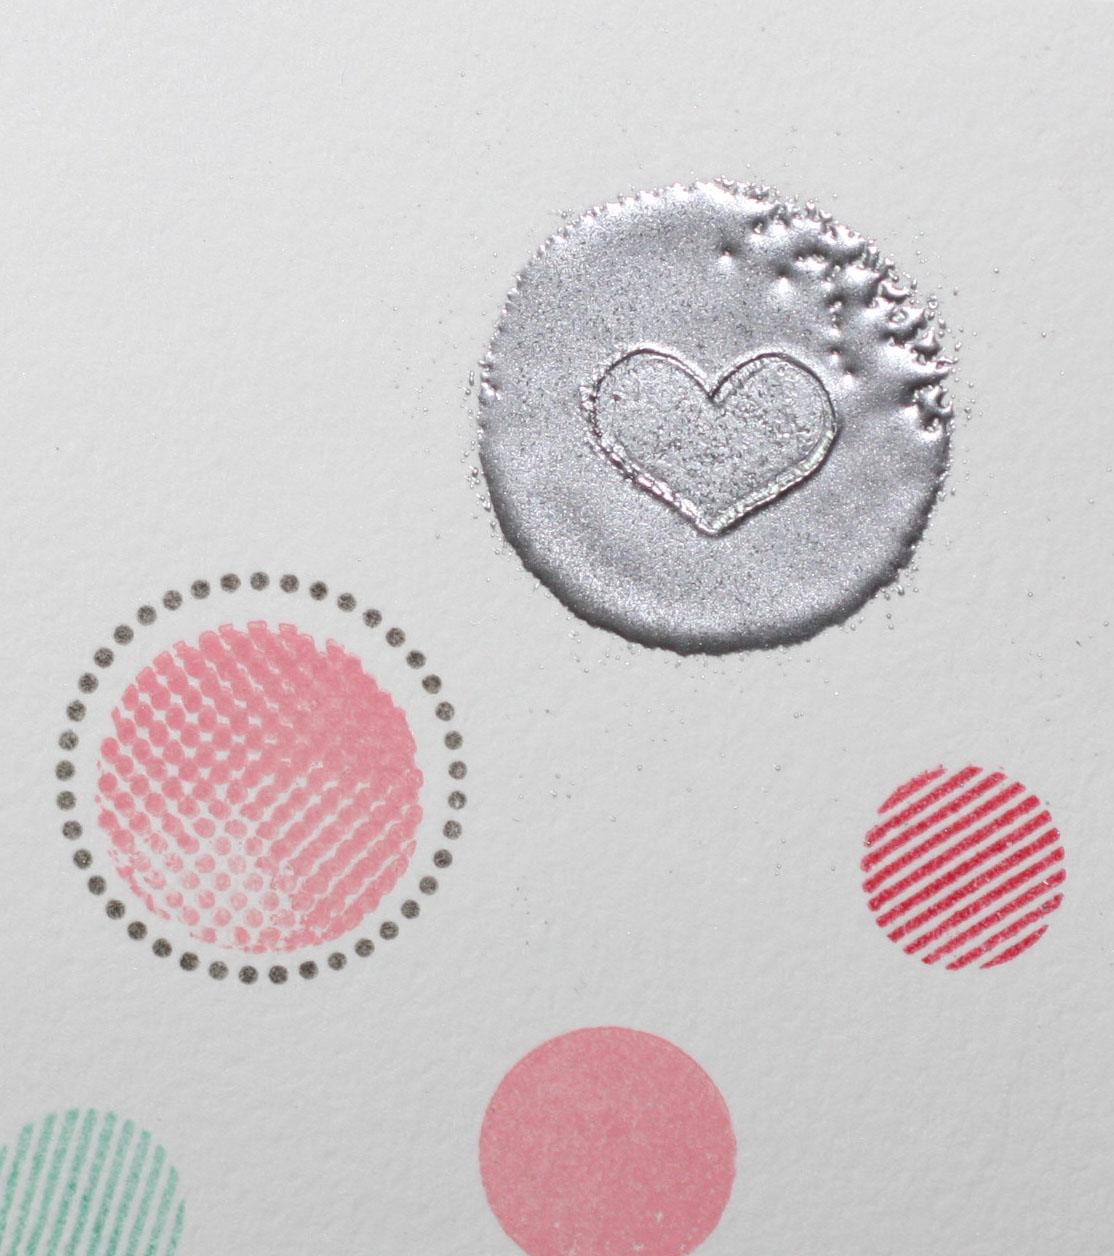
So now on to the fun!! I wanted to stay with a2z scrapbooking current theme of encouragement so I created a series of cards that boost encouragement. I used Hero Arts Digital Artistic Circles!! This set of circles are amazing!! They are a must have.

With that said, lets take a look at my cards:

Be Fearless was colored with Copic Markers V04, B06, V12, and V17

Be Generous was created with Inktense color pencils Poppy Red, Apple Green, Sun Yellow and Tangerine

Be Strong was colored with Distress Ink Markers Peacock Feathers, Ripe Persimmon, Tumbled Glass and Squeezed Lemonade

Be Yourself was created with Copic Markers B00, B04, B12 and B14

The “Be” Series!
So what do you think? Its a must have digital set, right!! I totally agree! These cards were so easy to create.
I created these card panels in Photoshop, but any photo editing software would work.
 I sized and resized each circle so that they were centered on each card panel. That didn’t take long at all. Once my placement was create I printed one sheet and cut my panels down to 4 x 5.25.
Then I colored each of the circles with different mediums and added Hero Arts Gems to the center of each circle. I used each medium to color the gem.
To stay with the digital theme, I created each sentiment in Photoshop and cut them out, flagged them and added them to the front of the card.
I tied bakers twine around the card panel for more detail. I added foam adhesive to back of each card panel and adhered that to the card base.
Easy as pie!!
Let me know what you think!!
If you would like any of the products that I used on this card please head on over to the a2z Scrapbooking store and use the coupon code KYMONA15 to get 15% off your entire purchase.
Now on to the Fabulous Lisa Spangler blog to see what she has come up with!!!
Just in case you missed anyone here is the entire list of blogs participating in the hop!
Hero Arts
Tami Hartley
Kelly Latevola
Kymona Tracey ← You Are Here
Lisa Spangler
Michelle Liimatainen
Kathy Wade
Lucy Abrams
Chitra Nair
Char K
Ruth Bosner
Jocelyn Olson
Zoey Scarpelli
Stephanie B
Kelly Rasmussen
a2z Scrapbooking
Supplies used:


Have fun on your hop today!
~Kymona
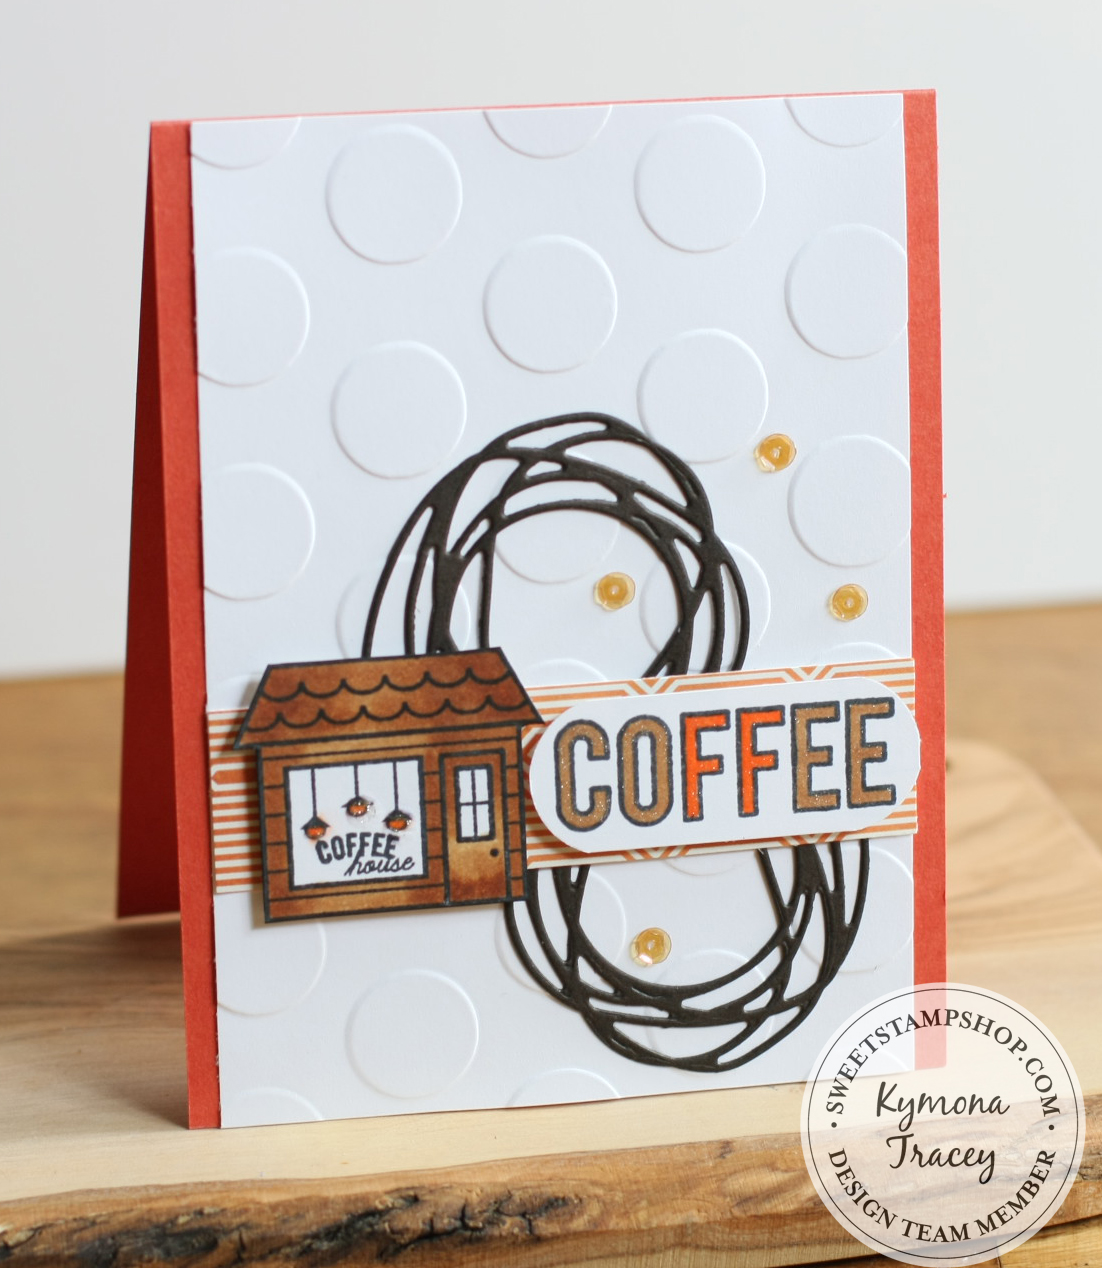
 When I saw that code word, I knew that I had to join. I just received this beautiful die in the mail that is perfect for this challenge.