What do you think? Did I follow the color photos? Let me know below.
So are you ready for the new challenge?
You have until May 12, 2016 at midnight EST to play along and submit your project on the YNS Blog post. One random participant will win a $15 gift certificate to the Your Next Stamp Store. If YNS stamps or dies are the focal point then the winner receives and additional $5 gift certificate f0r a total of $20. The winner will be announced on the YNS Blog the Sunday after the challenge closes.
Second Post for today
If your looking for CS Take It Make It Inspiration Post, click here
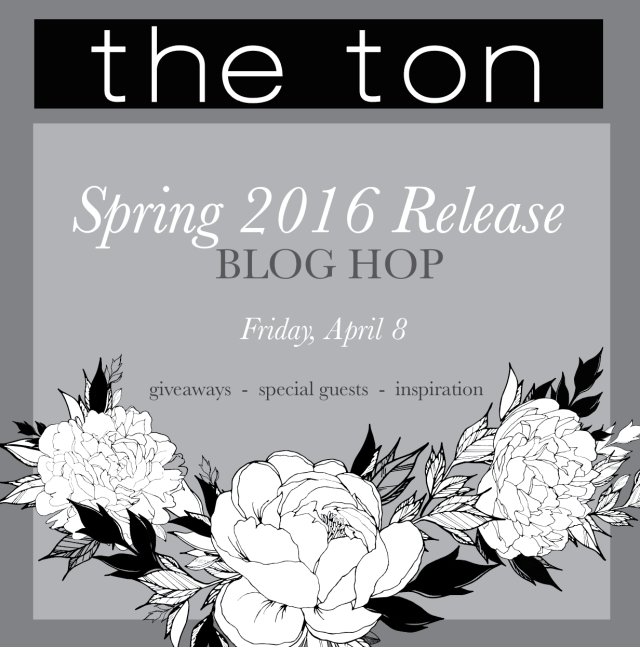
Hello everyone!! I’m super excited today. I was asked to participate in The Ton’s Spring 2016 Release Blog Hop!!! Yayyyyyy!!
I was totally siked when Effie reached out to me and asked if I would like to hop along with her team. I jumped at the opportunity to work with her fabulous team.
Enough about my excitement, lets get started on this hop!! If you arrived here from the talented Eunji blog then you are on the right track. If you arrived here on your own, you will want to start at the beginning, The Ton blog, as to not miss any of the amazing projects!
I’ve created two cards for this awesome hop.
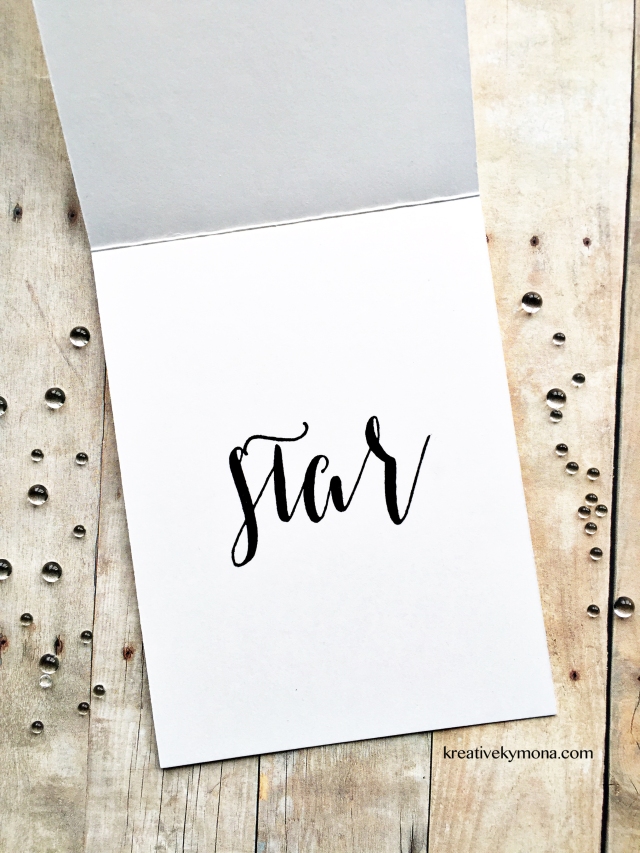
Card Number One:
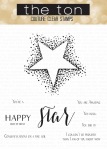
When I first saw this Bokeh Burs Star stamp set, I fell in love. Such a pretty stamp set with so many things that you can do with it.
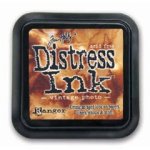
I knew it would look super pretty embossed with some distress inks blended on top.
I hardly ever stamp the inside of my cards. I decided that this card would totally rock, with a sentiment on the inside.
Use Versafine ink again to stamp the sentiment for a crisp, clear impression.
What do you think? Isn’t this set fabulous!! I think so!!
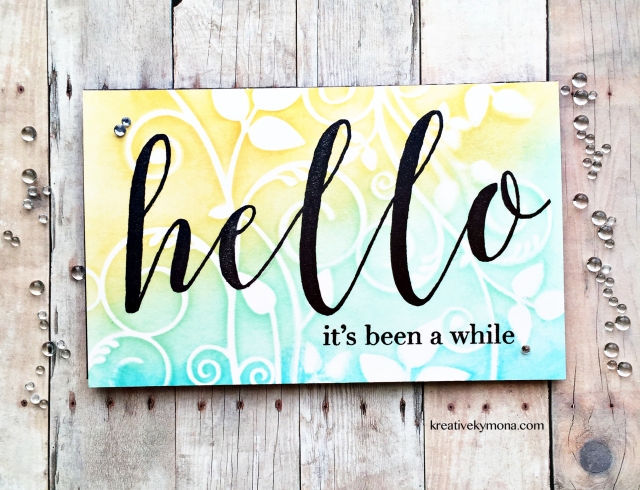
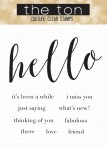
Card Number Two:
Isn’t this just fabulous!! This stamp set is called Brushed Hello. I love everything about this card. From the background to the “HELLO” sentiment. Everything about this card screams BOLD!!! I love it.
Here is how to create this card:
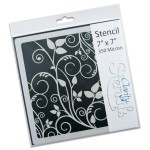
Tape down the Clarity Stencil to the cardstock so that it lays flush over the paper.
Finished!! What do you think? I love both cards using both of these stamp sets. Such a great way to bring in Spring!!
Let me know what you think below!! I would love to hear from you.
Your next stop on this hop is the super talented Mayline!! You will want to see what she has come up with.
Giveaway!!
What is a blog hop without giveaway!!! In order to qualify for one of the three $25 gift codes to The Ton’s online store, you must leave a comment on each stop on the blog hop. The comment period will close on Wednesday, April 13th at 11:59pm EST. Winners will be chosen randomly from the comments left on all of the blogs.
Just in case you get lost along the way, here is the lineup:
For this month’s challenge the technique we would like you to stamp a flower anywhere on your project, or even real ones!! Cover your art with flower embellishments, or make a flower shaped creation. Go crazy (or minimal if that’s your thing!) with the florals…and don’t forget to include stamping somewhere too!!
This should be super fun to see what you come up with.
Take a look at my card:
This was super easy technique this month. I love Spring Flowers because I’m a Spring baby!!
Here is how I created this card:
Cut the black card base to an A2 size, 4.25 by 5.50 scored at 5.50.
So what do you think? I love how this card turned out.
We have two prizes to offer this month, the first is our sponsor prize. This winner will be chosen randomly from all of the entries in the challenge! The sponsor for April: Traplet!
Prize: All Six Kate Crane Art Journaling DVD’s
Our second winner is our Design Winner. This winner is chosen by our DT, who all vote for their favorite design from all of the entries. This winner will have their winning project published in Craft Stamper Magazine, they will have a GDT slot for an upcoming challenge, and will also feature in their very own Winners Profile blog post!
Now if that isn’t a reason to play along I’m not sure what is!!
Hello everyone!! I’m excited to be here with you today to sharing an amazing project created for the Right At Home March Release Blog Hop!! This is the design team third blog hop and we are delight to full you with inspiration.
The new Abstract Florals and Script Greeting stamp sets are so much fun to play with. I have to admit the Abstract Floral stamp set is totally out of my comfort zone. I can’t figure out which inks to use to build the flowers. Play with this set, has helped me a lot.
Take a look at my cards:
I love how my flowers turned out. I shied away from building my flowers this go round but you will see that later this month.
Here’s how I created these cards:
Both cards are an A2 size cards, 4.25 by 5.50 scored at 5.50.
I used the Mini Misti to stamp the flowers, stem and sentiment all at one time using My Favorite Things Hybrid Ink. It saved me time on the second card as well, since everything was in the right place.
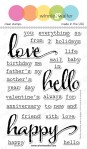
Hello everyone!! I’m excited to be here with you today to share some amazing projects created for the Home is Where the Heart is Blog Hop!! This is the design team second blog hop and we are delight to full you with inspiration.
The new Let Love Grow and Hoppy Easter stamp sets are so cute and playful. I used both to create my two tags.
Take a look:
I just love these little tags. They are perfect for any Spring/Easter gift.
To create the shaker pocket, I used the fuse tool and the tag die to make sure the pocket fits neatly behind the outside die. For a full tutorial on how to do that please click here.
Once the pocket is ready, I added the clear Lily Flower Sequins and sealed it up.
All of the pieces were adhered together using 3M Foam tape.
The bunny and eggs were placed on the front of the bigger tag.
White twine was added to the top of the tag to finish it off.
So tell me what you think? I can’t wait to hear what you think of these tiny tags!
Now onto my super cool and talented design team member Yuki to see what she has in store for you!! You will not be disappointed!!
What is a blog hop without a great giveaway!! Here are the rules: Leave a comment on all of the blogs participating in this hop for a chance to win a great prize. That’s it, super simple and easy!!
For this month’s challenge the technique we would like you to use text or script background stamps, or text paper in your projects. Any language, any style. Old book pages, bits torn from magazines, scrapbooking papers.. whatever you can find! … The ‘text’ part does NOT include sentiments, phrase or single word stamps…. think backgrounds!!
This should be super fun to see what you come up with.
Take a look at my card:
I am in love with this card! I love how stamped image looks on top of the text paper. Beautiful. I have to try this technique again.
We have two prizes to offer this month, the first is our sponsor prize. This winner will be chosen randomly from all of the entries in the challenge! The sponsor for February: A Sprinkle Of Imagination
The prize is a £25 voucher to spend in the online store.
Our second winner is our Design Winner. This winner is chosen by our DT, who all vote for their favorite design from all of the entries. This winner will have their winning project published in Craft Stamper Magazine, they will have a GDT slot for an upcoming challenge, and will also feature in their very own Winners Profile blog post!
Now if that isn’t a reason to play along I’m not sure what is!!
Wait!! Wait!! I have more: ASOI are also offering an extra 10% off for my blog readers! The code is CSBlog10% and will work from 5-25th of February, with a minimum £5 spend excluding P&P.
Hello everyone!! I’m here with So Suzy Stamps and our second challenge for 2016!!!
Check out our new challenge:
Check out my mini notepad:
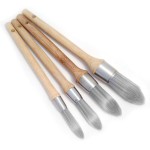
Now let me tell you something before I start on how I created this card!! I love the new stencils and brushes Suzy has in her store!!
They are called the Clarity Stencils and Clarity Brushes!! They work wonders together!! Check out this quick video I posted on Instagram so you can see some of what I did.
I also cut it twice more for dimension. I adhered the hello to the speech bubble using Tomow’s Stamp Runner then to the acetate. The extra speech bubble was added to the inside as to not show the adhesive and for a place for a message.
That’s it!! It took me less then 4 minutes to make this card and I photographed it at night!! It can’t get any better then that.
I absolutely love how this card turned out.
What do you think? Please leave a comment below letting me know.
For more inspiration, check out my fellow Design Team members blog for more awesome work.
Hello everyone!! I’m here today playing with the Muse Challenge!! I can’t tell you the last time I had a moment to play along with them. This was one of my favorite challenges to play in before I became super busy with DT work, LOL!!!
The Muse this week is Anita Bowden, here is her card:
Take a look at my card:
I decided to create this card because I looked out of my window about an hour ago and realized that it was snowing. This is our first snow fall for the winter season. I’m not happy about it. I’m not a fan of the snow. So I thought this scene went perfect with my how my outdoors looked like.
This month’s theme is Take a Stamp!! That means take any stamp and create something, anything goes!! Now if that isn’t easy, I’m not sure what is!!
Take a look at my card:
I have to say I’m in love with Purple Onion Design Stamps!!! They are too cute and fun to play with. This cute rabbit stamp is called Fawn. I love him!!
Here is how I created this card:
I stamped the tree line horizon first then I stamped Fawn using my Stamp-A-Ma-Jig for perfect placement.
The colors I used were 156 Cobalt Green, 124 Rose Carmine, 271 Warm GreyII, and 107 Cadmium Yellow.
Then I stamped the sentiment under the hill!
Super cool and fun to create a scene!!
Take a closer look:
Prizes:
We have two prizes to offer this month, the first is our sponsor prize. This winner will be chosen randomly from all of the entries in the challenge! The sponsor for January is: Dail Art!
From left to right: assorted Indian ribbon and self adhesive Bindi embellishments, self adhesive gems in 5 colours and two sizes Indian Butterfly stamp.
Our second winner is our Design Winner. This winner is chosen by our DT, who all vote for their favorite design from all of the entries. This winner will have their winning project published in Craft Stamper Magazine, they will have a GDT slot for an upcoming challenge, and will also feature in their very own Winners Profile blog post!
Now if that isn’t a reason to play along I’m not sure what is!!


 Prize: All Six Kate Crane Art Journaling DVD’s


 From left to right: assorted Indian ribbon and self adhesive Bindi embellishments, self adhesive gems in 5 colours and two sizes Indian Butterfly stamp.


