Muse Challenge #107

Hello everyone!!  I’m here today playing with the Muse Challenge!!  I haven’t played in a long time.  I miss this challenge, that is why I had to participate today.

The Muse this week is Vicki Dutcher, take a look a her card:

03 - March - Mine
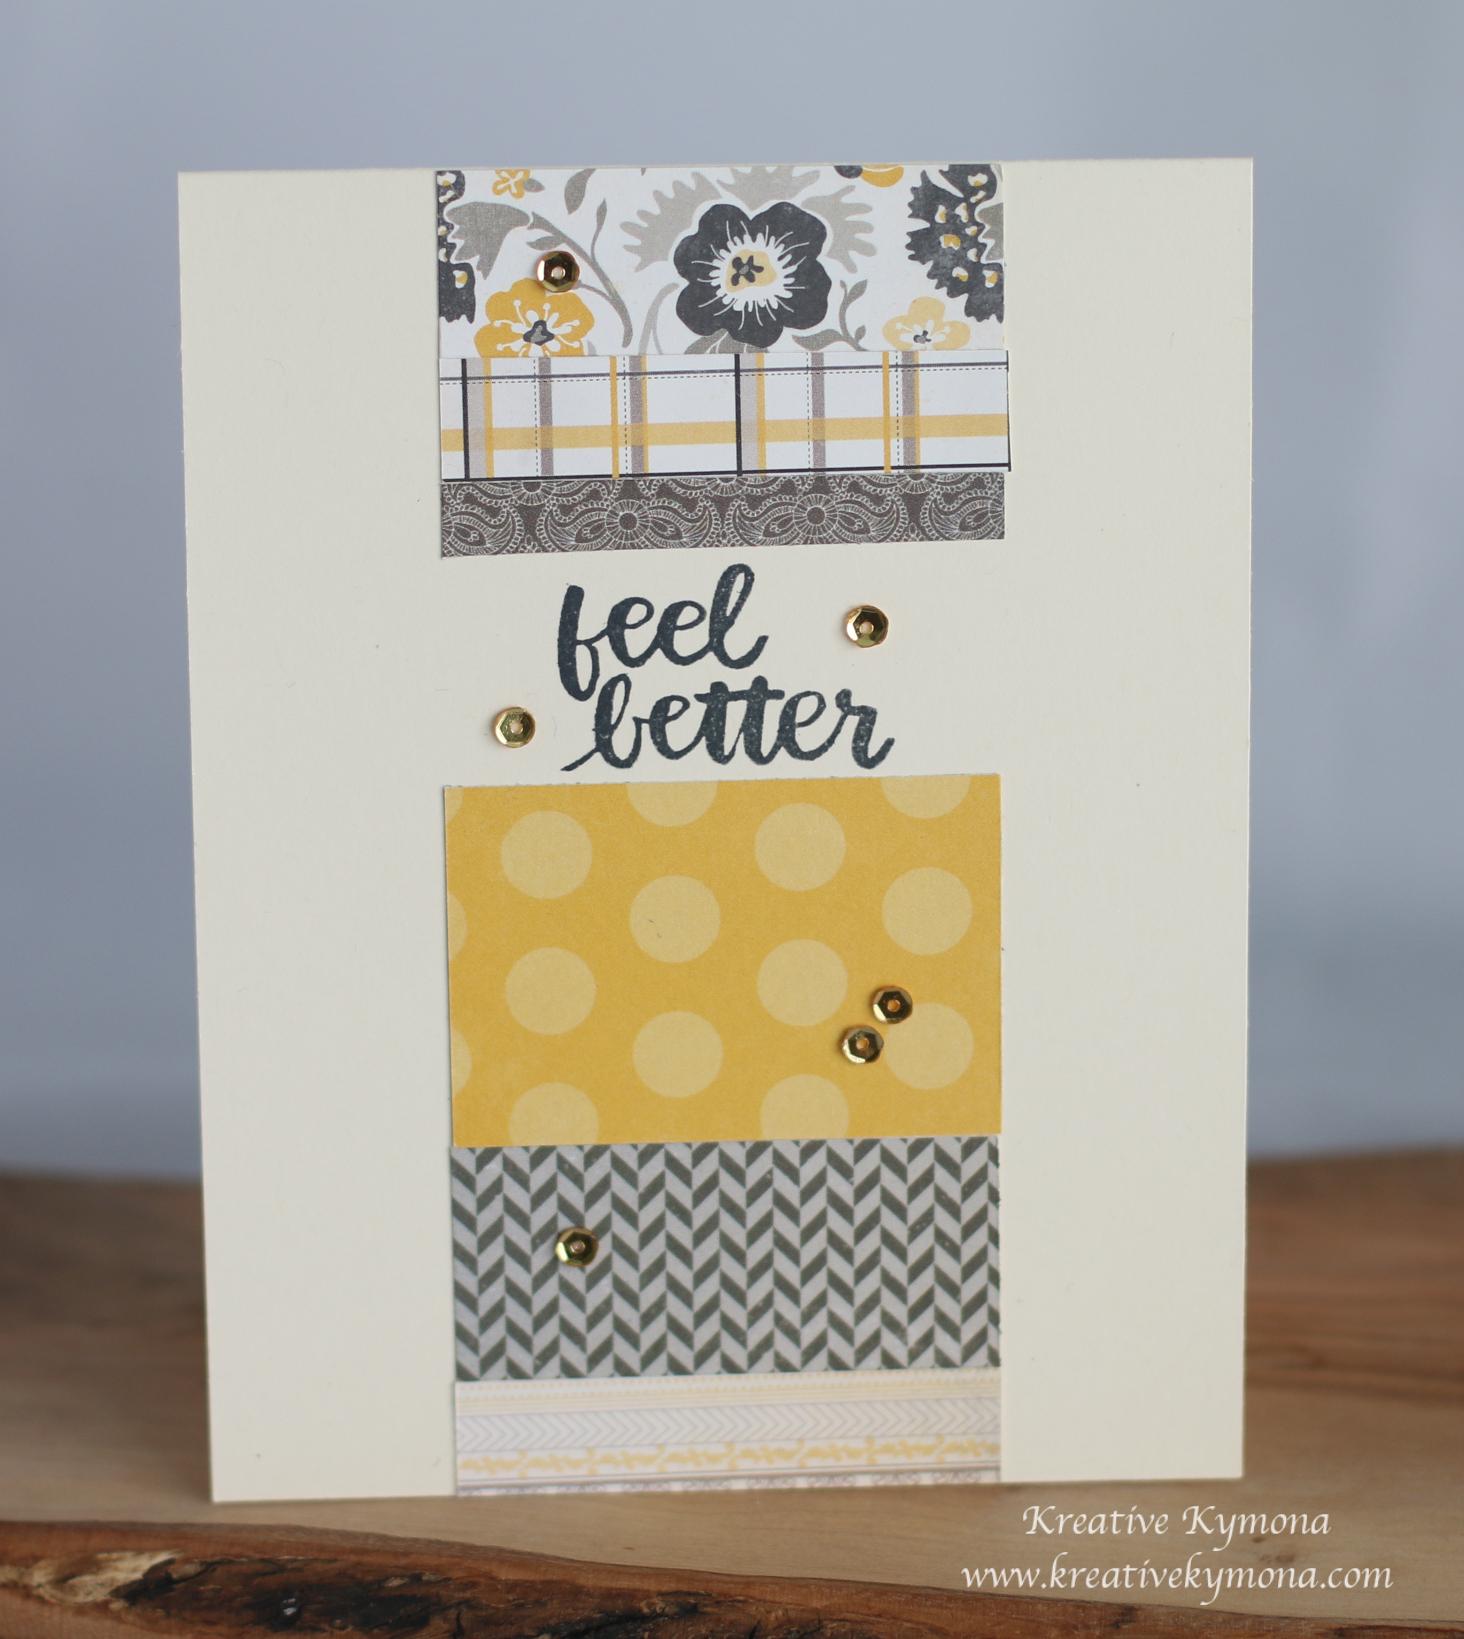
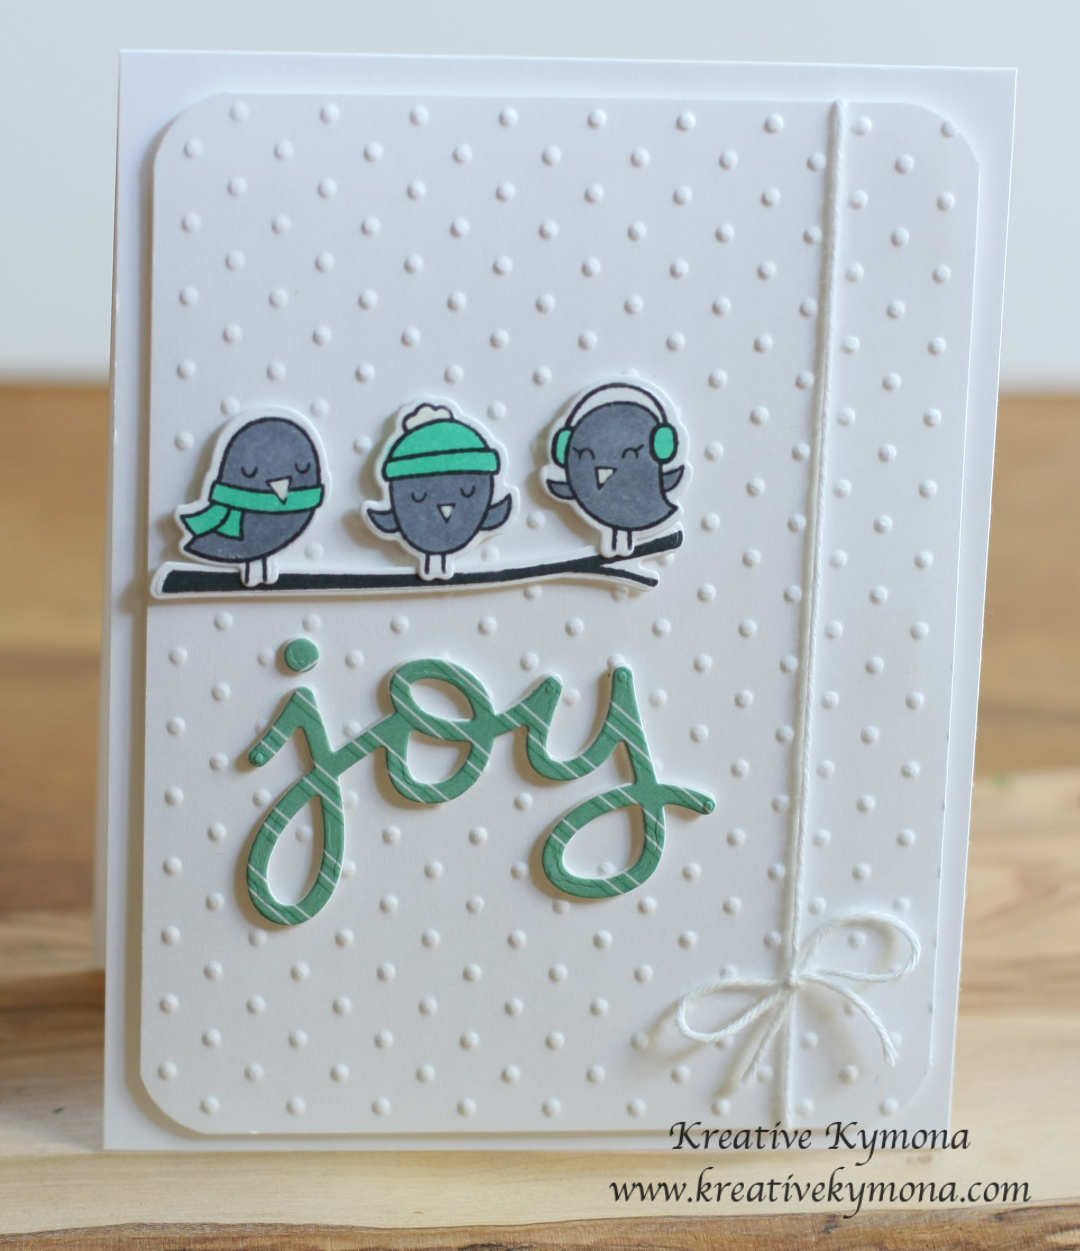
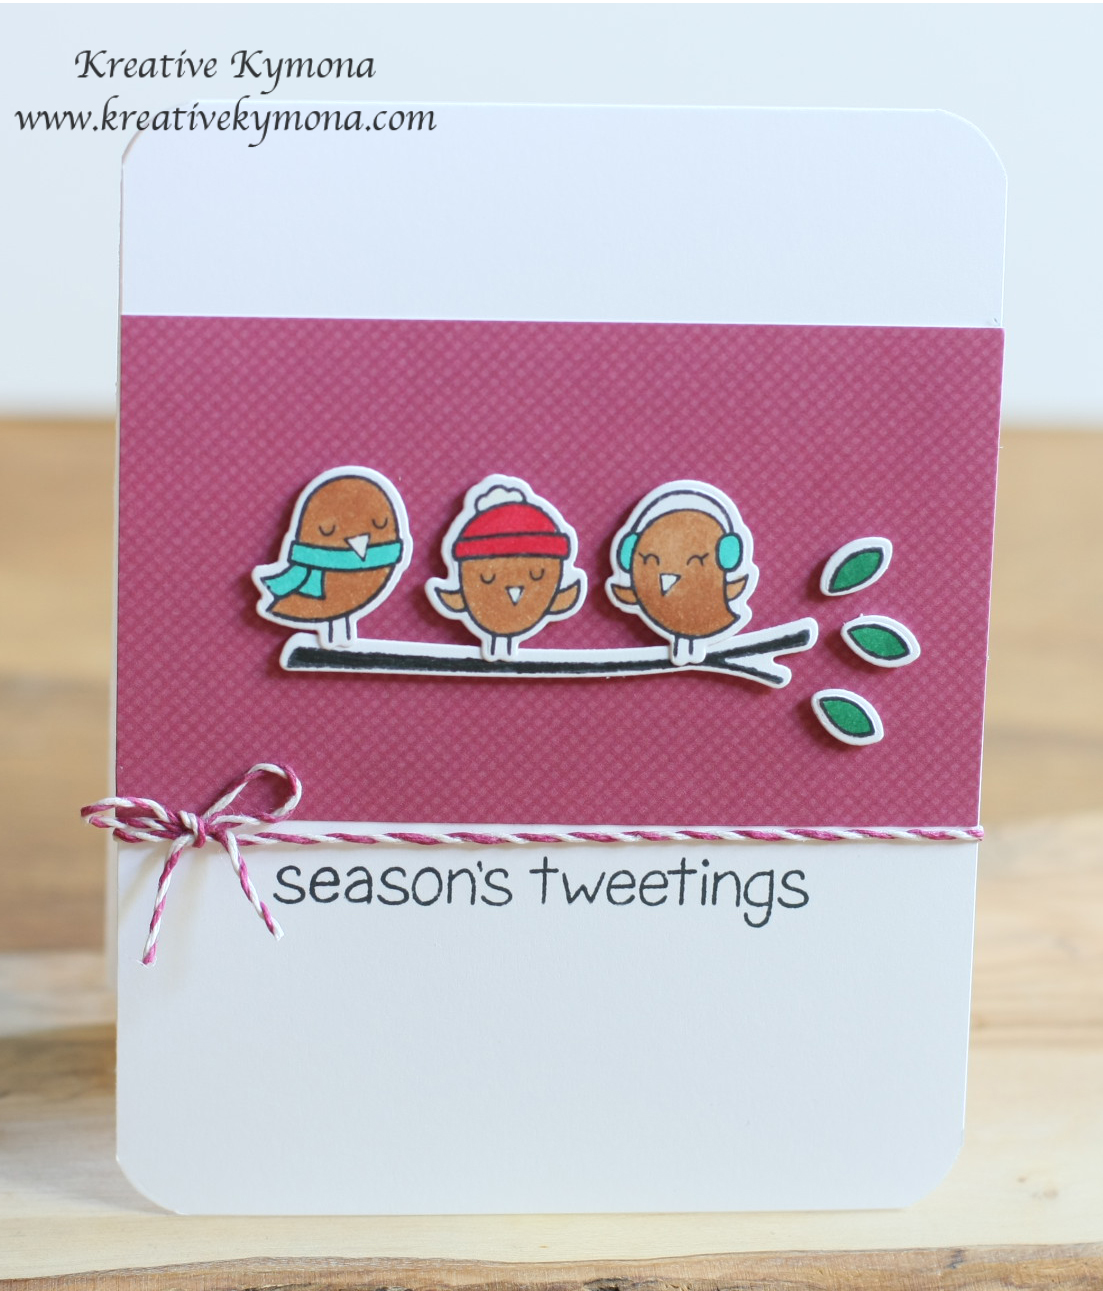
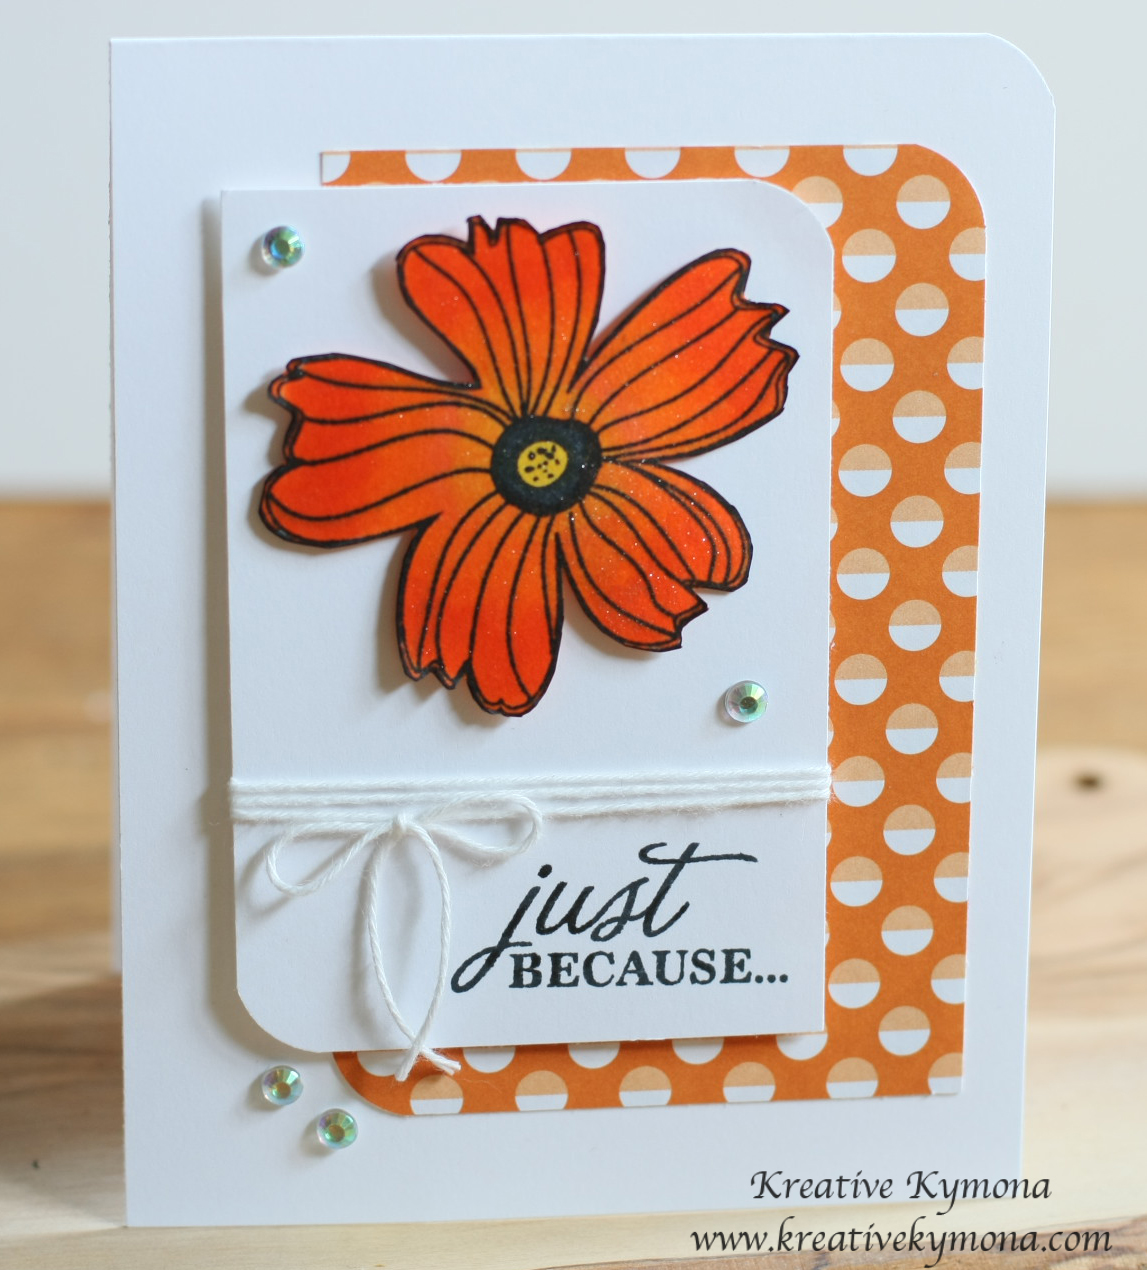
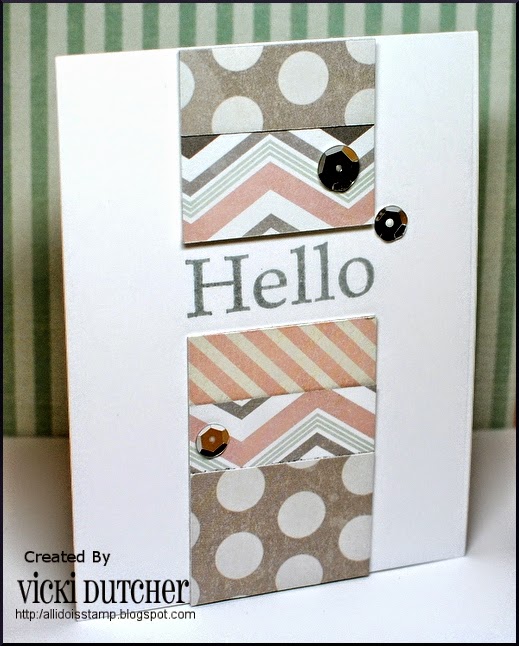
Now take a look at my card:

Feel Better

I use some of the products from my Simon Says Stamp February 2015 card kit to create my card.

To create this card it was pretty simple.

I masked off both sides of my card base by 1″.

I cut different size strips of the pattern paper from the kit.

I adhered the pieces and stamped my sentiment.

I added sequins and I was done.

I love how this card turned out.  The colors are fabulous.  I hope I get to use more of this kit.

What do you think?  Please let me know below.

Supplies used:

SSS Feb 2015 Authentique Pattern Paper Hand Letter EncouragementSequins111-2T

Thank you very much!

~Kymona

Top Dog Die – Confident Corset

Hello everyone!!  Its Top Dog Die Wednesday!!  I’m here with yet another new die that was release last month!

Check out the new Top Dog Dies Corset Die and Corset Background Die:

Top Dog Die Corset Die  Top Dog Dies Corset Background Die

I also used the new Top Dog Die Borders Die Set:

Top Dog Die Dotted Borders Die Set

Take a look at my card:

Confident Corset

I love this corset die!!  Its so pretty.  Oh, how I remember wearing these corsets when I was younger.  They always look so nice to go out in!

Take a closer look at the corset:

Confident Corset closeup

I paired this set up with my awesome Confidence is Sexy sentiment stamp from So Suzy Stamps.

The pattern paper that I used is Stacked with Love from Stampin Up!

I used Stampin’ Up! Polka Dot Embossing Folder to add dimension to the front of my card.

Here is how I created my card:

1. I die cut the corset from black cardstock and the background corset from pattern paper. I glued them together using glue.

2. I die cut the border using one of the boarder dies at the bottom of the my black card front.

3. I added a small piece of pattern paper behind the border die cut with adhesive.

4. I stamped the sentiment using Versamark ink and add white embossing powder and heat set it.

5. I ran my card front through my embossing machine use the polka dot embossing folder.

6. I adhered my corset to the front of my card using dimensionals.

7. I added a rhinestone to the front of my corset.

Super easy and elegant.  So what do you think?  Let me know below in the comment section.

Confidence Stacked with Love Polka Dot Folder Textured Boutique Embossing MachineVersamarkTombow Multi-Purpose AdhesiveStampin' Dimensionals

Thanks for stopping by!!

~Kymona

No Stamping: Joy

Second Post of the Day

The a2z Scrapbooking Blog post is here

Hello everyone!  I’m here today playing along with a couple blog challenges.  I hardly get to play at times so when I do, I get super excited.

Today I’m here with the Muse Challenge #95.  The Muse this week is Caroline.

Take a look at Caroline’s card:

WPlus9WoodlandGrey Nov14 1

I’m also here with Simon Says Stamp Wednesday Challenge: Anything Goes.

wed-newchallenge-header


I’m also here with Simply Create Too SNOW, SNOW, SNOW or All White Challenge #75.

1 - SC2  GROUP BADGE

Take a look at my card:

Joy with clothespin

I just love how my card turned out.  I saw the fabulous Laura Bassen create a card like this and I knew I had to give it a try. I love the simplicity in the design.  So I gather all of my supplies and pulled this card off.

Creating this card was easy because everything was die cut!

I love how the pop of red from Lawn Fawn’s Joy die stand out on Papertrey Ink’s Journal Card 5 Die and matches the hint of red on the pattern paper.

I used Technique Tuesday’s Story Card Die to cut Lawn Fawn’s Snow Day patten paper.

I added Pretty Pink Posh 4mm Sparkling Clear Sequins and 6mm Sparkling Clear Sequins.

I tied Stampin’ Up! Whisper White Bakers Twine on the Stampin’ Up! clothespin.

Easy and no stamping.

So, what do you think?  Please let me know below.  I would love to hear from you.

Supplies used:

PTI Journal Card 5 dieScripty Joy Technique Tuesday Die Story CardLawn Fawn Snow Day PaperClothespinsWhisper White Baker's TwinePretty Pink Posh 6mm Sequins Pretty Pink Posh Sequins 4mm

Thanks for stopping by!

~Kymona

Thank you in Different Languages

Hello everyone!!  I’m here today on the Sweet Stamp Shop blog.  I have more gift packaging ideas for you!!!

Who doesn’t love getting gifts in pretty packaging? I know I sure do. There are times when I get gifts and do not want to open them because the wrapping is so pretty. Isn’t that crazy. I know it is but what can I say. LOL!!

I facilitate a reading group for 21 of my coworkers at a big hospital in the city. This reading group is based on an honor system. The reading year starts January 1 and ends December 31. All of the participates chooses what their reading goal will be for the year and they try their best to met their goal by December 31. I do not pick any books except my own. Everyone chooses their own books. All they have to do is give me the name and author of the book. I enter the information onto a spreadsheet. That spreadsheet is update often and sent out once a month to all of the participants.

I have to say since the start of this group 3 years ago, my department has read over 1000 books. So to reward everyone for participating I usually do giveaways, give out special gifts to individuals who go beyond their goal and I also give gifts just because.

So, today I bring you three gift boxes that say thank you in different languages for three of my coworkers who really have met their goal before the end of the year.

Take a look at my first box:

Grazie

Take a look at my second box:

Merci box

Take a look at my third box:

Thank you box

There are many different ways to use these boxes:

1. You use them as place setting for each of your guest. Instead of thank you, put their name.

2. You could give them as thank you gifts for sharing Thanksgiving with you.

3. If you have children, you could make one for each of their teachers to say thank you before they go out on Thanksgiving break.

4. You could change the colors and make a bunch of these boxes for Christmas for teachers, students, coworkers, friend or family members.

The possibilities are endless and that’s because I used one of the Sweet Stamp Sets that is so versatile.

That set is:

Thank-You-

I love this set because it allows me to say thank you in different languages, so that I can personalize my gifts. You can also use it all year round, now that is a set I need on my desk all the time!

Now take a look at all of my boxes together:

Thanks in Different languages

Don’t you just love them!! Do you think my coworkers will love them too? I sure hope so!!

Check out Sweet Stamp Shop blog for details on how to create these boxes.

Let me know what you think!!

Thank you for stopping by!

~Kymona

Panda Love…

Second Post for the day

If your looking for CS Take It Make It Challenge click here


Hello everyone!!  I’m here today with the Sweet Stamp Shop and one of their new release stamp set.  I love the panda line.  They are so cute and cuddly.  How can you not want to know more about Panda’s.

I used this set to create my card:

Pho YouI paired it with this stamp set:

Fall Leaves

In doing my research about panda’s I learned a couple of things:

1. A panda mother is 900 times bigger than her newborn cub. 

2. Female pandas ovulate only once a year.  They are fertile only two or three days of the year.

Once I learned these facts, it was easy to create my card.  I knew I wanted to use the big panda (mother) and the small panda (baby) to along with those facts!!

Take a look at my card:

Thankful Pandas

I wanted to show the love between the two pandas.  The mother panda is thankful for her one cub.  Having a baby is really a hit or miss for the female pandas.  So to have a cub is all about love.

Take a look at how big the mother panda is to her cub.  She towers over her cub.  Such a great protector.

So now you know the reason behind the design but this is how I created it:

1. I cut my card base to an A2 size card (4.25 x 5.50)

2.  I used Mama Elephant Femme Frames to cut out my frames from Lawn Fawn Sweater Weather patten paper and vellum.

3.  I used the circle die from Lawn Fawn Stitched Party Banner Die to cut out a circle from the LF Sweater Weather paper that had lines and hearts.

4. I fussy cut my pandas out and adhered them to the lined paper.

5. I used Stampin’ Up! Banners Framelits Die to cut out my small banners from the same pattern paper.

6. I offset the two banners and adhered them down with adhesive.

7. I added Lawn Fawn Orchid Single Cord to match the colors of my card.

8. I thought I was done, but I felt my card was missing something.  So, I added some Pink Sherbet Skittles for added interest.

So now you know more about panda’s and how to create this card!!  What do you think?

Don’t you want to create your own panda cards?  Well head on over to the Sweet Stamp Shop and pick up your panda sets before they sell out.

Supplies used:

Pho YouFEMME_FRAMES-CC_large Sweater Weather Petite Paper Pack Stitched Party Banners Banners Framelits Die Pink Sherbet Fall LeavesOrchid Lawn Trimmings

Thank you for stopping by!

~Kymona

Hello…

Hello everyone!! I’m here today with the Muse Challenge #89!!  I haven’t played along with them for such a long time its shameful.  So I made it a point to play along this week.

I’m also playing along for the first time with Mama Elephant and Me October challenge: Anything Goes!

Anything Goes

I’m also playing along for the first time with Stempelkuche Challenge#5: Design Paper!

Stempelküche Challenge #5

Let’s take a look at the Muse for this week, Therese Calvird:

Welcome

Therese always comes up with great cards.  This one is no different!! So much detail, I love it.

Take a look at my card:

Hello

I love this card.  Therese really had me stepping out of my comfort zone.  I’ve never used this much pattern paper on one card!!  I need to try this technique more often.

(Copic coloring: E00, E21, E23, RV00, RV02)

What do you think?  Let me know.

Supplies used:

CARNIVAL_CUPCAKES_large CARNIVAL_CUPCAKES-CC_large Sweater Weather Petite Paper Pack LF Spring Showers Copic MarkersMore Sketchy banner Greetings

Thanks for stopping by!

~Kymona


Season Tweetings…

Hello everyone!!  I’m here with Lawnscaping today.  They are having a Facebook Inspiration Design Team Call.

Lawnscaping FIT DT Call Challnege

How cool is that!!  I said to myself, why not go for the the gusto!!  So, I did!!

I picked up the cutest Lawn Fawn stamp set and die today from a scrapbook store I found online called Scrappers Playground.  It’s a cute store with all sorts of papercraft goodies.  Its in Long Island, a really nice drive, on such a pleasant day.   The ladies that helped me were so helpful and nice.  They were passionate about what they do!  I will have to go back for a class on my free time!!  If your in the LI area, check them out!

On to my cards, I have two, couldn’t help myself:

Joy birds

I love these little birds!  Here’s how I created this card:

1. My card base is 4.25 x 5.50 scored at 5.50.  My card panel is cut to 4 x 5.25, I rounded all four corners.

2. I embossed my card panel with Stampin’ Up! Perfect Polka Dot embossing folder.

3. I stamped my birds and tree branch from Lawn Fawns Winter Sparrows.  I colored my birds with Copic markers: Body C5 and their accessories BG34.

4. I used the Lawn Fawn Winter Sparrow dies to cut everything out.

5. I attached the tree branch and the birds with foam adhesive.

6. I used Lawn Fawn Joy die and cut out three of them from white card stock and one from Lawn Fawn Sweater Weather pattern paper.

7. I stacked them together using Tombo Mono Adhesive.

8. I added it to my card panel.

9. I added Stampin’ Up! Whisper White bakers twine to the right side of the card panel.

That was easy!!

Know on to my second card:

Season's Tweeting

This card was created with the same stamp set and die.  I loved it that much.

Here is how I created this card:

1. My card base is 4.25 x 5.50 scored at 5.50.  My Lawn Fawn Sweater Weather pattern paper is cut to 4.25 x 2.50.

2. I stamped my birds, tree branch and leaves from Lawn Fawns Winter Sparrows.  I colored my birds with Copic markers: Body E33; their accessories BG34 and R29 and leaves G17.

3. I used the Lawn Fawn Winter Sparrow dies to cut everything out.

4. I attached the tree branch and the birds with foam adhesive.

5. I attached Lawn Fawn Orchid Hemp Trim under the pattern paper.

6. I stamped the sentiment under the trim.

Easy Peasy!!!

So tell me what you think?

Supplies used:

Winter Sparrows Lawn Cuts Winter Sparrows Orchid Lawn Trimmings Sweater Weather Petite Paper Pack Perfect Polka Dots Textured Impressions Embossing FolderCopic MarkersWhisper White Baker's Twine


Just Because…

Hello everyone!!  I’m here today with a2z Scrapbooking.  Our 3rd monthly challenge is currently running till the end of the month.  The theme is Any 2 Hero Arts Products!

For today’s card I combine two stamp sets and an embellishment.  I had a lot of fun creating this card.

Take a look at my card:

Just Because 2

What to know how I created this card?  Come on over to the a2z Scrapbooking blog to read all about it and get detailed instructions.

I have a special bonus for you!  I created a time-lapse video for you to view.

Take a look:

I hope you liked my video.  I’m still learning so please don’t be to critical of me.

It’s your turn to play along with the current challenge! It’s running for the entire month of September. You still have a chance to win a $25.00 gift card to the a2z Scrapbooking store.

If you would like any of the products that I used on this card please head on over to the a2z Scrapbooking store and use the coupon code KYMONA15 to get 15% off your entire purchase.

Supplies used:

Hello Sunshine Hello Flowers Diamond Gems 5mm Wink of StellaSnow Layering Paper

Thank you so much for stopping by!!

Kymona

It’s Christmas In October…

Hello everyone!!  I’m back again with another card for the Lawnscaping Challenge No. 91: Patterned Paper. This challenge was fun to play with.

91

I received my new Clearly Besotted Stamp Set made exclusively for Simon Says Stamp Winter Friends and Die set that I had to use.

This set is so cute I can’t believe it.  4 animal images and Santa Claus are the cutest things I’ve seen in awhile.

Take a look at my card:

My Deer Christmas Card

Tell me that reindeer isn’t the cutest little thing you’ve seen in a long time.  Look at that nose, so nice a red.

Look at how he matches the pattern patter behind him.  Those little tiny reindeer’s are adorable.

This card was very easy to make. Here is how I did that.

1. I cut my card base the A2 card size (4.24 x 5.50).

2. I cut my Doodlebug Home For the Holiday paper to fit on the front of my card front.

3. I cut my Neenah Solar White cardstock with my Lawn Fawn Stitched Banner Die, the smaller one.

4. I stamped my Reindeer from Winter Friends using Memento Tuxedo Black Ink and then I use the Die to cut him out.

5. I Copic markers to color my reindeer: Body: E40, E41, E43, E44, E49, Nose & Ears: R24, R27

6. I added Clear Wink of Stella to his nose so that it could be a shiny nose.

7. I adhered my Reindeer to my cardstock with foam adhesive. I stamped the sentiment with Memento Tuxedo Black Ink.

8. I added Cherry Cobbler Bakers Twine to the stitched banner.

9. I adhered the banner to the patten paper with foam adhesive.

10. I added Rudolph Red Skittles (how perfect are those and the name) to my banner.

Nice and Simple!!

What do you think?  Don’t you just love that little Reindeer!!

Let me know below.

Supplies used:

Winter Friends Rudolph Red Skittles Cherry Cobbler Baker's TwineStitched Party Banners Doodlebug Design Take Note Pattern PaperWink of Stella clear 3M Mounting Tape

Thanks for stopping by!!

~Kymona

Birdie Love Letter…

Hello everyone!!  I’m here with a new challenge that I’ve wanted to play along with for awhile now but haven’t had a chance.  So, today is that day!! I’m a bit excited about it.

The new challenge is Lawnscaping Challenge No. 91: Patterned Paper.  How much fun will this be! I have so much pattern paper that has never been touched.  I’m hoping I can really search my stash an come up with some great cards.

91

I decided to use some of my retired Stampin’ Up! Welcome Neighbor DSP for this challenge.  I have tons of it and this is such a great way to use it up.

Take a look at my card:

I love you so much

Don’t you just love this little birdie!!  I do.  This image is from Gerda Steiner Designs and its called Cute Bird with Letter Digital Stamp.   Gerda’s images are so cute, you must check them out.

I added some new DoubleClick Skittles Sunshine Yellow for added interest.  Are they just the cutest thing you’ve seen.  That yellow color is awesome.

So, I have another first that I can’t wait to share with all of you.  I videotaped myself coloring with my Copic markers!!

Take a look at my very first video. I am truly excited about this.  I’ve wanted to create videos for a long time but was afraid and now I’m super excited about it.

So what do you think?  Let me know.

Supplies used:

Welcome Neighbor DSP Cute Bird with LetterCopic AnniversarySpring Yellow

Thank you for stopping by!

~Kymona