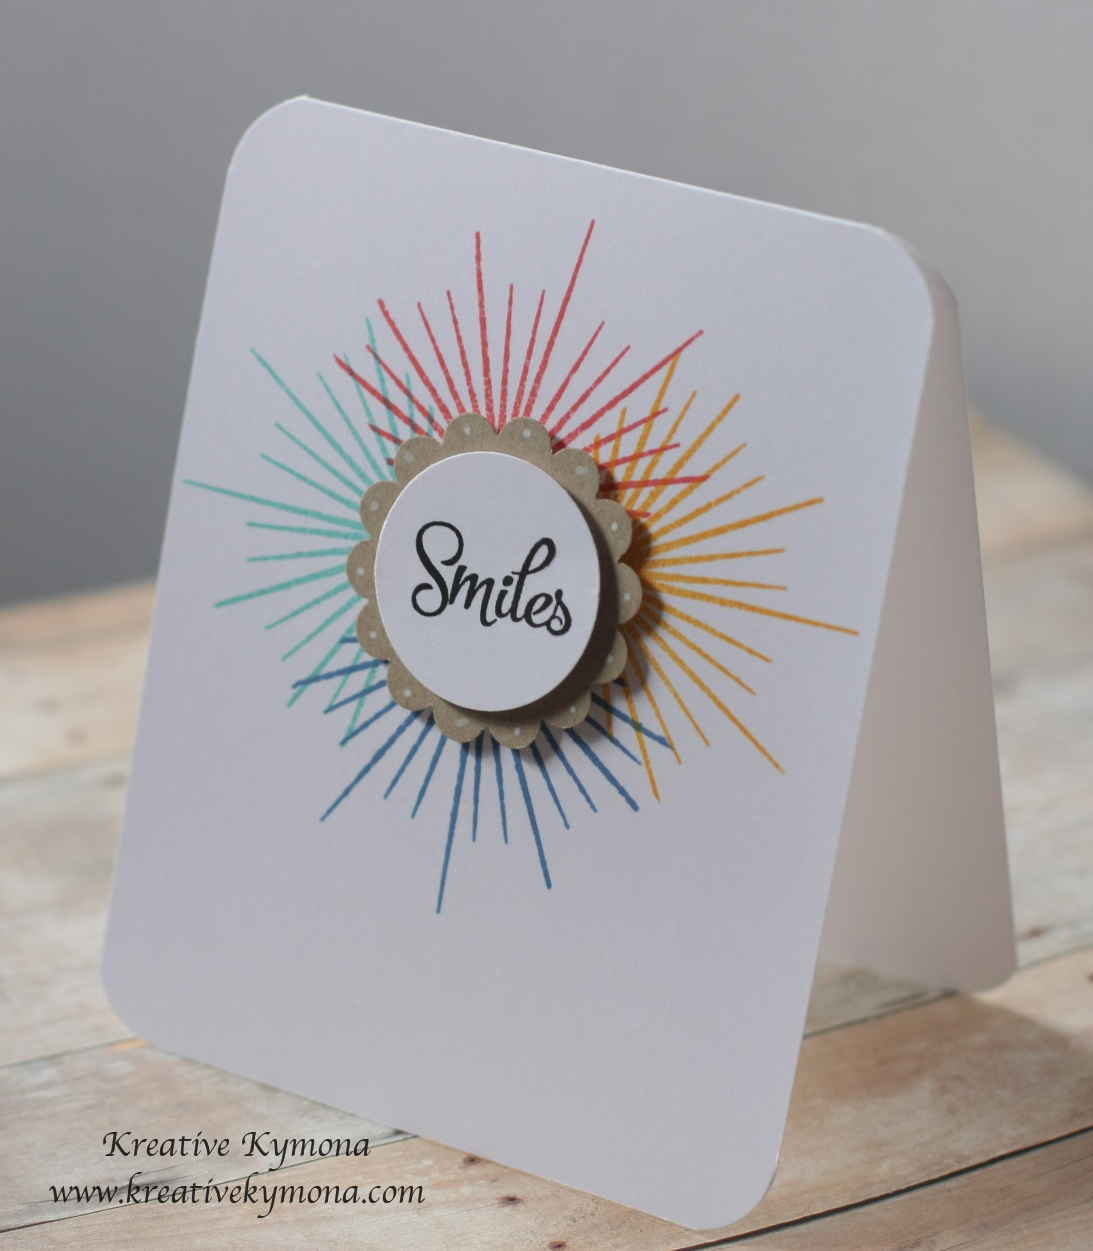
Hello everyone! I’m here today with CAS(E) this sketch #85. This week’s sketch is from N@Ali. I love this sketch, its clean and simple.

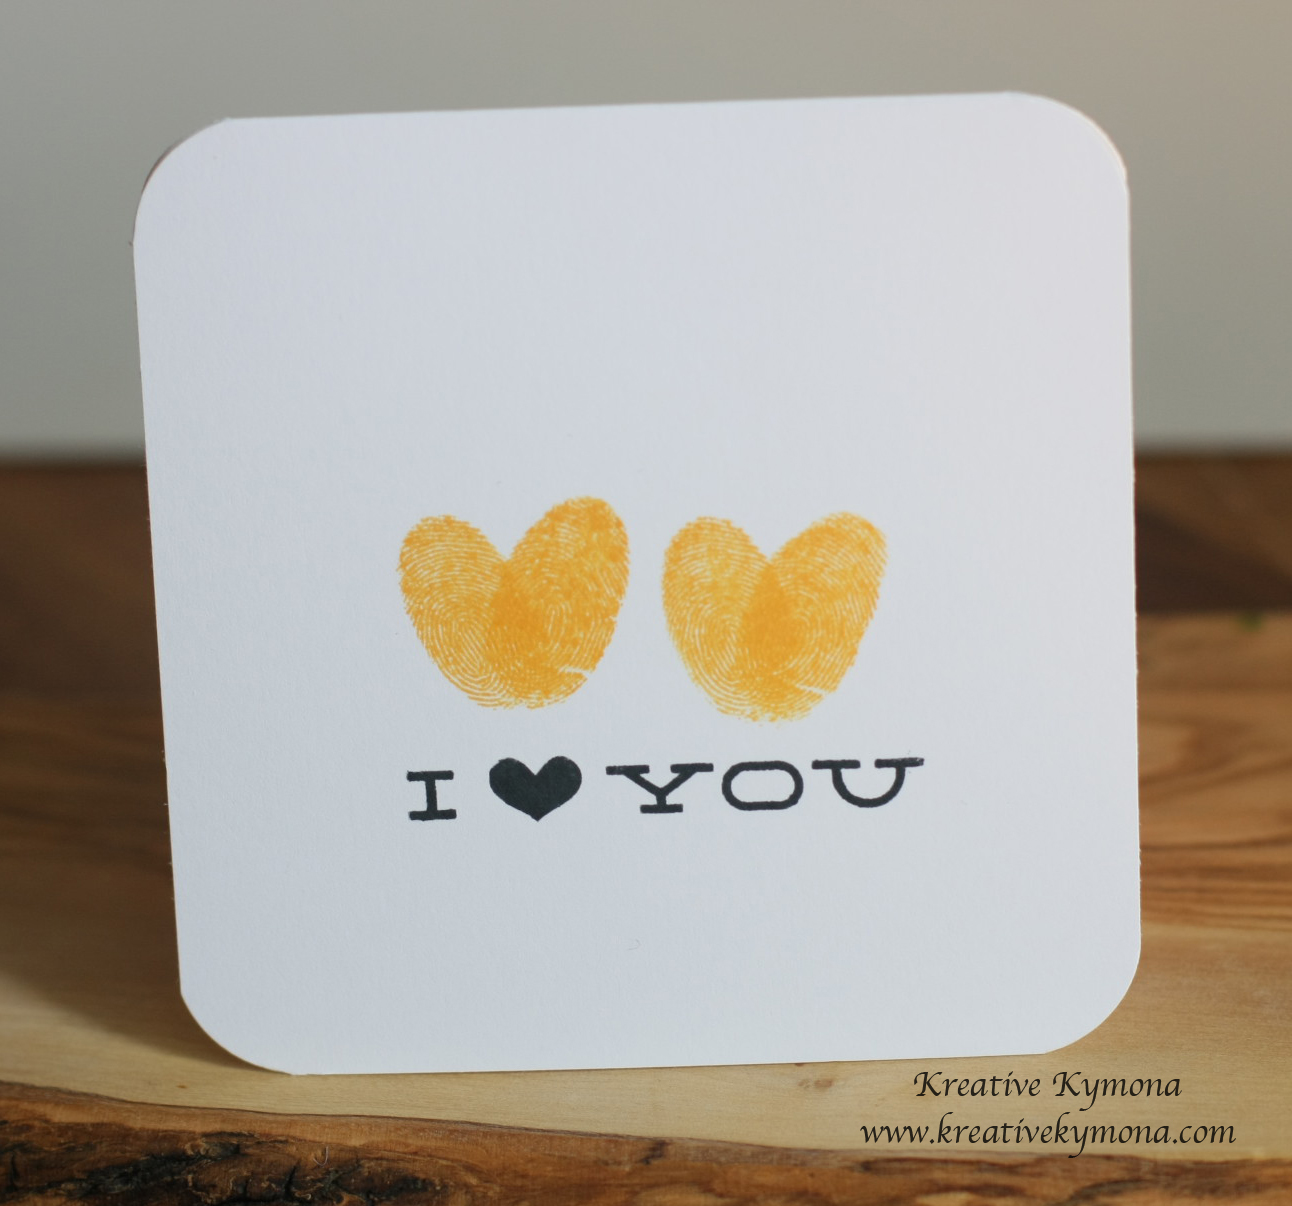
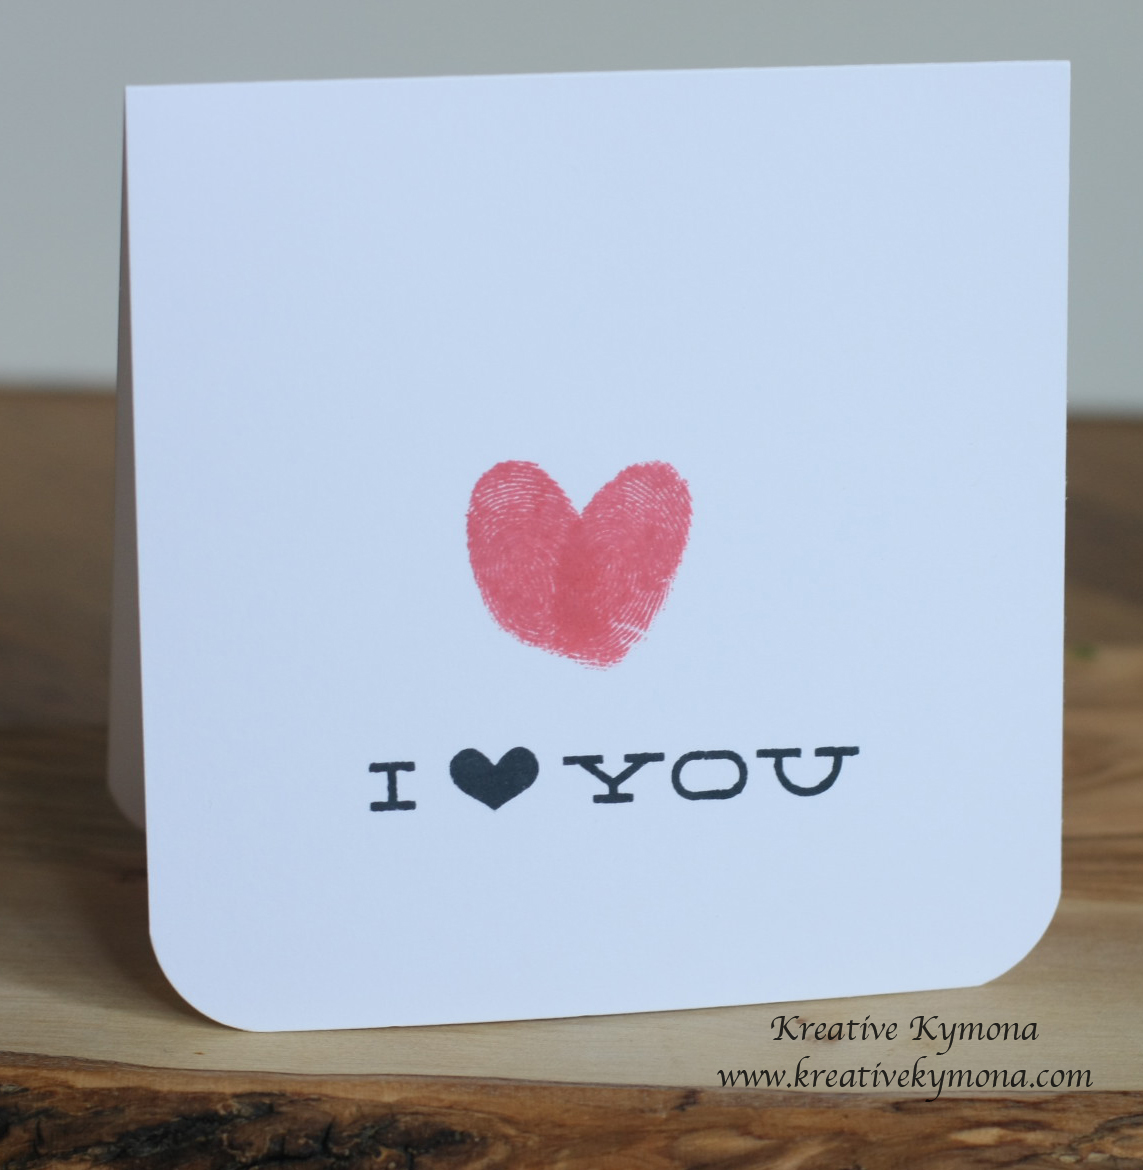
Take a look at my card:

I love how this card turned out. It has the CAS factors. One focal point, one sentiment, little embellishments and a lot of white space!
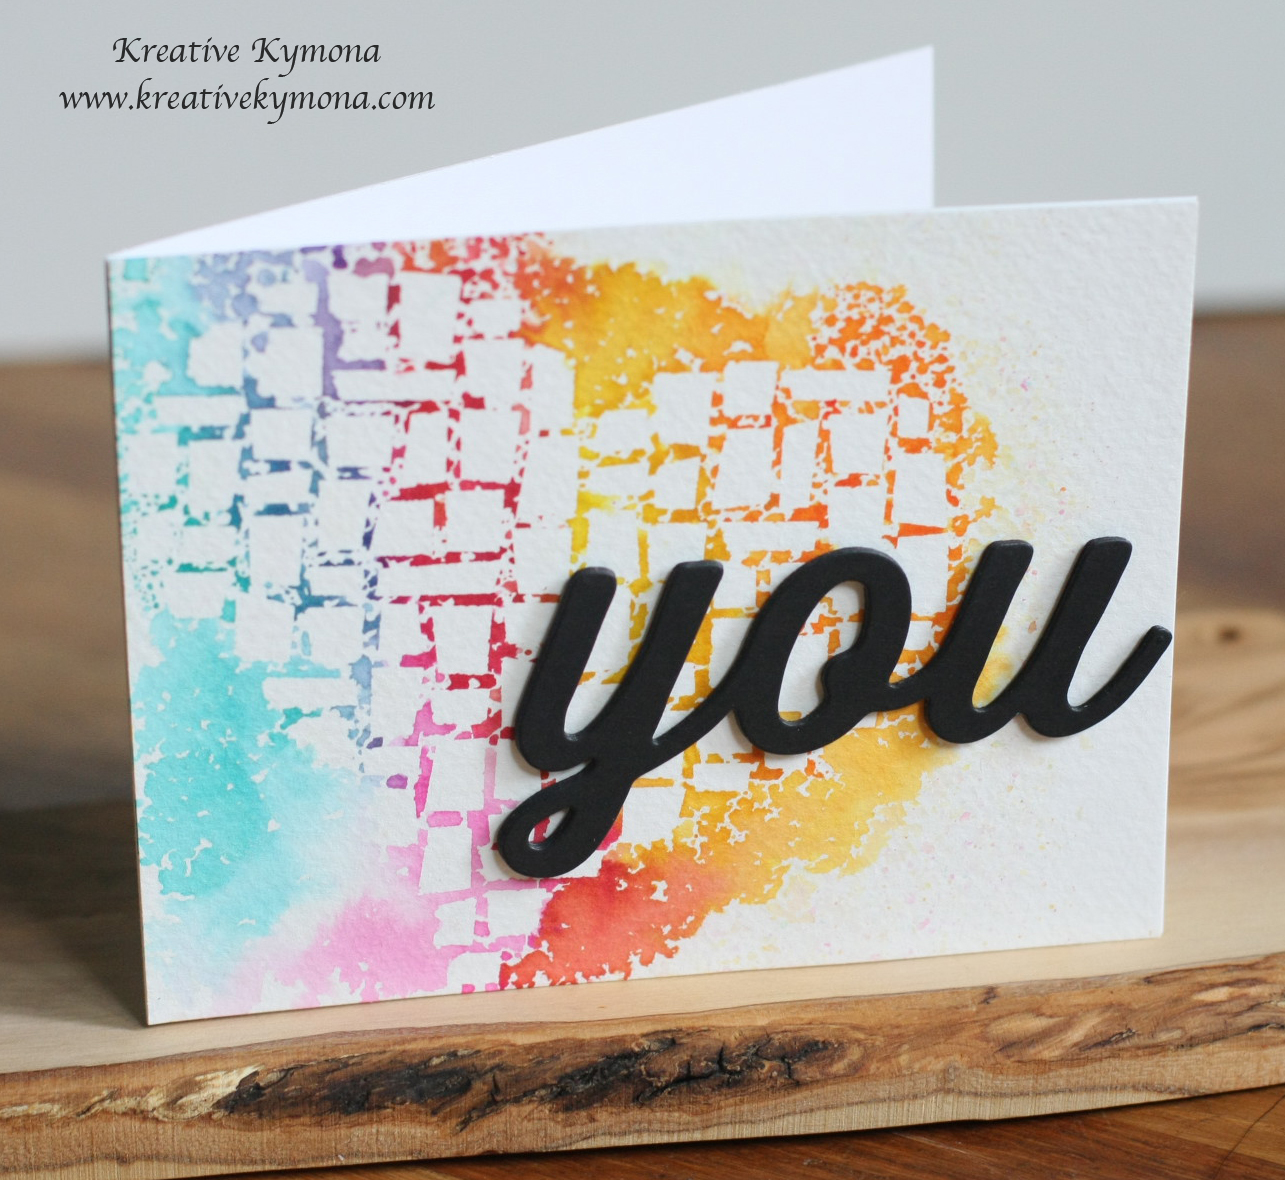
I used my brand new Life’s Journey stamp set and Super Geotag die from Simon Says Stamp’s new release called This Is The Life.
I love this new set. Life really is journey that we are on and we have no clue were we will end up. There are times when we set our path and something happens that take of off that path. Its up to you to get back on path no matter how hard it might, but we MUST enjoy the journey or it will not be worth it.
So what do you think? Please let me know by leaving a comment below.
Supplies used: