Hello everyone!! I’m here with CAS(E) this sketch #84. I only have 8 hours to post this card.

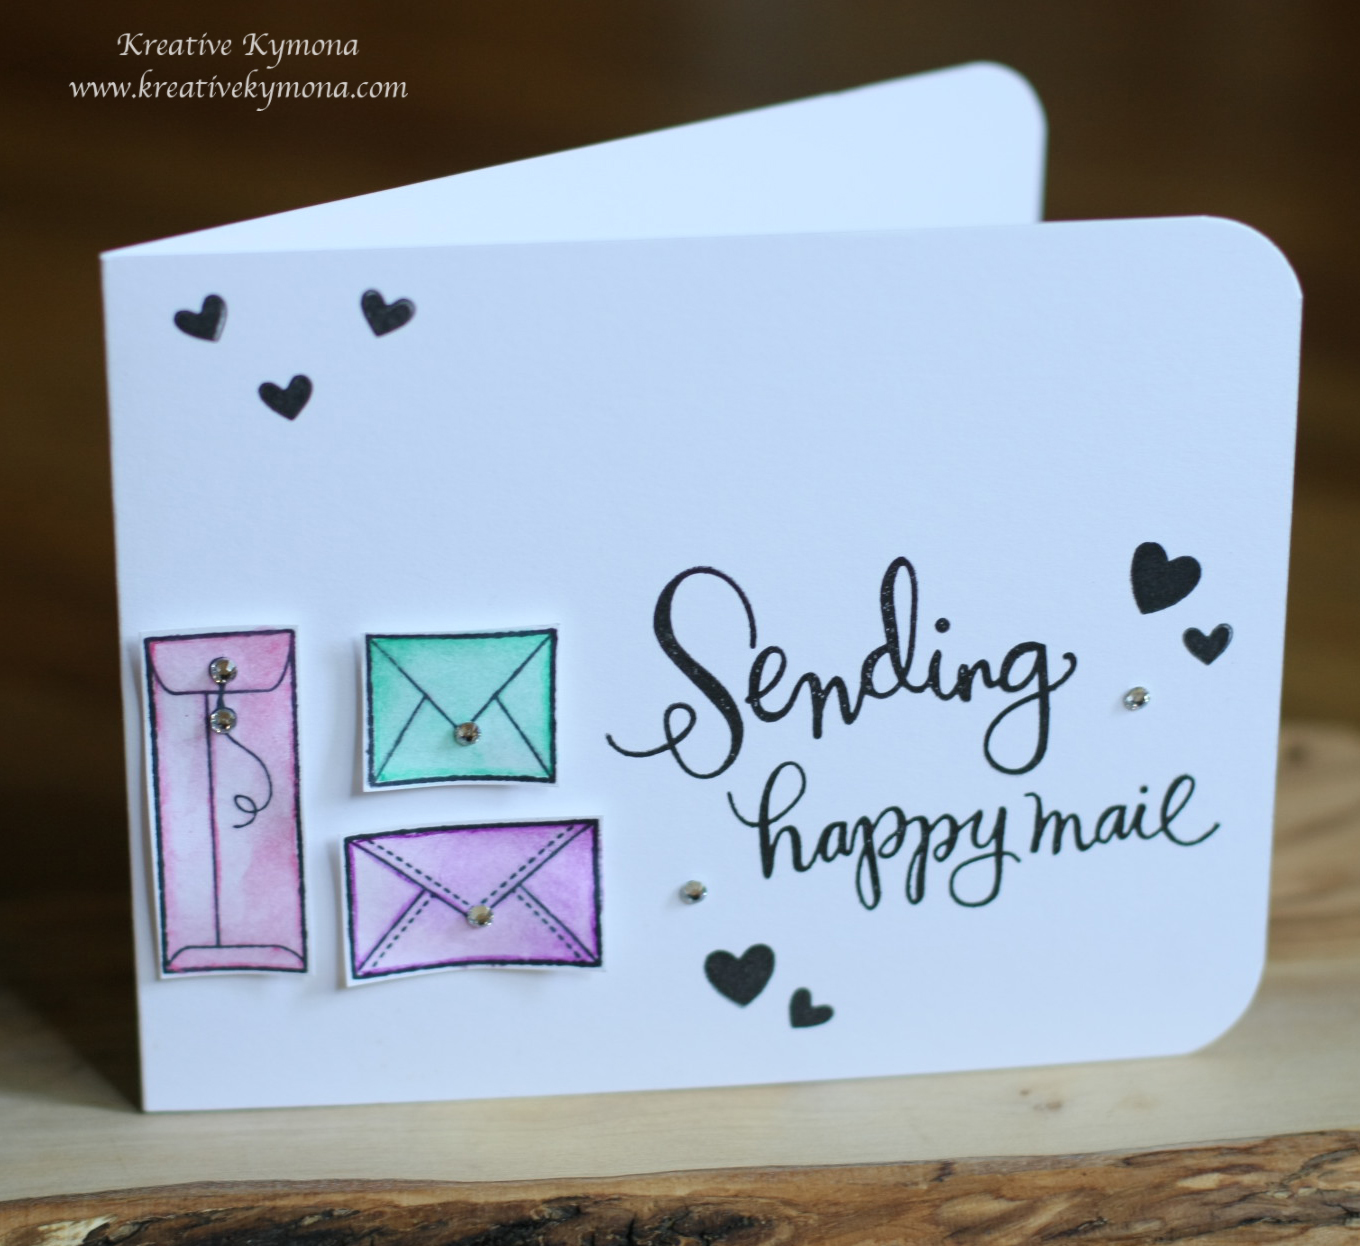
I created a one layer card. I wanted to keep it very simple.
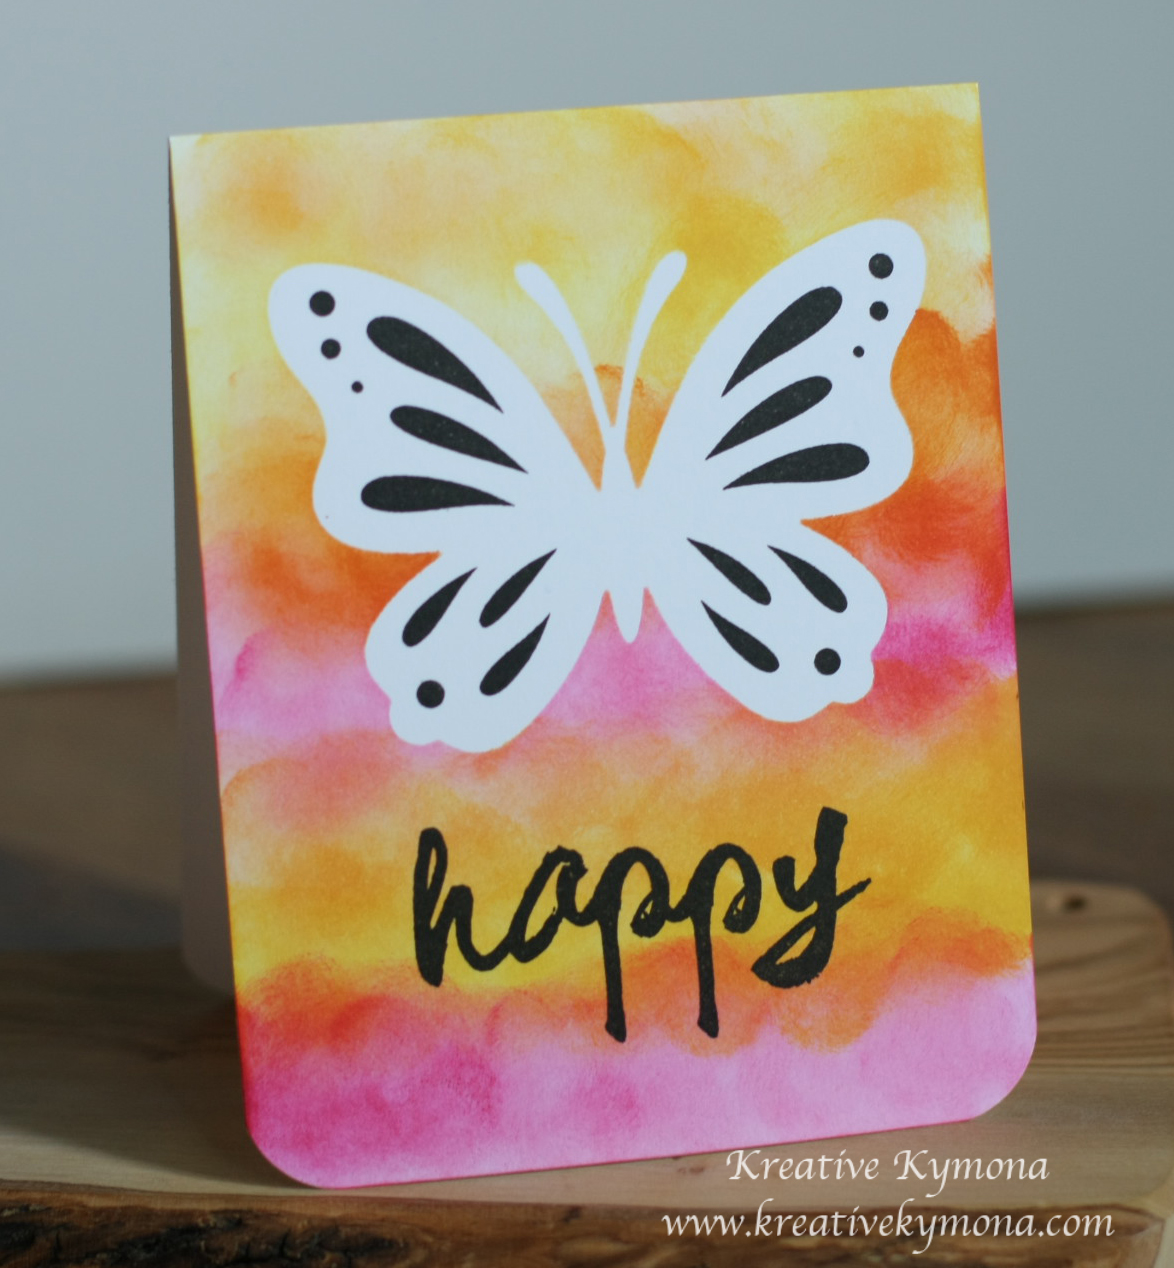
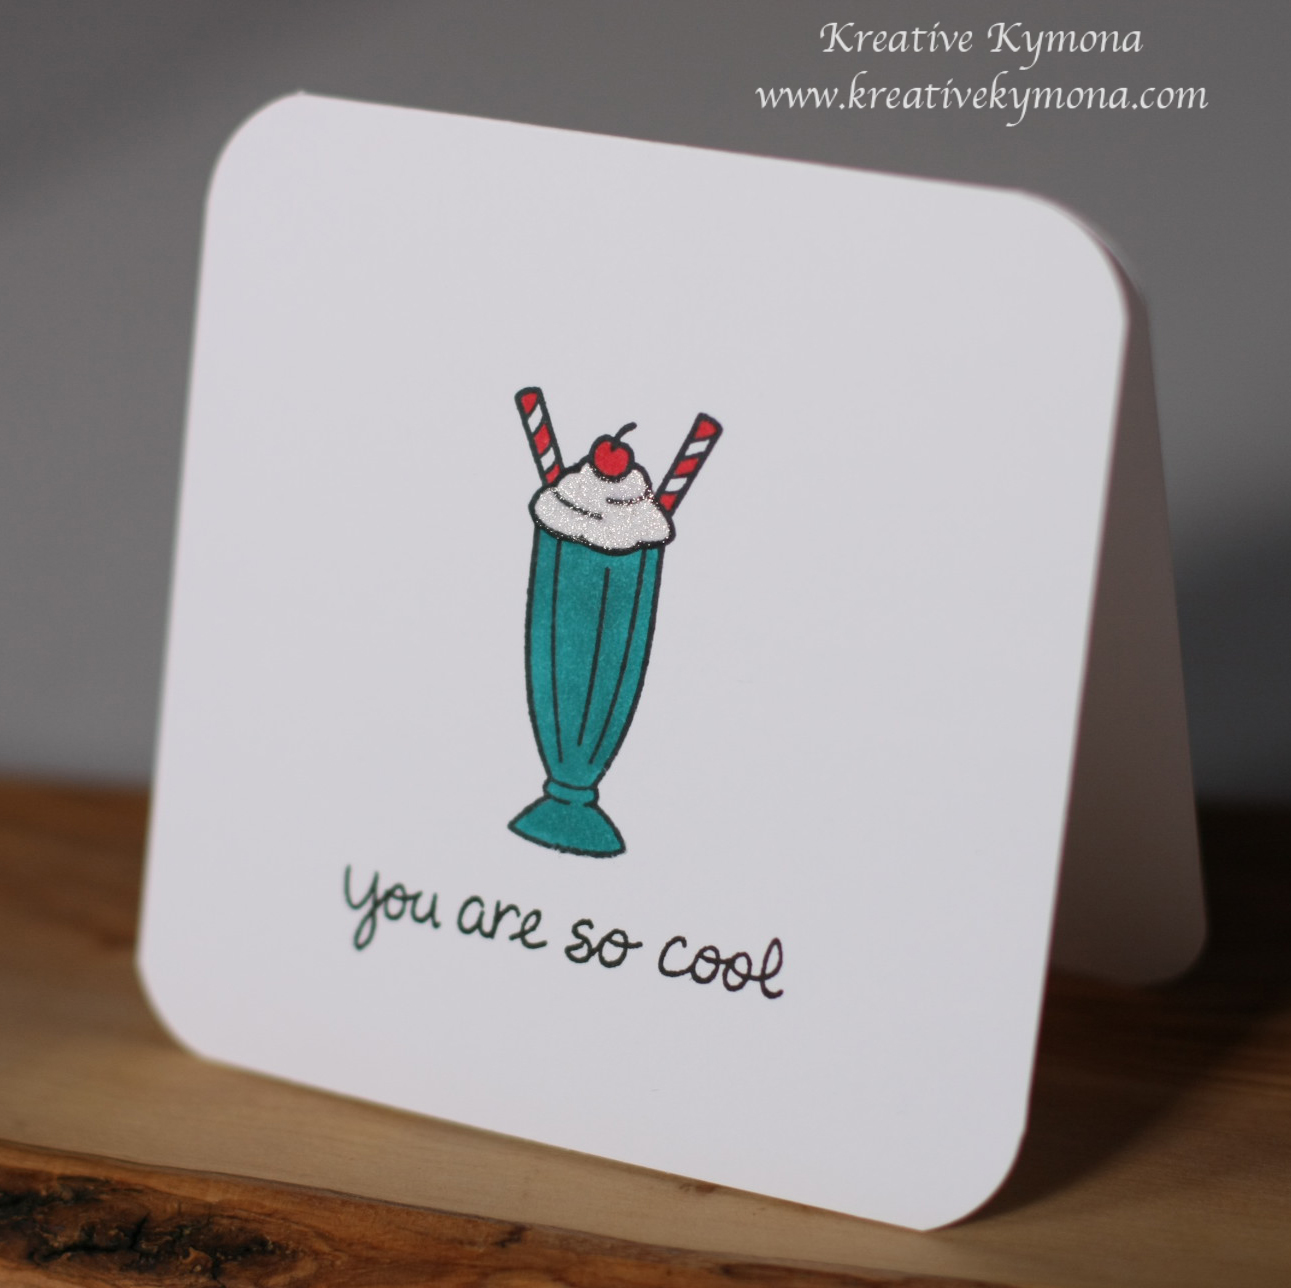
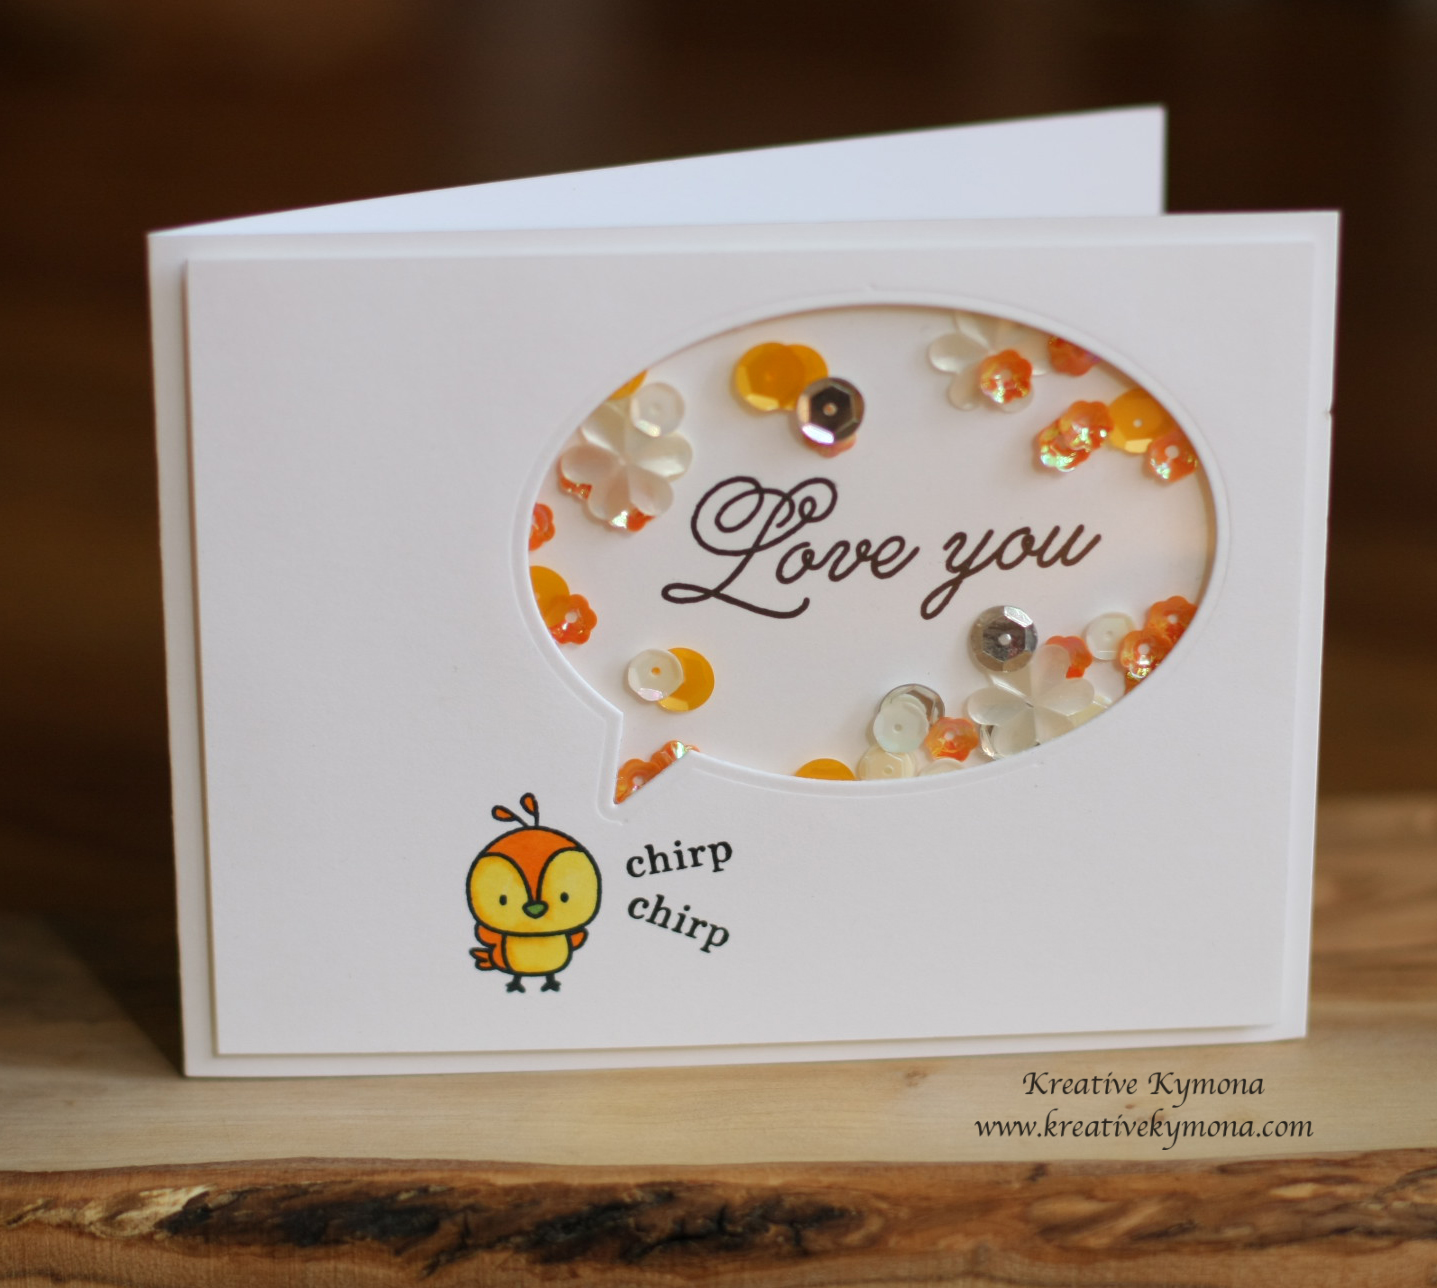
Take a look at my card:
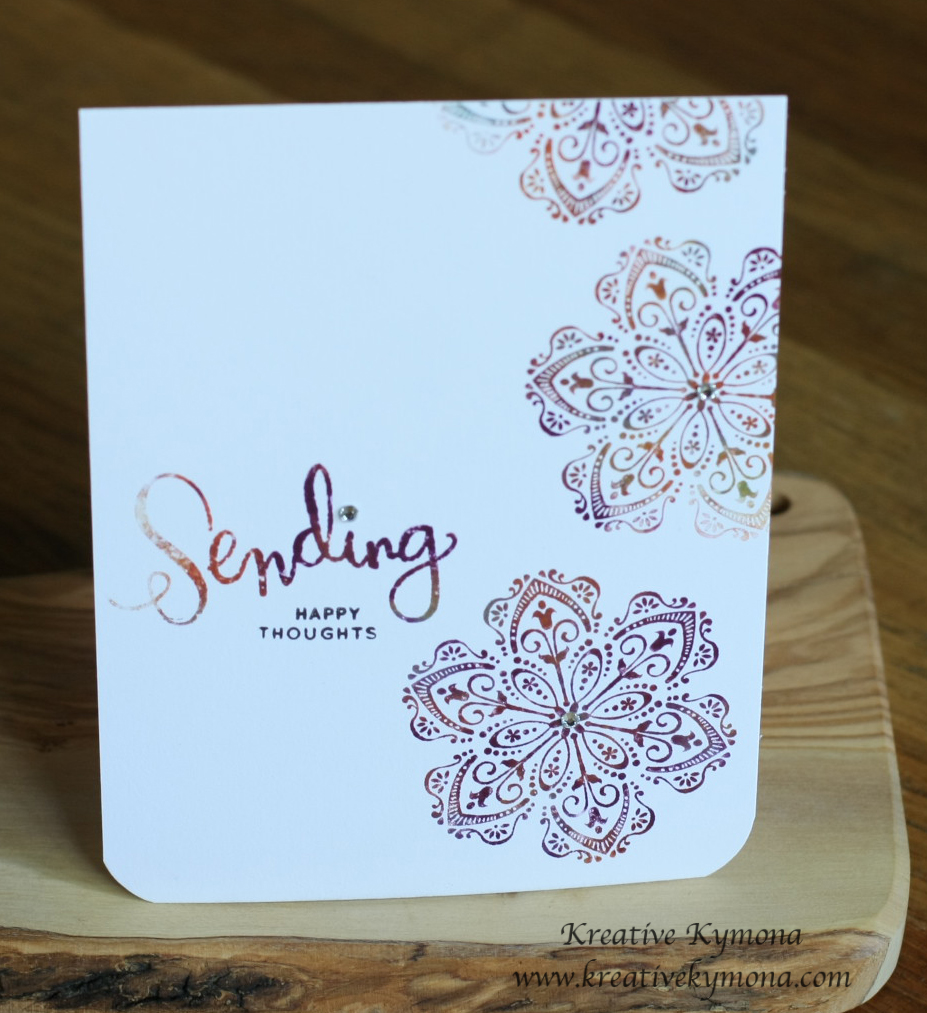
 (Sorry about the photo, no natural lighting it is 1:26 in the am)
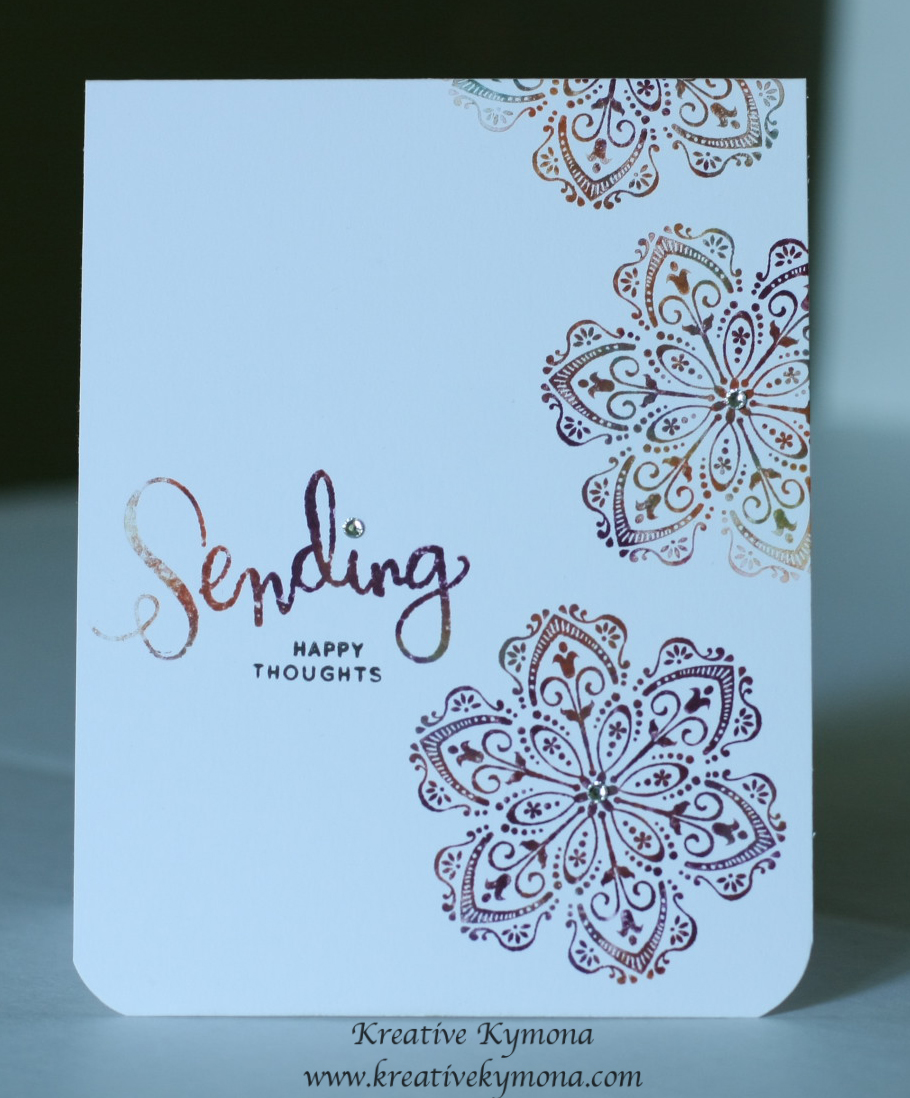
Edited to include this better photo at 6:30am

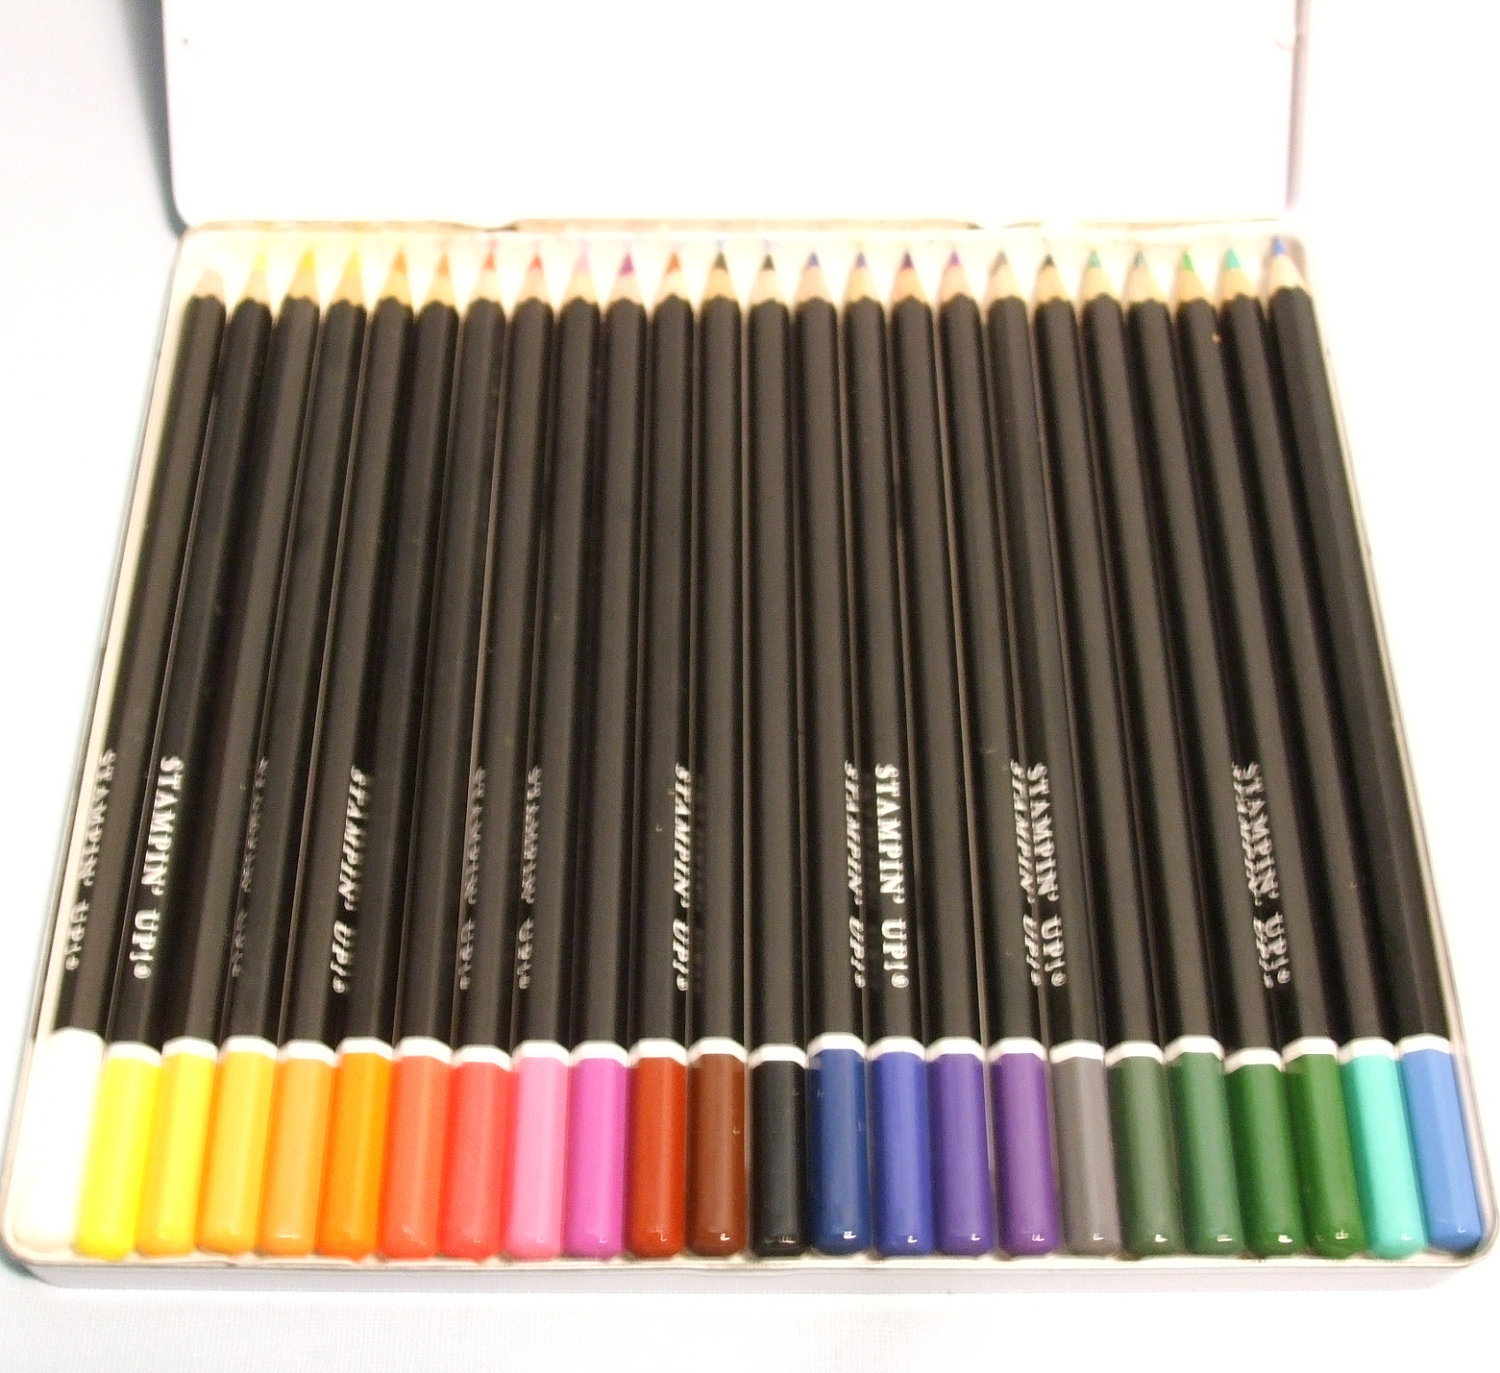
My card is pretty clean and simple. I used there Stampin’ Up! colors to create my card, crisp cantaloupe, pistachio pudding and basic black.
The sentiment is from Stampin’ Up! Hi There stamp set.
The scallops are from Papertrey Ink’s Ombre Builders stamp set.
1. I masked 1inch of space at the top of the card using the post-it tape.
2. I stamped my image 1/8 from the top and bottom of the post-it tape.
3. I removed the tape and added my sentiment.
4. I added rhinestones and WALA my card is done!!
What do you think? Please lave a message.


Thank you for stopping by.
~Kymona