Hello everyone! I’m back again with another card for Less is More Week 180: One Layer Card.

The challenge is to Adapt a Fingerprint. Yayyyy!! This reminds me of my childhood when we just created with no cares or worries and thought everything was beautiful.
My daughter and I had a great time playing with this challenge. She will post her cards later on today and I will link to it when she post.
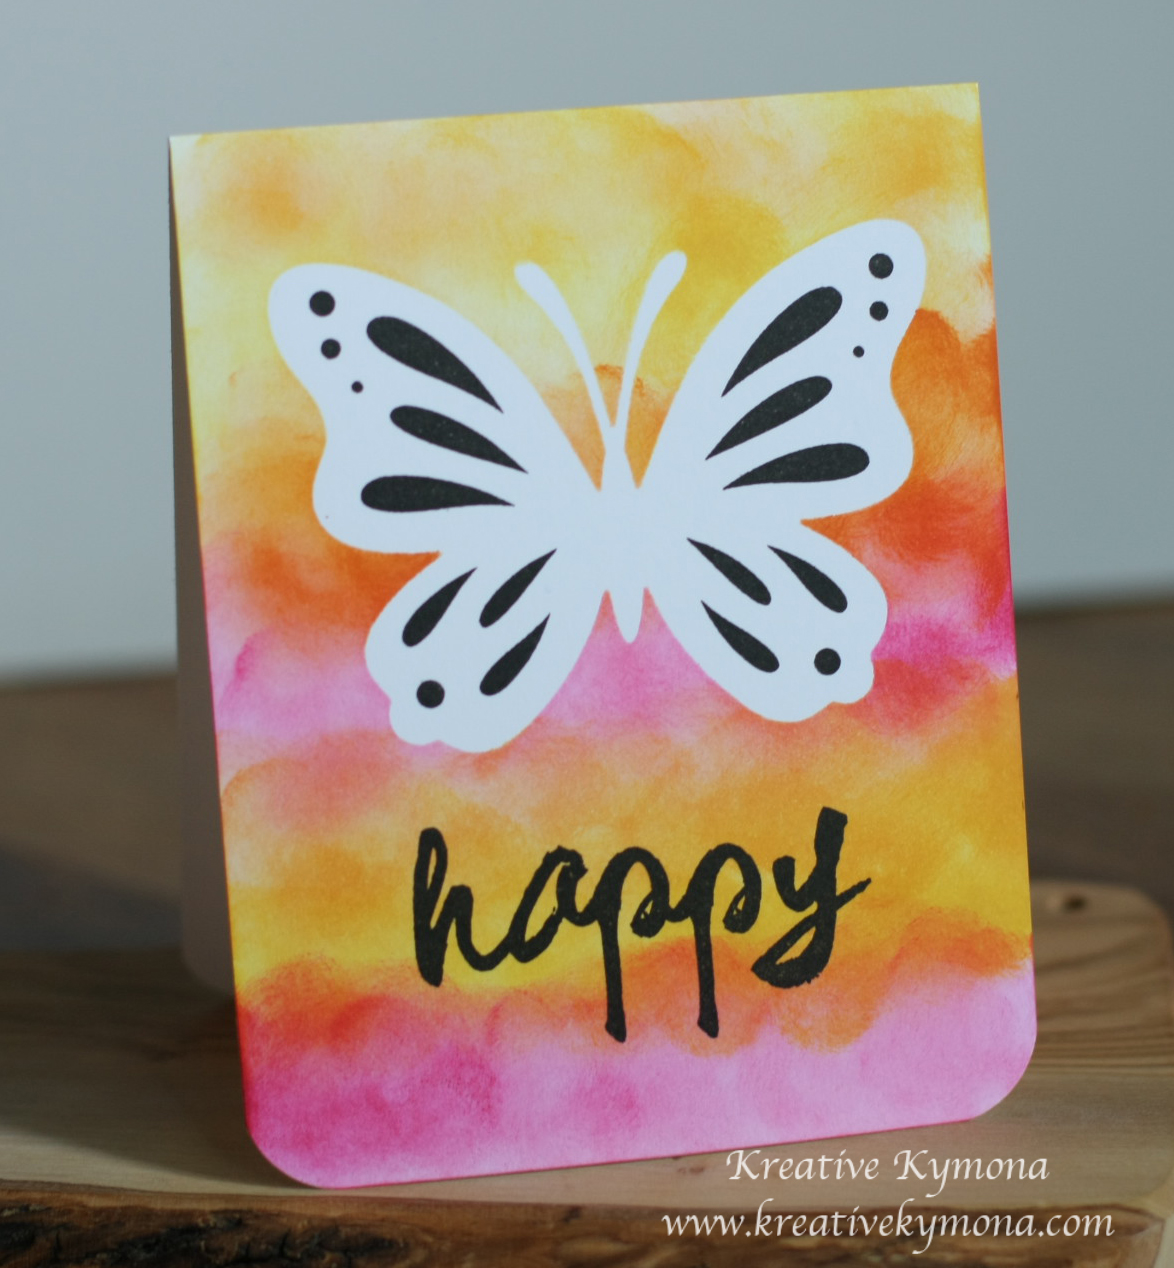
Take a look at my card:
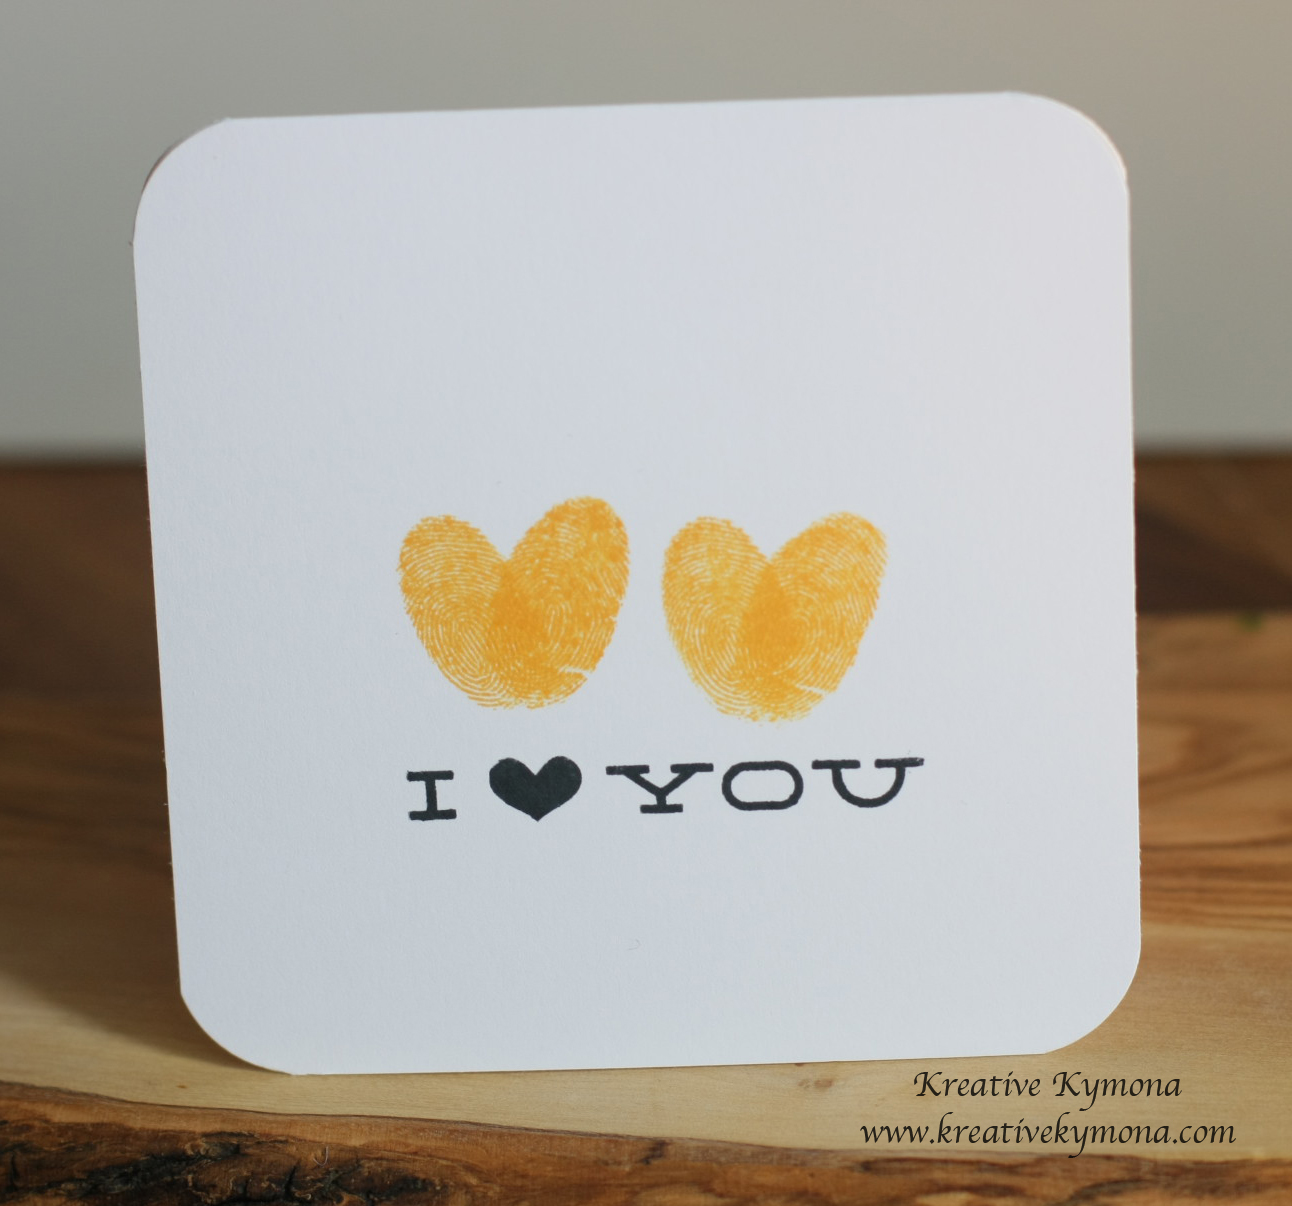
I used my index finger and Papertrey Ink’s Summer Sunrise ink to create my heart. How cute is that!!
My sentiment is from Simon Says Stamp Stripe Greetings stamped with Memento Black Ink.
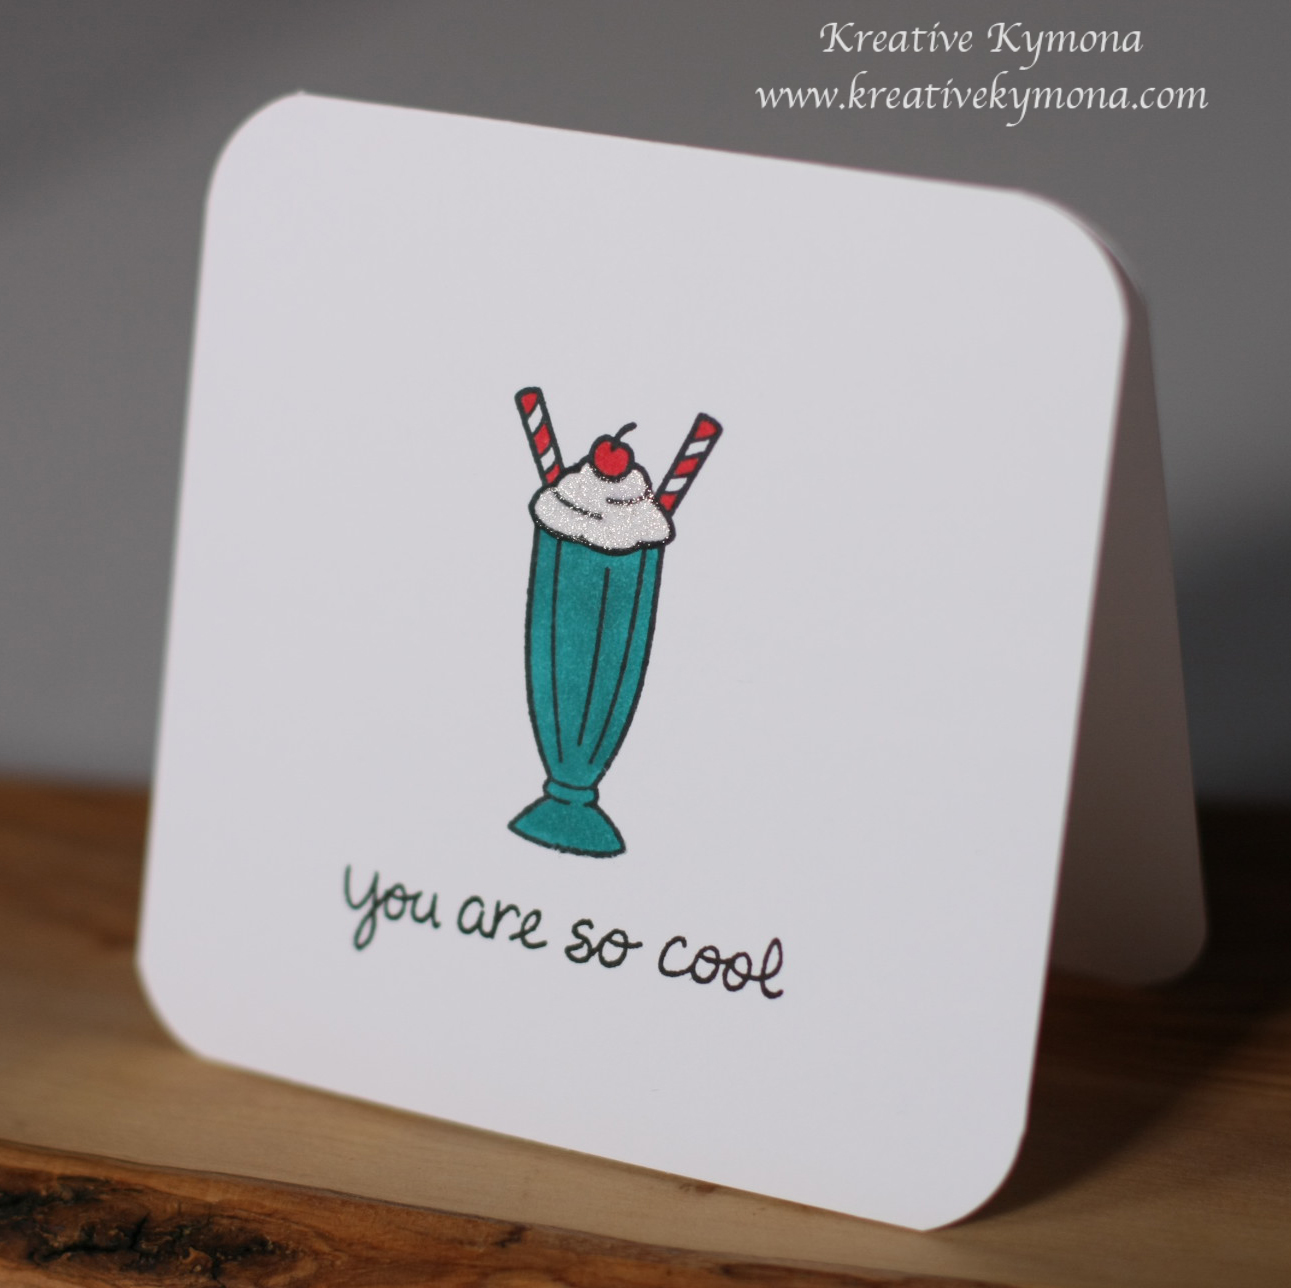
I created a couple more cards for this challenge. I couldn’t help myself.
Take a look:


So what do you think? I think all of you should try it. Bring out your inner child this weekend.
Supplies used: