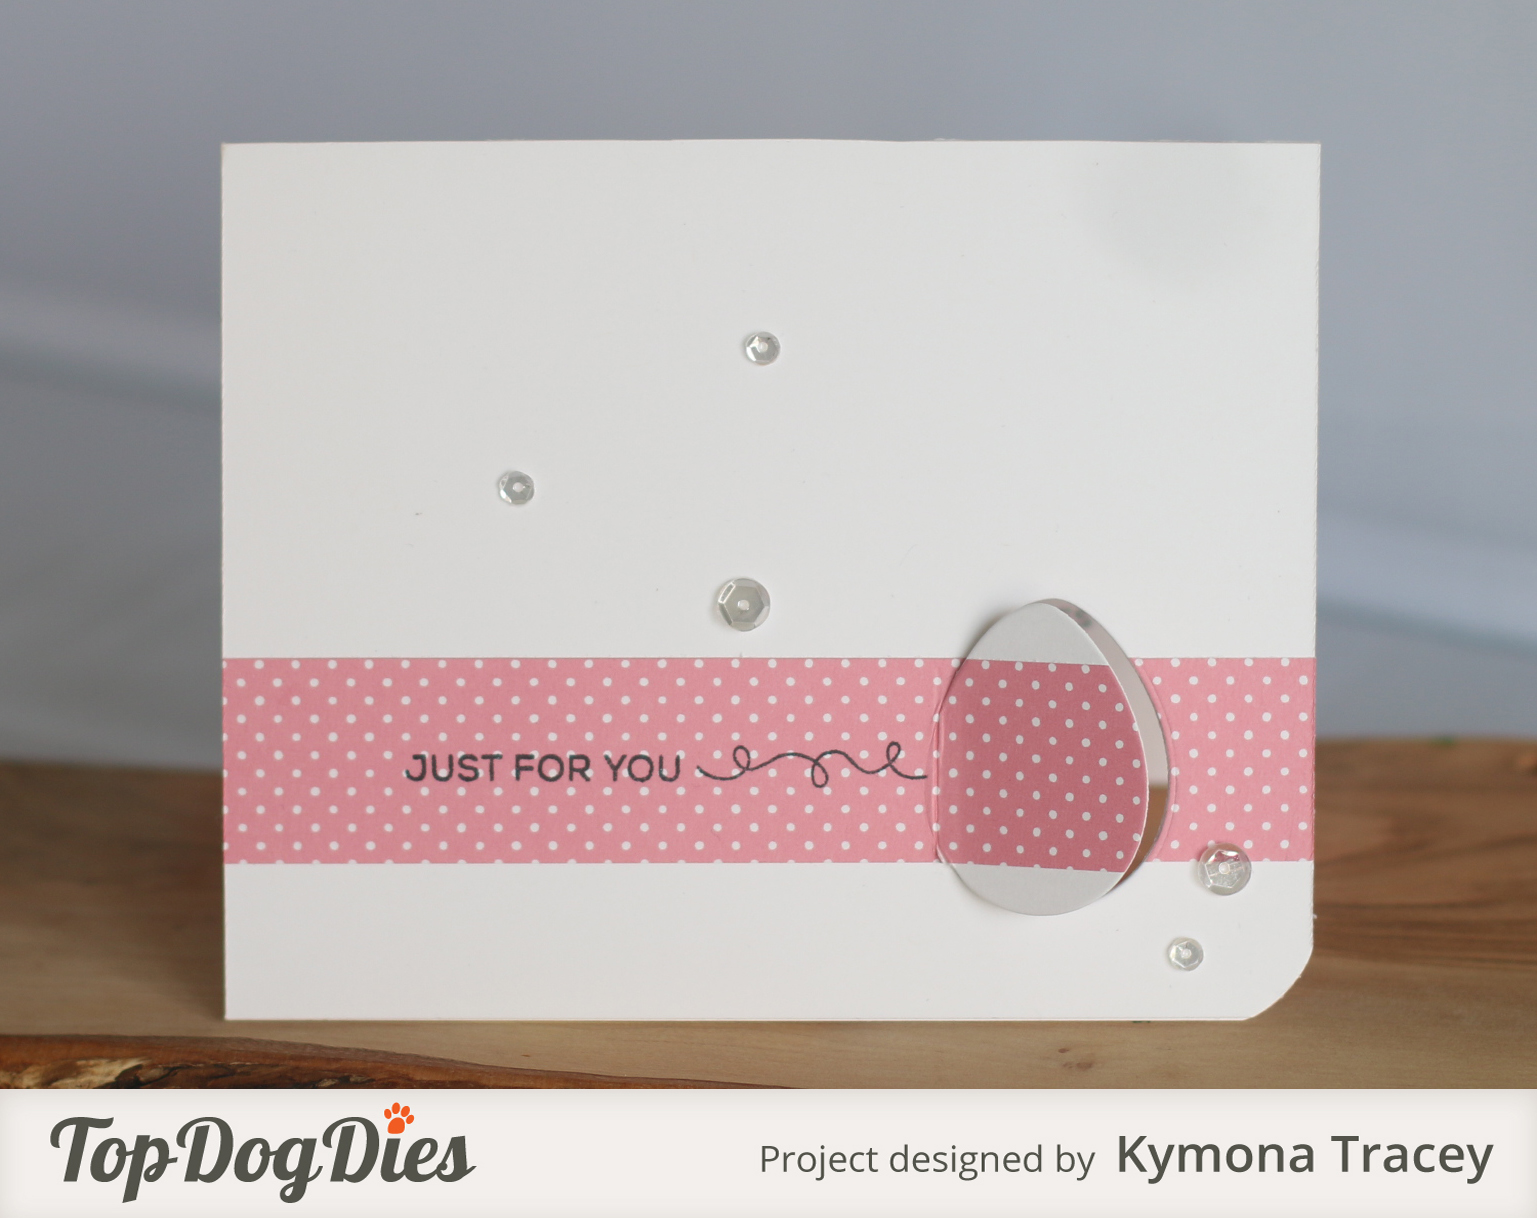
Shake, Shake, Shake That Card! It’s blog hop time again at Top Dog Dies. We have a whole lotta shaking going on this time for our blog hop. Shaker Cards! They are always a fun card to receive and make.
To add extra fun to our blog hop…we are offering up a prize! Three winners will receive the New Top Dog Dies Hot Air Balloon Die Set. For your chance to win, enter your email address below by 5/20/15. Winners will be posted on the Top Dog Dies blog after 5/20/15.
Here’s how it works…
Visit each blog on the hop in order. Each Design Team member has created a special shaker card using dies from Top Dog Dies. Visit each blog, check out the shaker projects and leave your comments. I’ve listed all of the participants below for your convenience. Don’t forget to enter to win.
So lets get start!!!
If you arrived from the fabulous Marcia Dehn-Nix then your on the right path. If you didn’t please start at the talented Piali Biswas blog as to not miss any of the blogs and your chance to win our awesome prize.
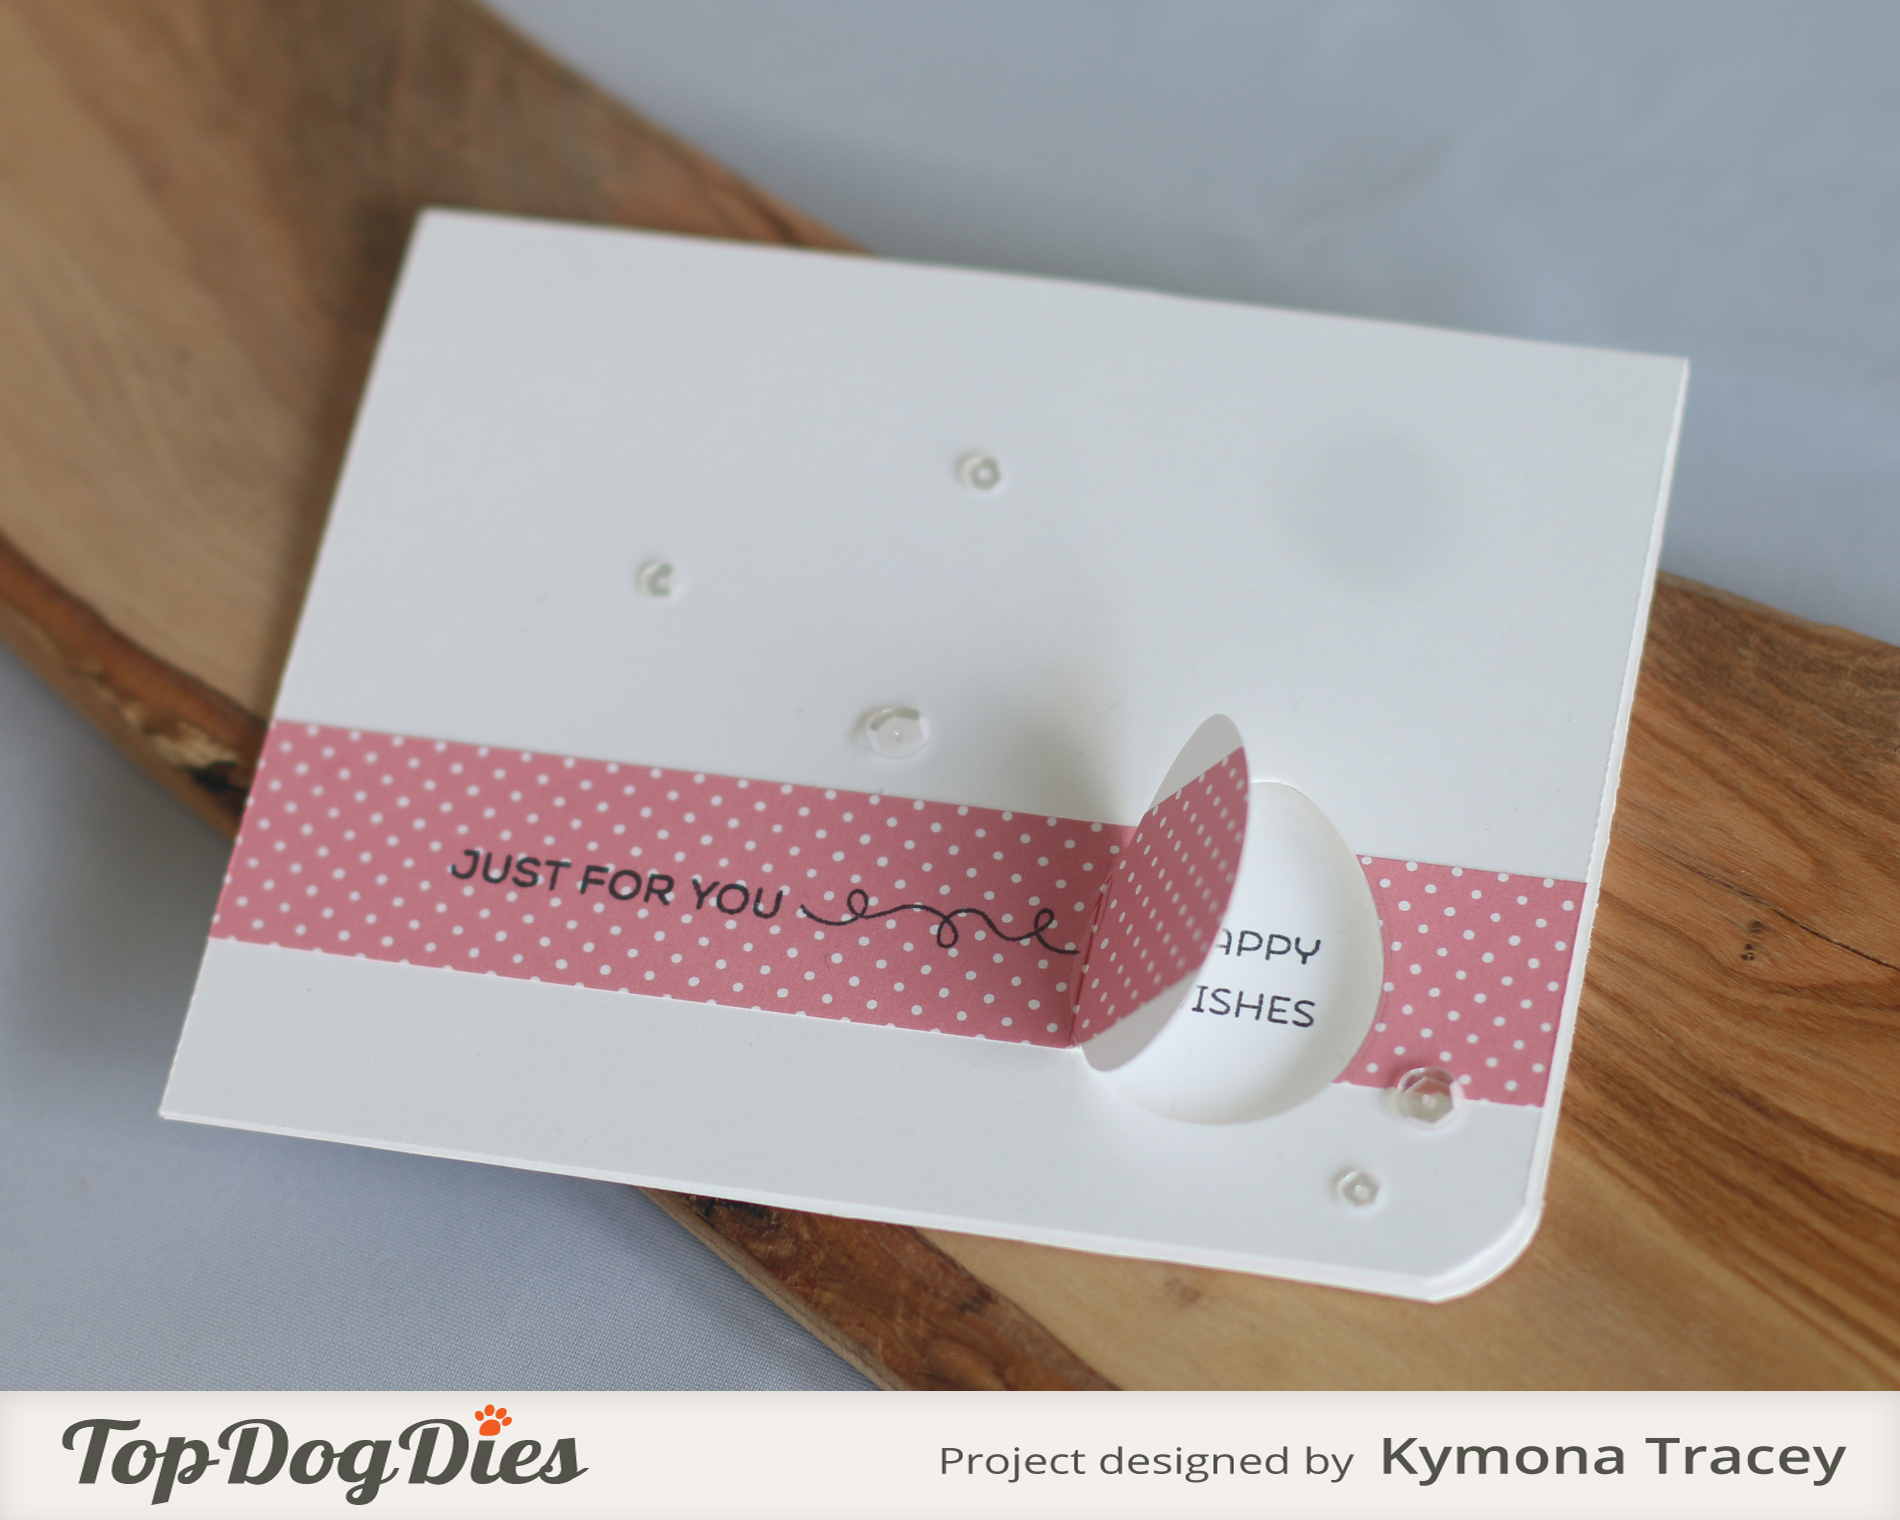
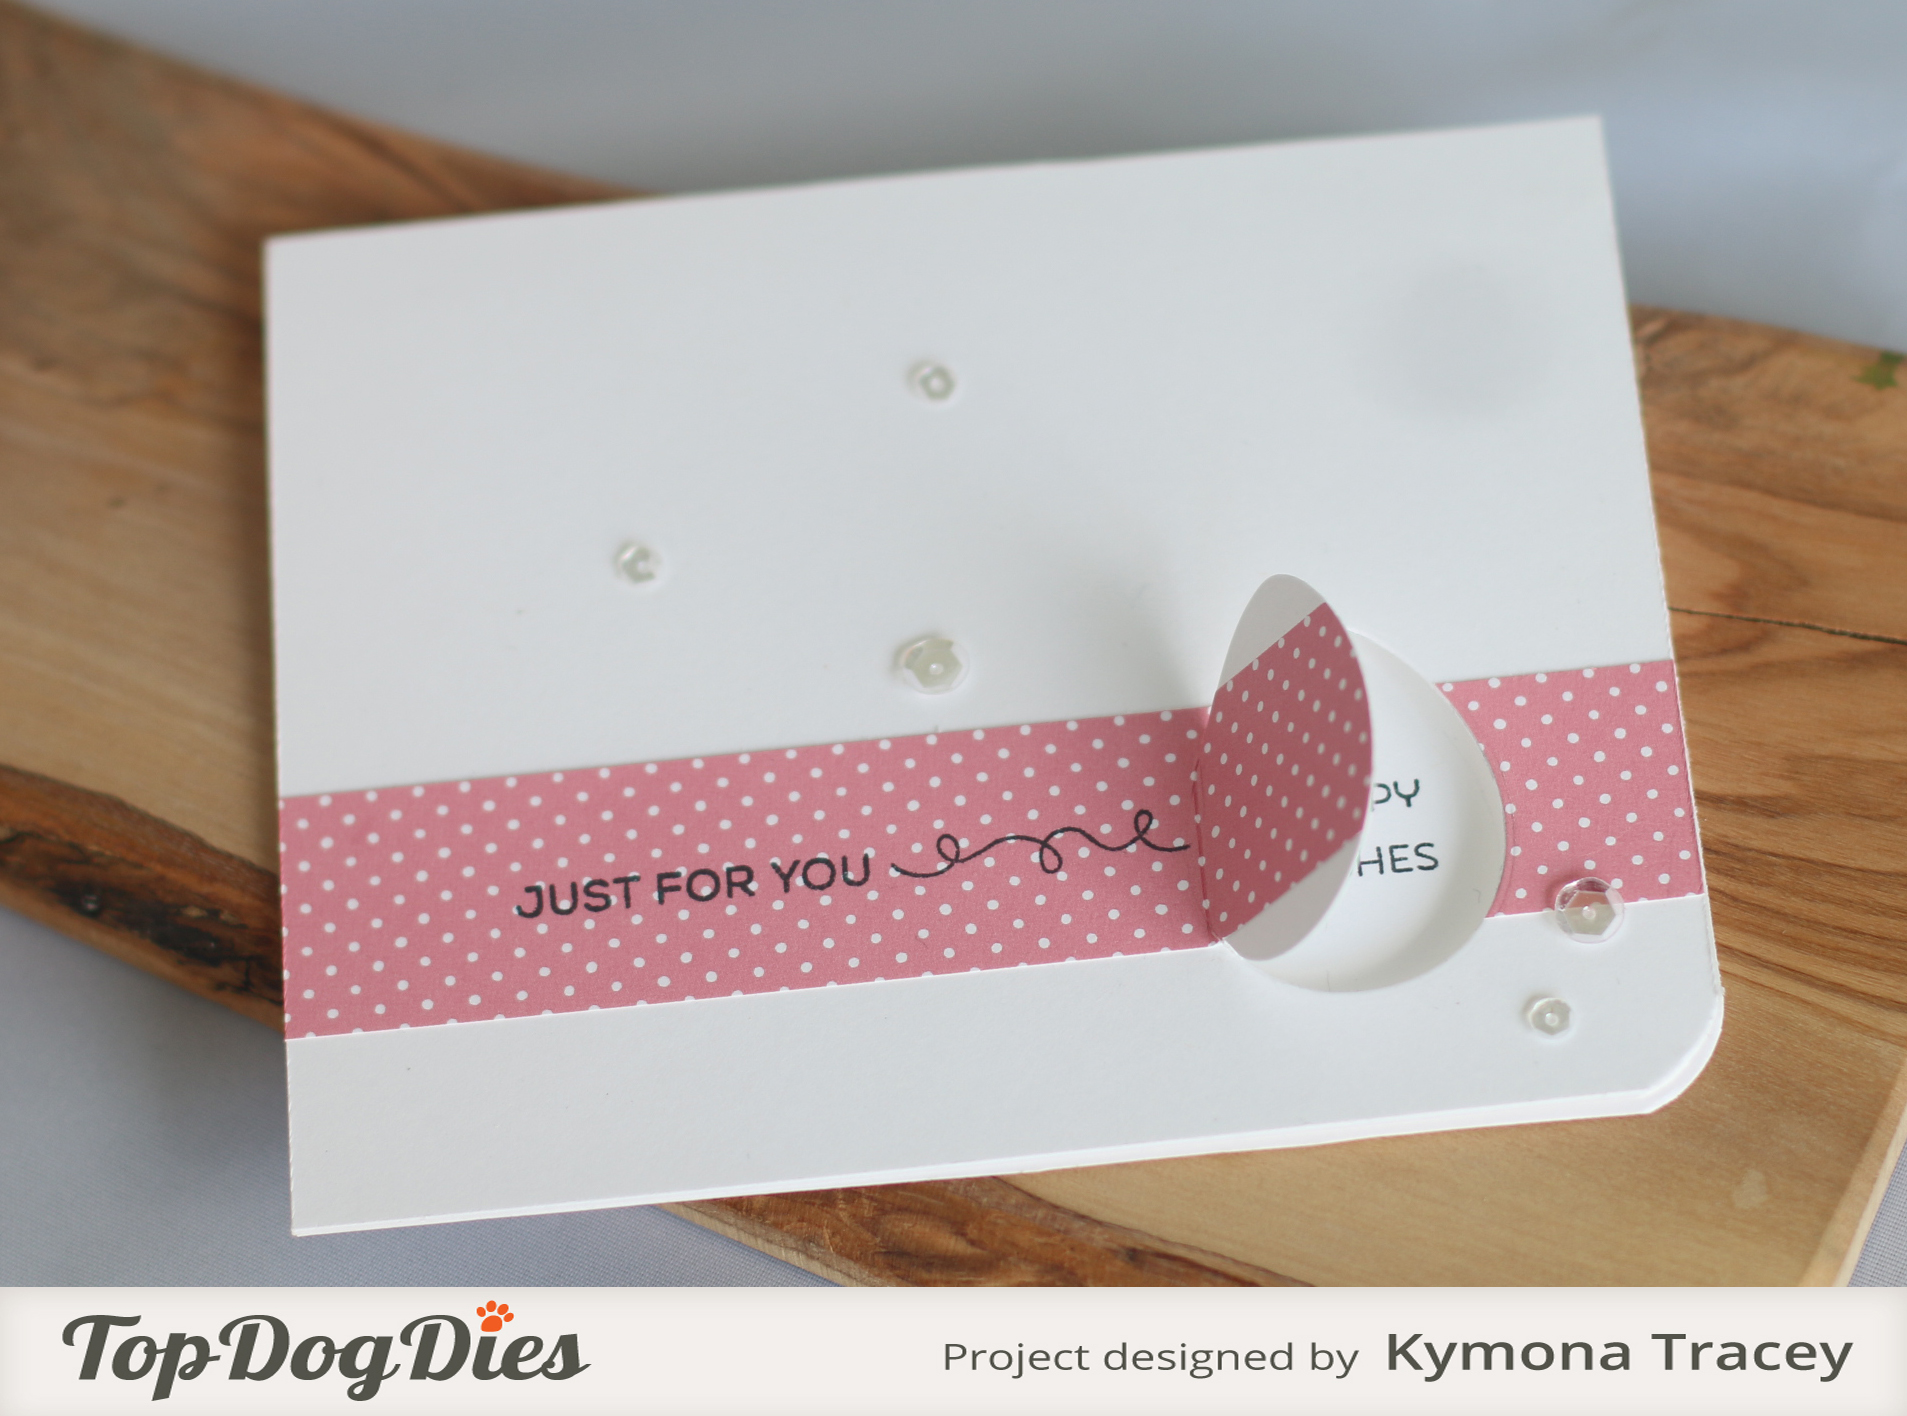
Take a look at my card:

I love making shaker cards but in the past they use to be so cumbersome with the foam tape and all. Now that I have the We R Memory Tool Fuse, making shaker cards are a breeze!! No bulk and no foam tape.
Thank you Jennifer McGuire for this amazing tip!!
You want to know how I created this?
Here you go:
1. I trimmed my card panel slightly smaller then my card base.
2. I used Top Dog Dies Heart Doily Die to cut a heart in the center of my card panel.
3. I used the negative and saved the heart shape for another card.
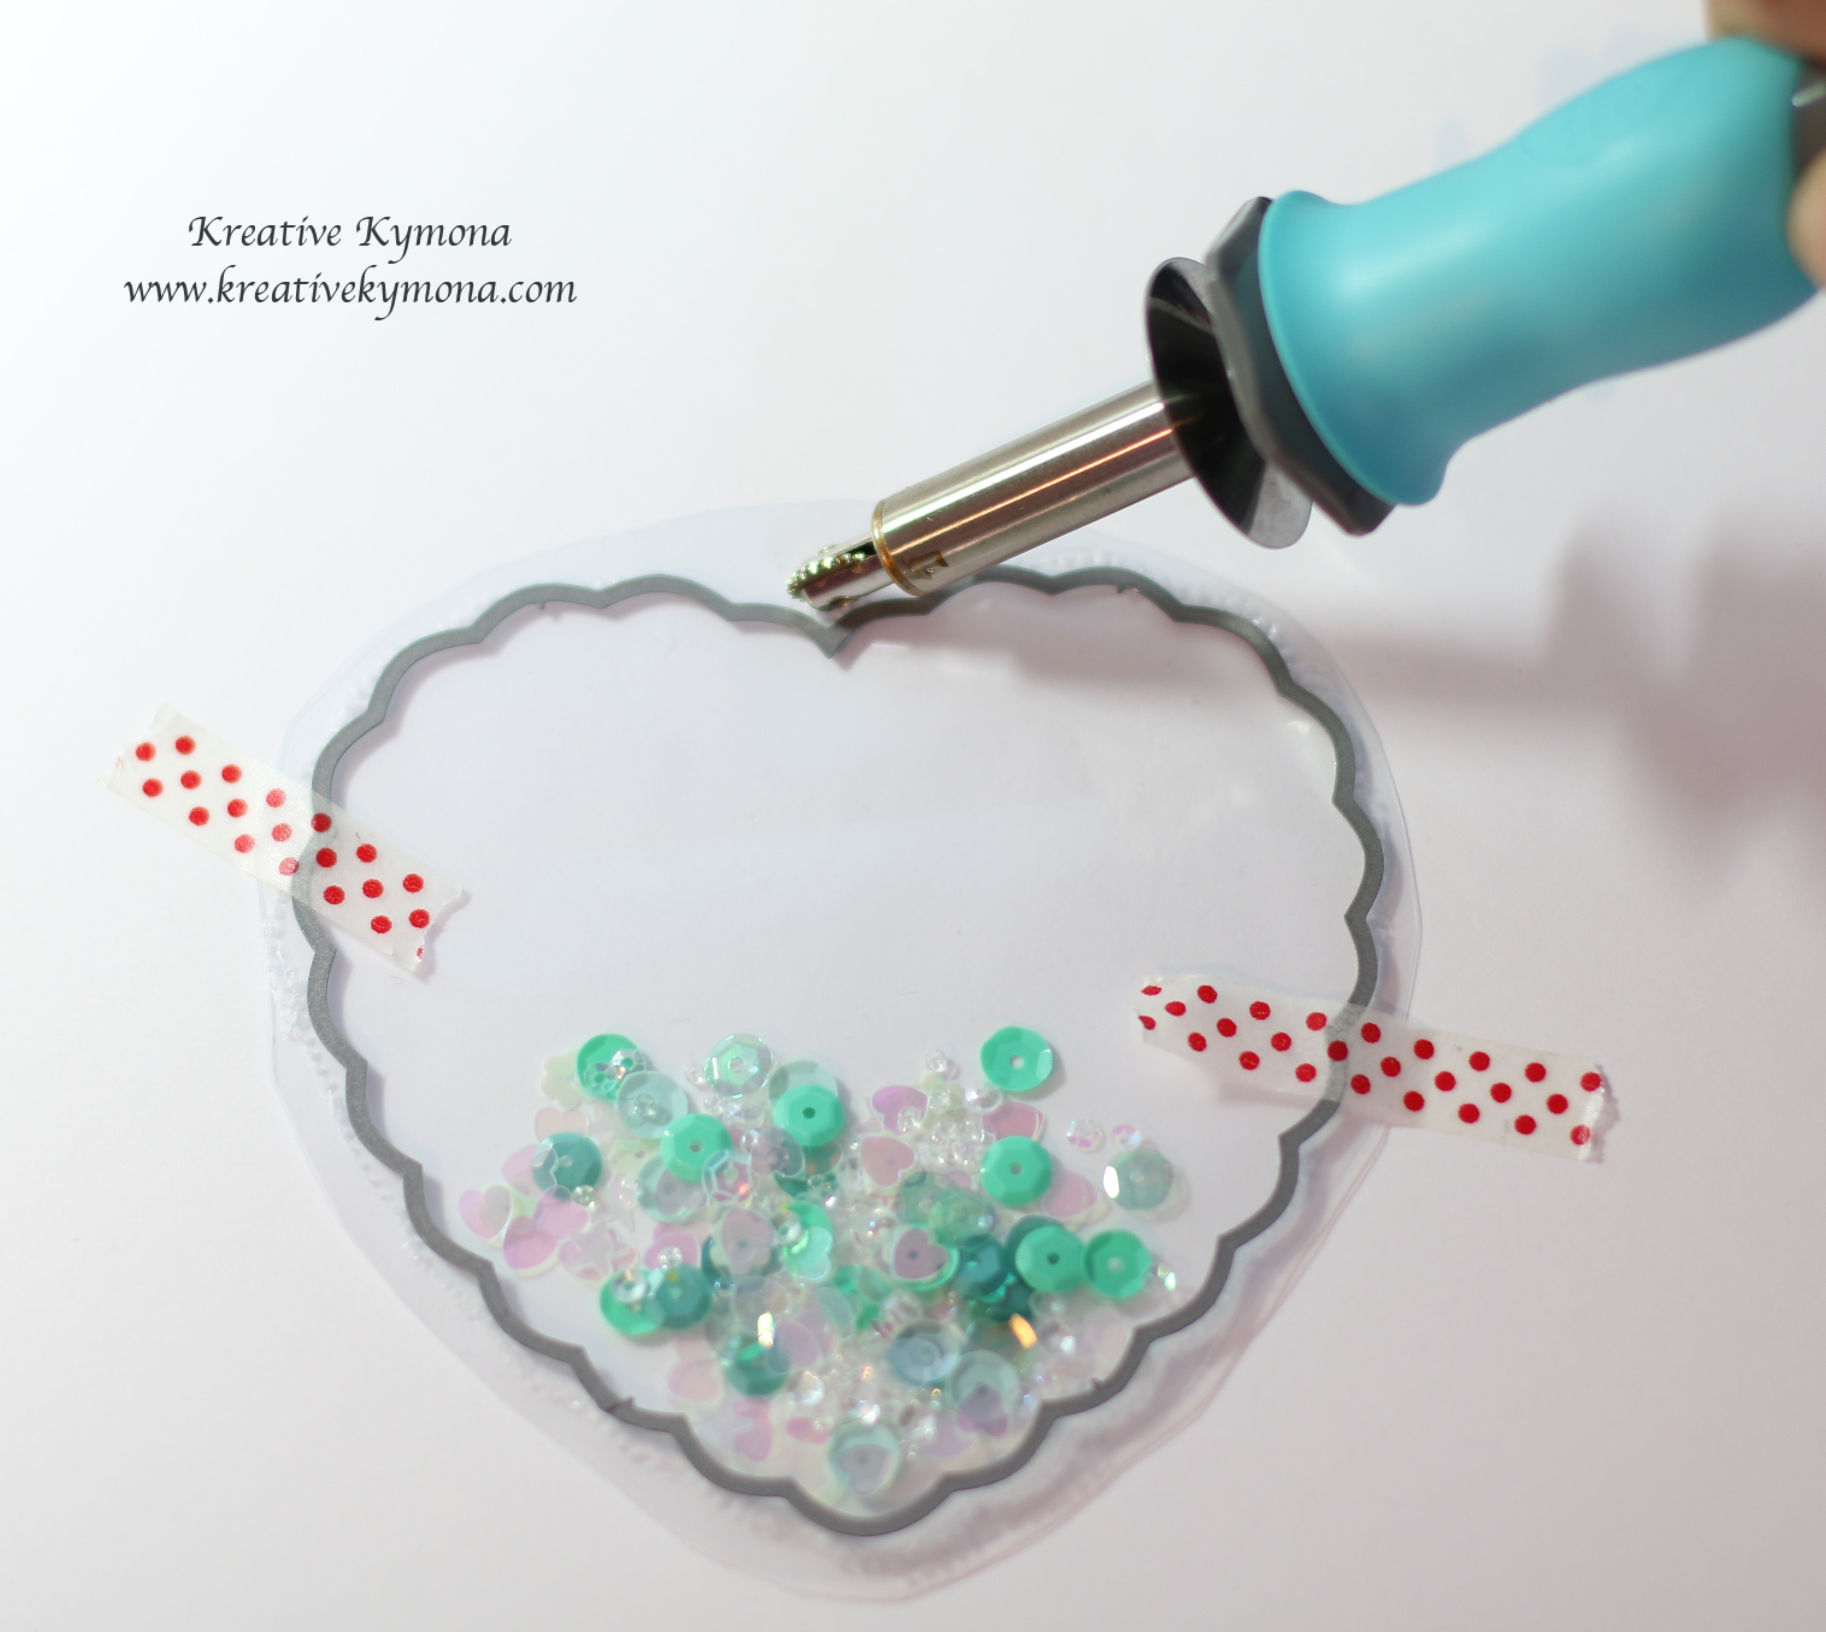
4. To create my shaker pocket, I used the heart die and placed it on my plastic window sheet.
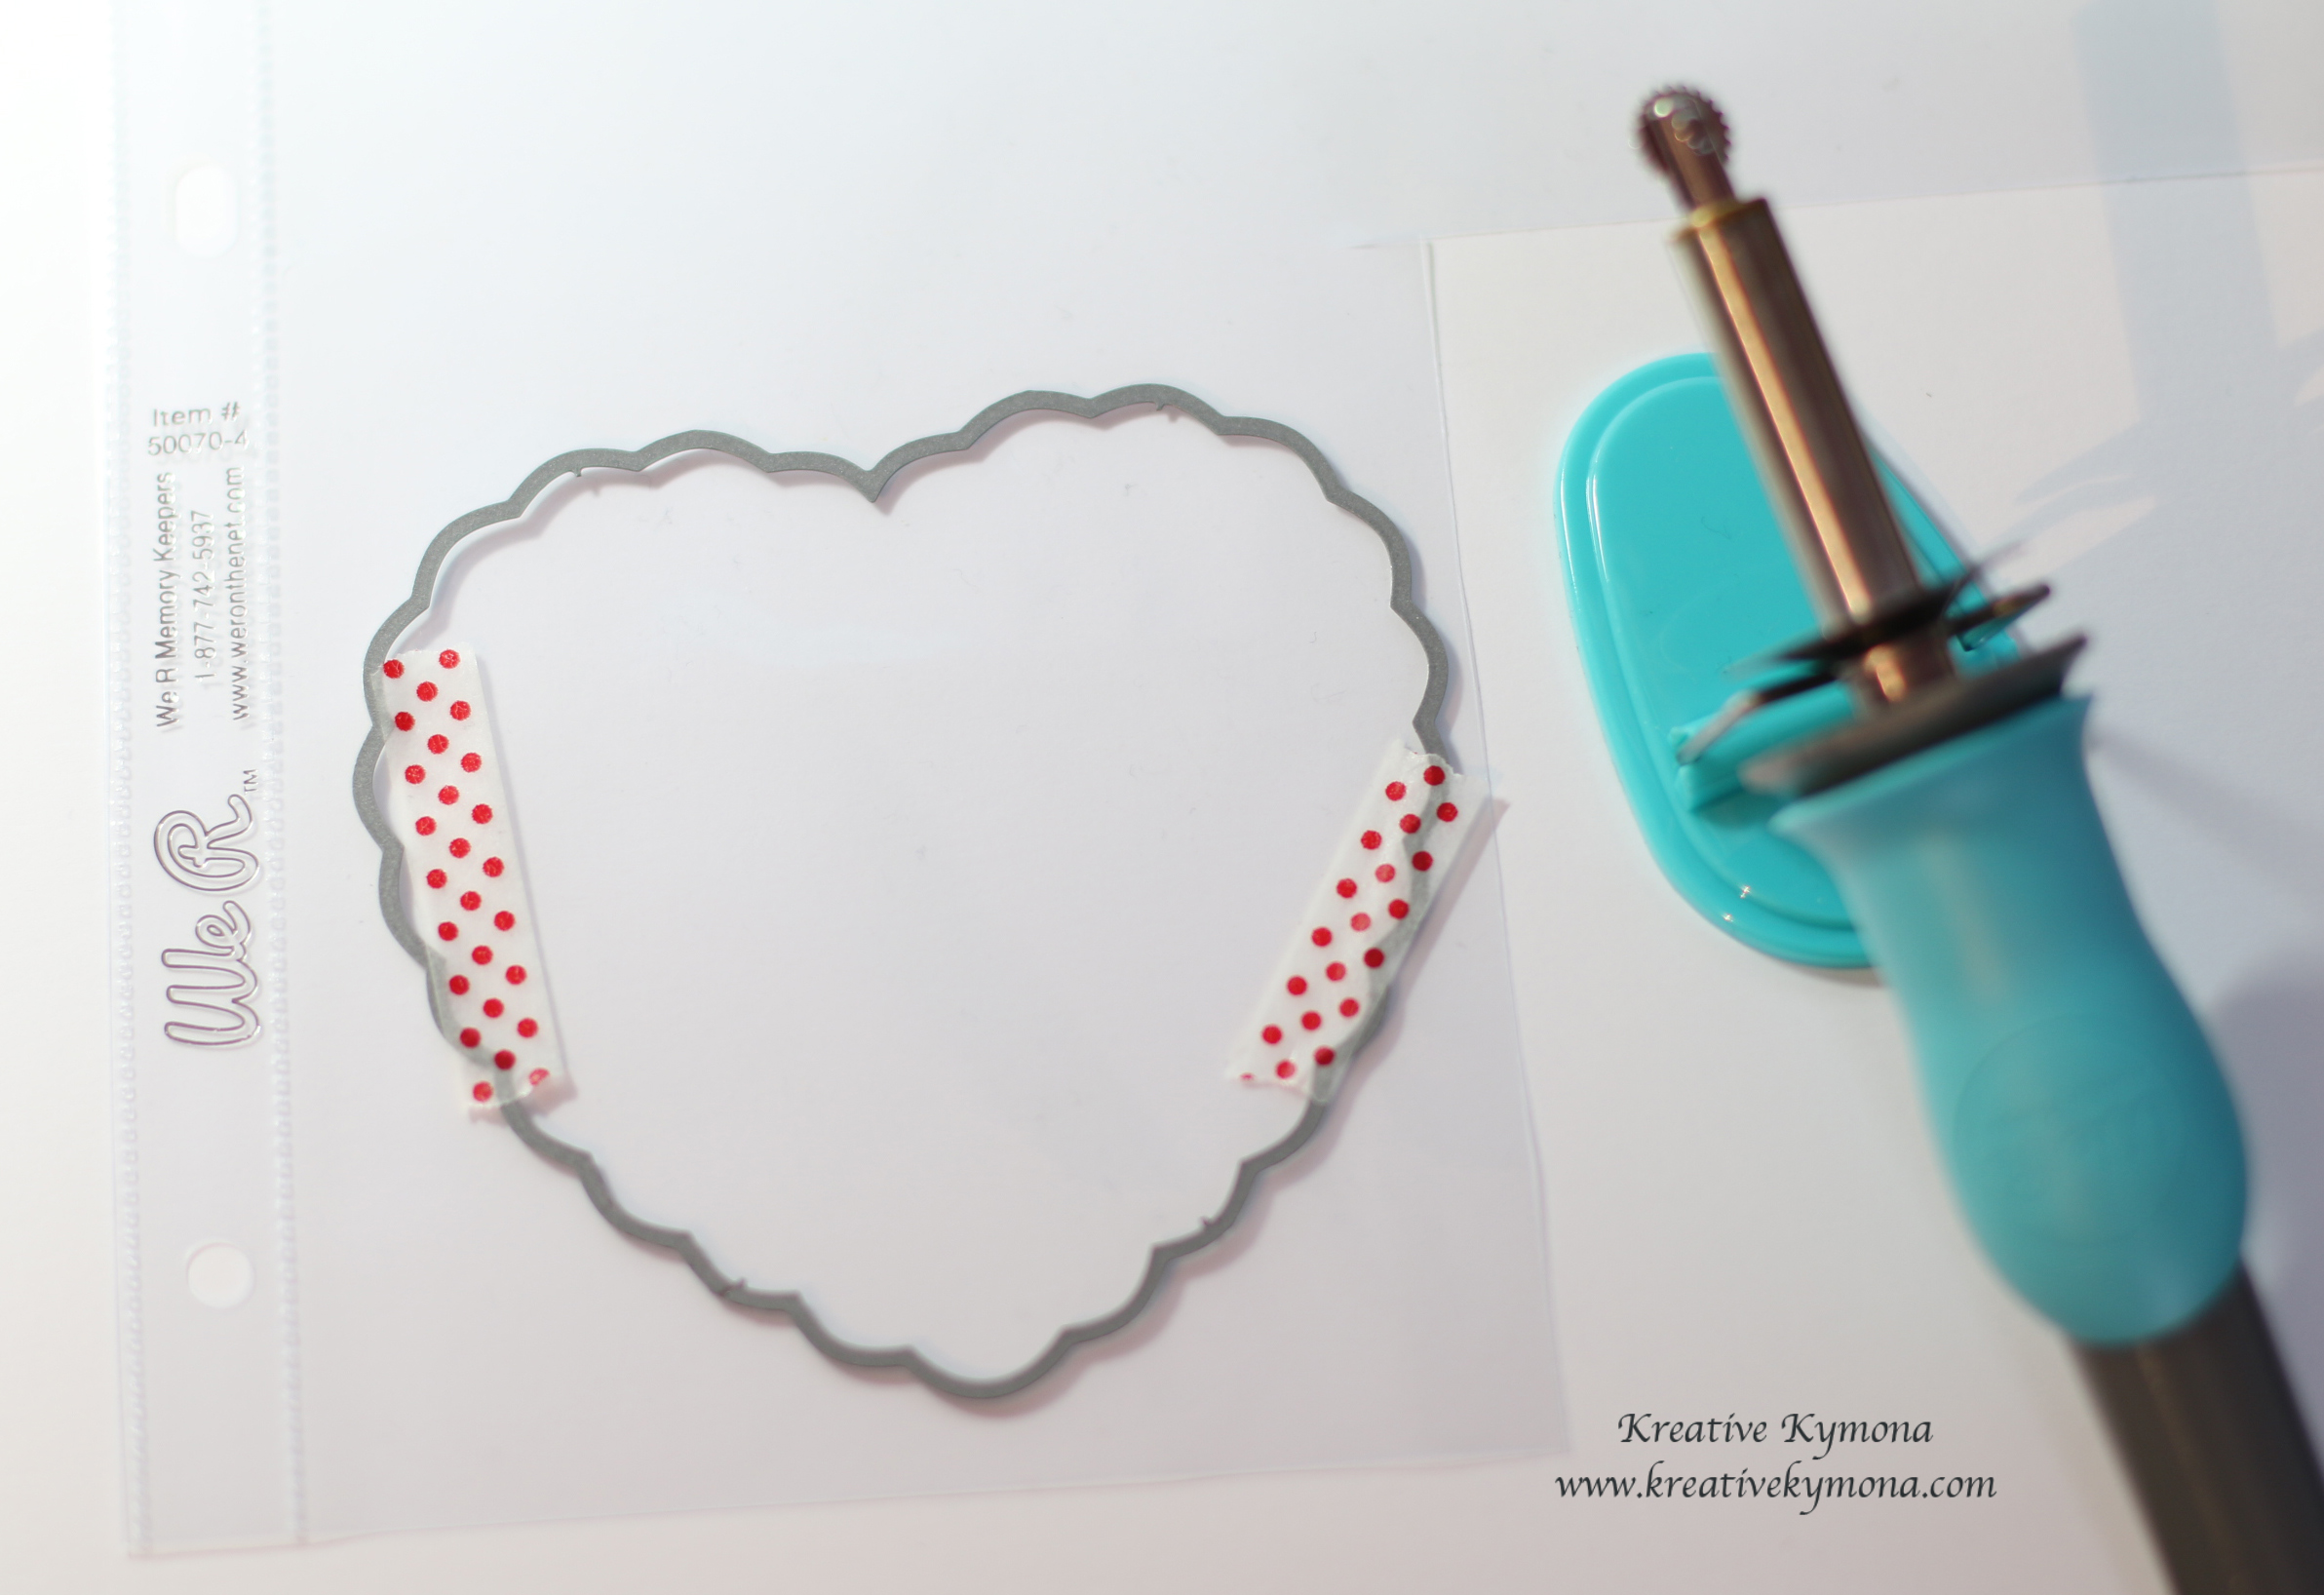
5. I used the fuse tool and traced around the outside of the die to seal the plastic together, leaving a small portion open to add the sequin.

6. I add Lucy Adams Phosphorescence sequin from Lucy’s Card Little Things Collection to my shaker pocket.

7. I lined up the heart die with the shaker pocket and used the fuse to close up the hole in my shaker pocket.
8. I trimmed off the excess plastic around the heart.
9. I die cut my Studio Calico pattern paper, which is the NYC skyline, with the same heart die and adhered it the card base.
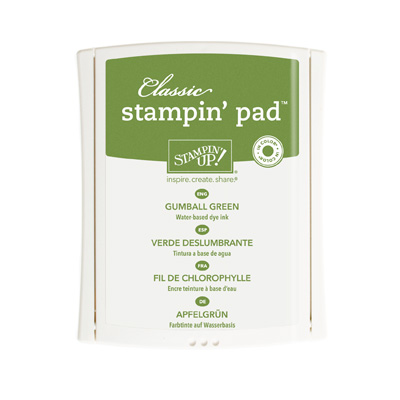
10. I used Mama Elephant Good Times Stamp Set to stamp my sentiment with My Favorite Things Hybrid Ink.
12. I adhered the shaker pocket to the back of the card panel with adhesive.
13. I wanted the card panel to lift off of the card base so I added Stampin’ Up! Dimensionals and adhered the card panel the card base.
Super easy to create!! This has to be my all time favorite card to make now that its so easy.
Now on to talented Nicki Sheck for her fun shaker card!!
Just in case you missed someone or need to start over, I’ve listed my fellow design team members blog for your convenience.
Piali Biswas
Natalie Dever
Marcia Dehn-Nix
Kymona Tracey ← You’re here
Nicki Sheck
Jeanne Jachna
Vickie Zimmer
Kelly Griglione
Now all I need you to do is fill out the form below for your chance to win. Super easy and exciting.

Supplies use:


Happy Hopping and Shaking!
Thanks for stopping by!
~Kymona