Hello everyone!! I’m here with Top Dog Dies and their new phenomenal release.
They release 7 new dies on yesterday and I want to share all of them with you today!!

Pocket Pages Banner Die

Pocket Pages Summer Die

Pennant Banner Die

Pretty Petals 2 Die

Pretty Petals 3

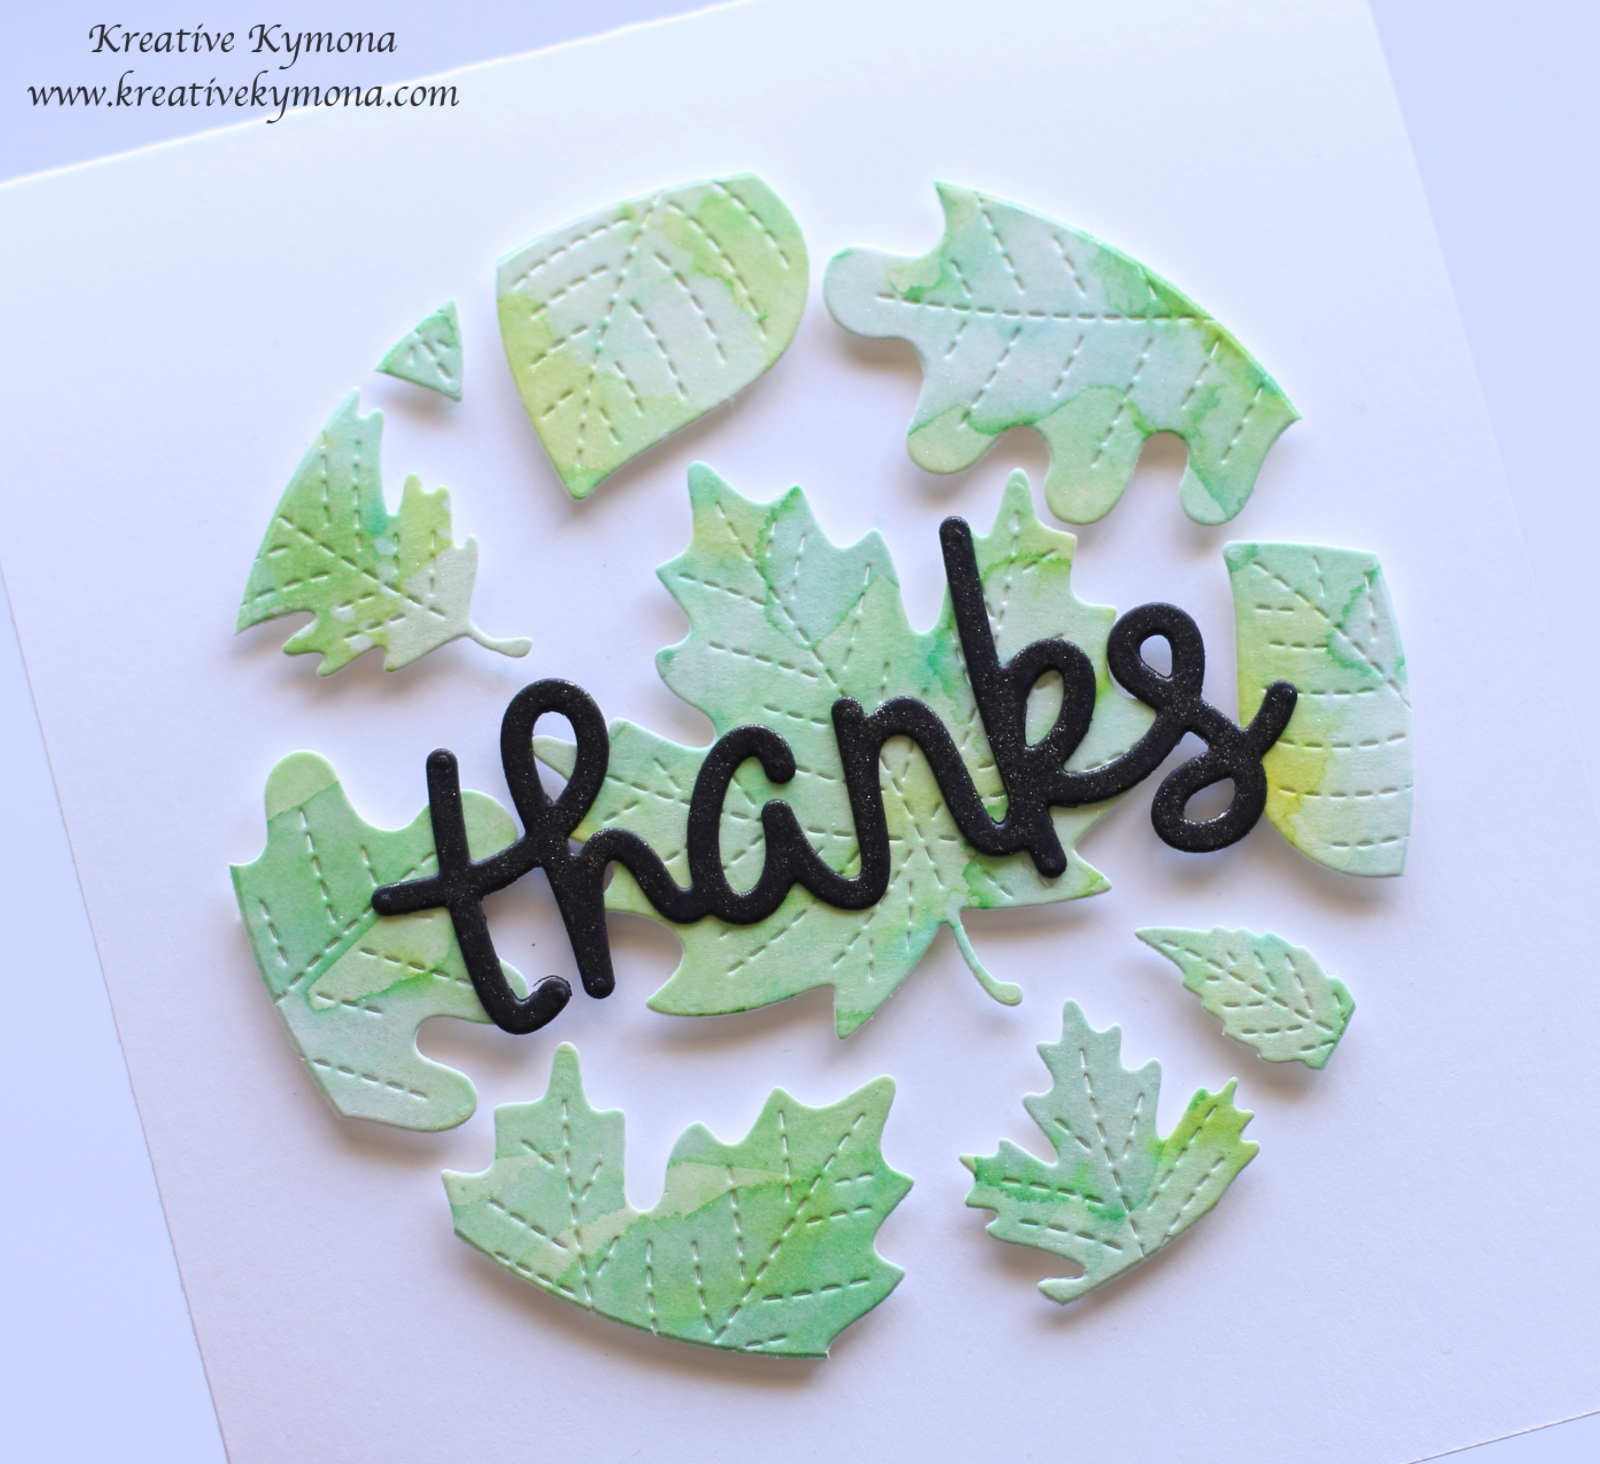
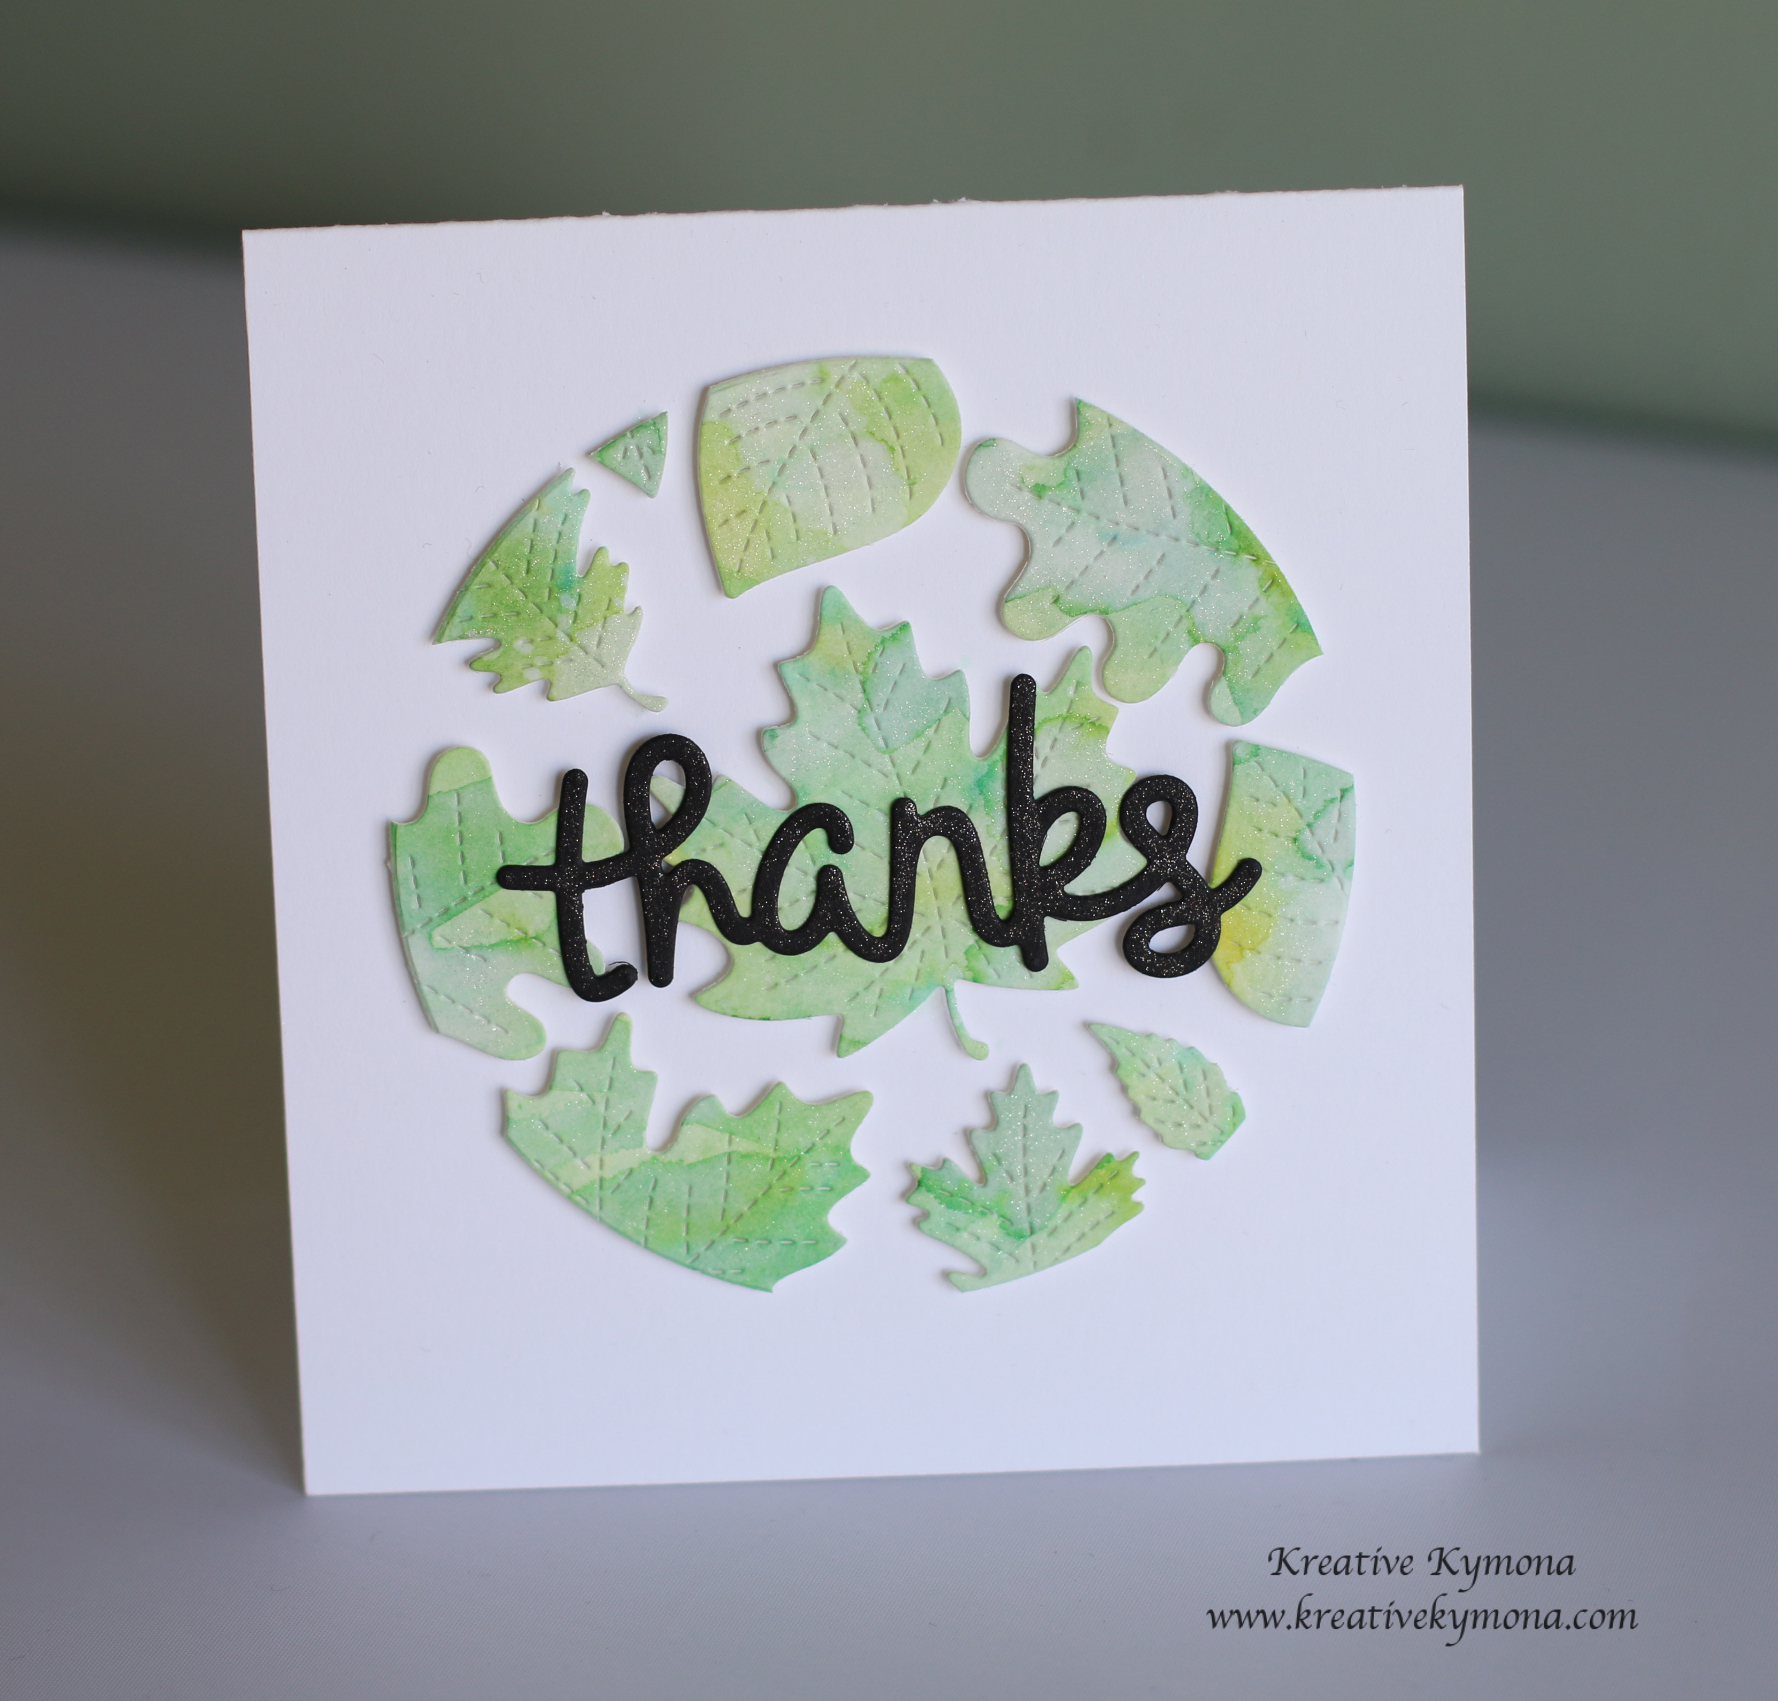
Leaves Die

Wedding Die Set
Aren’t these dies fantastic!! This release is such a great release!
Here are some of my cards that I create for this release.

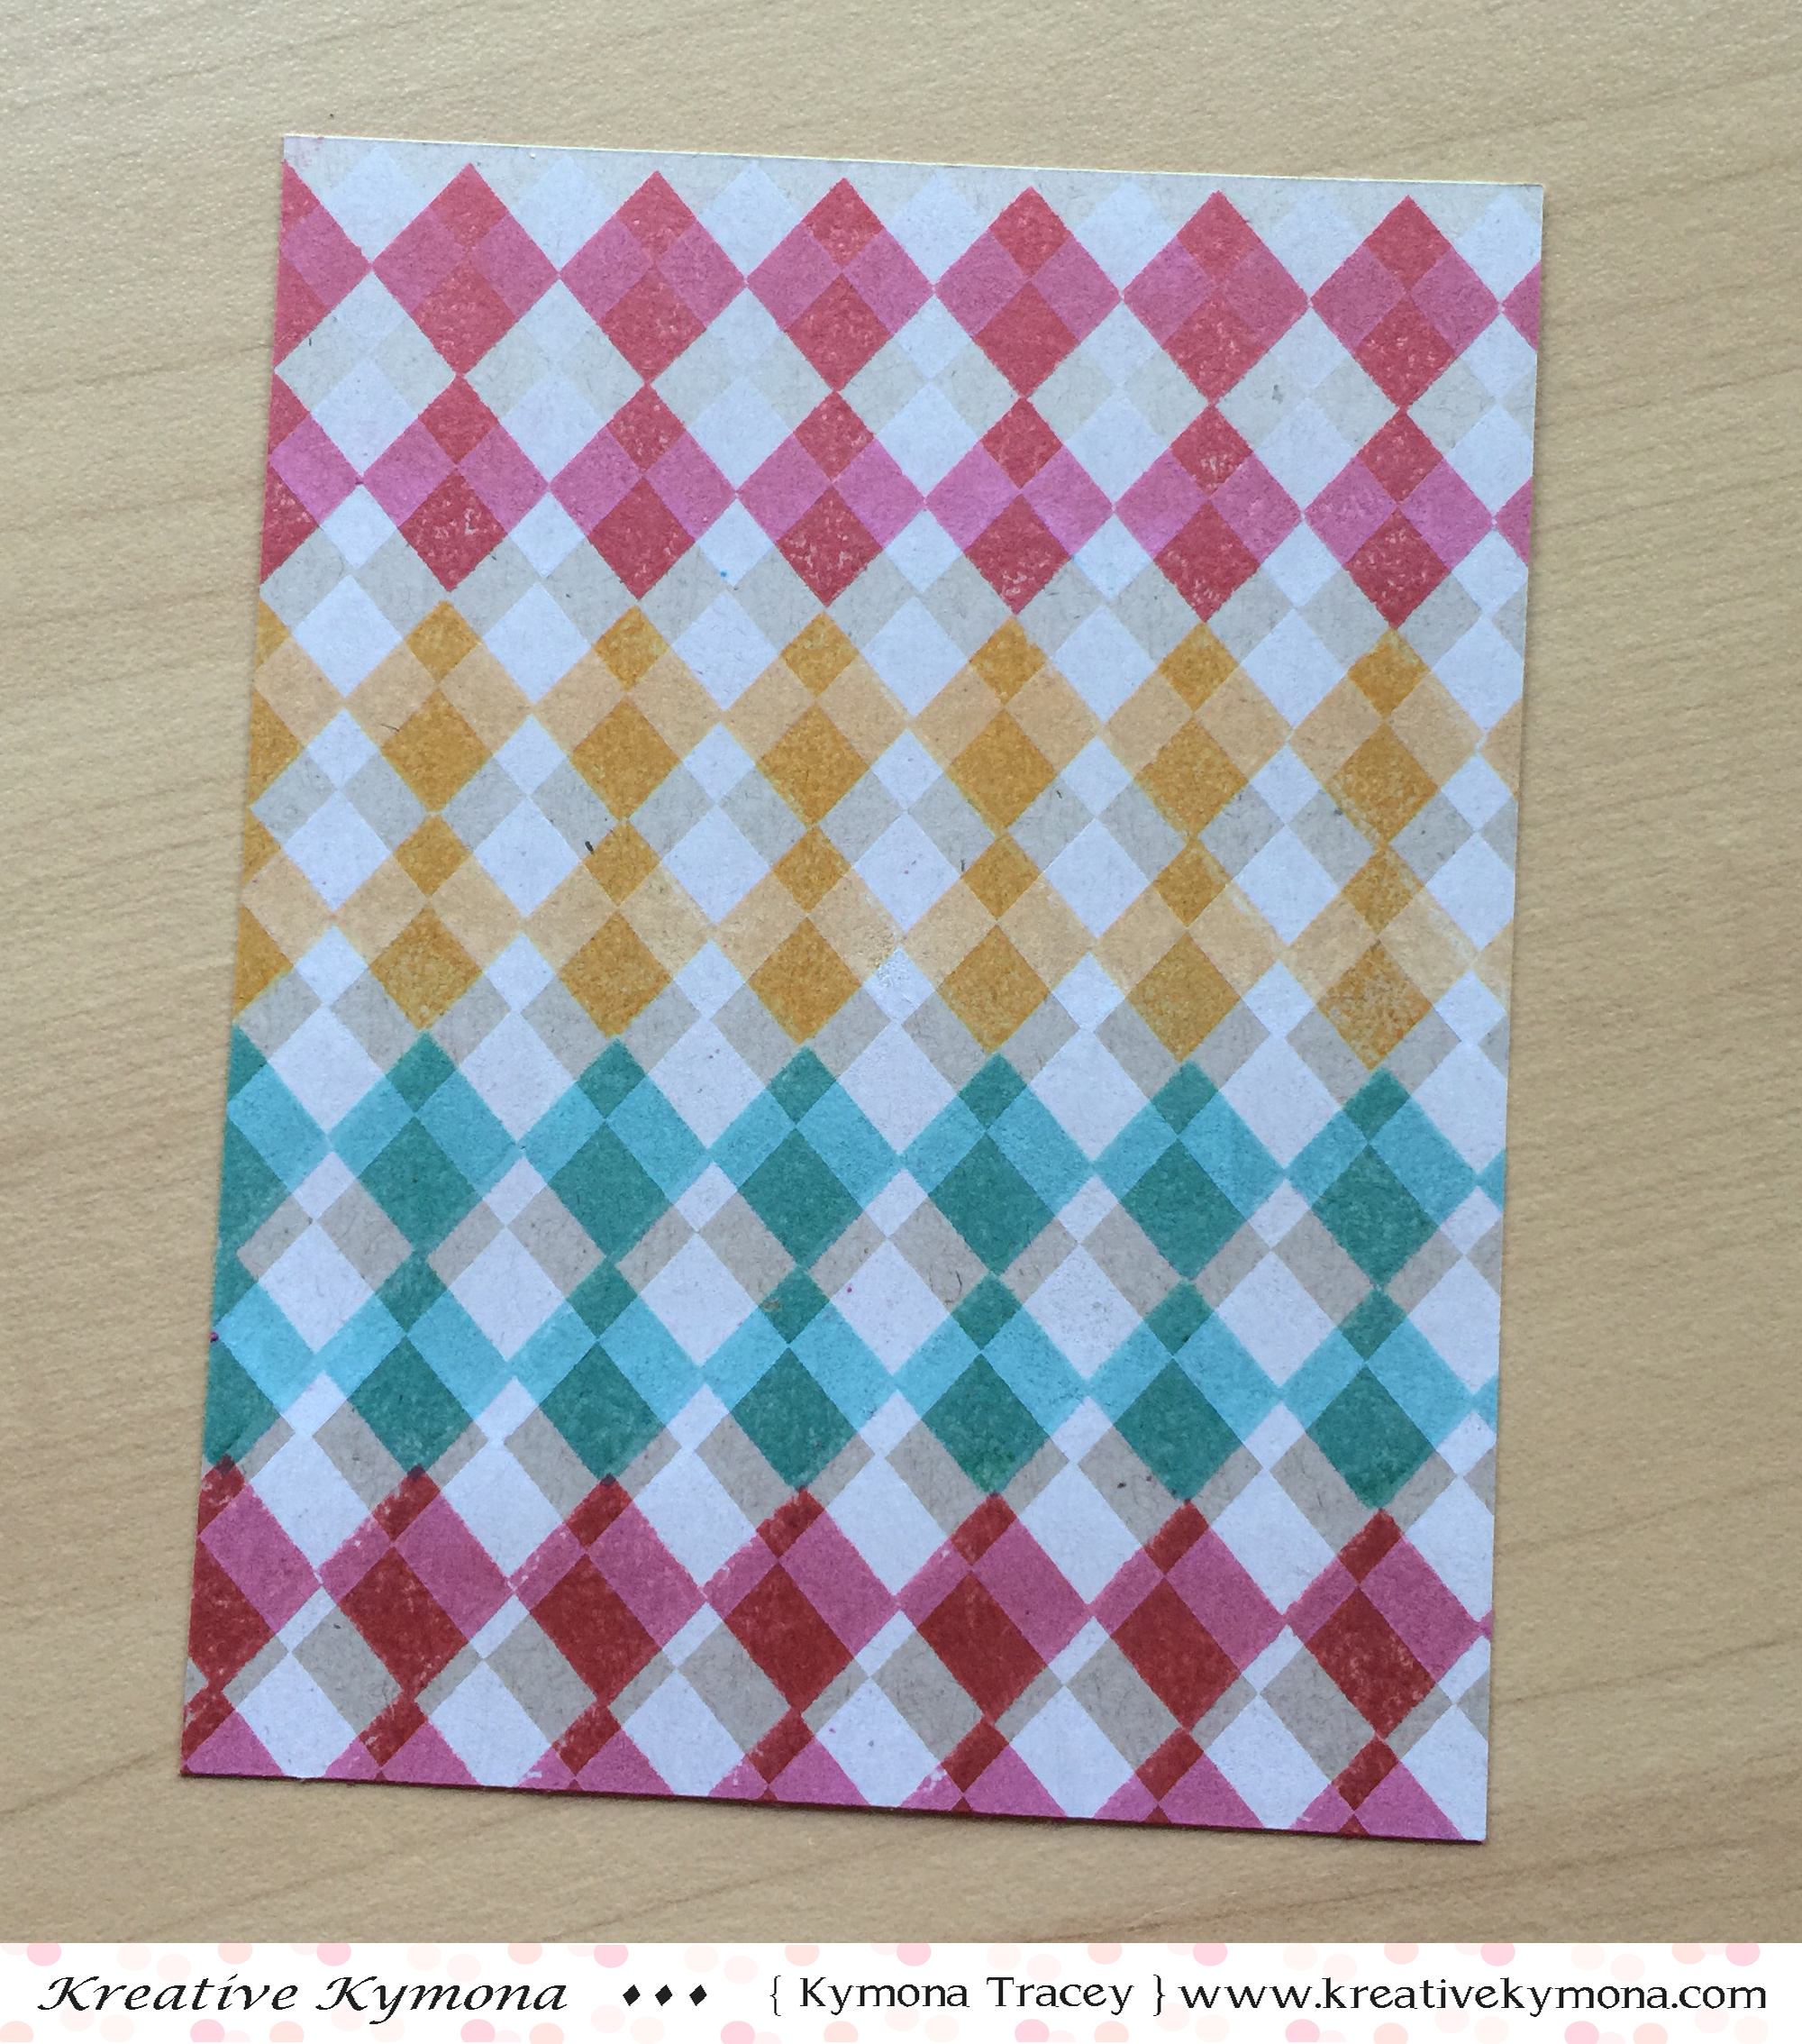
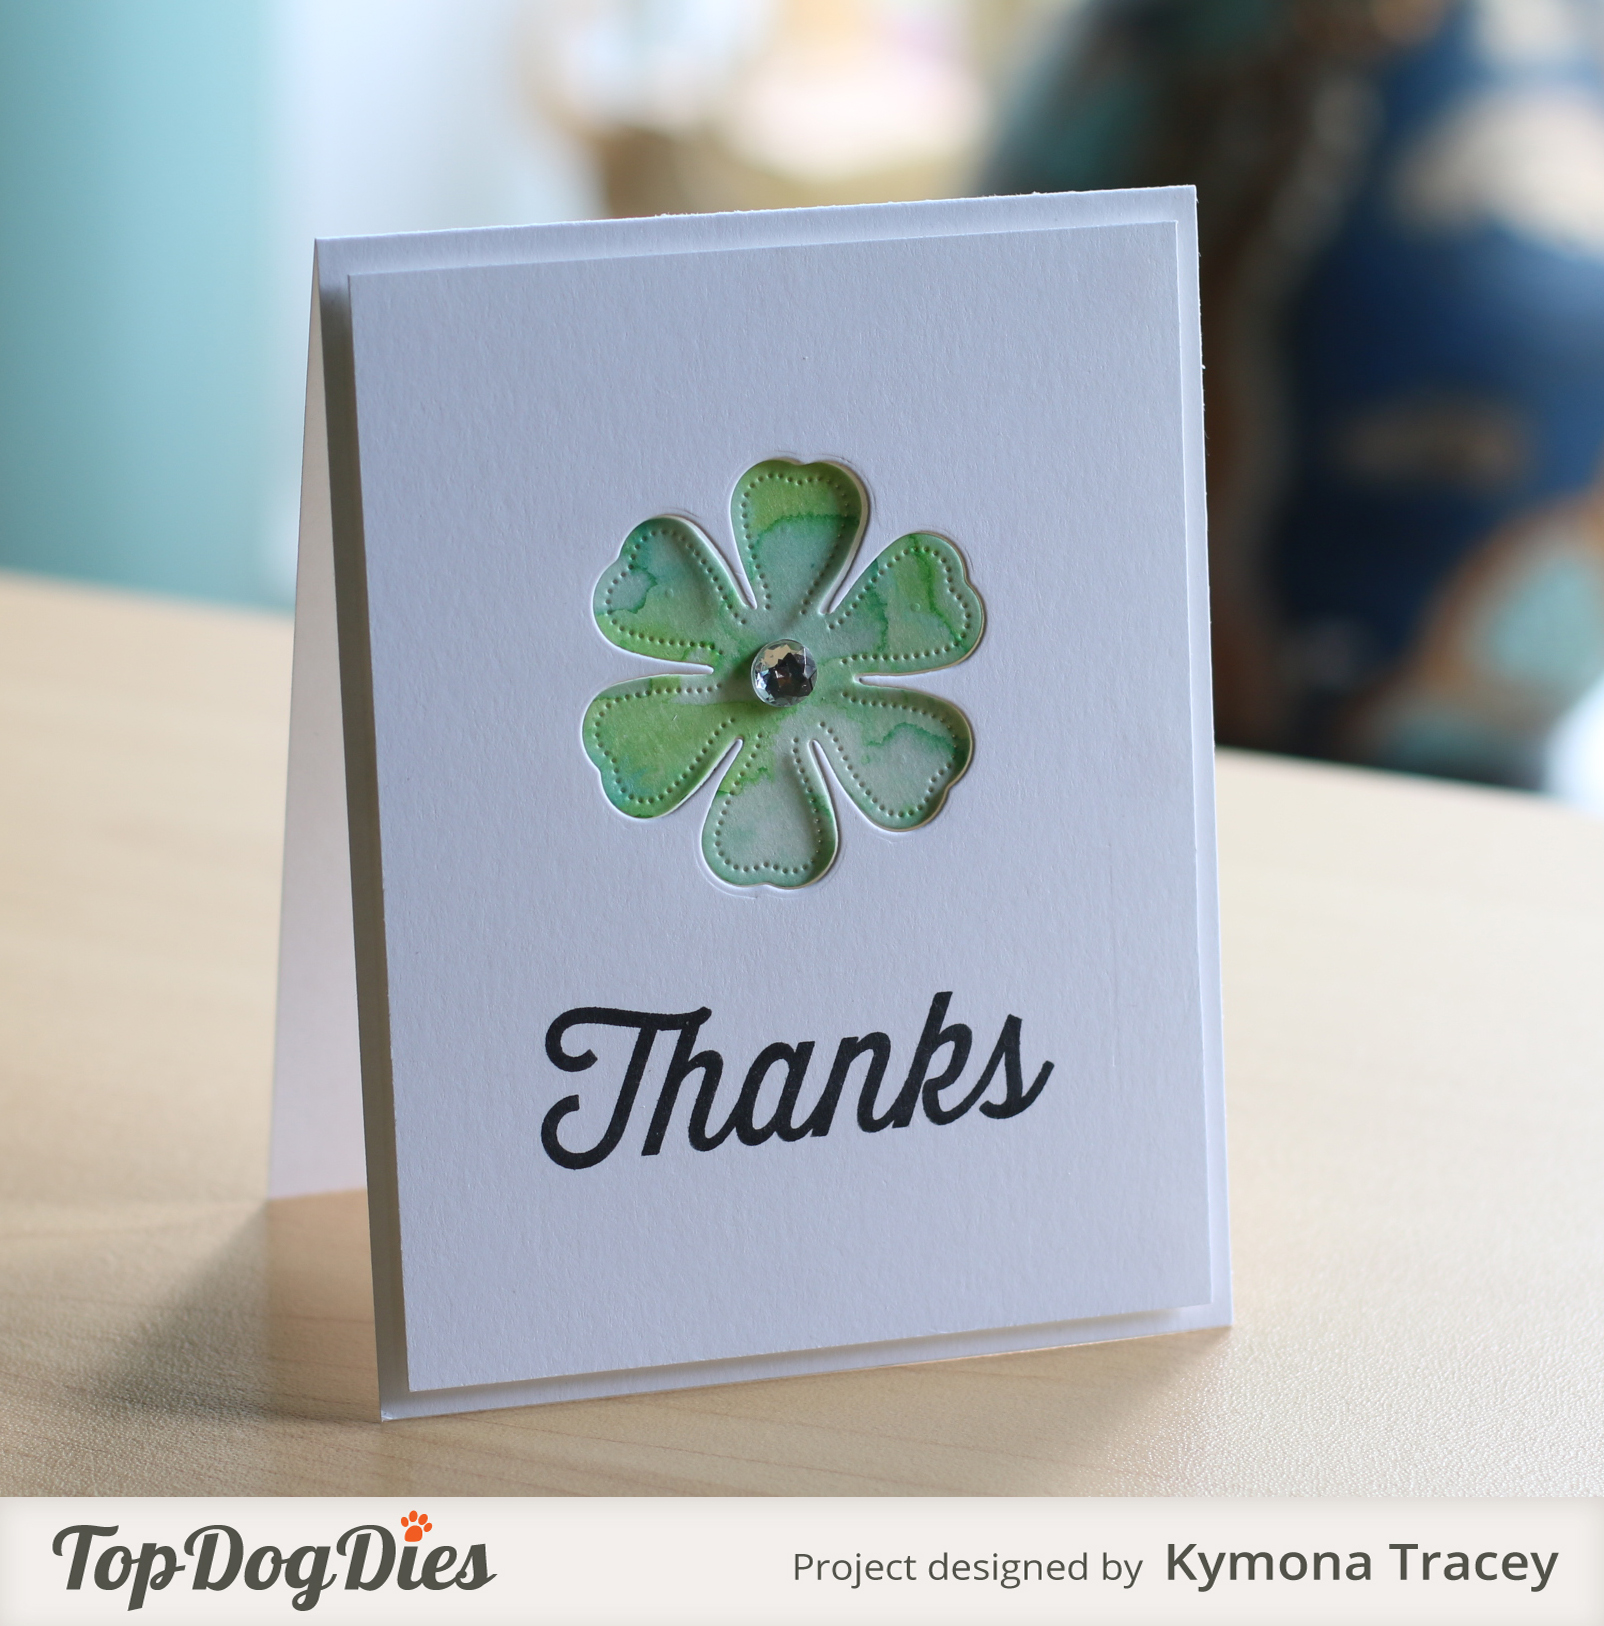
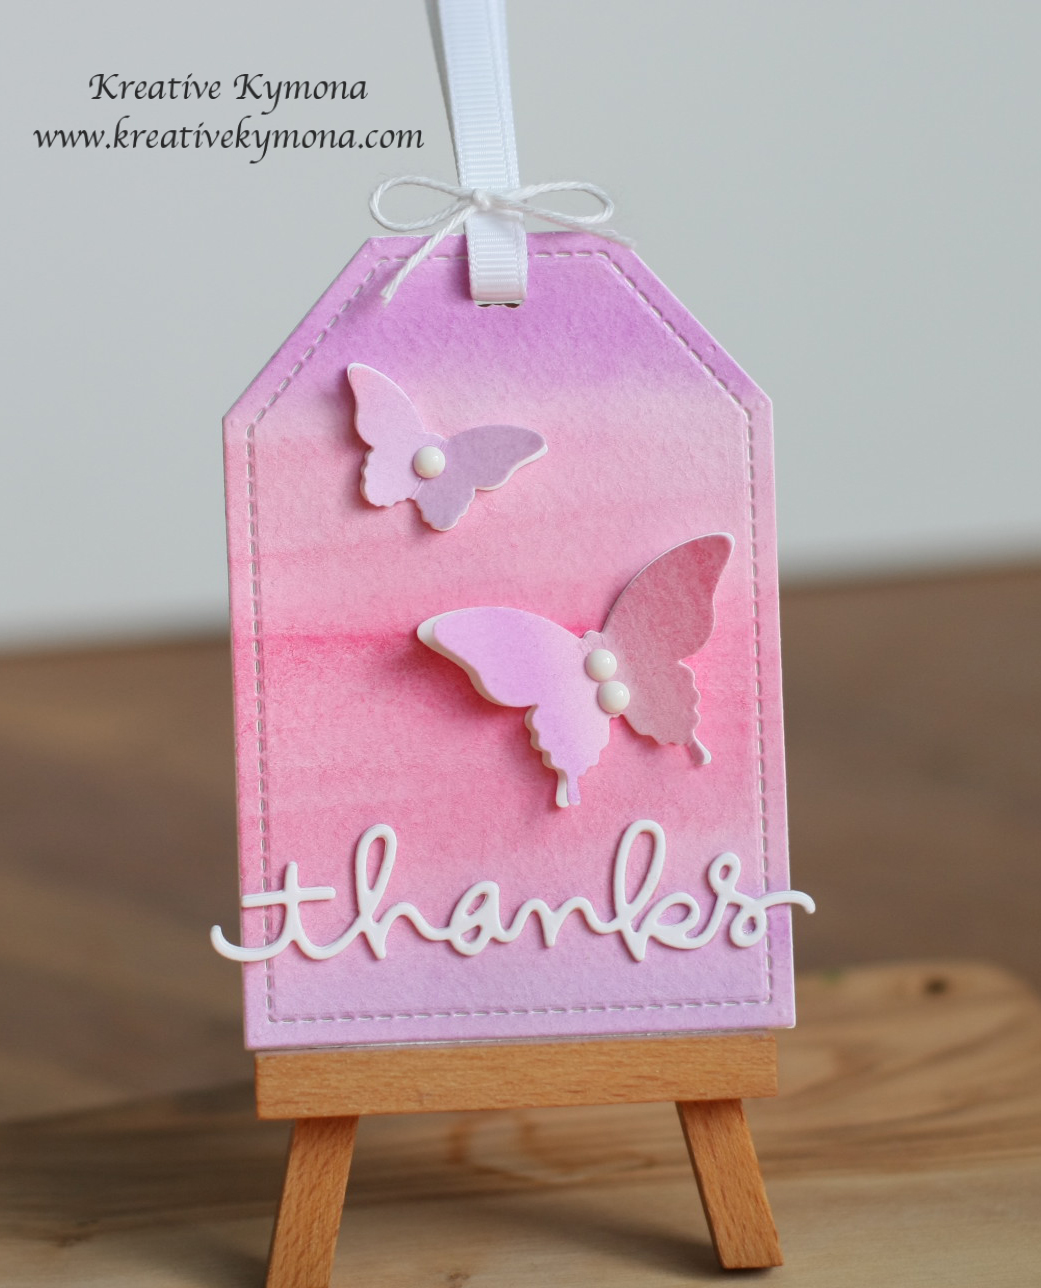
For this card, I used the Top Dog Dies Pretty Petals 2 Die and die cut the card panel and a watercolor panel.

I adhered the watercolor flower to the card base. Then I used foam adhesive to attach the card panel.
I used Papertery Ink Enclosed: Apple Mini Stamp Set to stamp my sentiment in My Favorite Think Hybrid Black Ink.
I added a retired Stampin Up large rhinestone in the center.

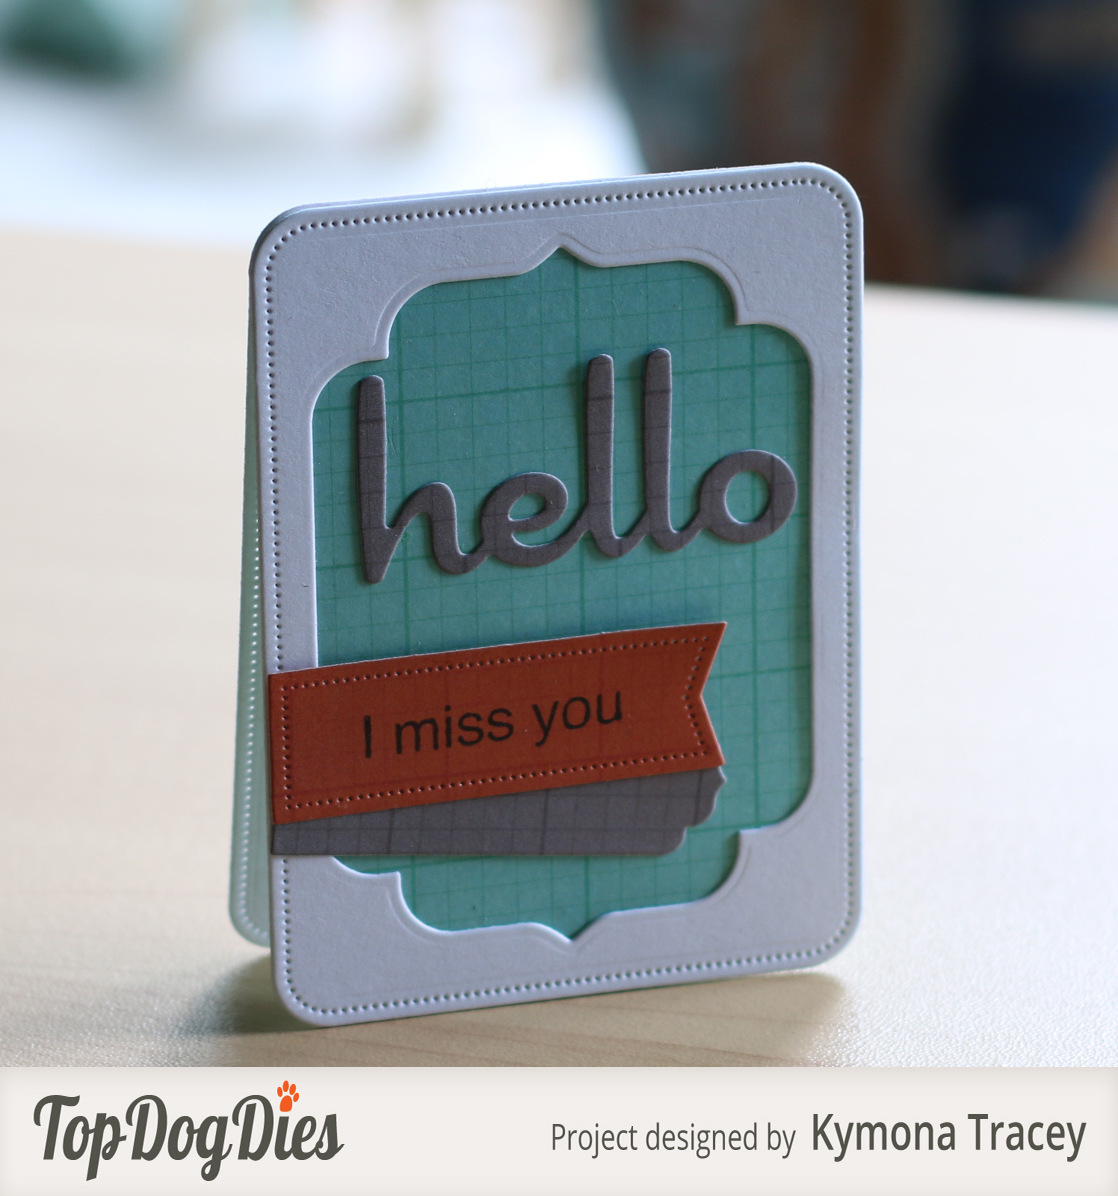
For this card, I used the Top Dog Dies Pocket Pages Banner Die Set and Top Dog Dies Hello Die Set to create this card.
I die cut all of the pieces out of Snap Studio Just the Basics pattern paper and adhered them to my pocket page card.
To create this card, I just die cut my white cardstock using the two biggest die to create my card front and used only the biggest die for the back panel.
I attached the teal pattern paper behind the front card panel.
I scored a line to the top of the back card panel and added tape to attach the front and the back panel. Since I added a score line the card can open.
I used Simon Says Stamps Lila’s Heart Stamp Set to stamp my sentiment.
Super cute. Cute for a pocket page scrapbook too.
 Now this wedding card is the center of my giveaway which ends May 24th, 2015 at 11:59pm.
I created this card using Top Dog Dies Wedding Die Set and Top Dog Dies Pocket Pages Summer Die Set.
I’m giving away the Wedding Die to one lucky person who leaves me a comment on that blog post.
I die cut all of the pieces and adhered them to my card front using tape.
I used Simon Say Stamp Congratulations Stamp Set and stamped my sentiment.
I attached retired Stampin up clips to the top of the frame.
So what do you think? I hope you enjoy what you see.
Guess what?
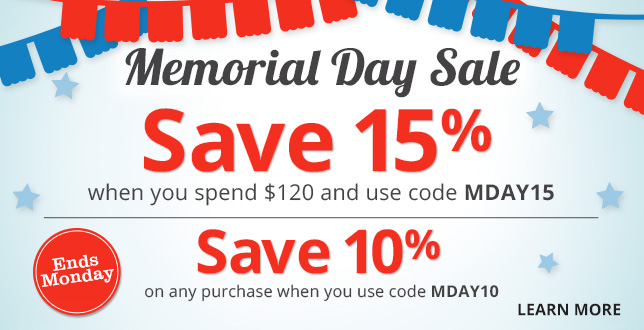
On top of my giveaway, Top Dog Dies is having a sale!!

You don’t want to miss this. Here is your chance to get your hands on all of those dies!!
Supplies used:
Card 1:


Card 2:


Card 3:

Thank you for stopping by!
~Kymona