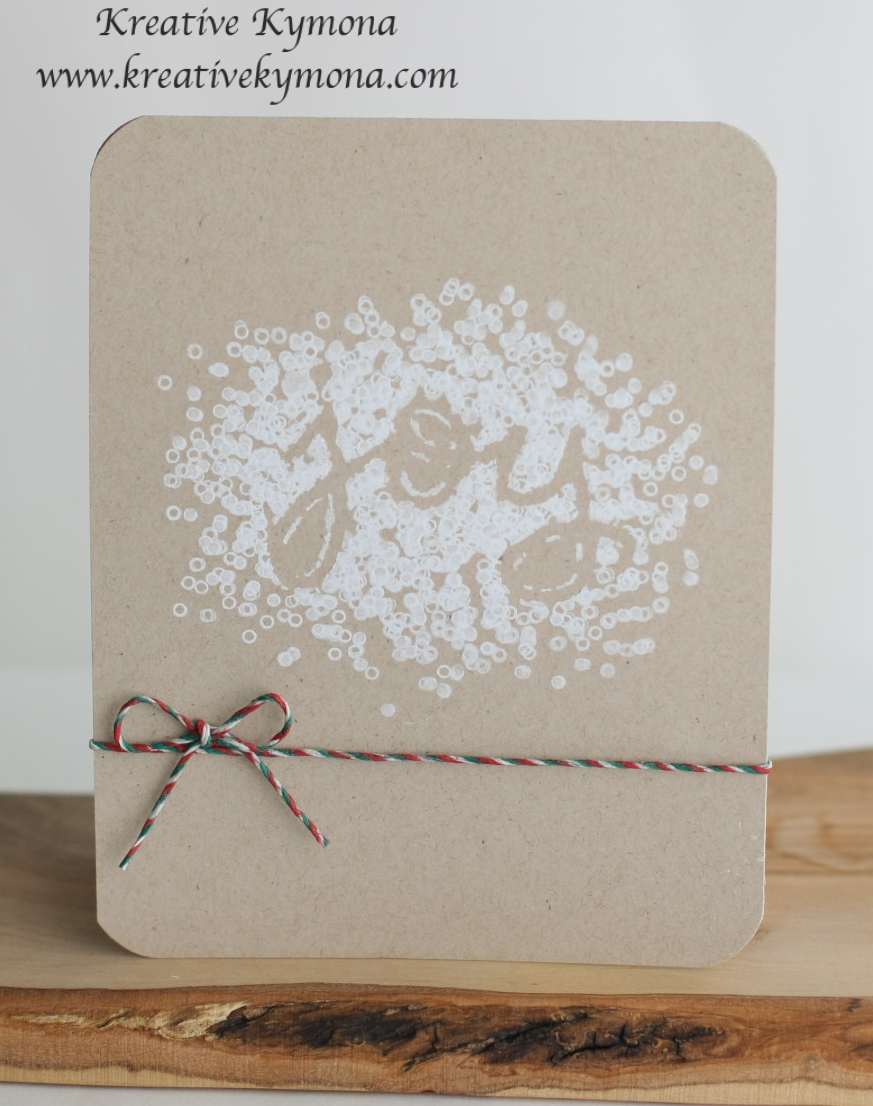
Hello everyone!! I’m here with CS Take It Make It: Take a Technique Inspiration photo for our April Challenge.
Our theme is Take a Technique.
This months challenge is going to be super fun!! Its all about getting Your Color On!
You can color anything as long as its bright, vibrant and full of color. No monochrome, dark or grungy projects, they need to be BRIGHT!! You don’t have to use every color in the rainbow all at once…but think along those lines!!
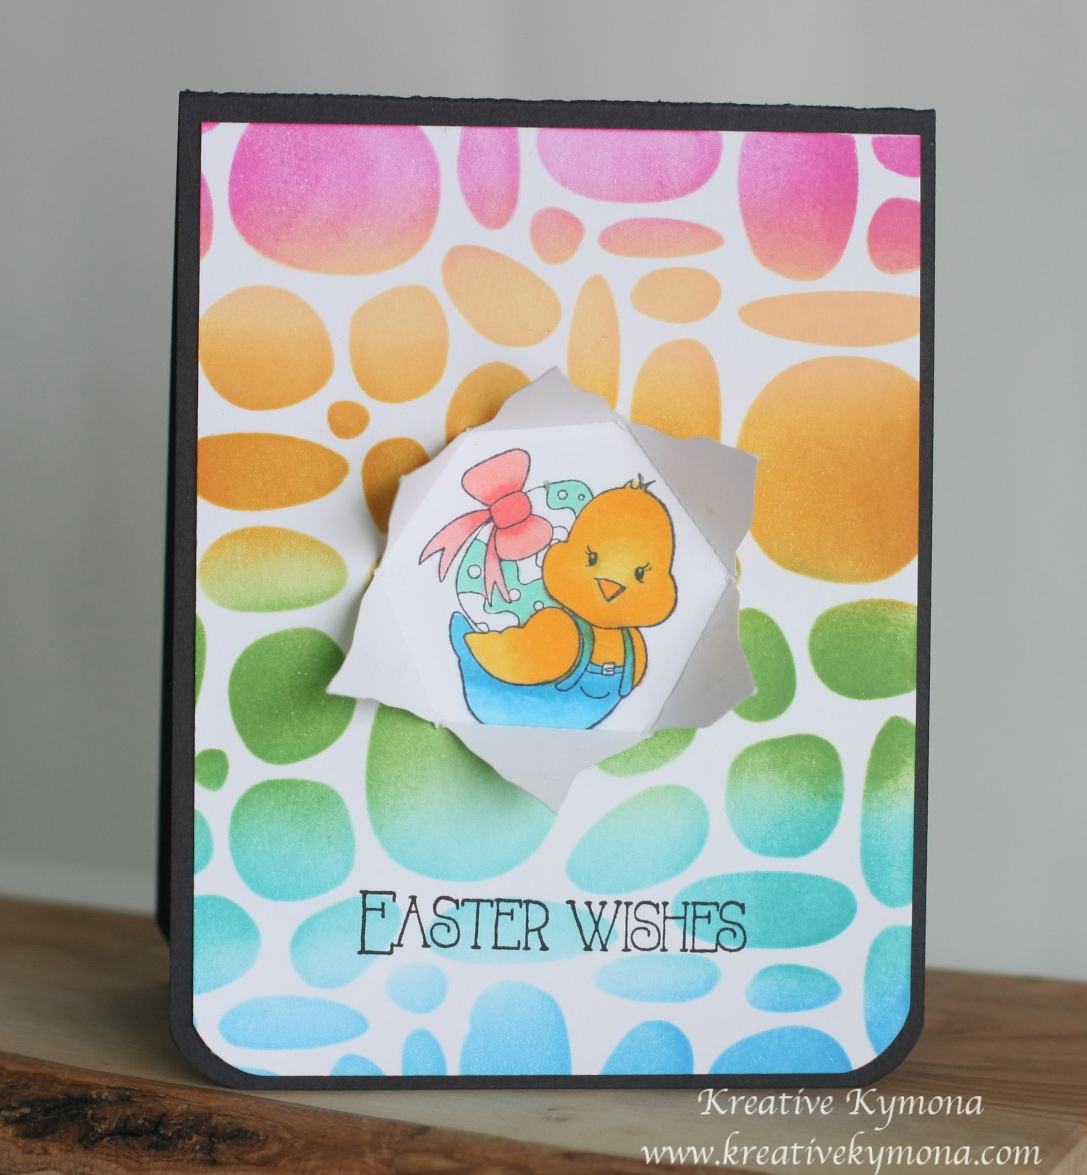
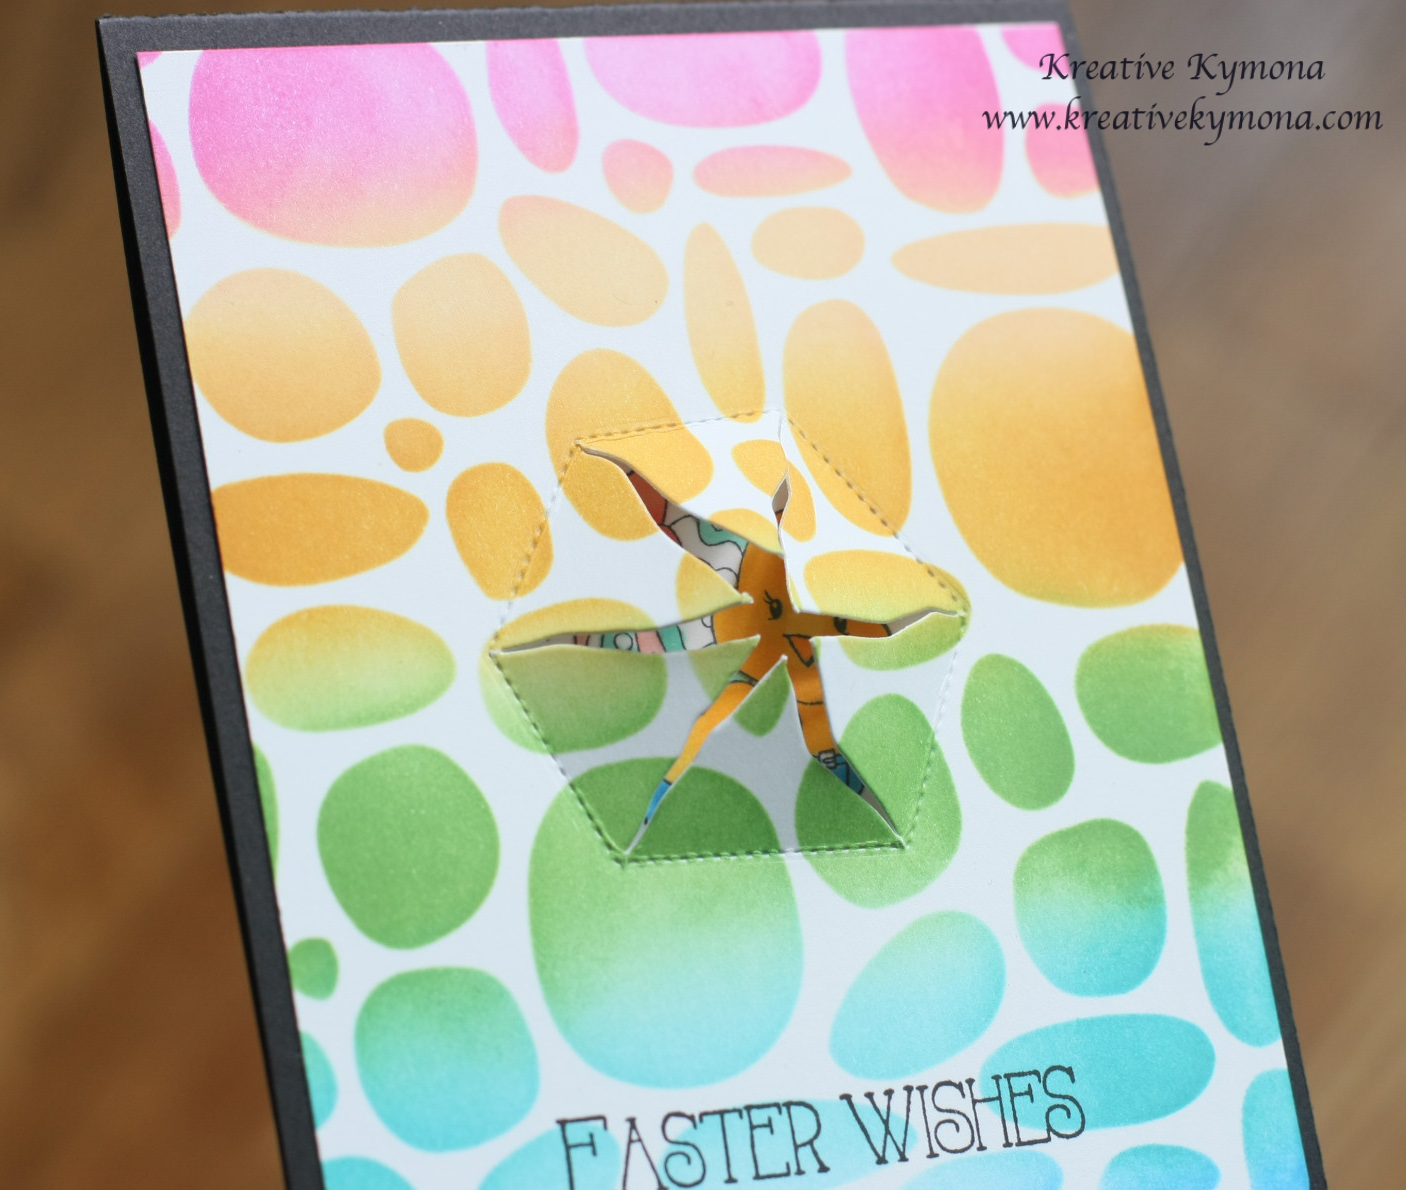
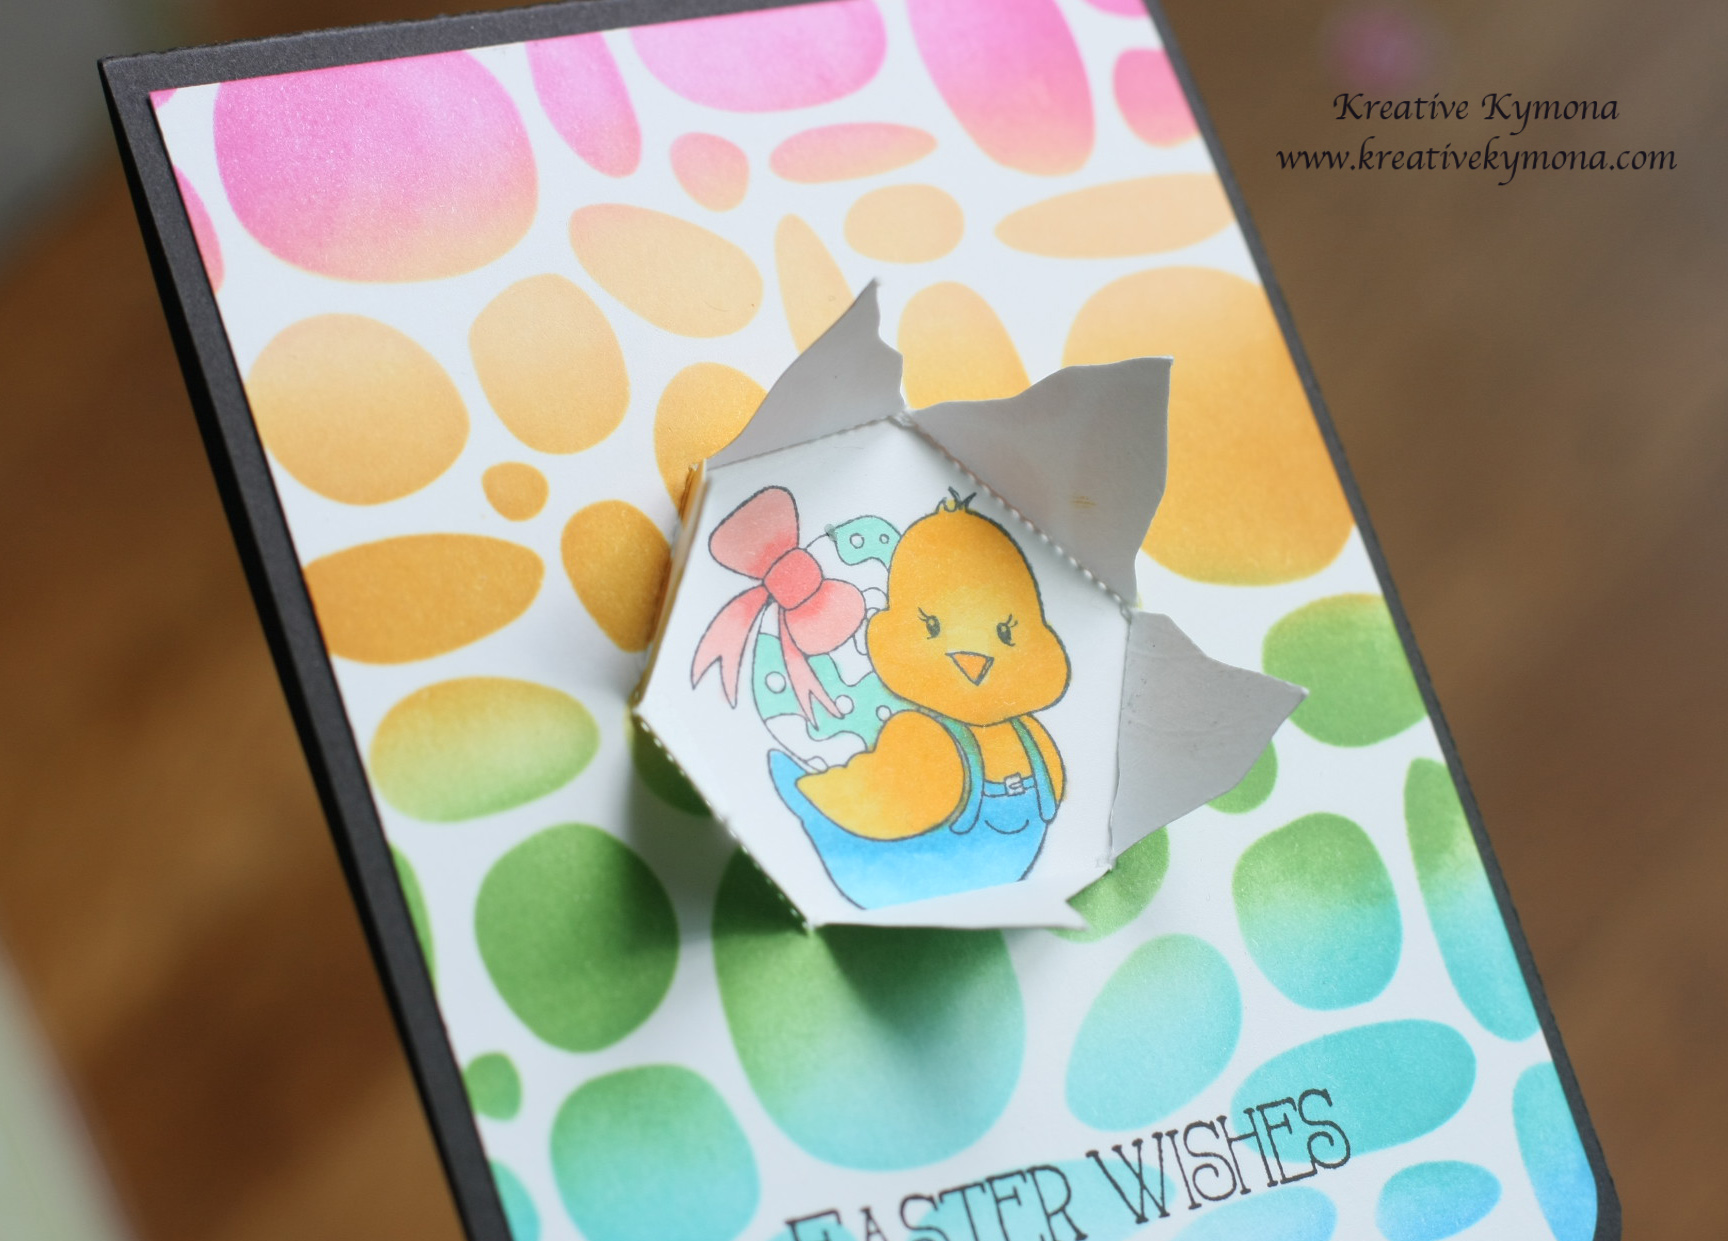
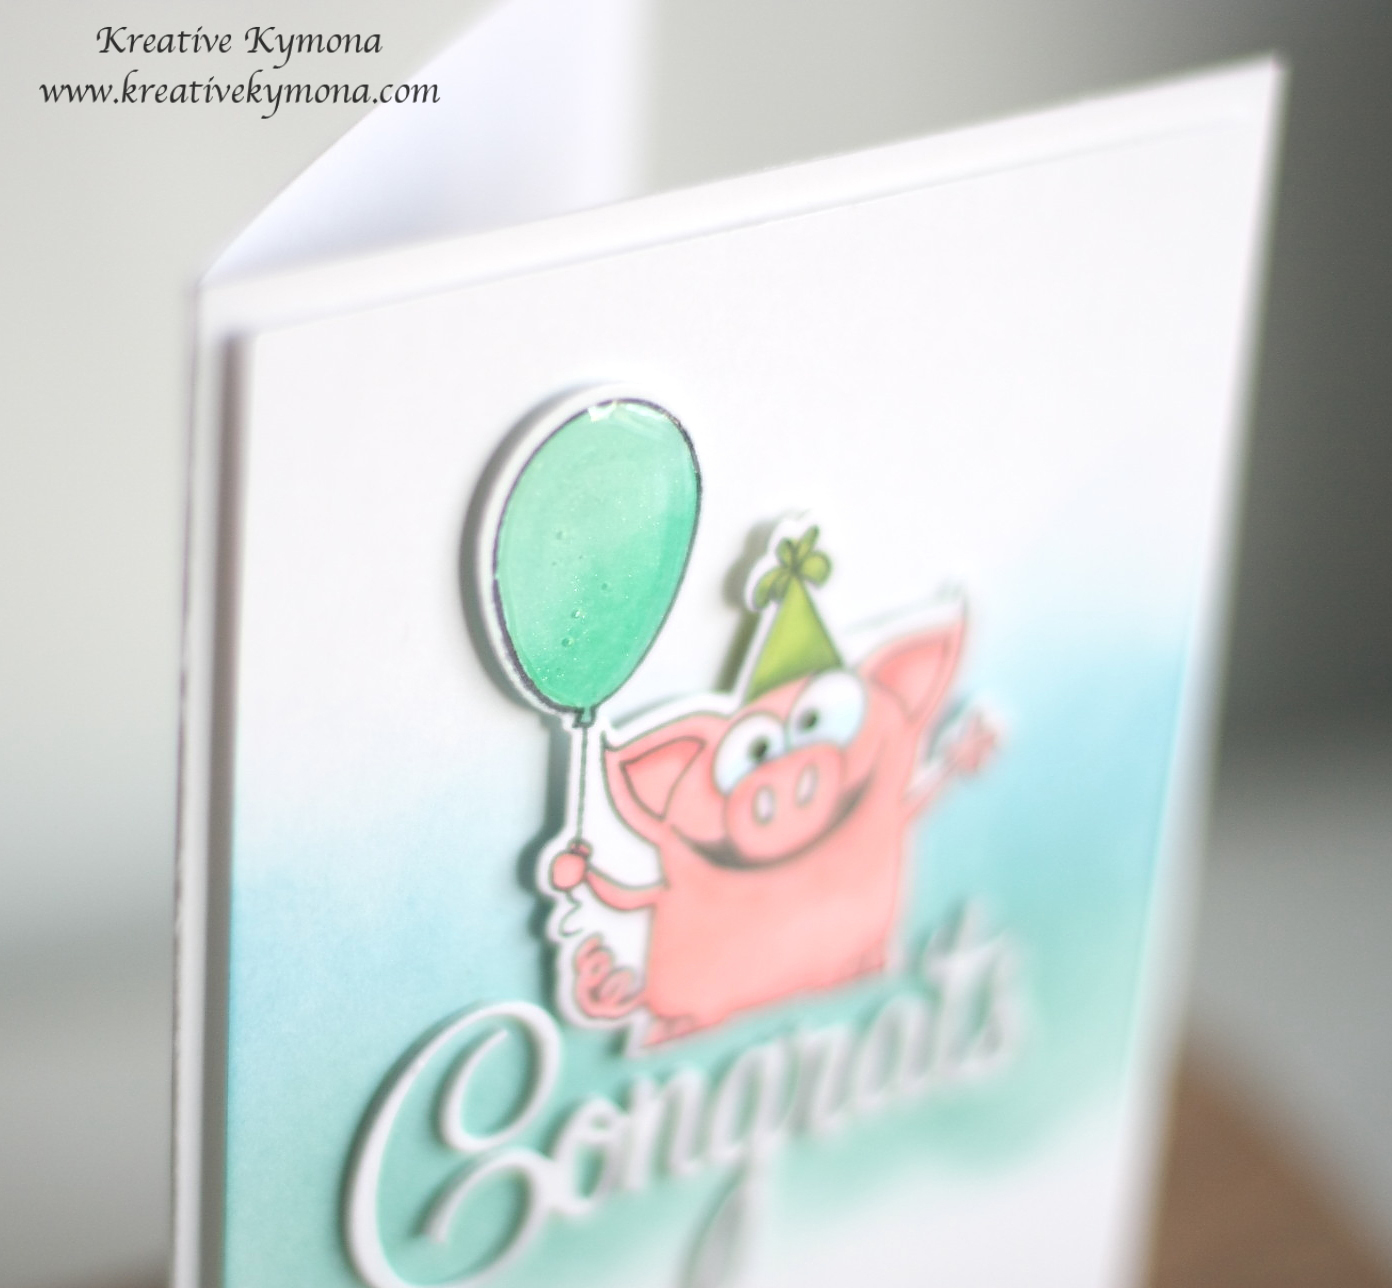
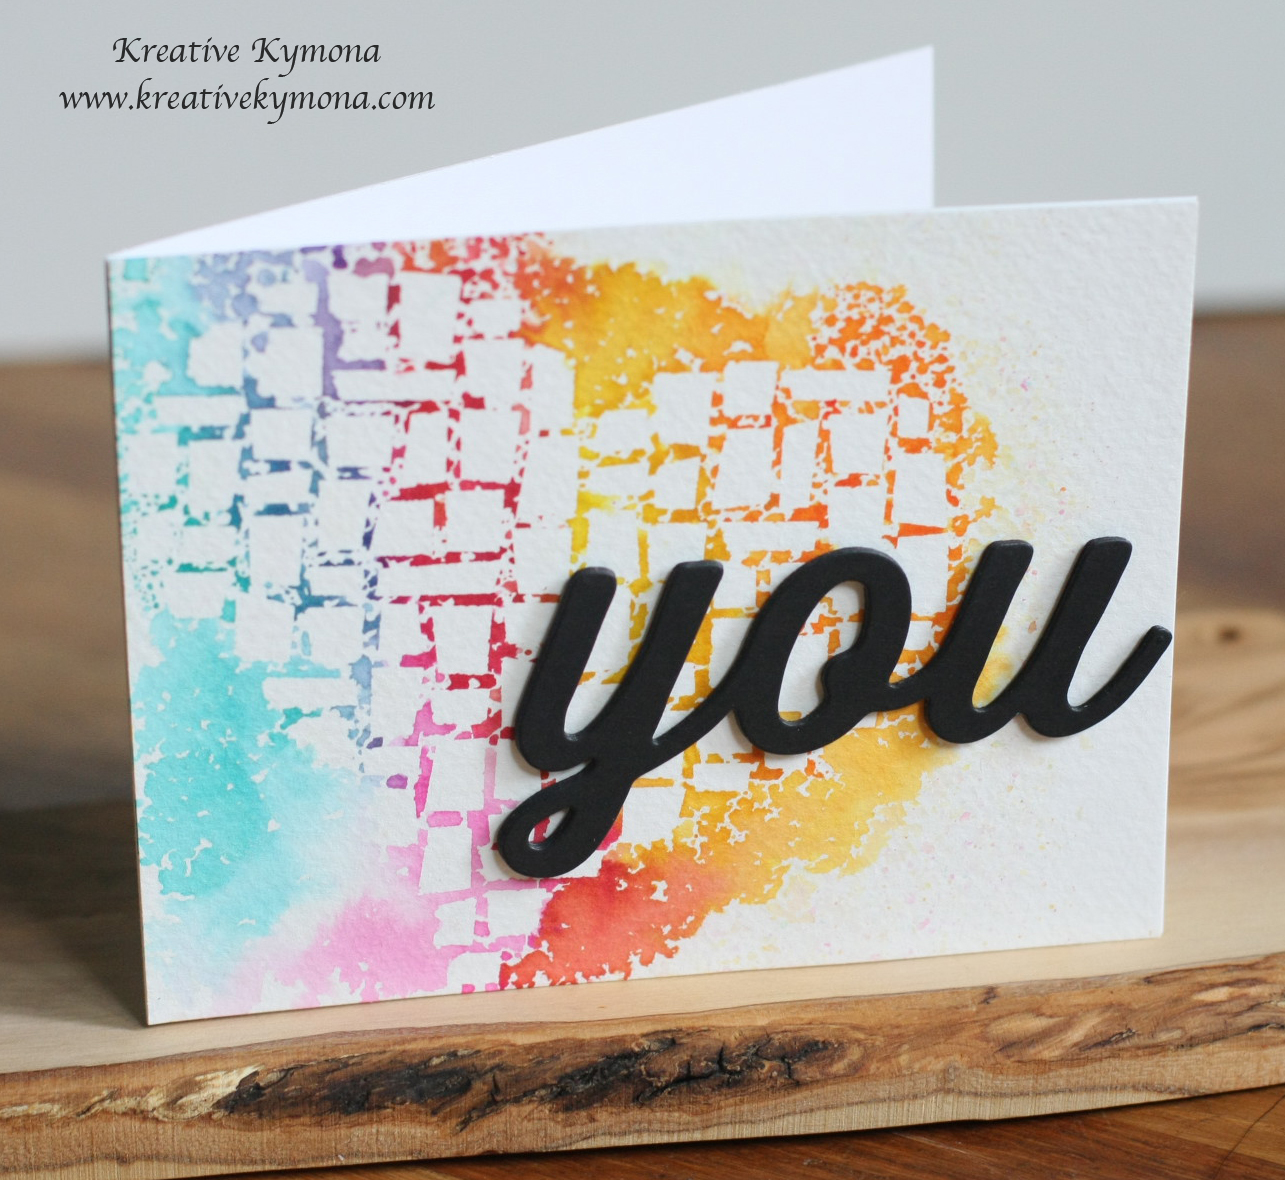
Take a look at my project:
This card was inspired by this newspaper cover:

When I saw those ombre letters and flowers, I knew I wanted to make a card based on it.
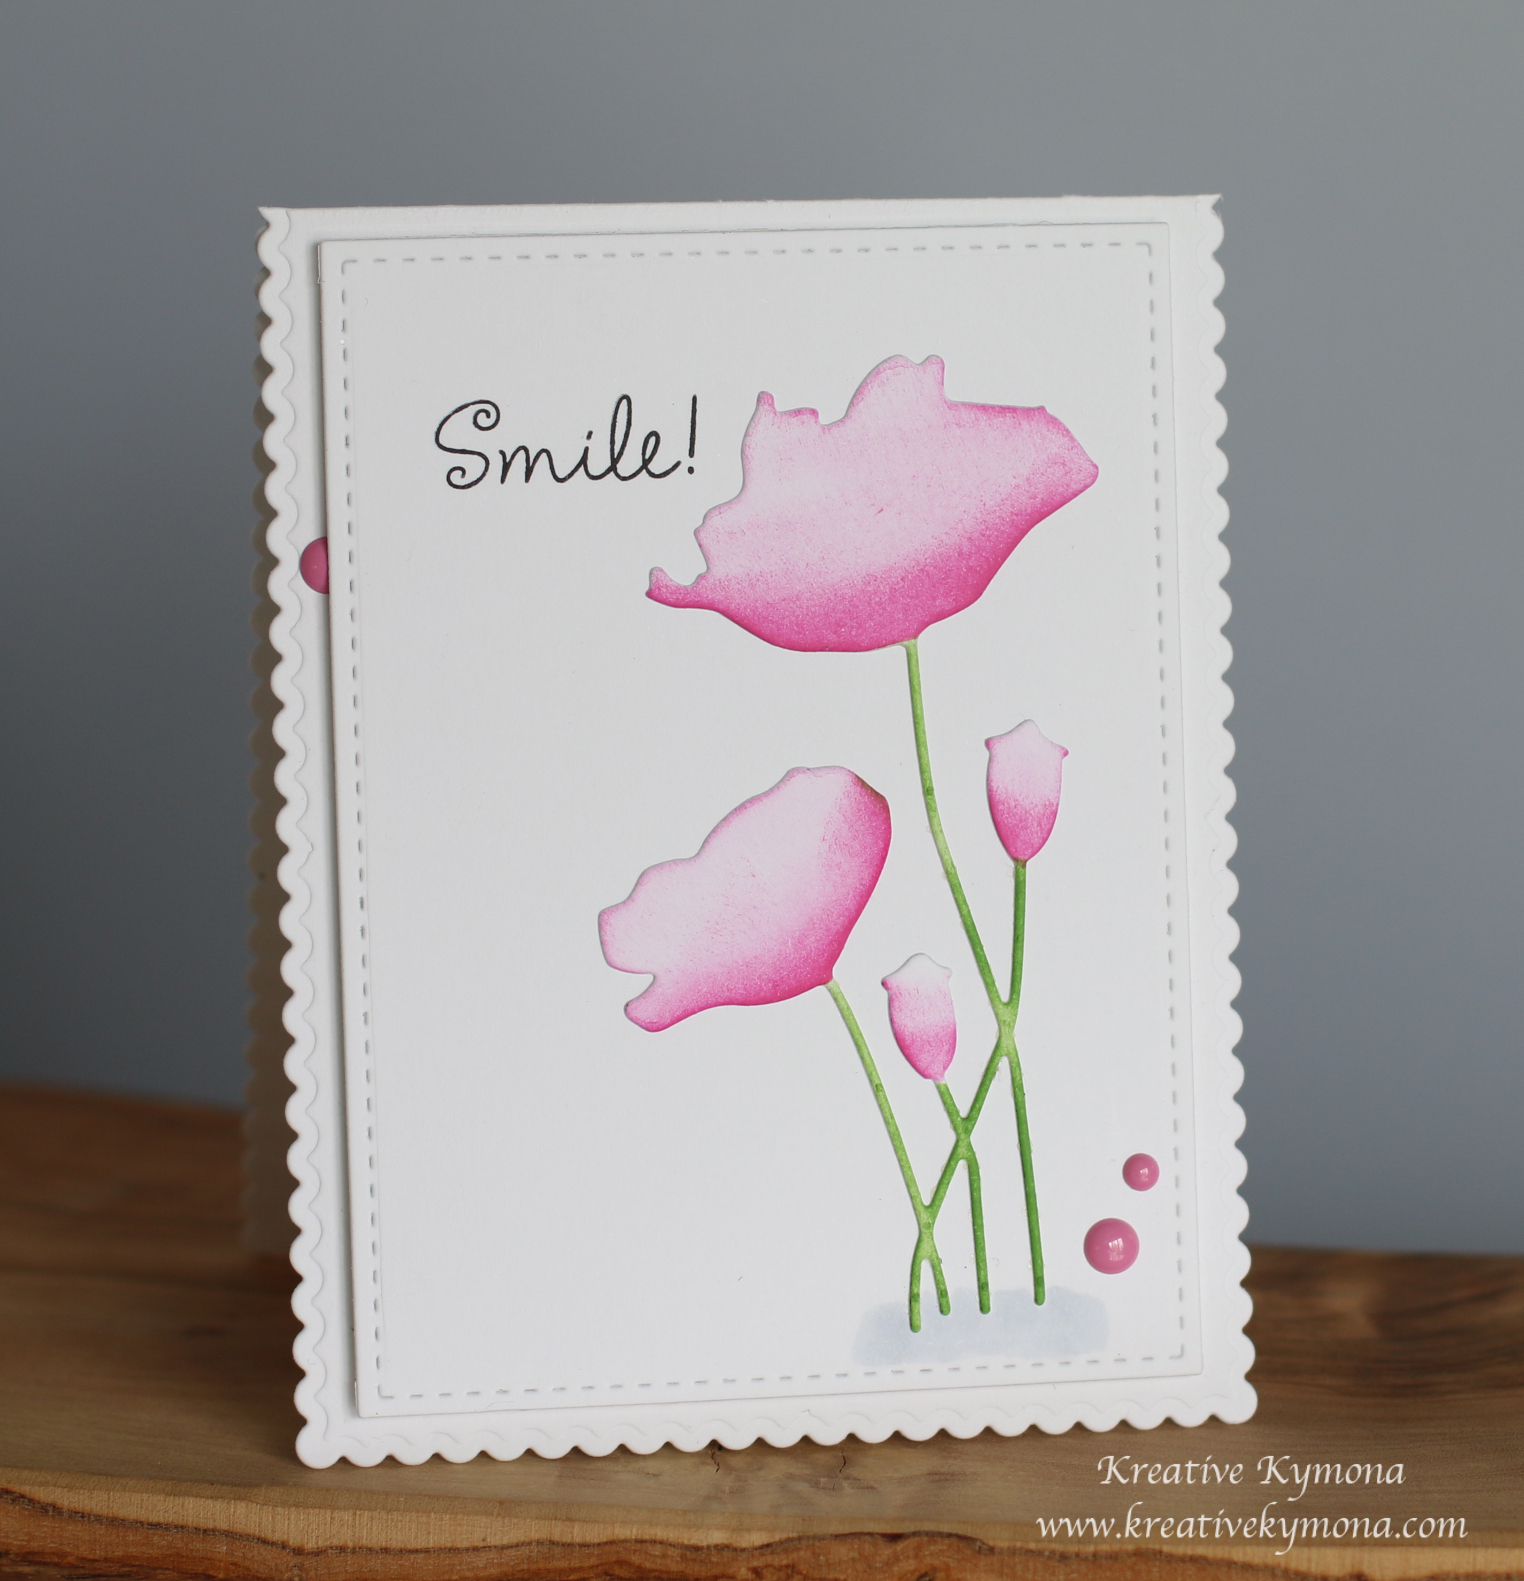
Here is how I created this card:
1. I cut my card base using Mama Elephants Femme Frames scallop die. Both sides of my card base were cut. I ran it through my Big Shot 5 times to make sure the cut went through both sides of my card base.
2. I used the square die cut in that same set and cut my card panel.
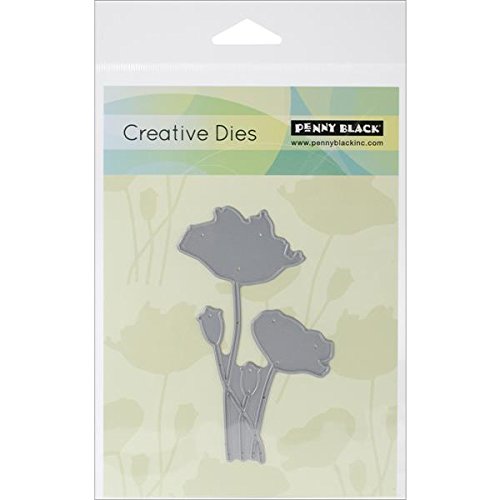
3. I die cut my poppy using Penny Black Field of Dreams Decorative Die.
4. I used Picked Raspberry Distress Ink to create the ombre look. I masked off each petal before inking as to not transfer the ink in the wrong places.
5. I used Mowed Lawn Distress Ink to color in the poppy stem.
6. I adhered the poppy to my card panel with Tombo MultiPurpose Glue.
7. I stamped my sentiment using Technique Tuesday Budding Poppies stamp set.
8. I added Doodlebug Bubblegum Sprinkle to my card for added interest and to cover a spot on the card base that I don’t know where it came from, LOL!
I totally love how this card turned out. Its nice and bright but subtle!
Now its your turn to play along with us.
We have a great prize pack for you.
We have two prizes to offer this month, the first is our sponsor prize. This winner will be chosen randomly from all of the entries in the challenge! The sponsor for April is:

Random Winners will win these two stamp sets!

Our second winner is our Design Winner. This winner is chosen by our DT, who all vote for their favorite design from all of the entries. This winner will have their winning project published in Craft Stamper Magazine, they will have a GDT slot for an upcoming challenge, and will also feature in their very own Winners Profile blog post!
Now if that isn’t a reason to play along I’m not sure what is!!
I can’t wait to see what you come up with.
I would like to link this card to Virginia’s View Challenge #14: Layers and Dimensions.

I’m also linking up to Penny Black Saturday Challenge. The theme is Easter and/or Chocolate Brown.

Supplies used:


Thanks for stopping by!
~Kymona