Second Post for today
If your looking for Your Next Stamp Color and Sketch post, click here.
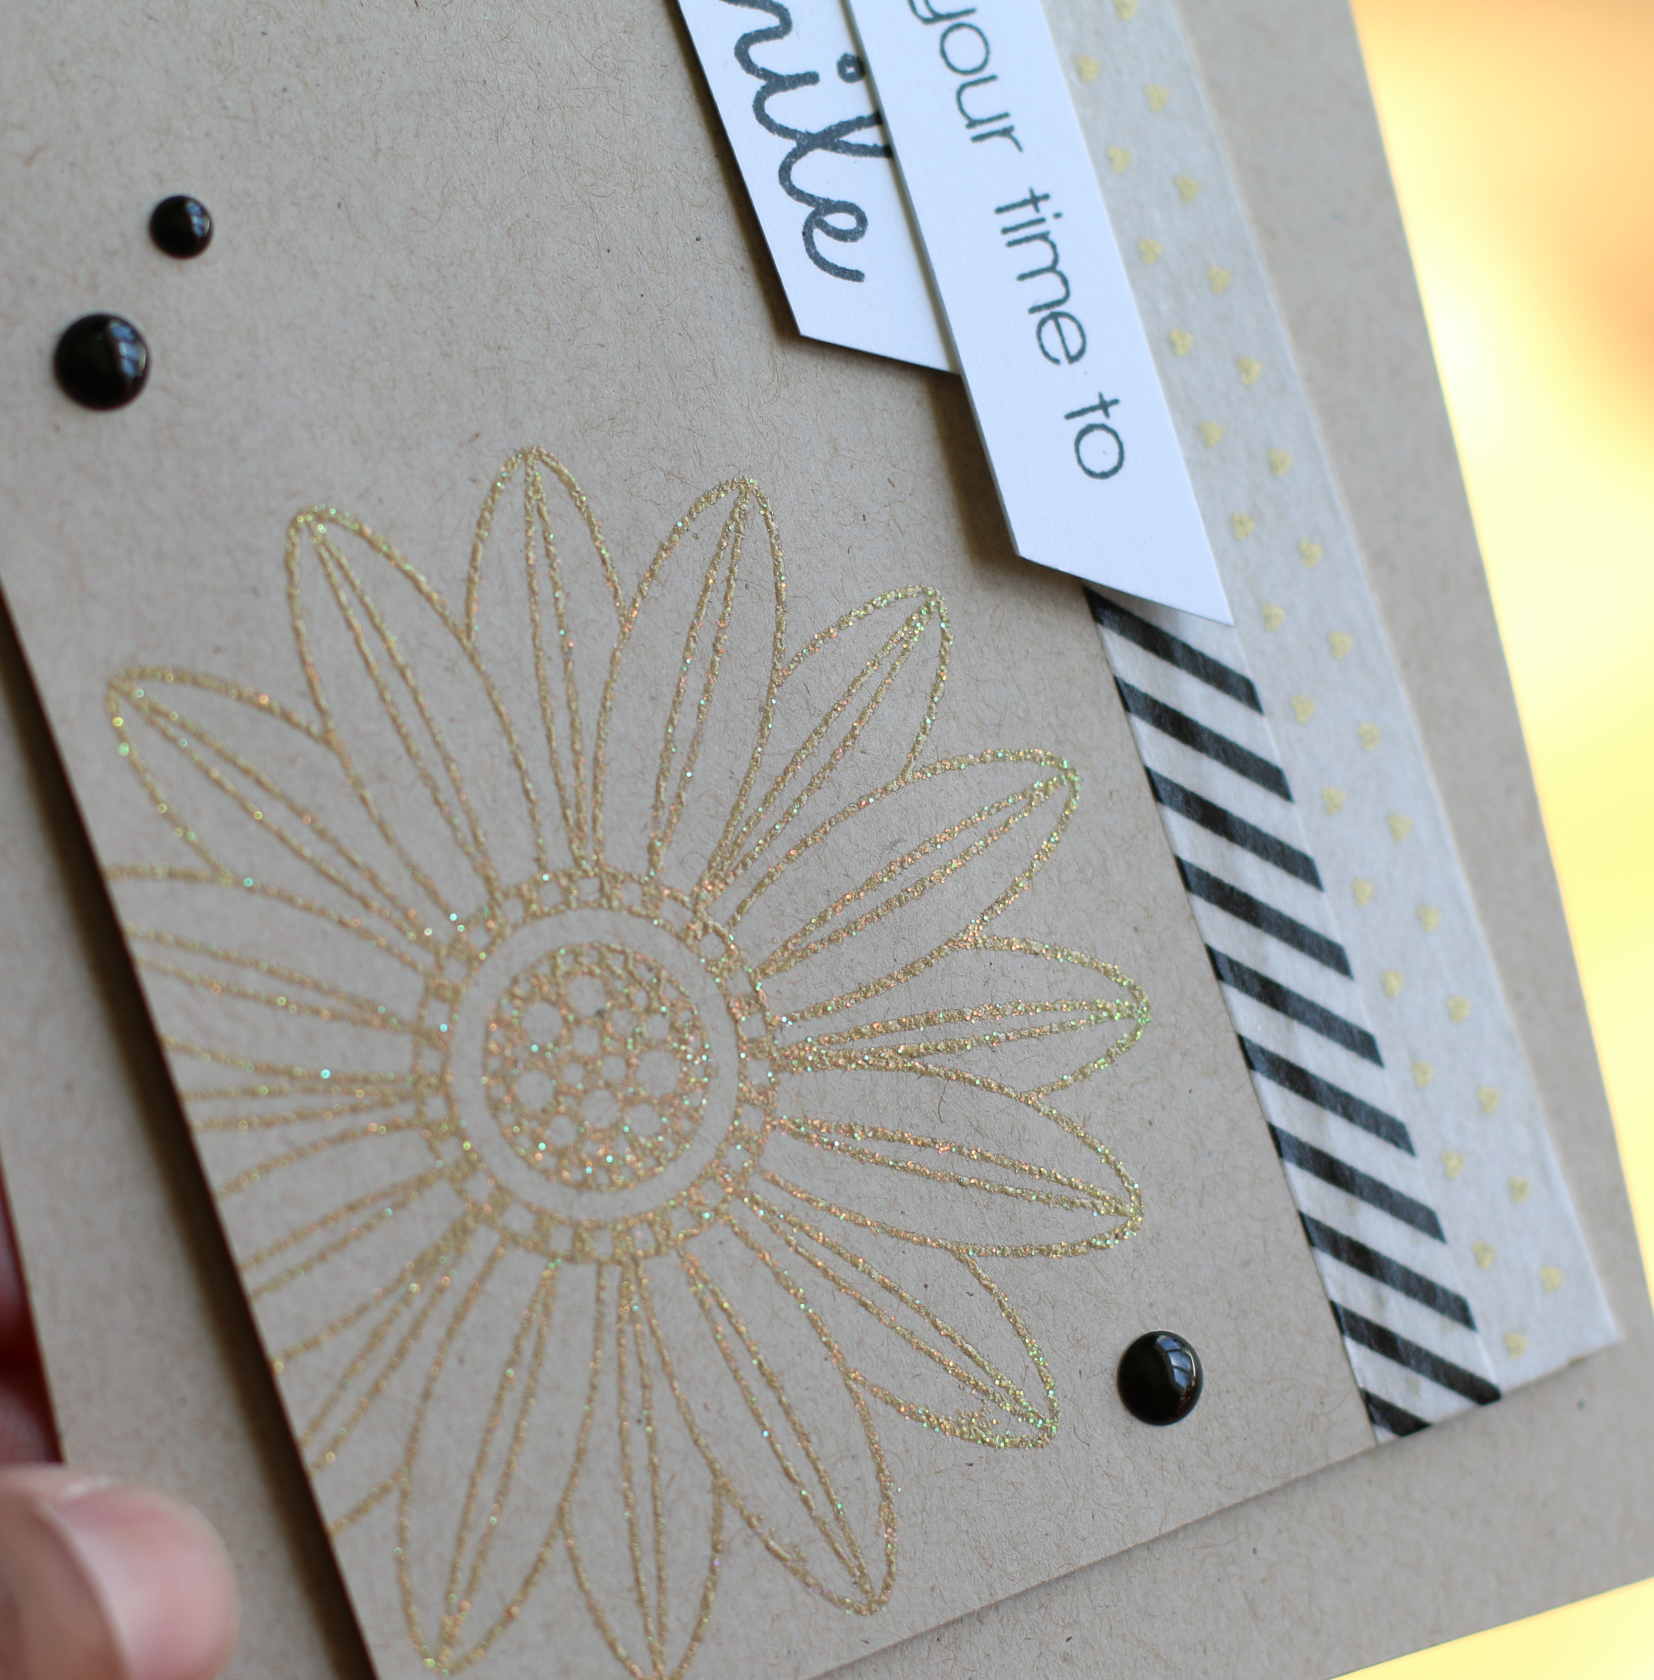
Hello everyone! I’m here today with CS Take It Make It Design Team for our CS Take It Make It: Take a Stamp Challenge. This is our inspiration photo!
This month’s theme is Take a Stamp!! That means take any stamp and create something, anything goes!! Now if that isn’t easy, I’m not sure what is!!
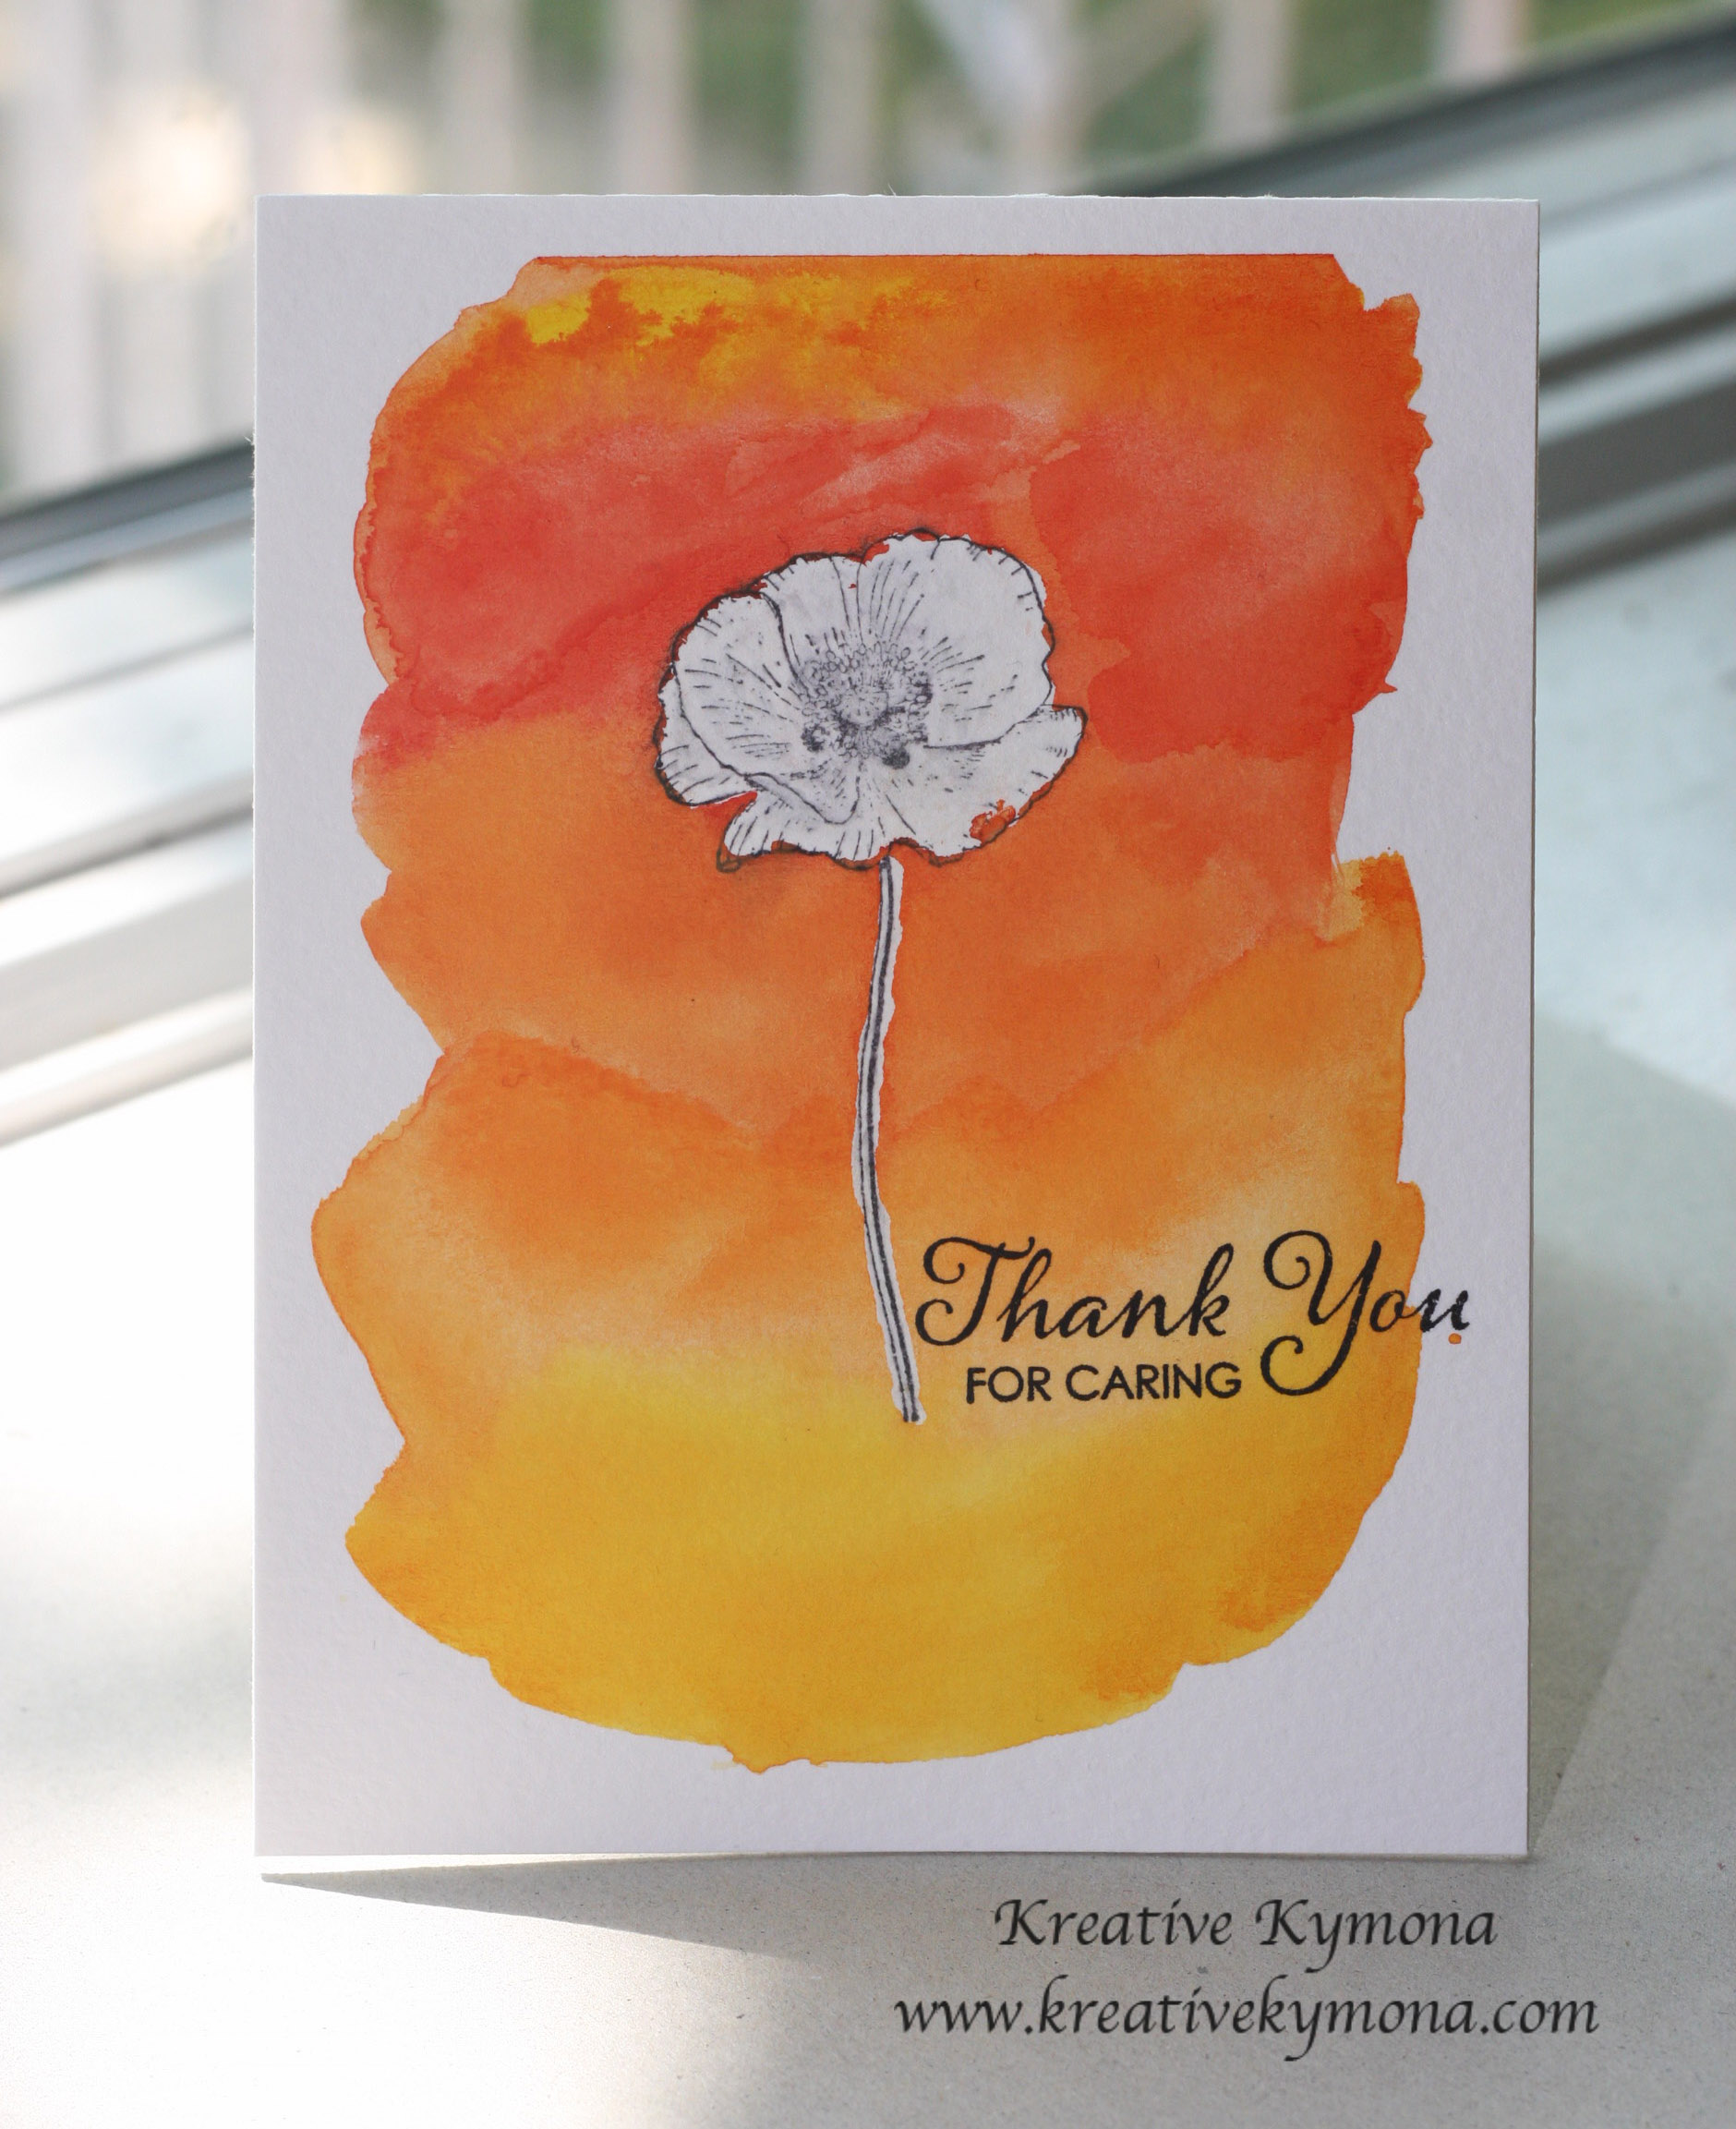
Take a look at my card:

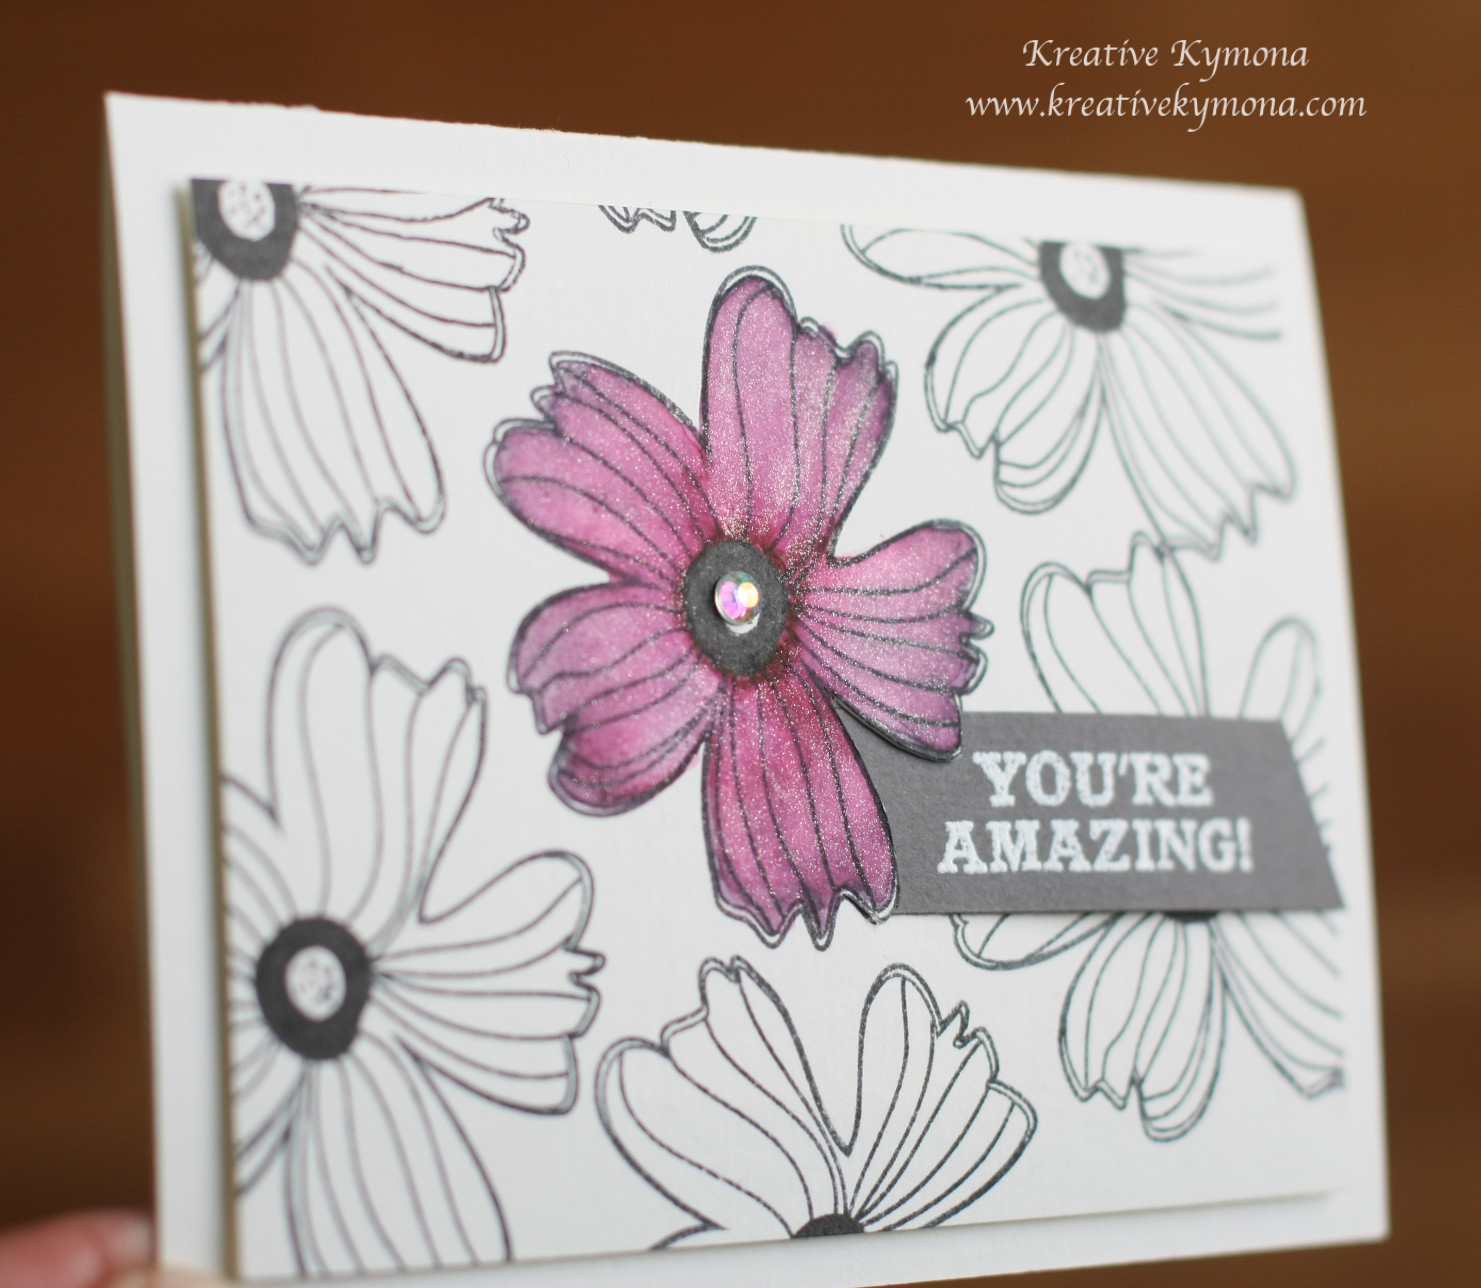
This was a very simple and easy card. I wanted all of the focus to be on this awesome flower by Tim Holtz, its called Flower Garden.
The sentiment is from Tim Holtz and its called Handwritten Sentiments.
Here is how I created this card:
1. I cut my watercolor cardstock to an A2 size card, 4.25 x 5.50 scored 5.50.
2. I stamped the flower, stem and sentiment image with Ranger Archival Jet Black Ink.
3. I used Kuretake Gansai Tambi watercolor #43 and #33 to color my images.
4. I also used my Akashiya SAI Watercolor Brushes to add the brown to the flower, the green in the stem and the blue shading.
Super easy and relaxing to create!!
So what will you create for this challenge?
We have two prizes to offer this month, the first is our sponsor prize. This winner will be chosen randomly from all of the entries in the challenge! The sponsor for July is: Art Journey
 Here are the prizes this month:
4 Plates!!
Sorry I don’t have an image but if you visit the store you will see the most amazing stamp sets!!
Our second winner is our Design Winner. This winner is chosen by our DT, who all vote for their favorite design from all of the entries. This winner will have their winning project published in Craft Stamper Magazine, they will have a GDT slot for an upcoming challenge, and will also feature in their very own Winners Profile blog post!
Now if that isn’t a reason to play along I’m not sure what is!!
I can’t wait to see what you come up with.
Supplies used:


Thanks for stopping by!!
~Kymona