Hello everyone!! I’m back again for the third DoubleClick Challenge! The theme is, you guessed it, its fruit!!
The summer time is full of delicious fruits from all over the world.
Let me tell you what surprised me the other day. My friend who lives off of one of the busiest streets in Queens, has a neighbor who has a pear tree in the front of their house. I was blown away. I never saw a fruit tree in city, upstate yes, but not down in the city. Can you eat the fruits? Are they sweet? I wanted to know but was too scared to ask for one. So what I did was take a picture of the tree as proof that it exist.
Take a look for your self:

How beautiful is that tree full of fruit!! Makes you want one. Ok, ok I digress! On to the challenge. Its all about fruit!
I choose to go with tangerines! They are so delicious and you can peel it by yourself. The sweeter the better for me.
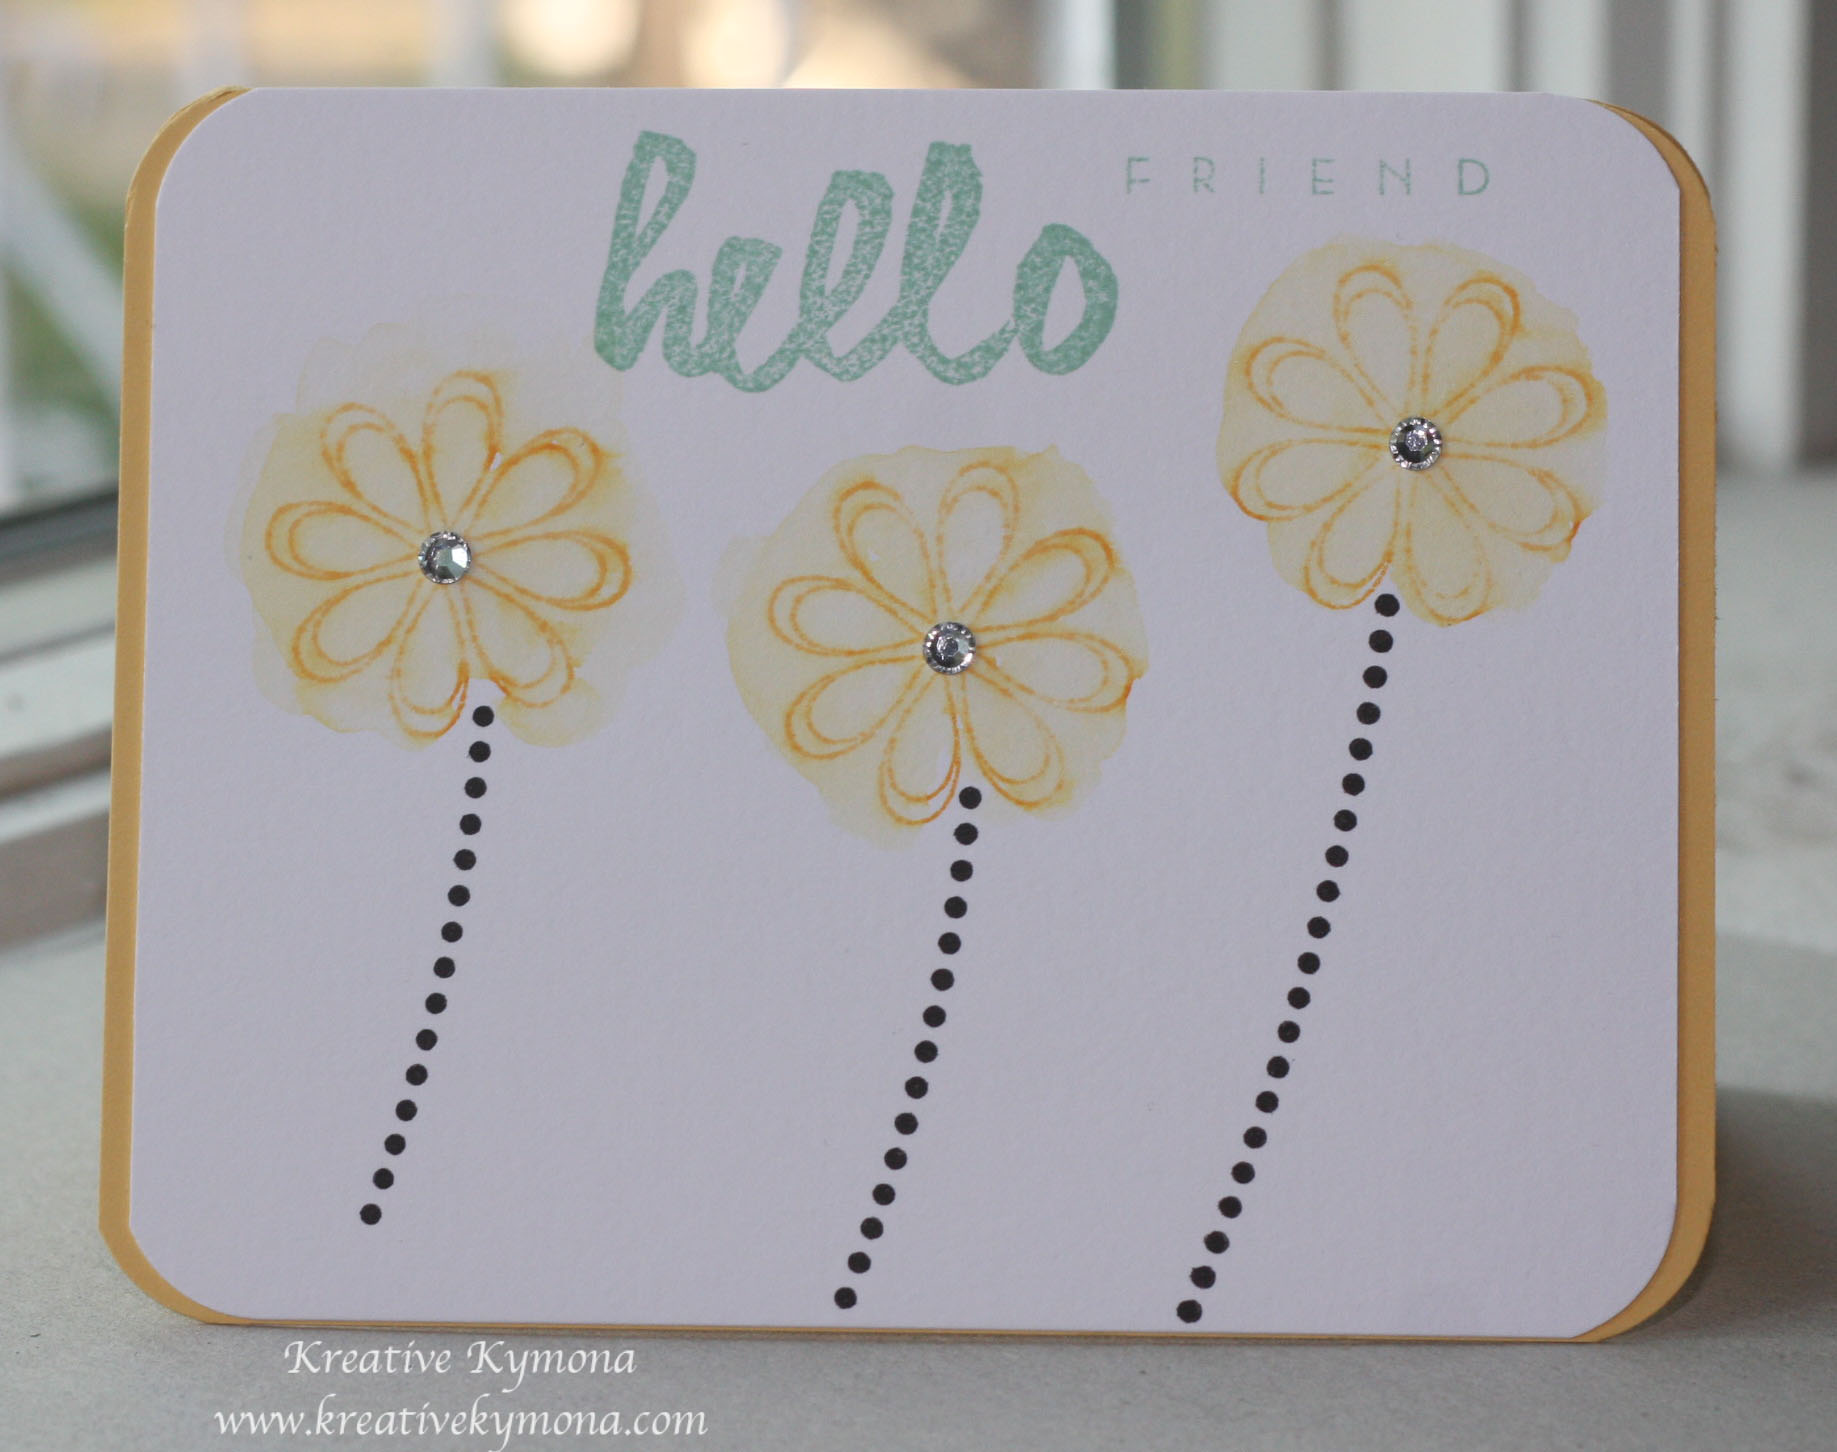
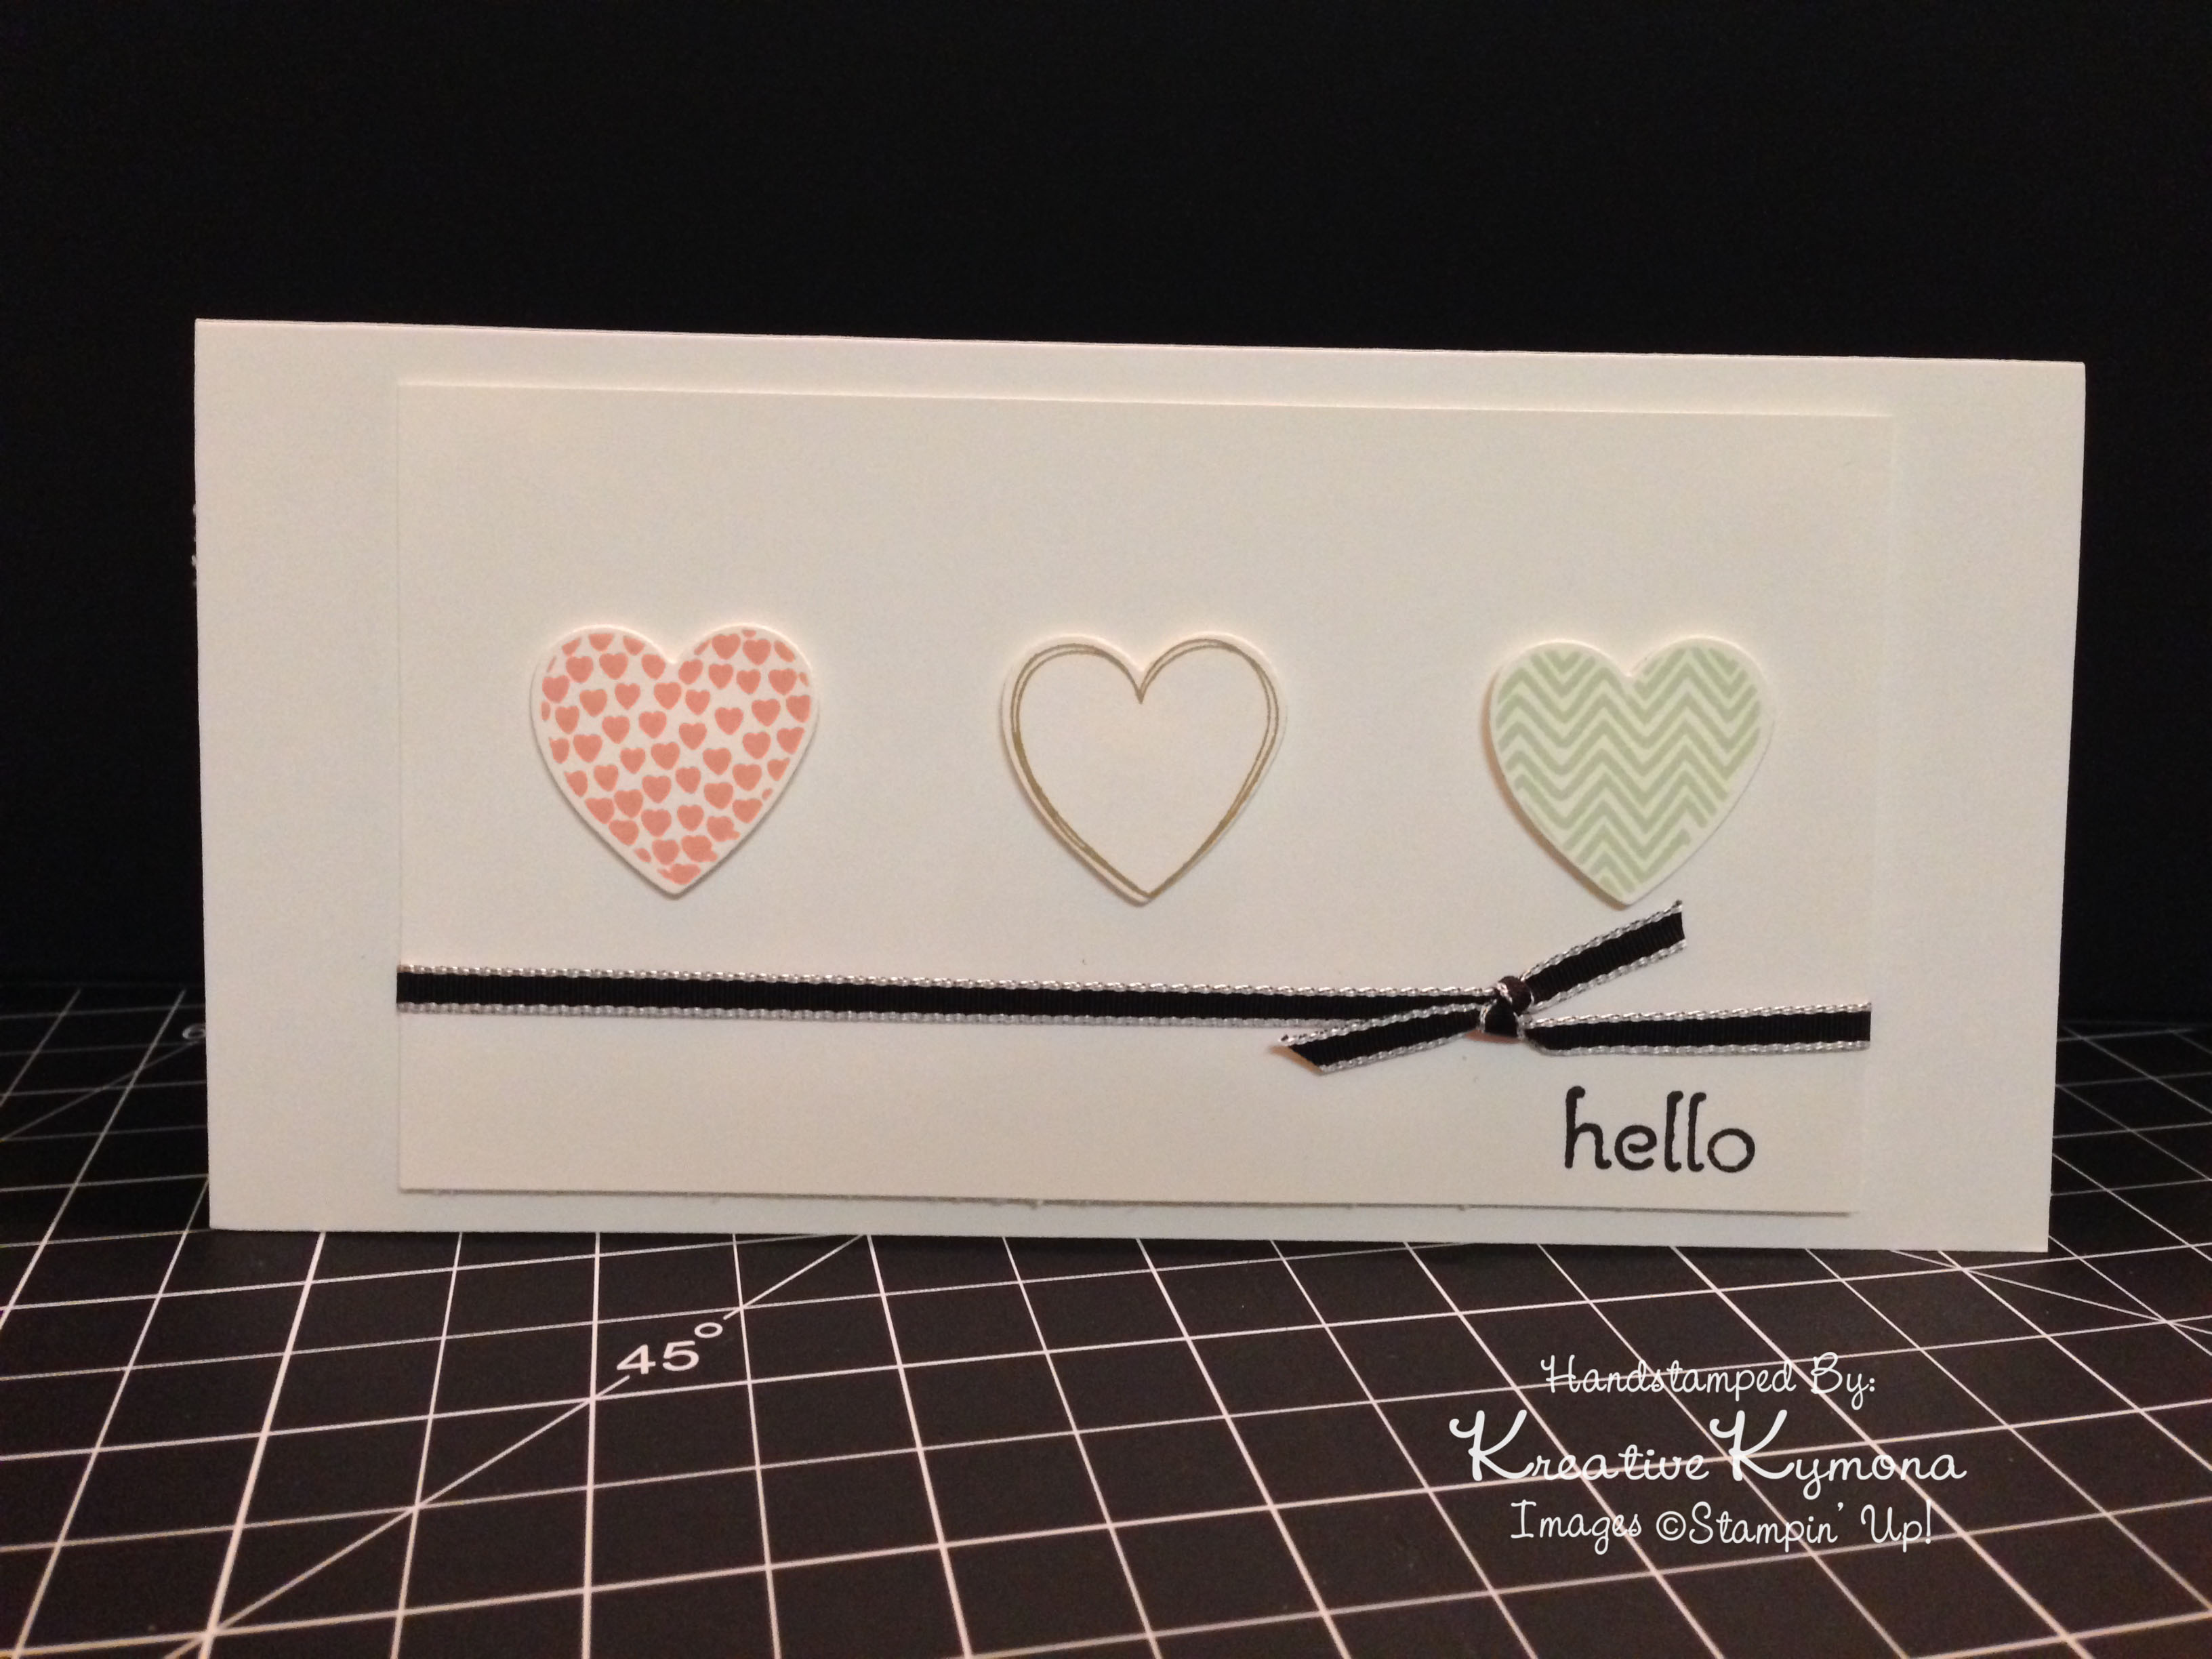
Take a look at my card:

These tiny tangerine halves look so good, you almost want to eat them all. Let’s talk about how I create this nice CAS card.
1. My Stampin’ UP! Tangerine Tango card base is an A2 card which measures 4.25 x 5.50 scored at 5.50.
2. My Neenah Solor White card panel measures 4 x 5.25. I rounded the corners with a retired Stampin’ Up! punch.
3. I used Stamp’ Up! retire Tart and Tangy Stamp Set to stamp my tangerines 3 times out of Tangerine Tango ink.
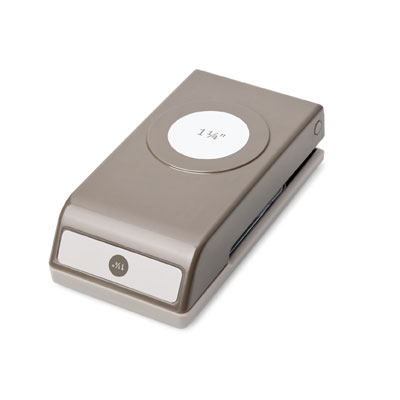
4. I used Stampin’ Up! 1-1/4″ Circle Punch to punch out my tangerines.
5. I adhered the tangerines to the card panel with Stampin’ Up! Dimensionals.
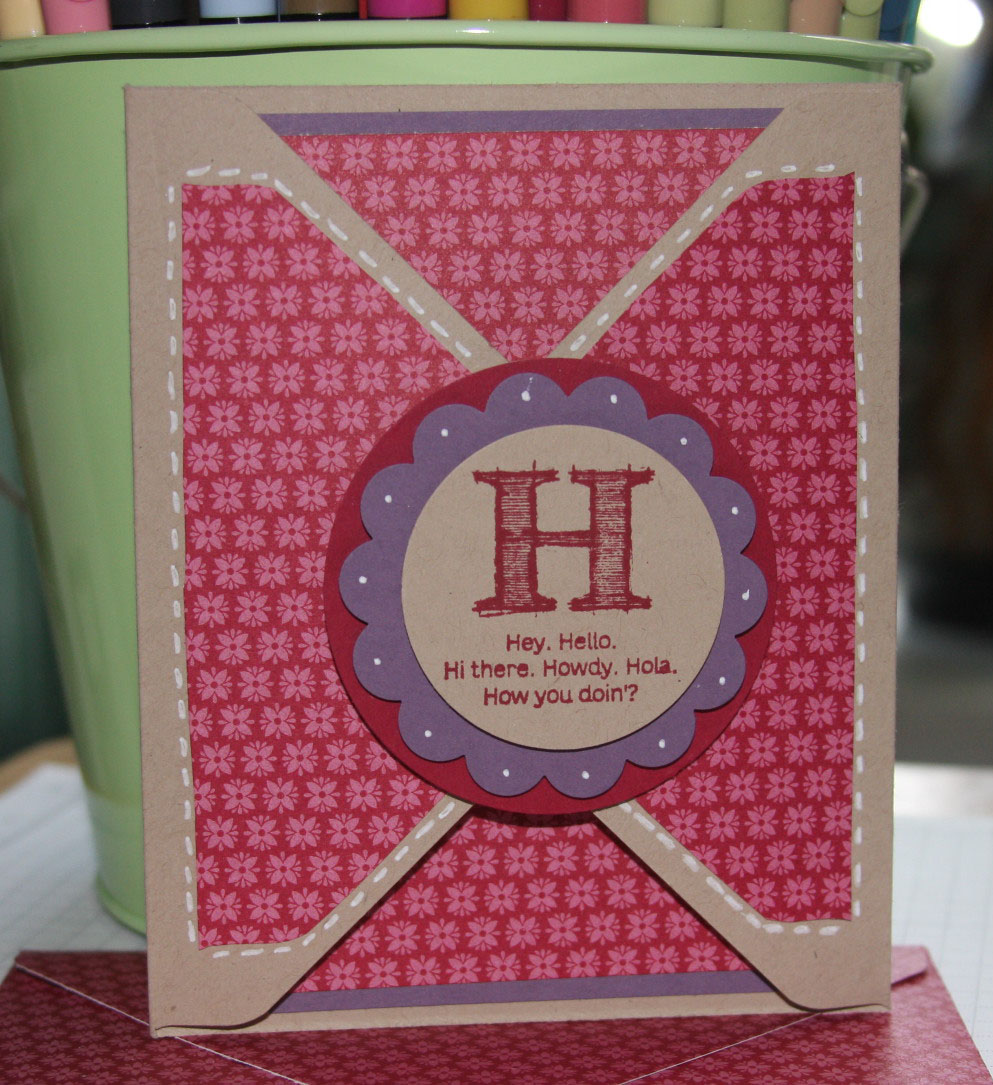
6. I used Stampin’ Up! Hi There Stamp Set to stamp the Hello at the bottom of my card base with Versafine black ink.
7. I adhered the card panel to the card base using Stampin’ UP! Dimensionals.
7. I added Wink of Stella to the tangerine petals for added glare.
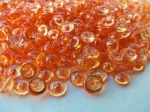
8. For my finishing touch, I added my PUMPKIN SKITTLES to the center of my tangerines and after my hello.
Clean and Simple at its best.
So tell me what do you think?
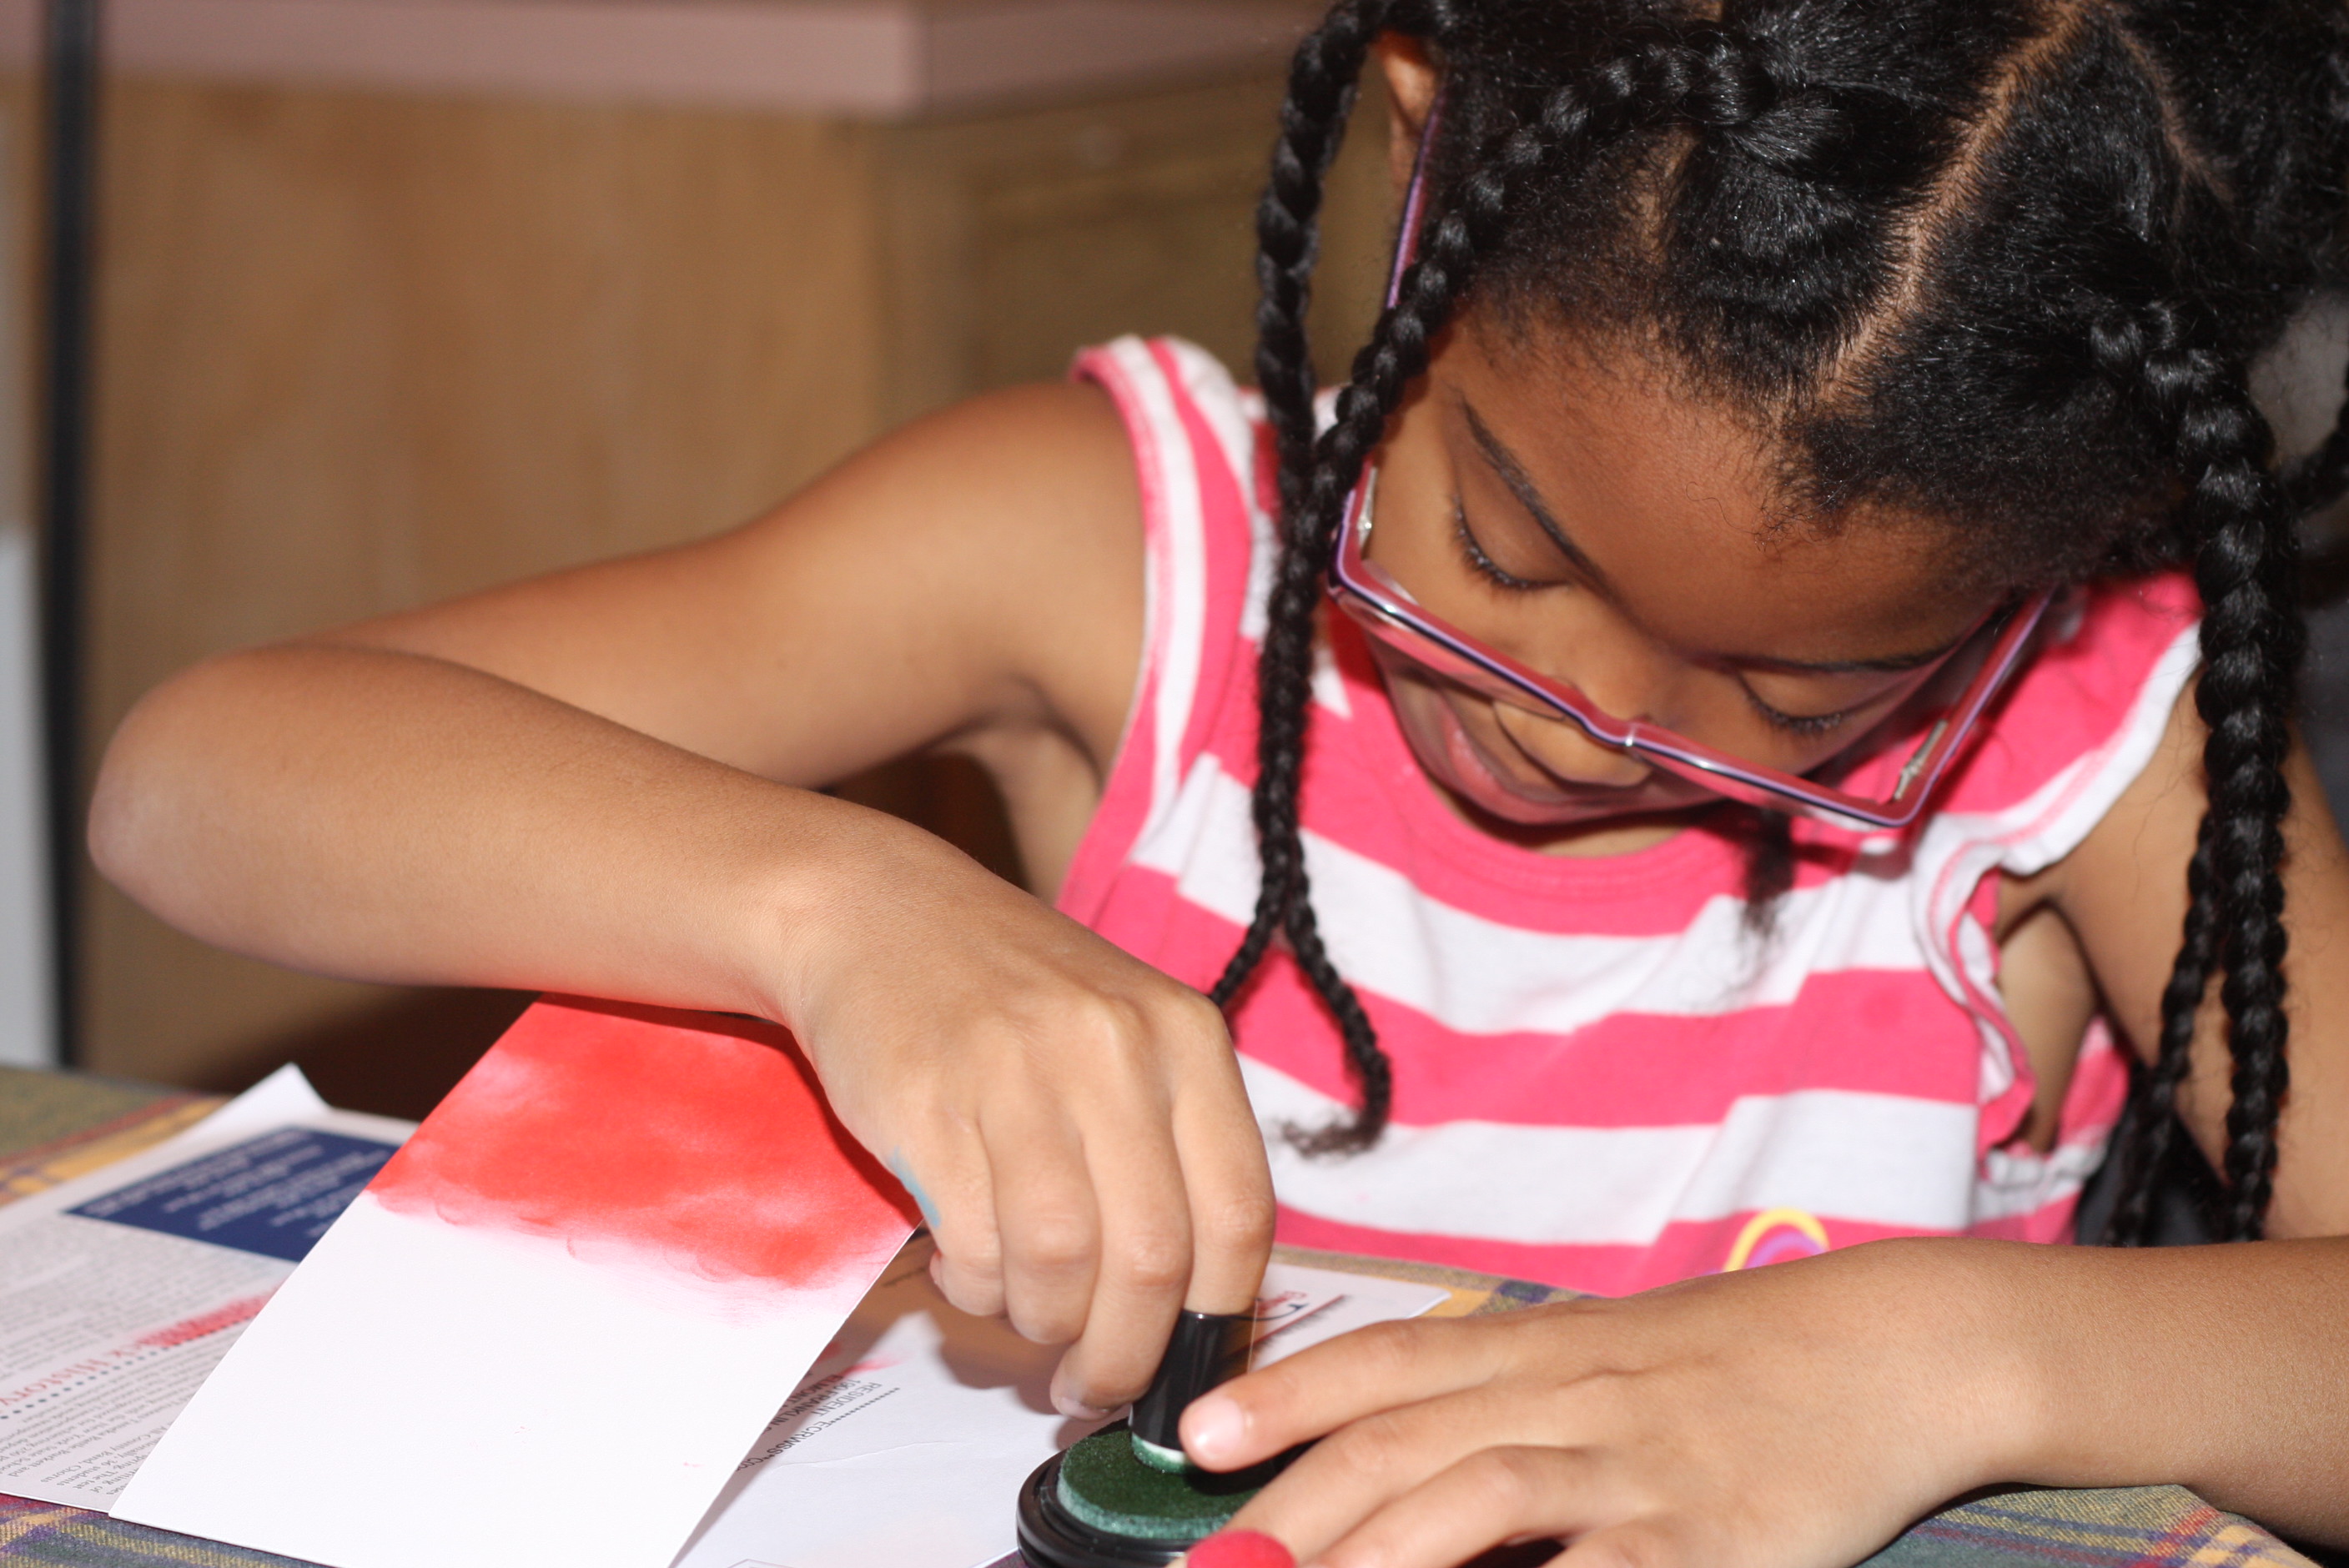
Now its your turn to play along. You have until September 2 to enter the challenge.
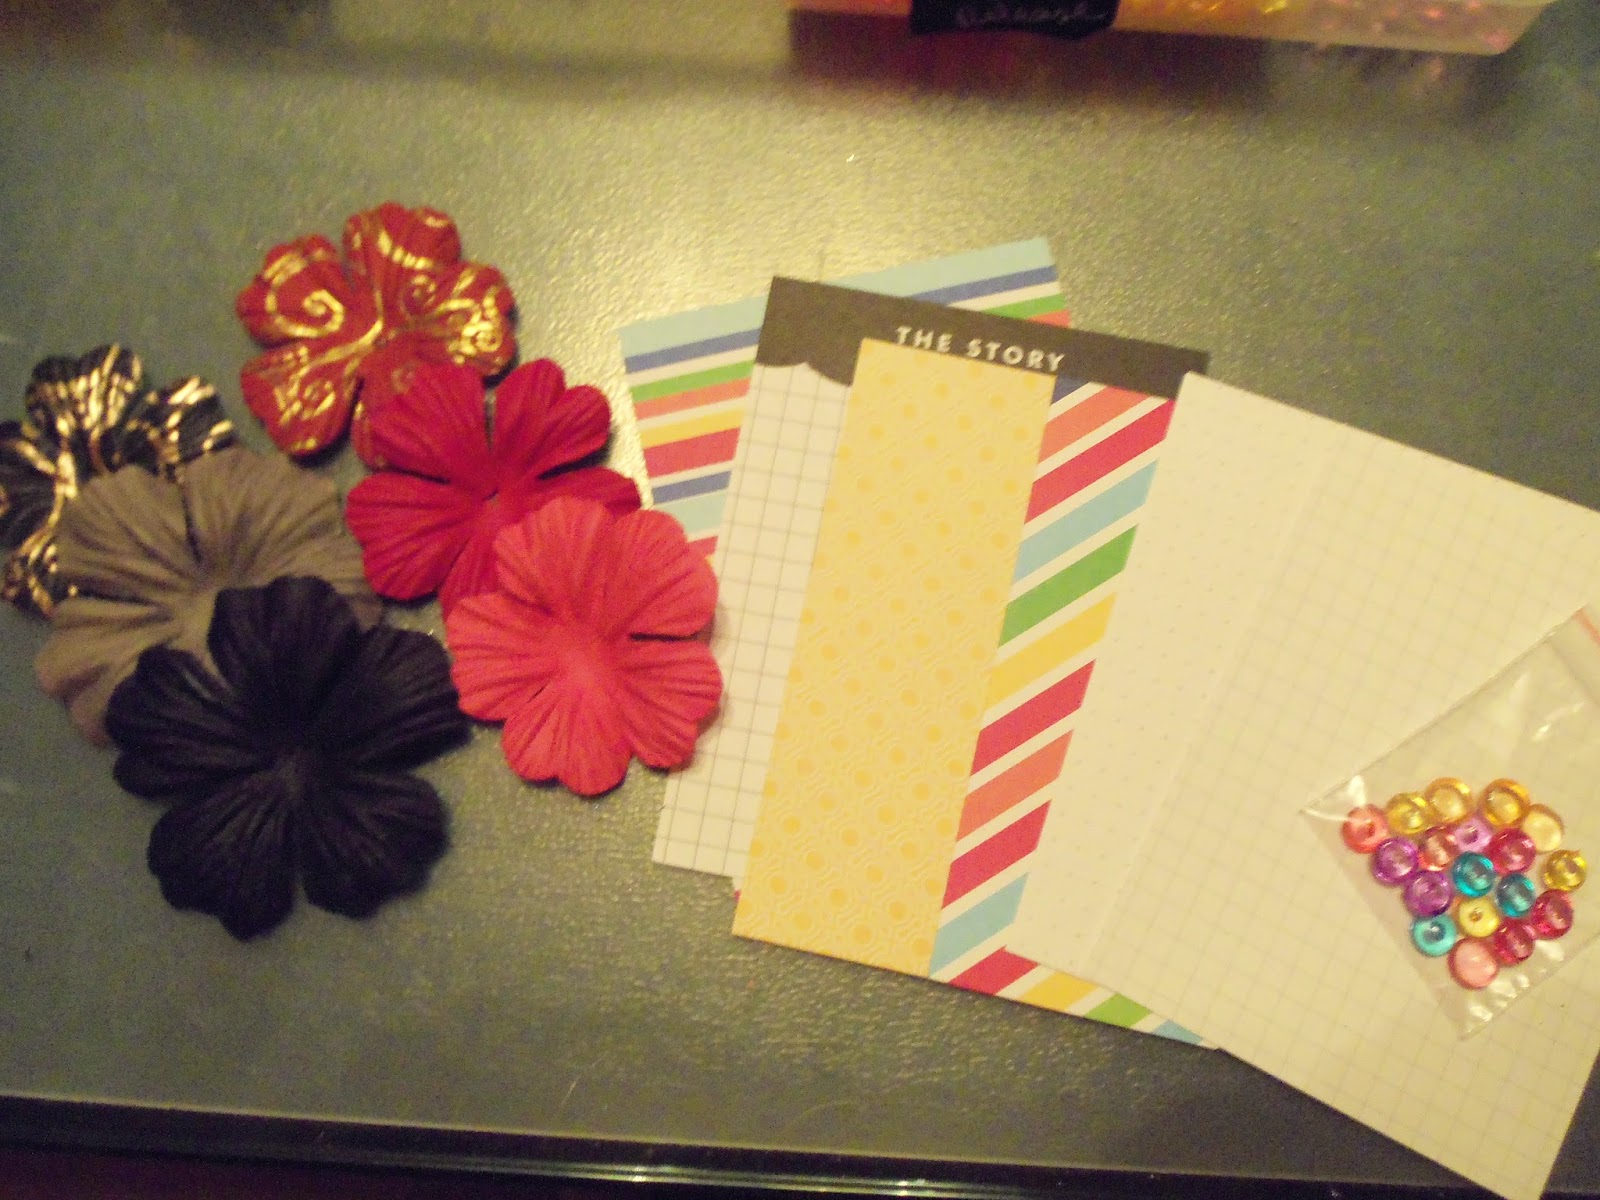
The lucky winner will win the nice prize pack you see below:
Good Luck to all of you!
Supplies used:


Thank you for stopping by!
~Kymona